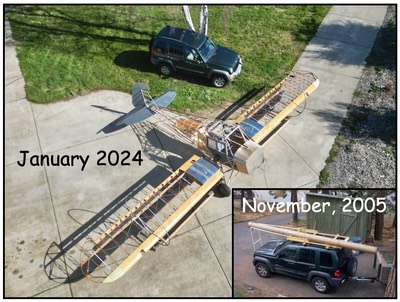
Again, it’s been a LONG time between updates. I have been working a bunch lately but had to take some time off at the beginning of the school year due to my workload (paying work load that is). So, what have I been doing? I finished the spars; all cut, surfaced, and plywood glued on the ends (twice!). I also have finished the wing attach fittings and made a set of compression strut fittings. Does not sound like much. Well, like many steps, these took a lot longer than I thought and I had to rework the ends of the front spars. Lets run through this with pictures.
 First, the spars with the plywood
plates being glued on the attach ends. DO NOT glue all the plywood
reinforcements on before sliding the ribs on, as they will not fit over the
ply. No, I did not make that mistake.
 Next, time to make the attach fittings
and the doublers that are welded together for each spar. First, I rough
cut the pieces of .090 4130. This took a long time using my angle
grinder. Then, I tack weld them all together into a single stack. I
do this so that I can drills all the holes at once to make sure they are all
the same. I
separated them and finished the shapes with my grinder and belt sander.
 Next,
making the doublers that gores between the two pieces of steel on each side of
the spars. This “U” channel is very difficult to make exact so I made
them out of two pieces and welded together. I saw this method on the EAA
“Hints for Home Builders”. Check it out if you have not seen them; great
help.
 This picture shows the two halves with
a spacer and bolt holding them together. The spacer is precisely ground
to the exact inside dimension of the fitting. Side note: this is
when I discovered that the plywood glued to the spars was .010 thicker than
needed and my spars were about .030 over. Well, I found out that they
would not fit the fuselage. So, I had to remove the ply with my grinder
and resurface by hand the spar to the correct thickness and glue on new
plywood. This took about a week to get right. Now I know they will
fit the fuselage.

This picture shows a test fit before welding the doublers
together. After welding, I made a jig to hold the doublers in place with
the two sides for welding.

The jig worked great. The end burned but I cut it off; I did not need it after the first one was welded.
 Finished fittings. These took me about
a month including the reworking of the spars.
 All four
finished and fitted to spars. I’m not sure yet when I will drill the
holes.
 Fitting on the
fuselage! Success. Next step, making the compression strut
fittings. Hint: I did not want to spend $300 buying the fittings so
I made them my self.
Return to Past Posts and Pictures by Date
