

Time for another catch-up post. After mounting the wings it was time to run temporary cables to locate the pulleys. First, the left wing, then mount and do the same for the right wing. The process was pretty straight forward and nothing specifically exacting about the process. It’s necessary to make sure the the runs are straight and do not vary off line. I started by making the brackets for the pulleys. The upper aileron cable needs to make a 90 degree angle change at the wing root and then down the sidewall inside the cockpit then turn to the stick. It took a few tries to get everything correct but went pretty well.
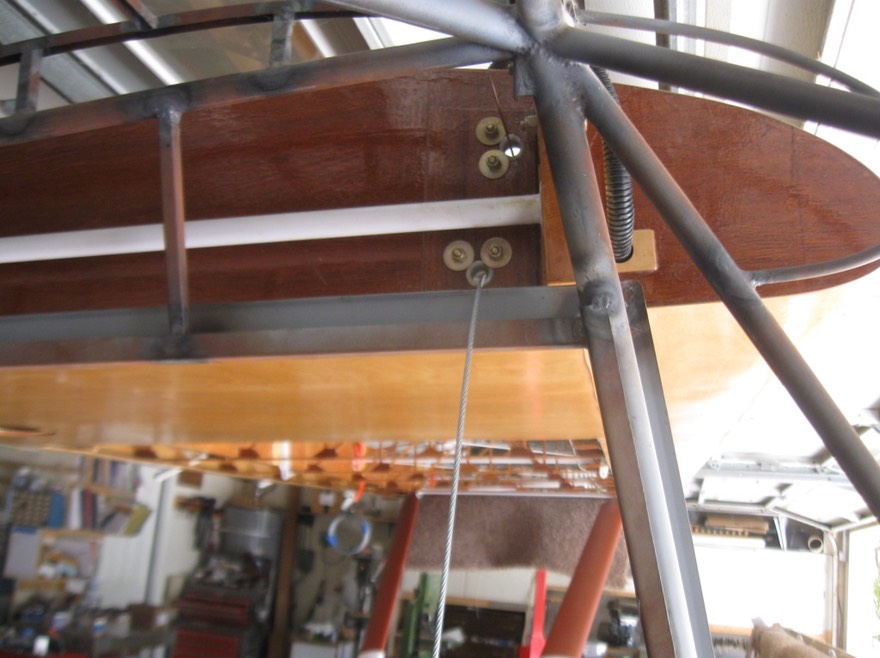
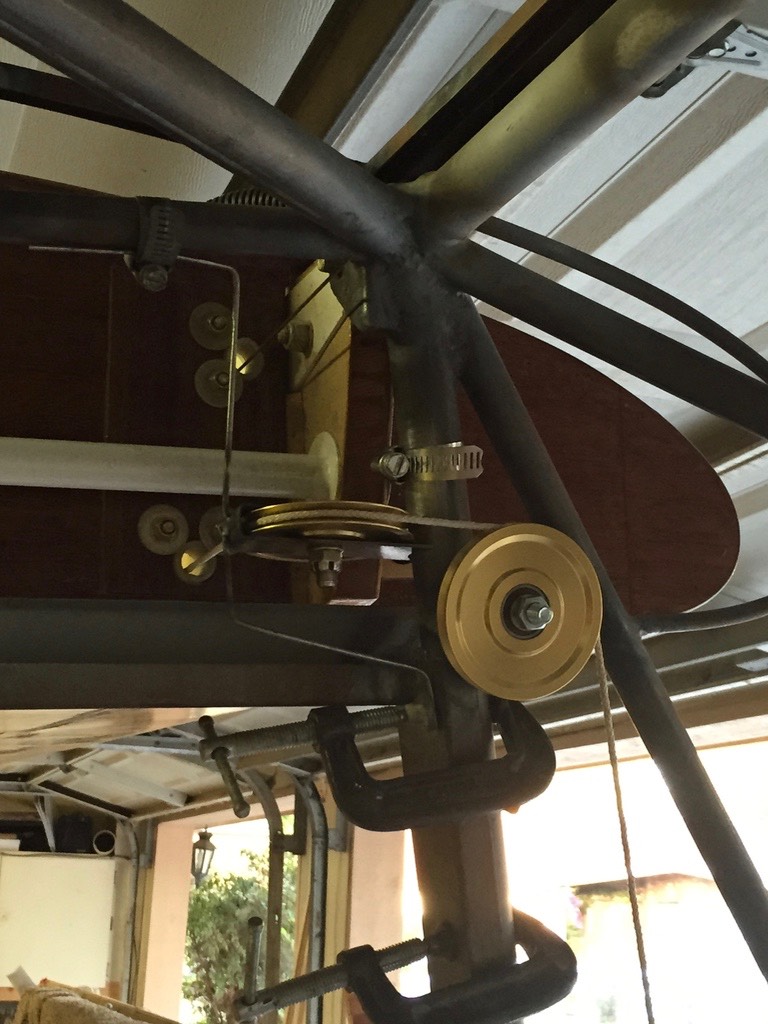
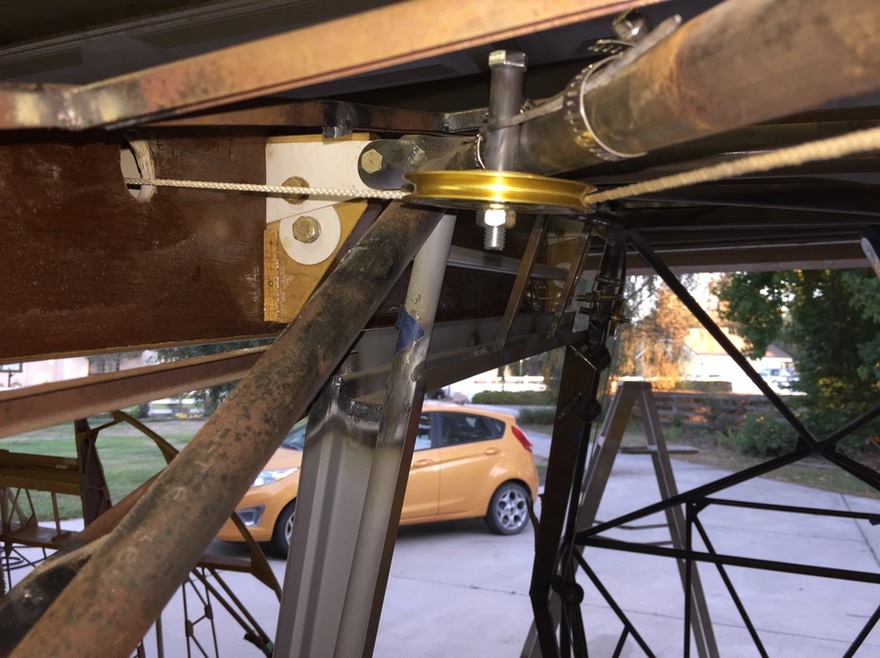
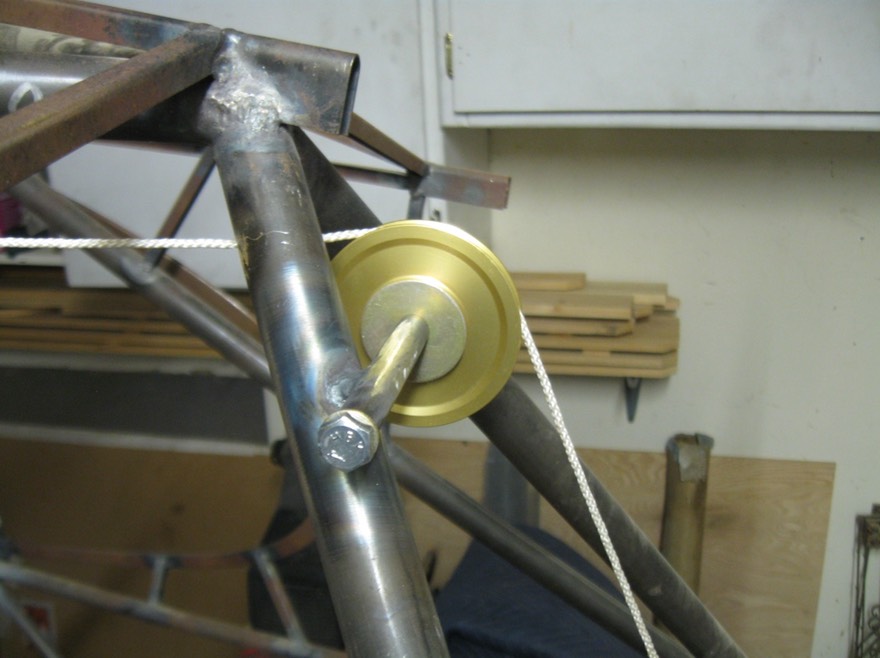
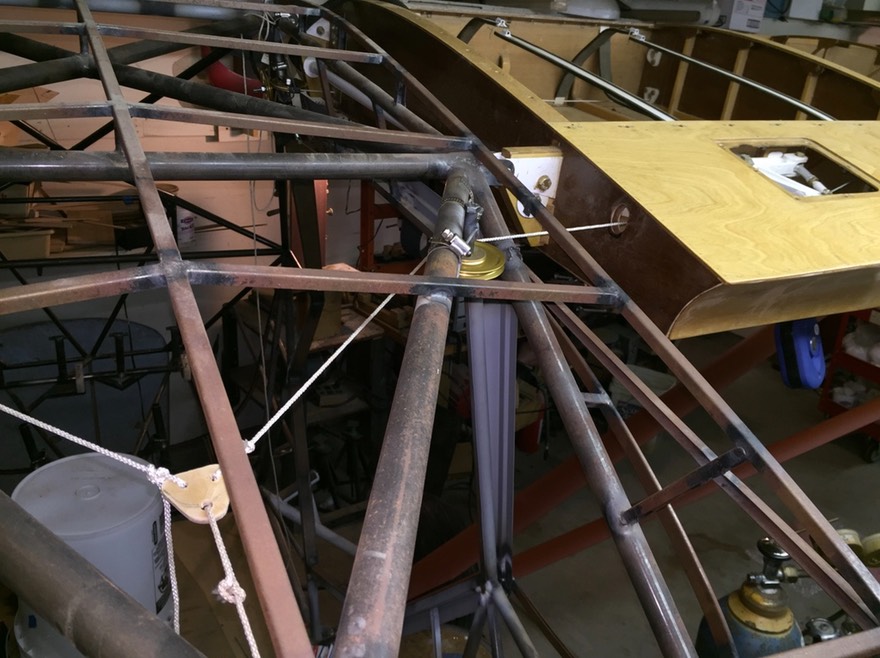
This first picture shows where the two cables come through the wing root into the cockpit. The welding rod coming out of the upper fairlead is for the balance cable. The lower cable will need to turn 90 degrees to the stick.
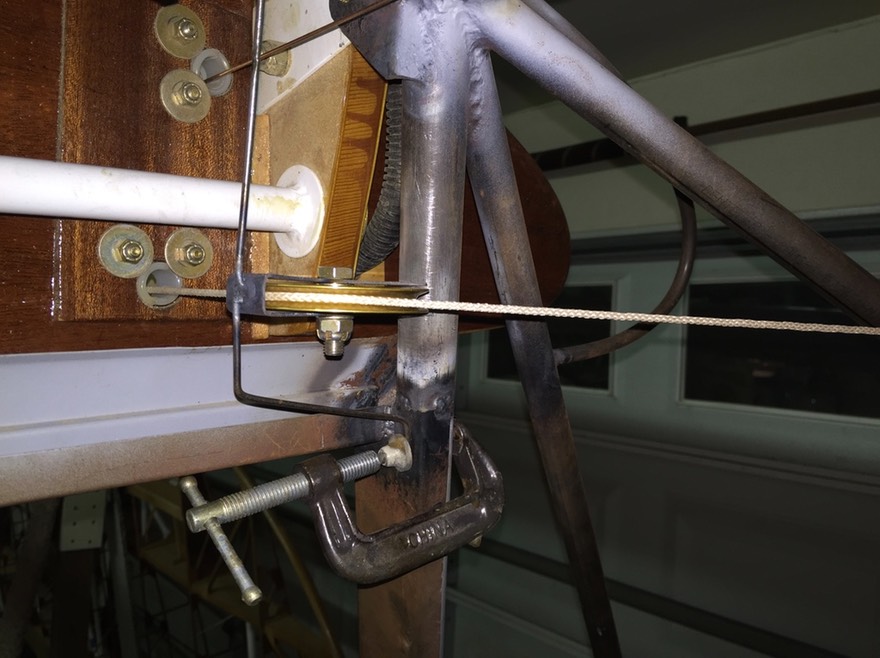
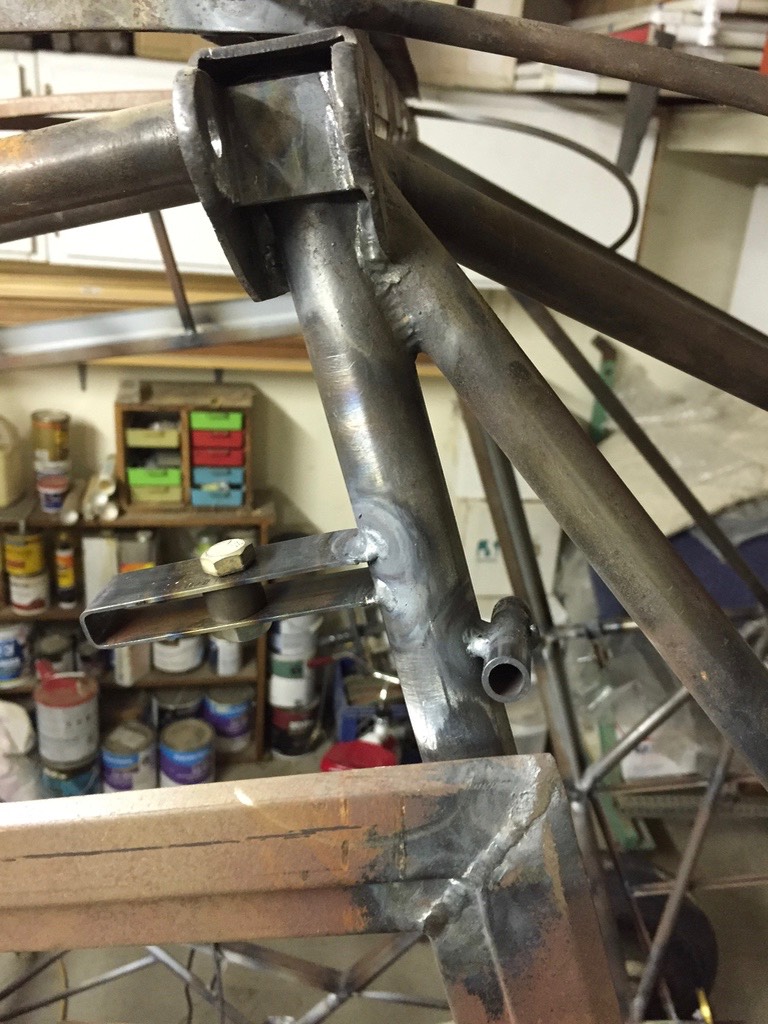
Next, the first bracket to direct the cable for the angle change.
I welded a couple welding rods temporarily to the bracket to position it correctly on the frame.
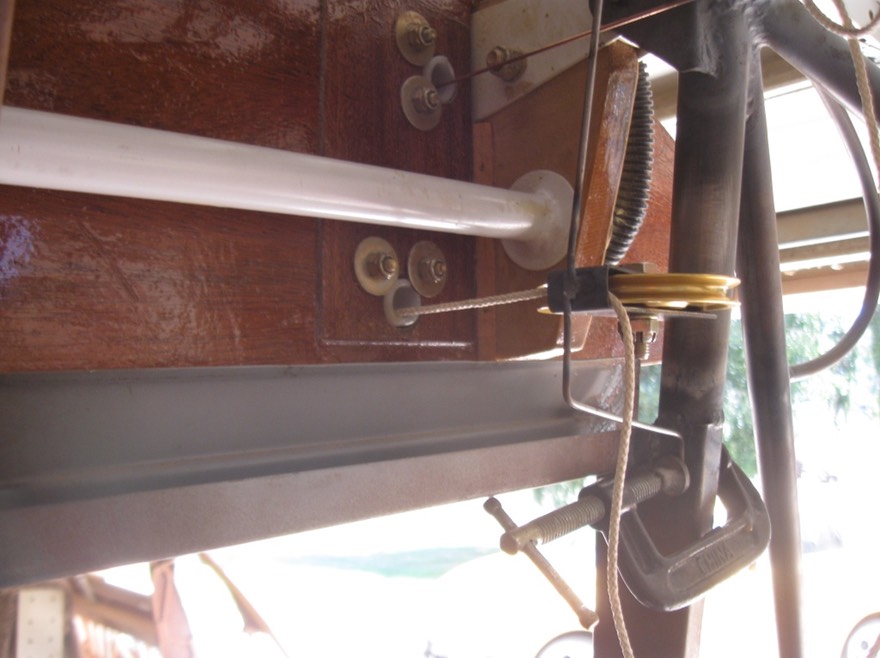
Another view ……
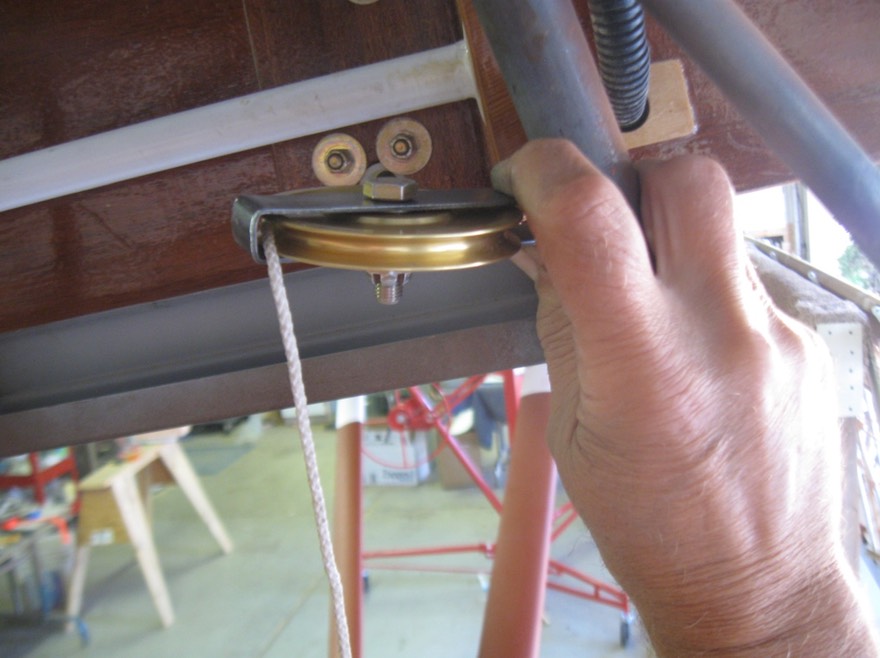
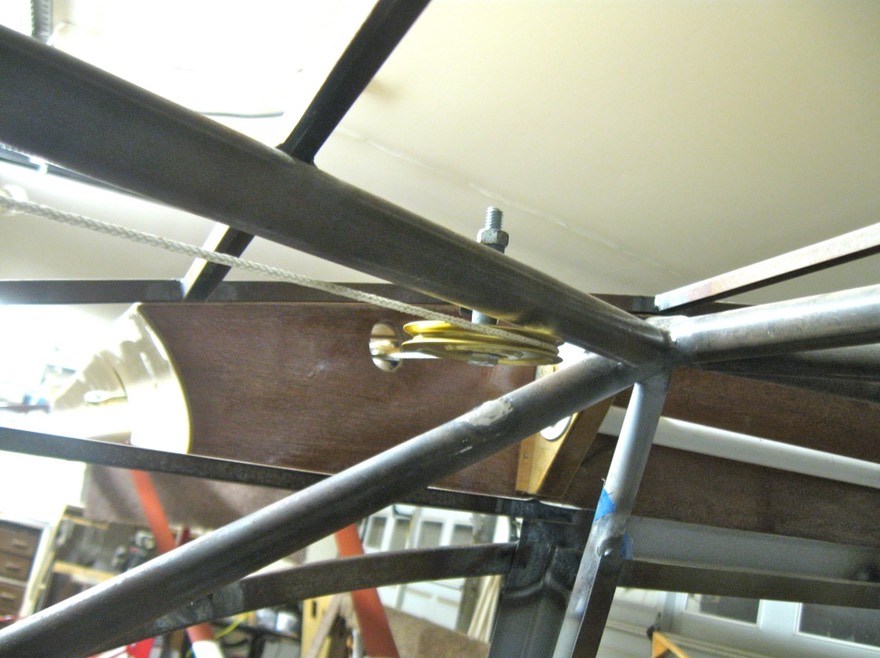
The next pulley is mounted on a welded bushing to complete the 90 degree angle change.
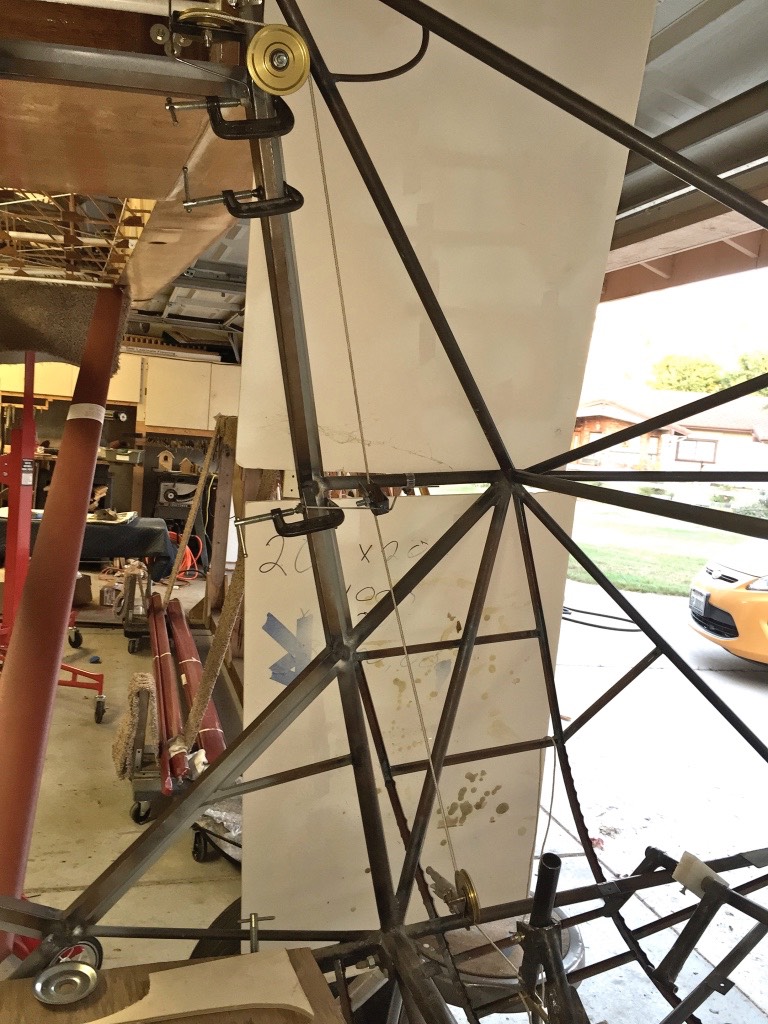
The next pulley is mid way down the cockpit side wall. The 2+2’s I have seen have a fairlead at this location. The angle exceeds the allowable angle change for a fairlead according to AC43-13B so I decided to go with a small pulley instead.

Continuing down the line toward the stick is the lower pulley on the lower longeron.

All side pulleys in one shot:
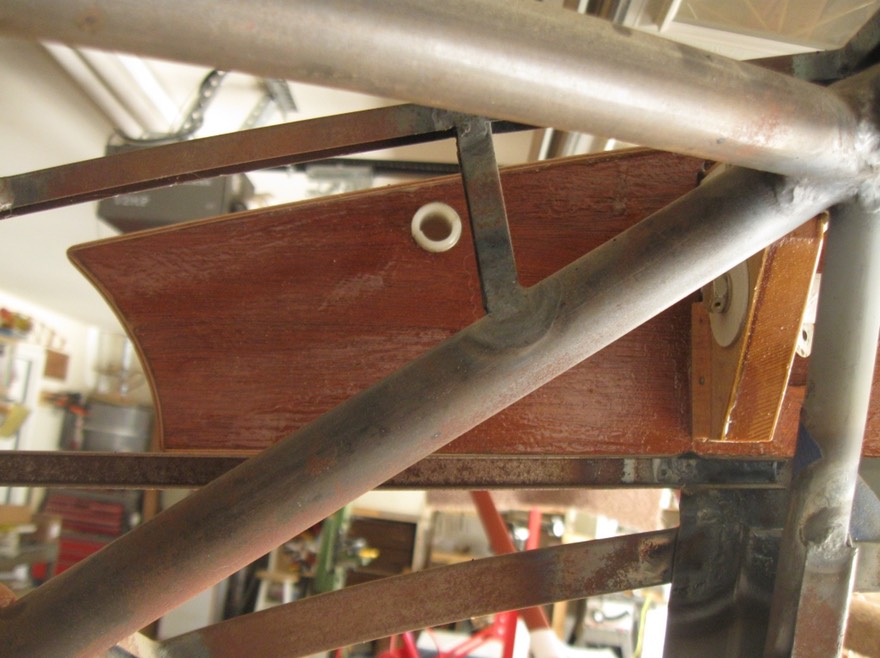
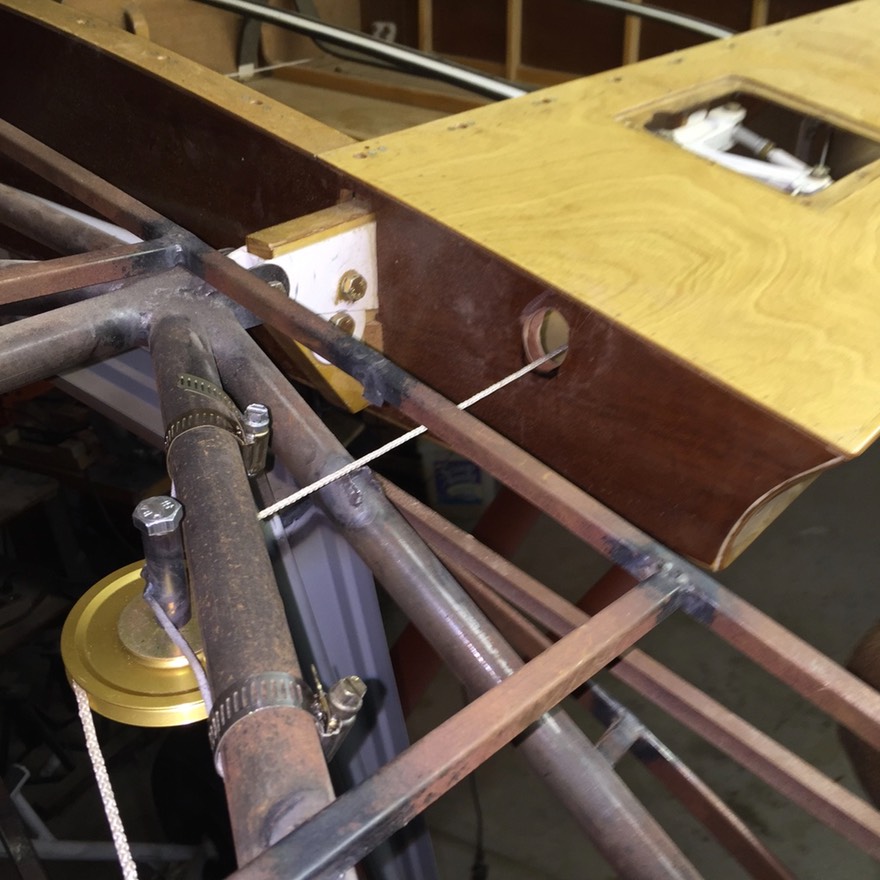
Next is the cable for the flaps. The fairlead shows the location where the cable will exit the root. I found out that I would need to remove a small 3/8” x 3/8” channel as it is in alignment with the run of the cable.
Here is the location I chose for the upper flap pulley. This pulley is just a bushing welded to the tube. Just a note, all these pulley brackets will need some type of cable guard to prevent the cable from derailing. I will be adding these guards latter.
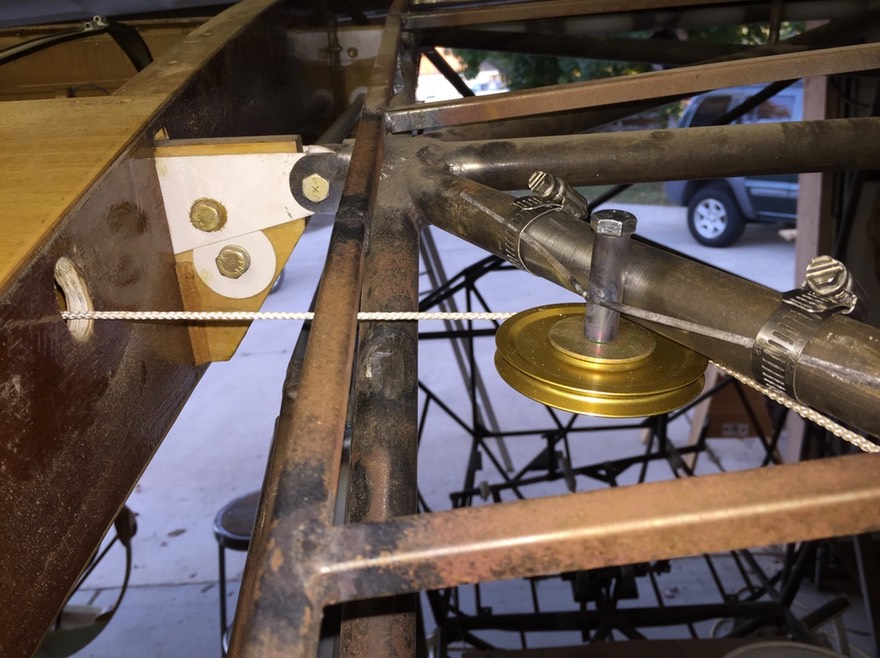
Here’s another view. I needed to enlarge the hole in the wing to get the cable at the angle needed. I will clean up the hole later.
Another view ……
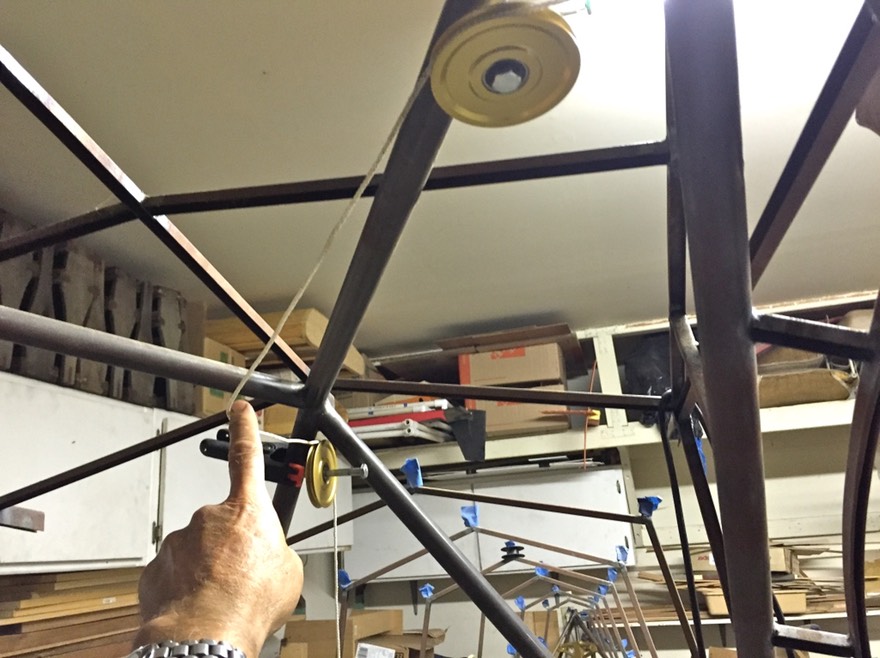
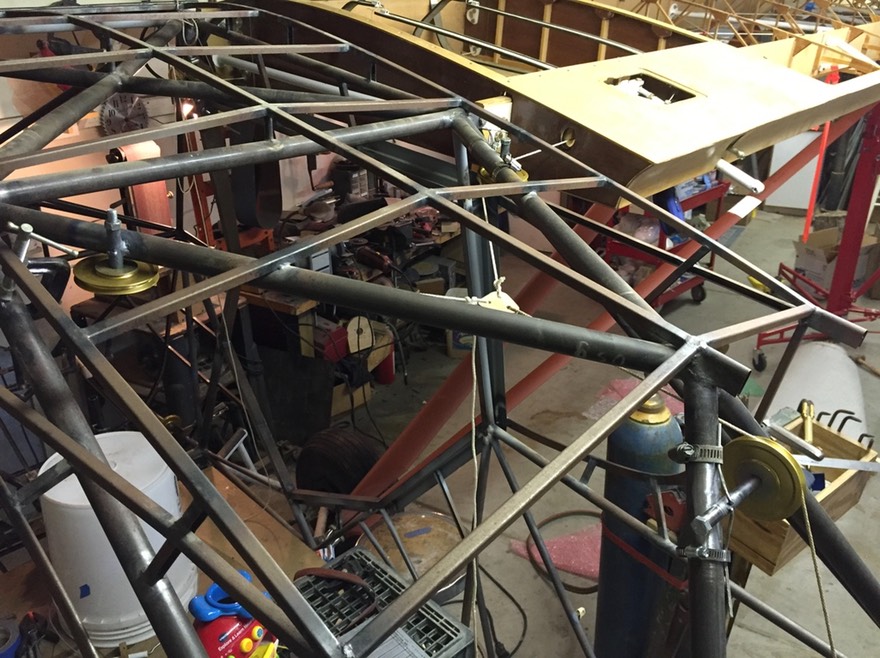
Now I needed to make a decision as to how the cables would come together and get to a center mounted flap lever. I decided to go with one centrally located pulley. This will save a number of pulleys but will prevent the center of the area behind the baggage area from being pulley open. I decided that would work for me. This next shot shows the centrally mounted pulley being located. The left and right sides will be connected where my finger makes a change in the run of the cable.
Here’s a close up of the long bushing used for the pulley mount. I will add a finger strap later.
Another view …..
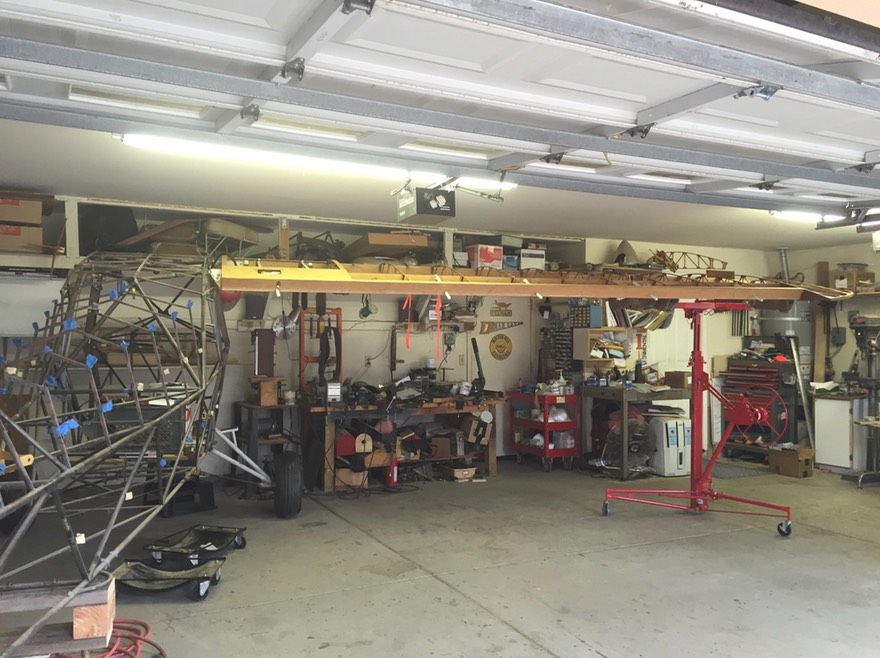
Time to switch wings. My garage isn’t big enough to mount both wings at the same time. Second wing will be basically same as first. Some highlights:
Second wing ……
The upper pulleys at the root. Same as first wing, just different angle.

Side pulleys ……..

Another angle of the flap pulley …….
This next shot shows how the two flap pulleys will join up before going down the centrally located rear pulley.
Another view before tack welding.
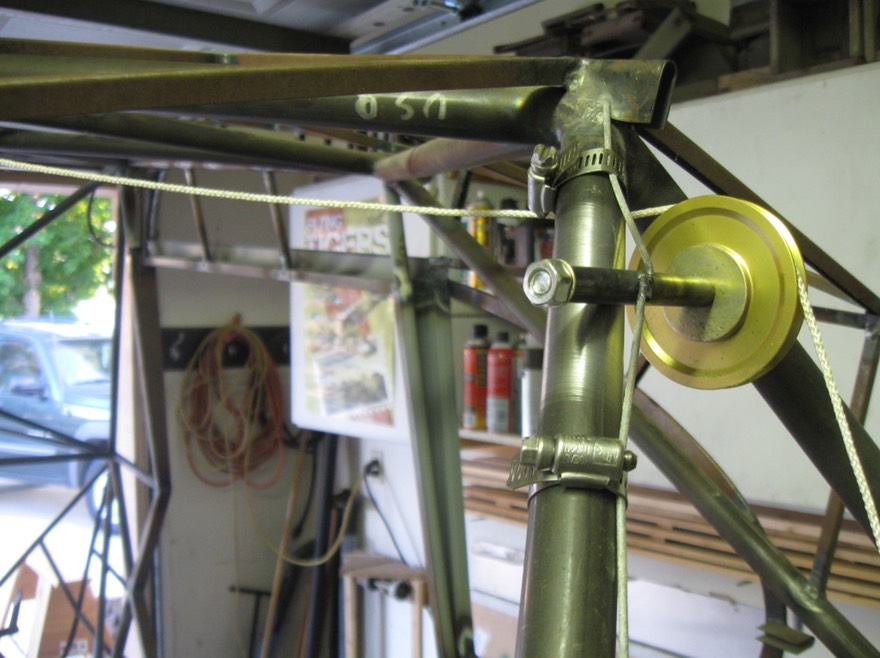
Here’s the upper pulley brackets with the pulleys removed. These are just tack welded in place.
Done with the wings for now. Next, on to the rudder pedal and brake master cylinders.