

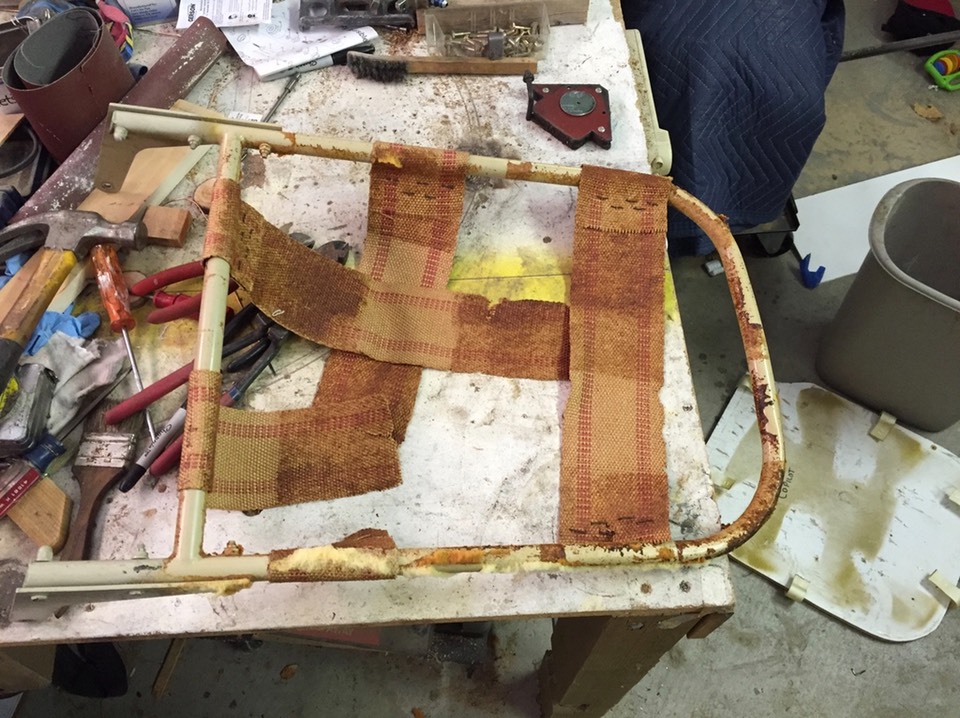
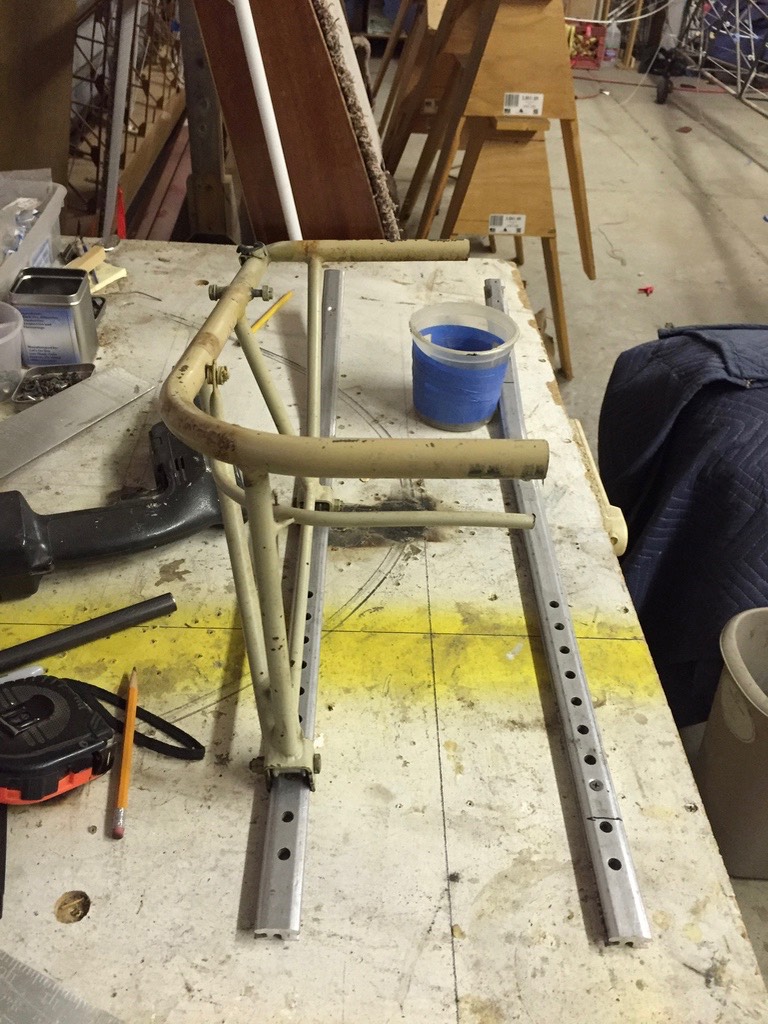
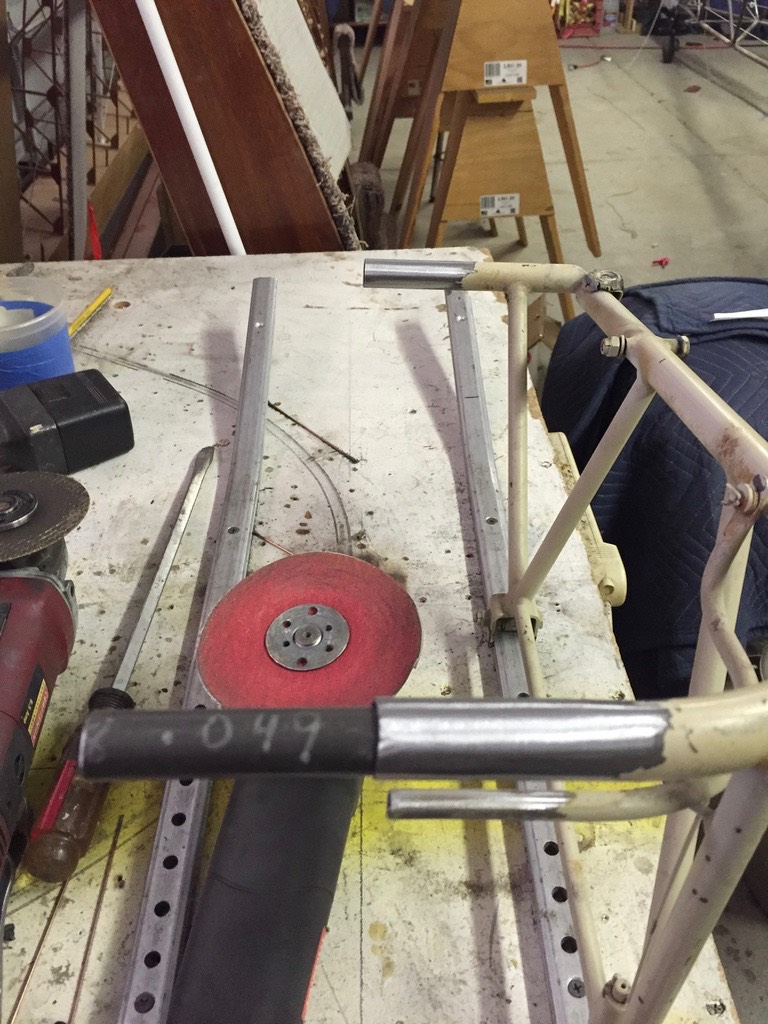
This next post will show the process I went through to place the seats in my 2+2 cockpit. I worked on these from mid November through mid December. The process was time consuming to say the least. The plans vaguely mention cutting down Cessna 172 seats with seat belts attached to the seat frame. That’s it ……. no mention of how to attach them to the fuselage at all. So, like many other aspects of this build, I’m on my own again. I am using seats from a Piper Apache. These are the same as in a Cherokee so these are easy to find. I got these off eBay a few years back and they were in good shape. I first removed all the upholstery and looked over the seats. I determined I needed to narrow the seats by 3”. I had a set of Piper Seat tracks on hand so I used those as a jig to get the width necessary for welding. The first step was to narrow the seats. I cut the seat frames and welded a sleeve inside the existing tubes. The seat rails were screwed to the work bench to hold the frames in place for welding. This step was pretty easy, no complications.


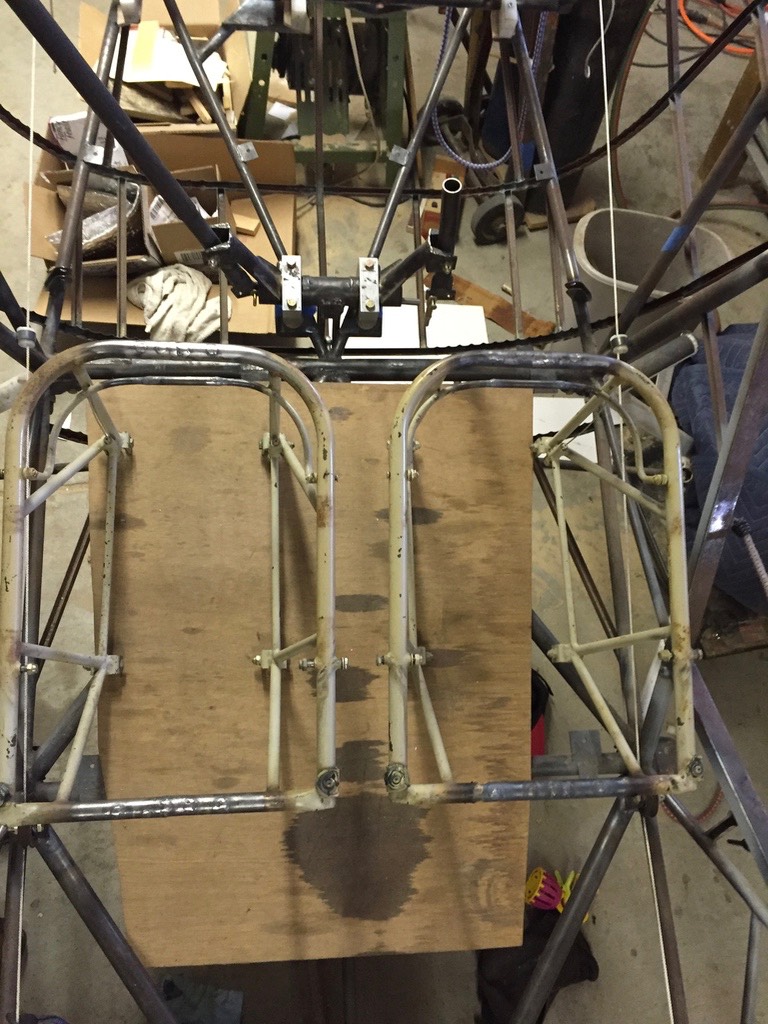
Checking for fit in the fuselage. Nothing as of yet to attach the rails to the fuselage tubes.
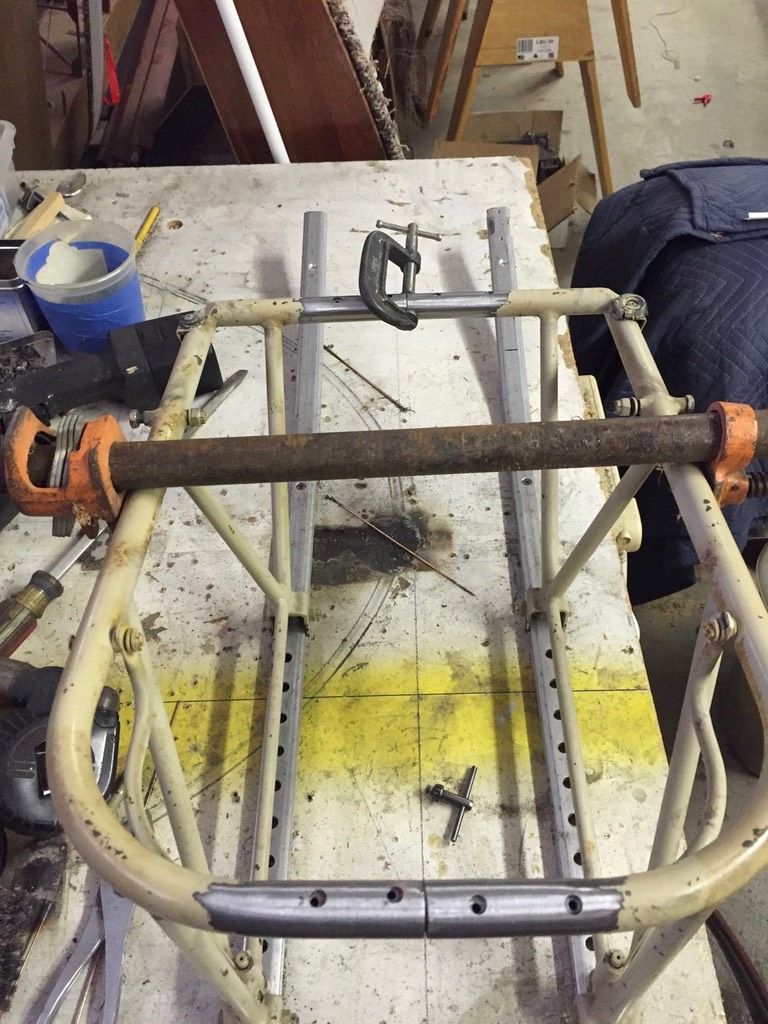
The back of the seat was done the same; cut and weld in a tube.

The next step was to bend the tracks and test fit. It turned out that the seats would not move past the bend so the tracks will need to be cut down in length.
Next was making and welding tabs onto the fuselage to attach the tracks. I made a number of tabs and decided to use the tracks to hols in place and mark the holes. The process went pretty easy, lots of welding. I made a few mistakes and had to remove and re-weld some of the tabs. Pretty common with this type of build.

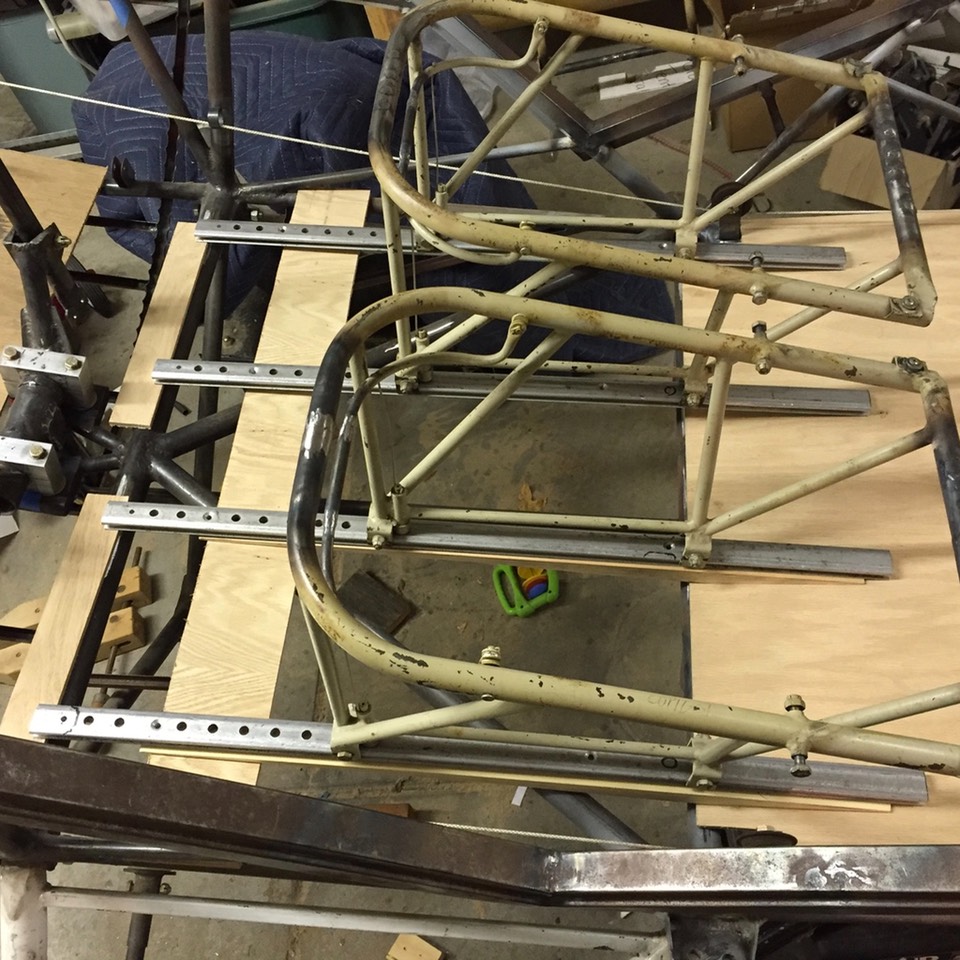
I cut some angled wood shims for under the tracks to allow the tracks to still be longer than the bend in the floor. I’m trying to get as much rear slide as possible in the seats. Designing as you go is very time consuming.
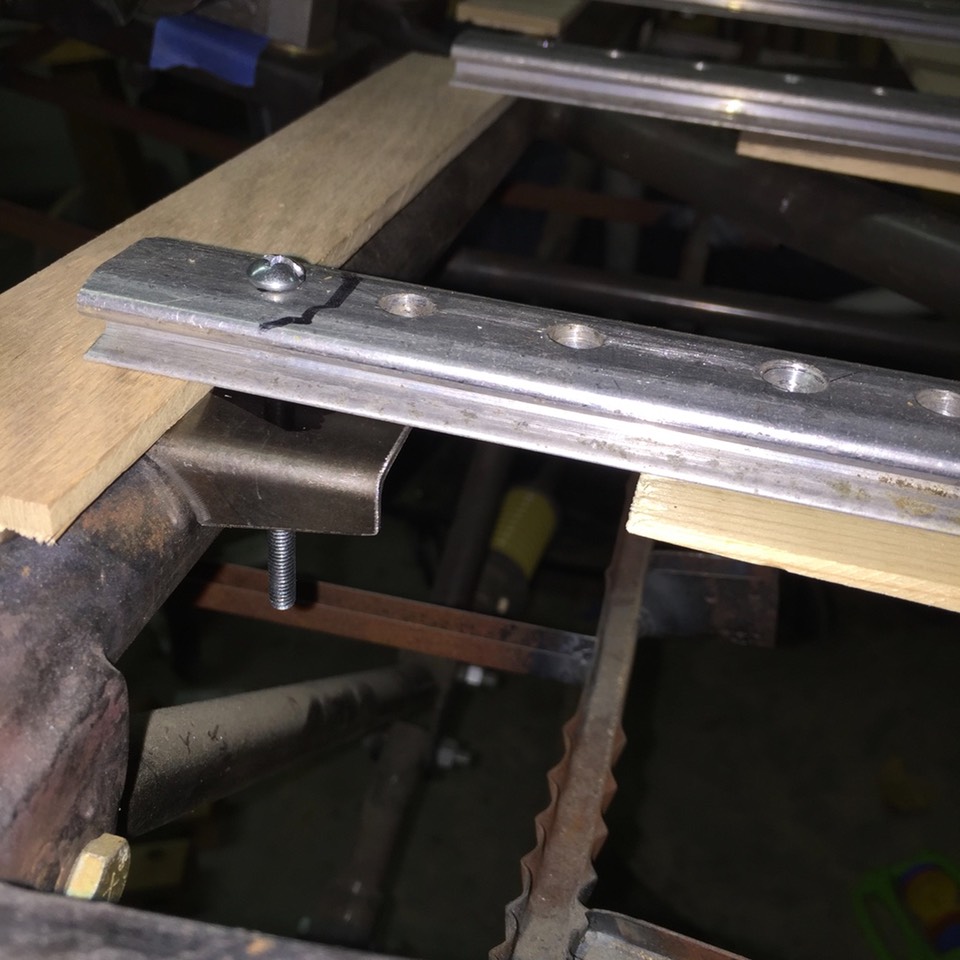
This next shot shows how I used the holes in the track to mark the holes needed in the tabs before welding.
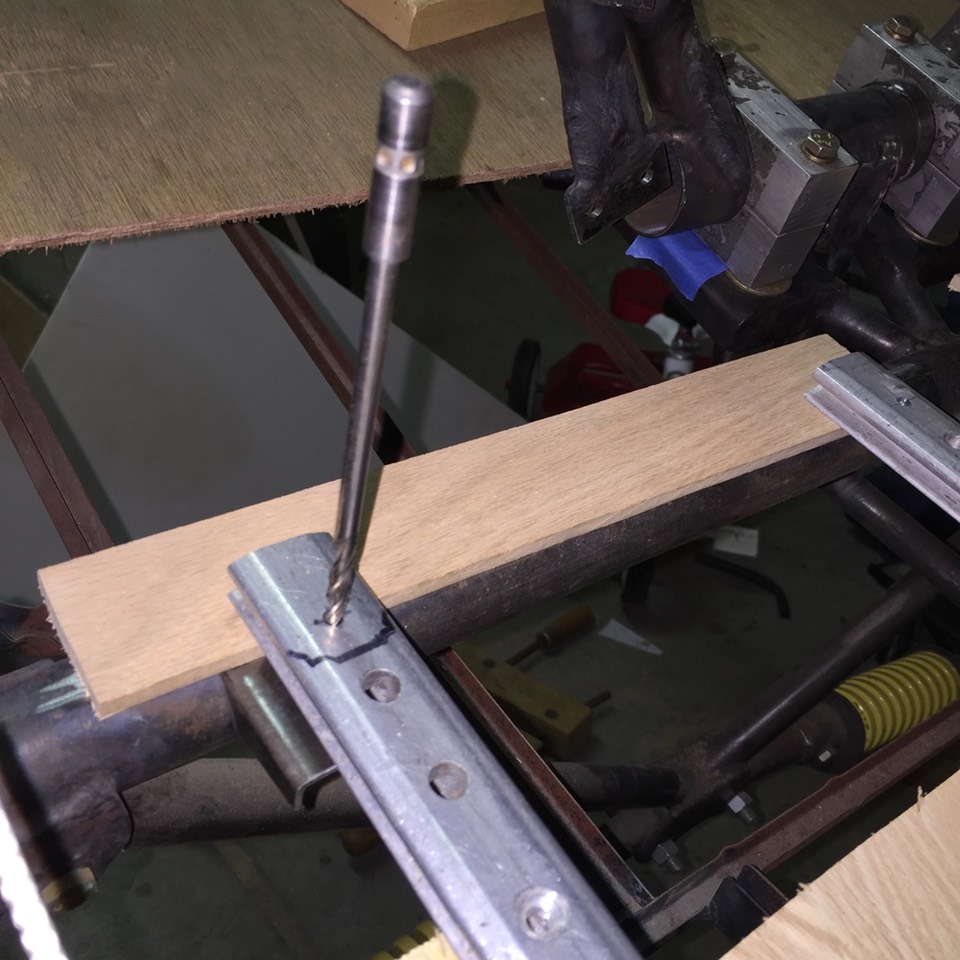
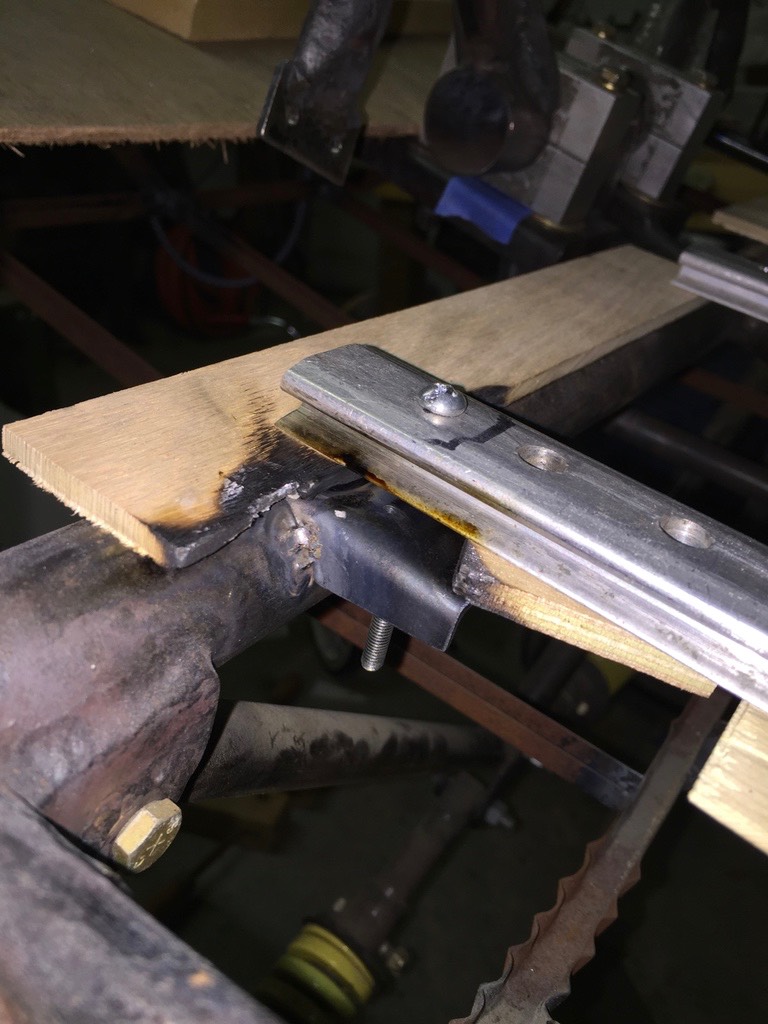
After drilling the tab I used a long screw to hold the tab in place for tack welding. The strip of oak plywood is to place the track in the correct location after the floor is in place.
The tack weld complete.
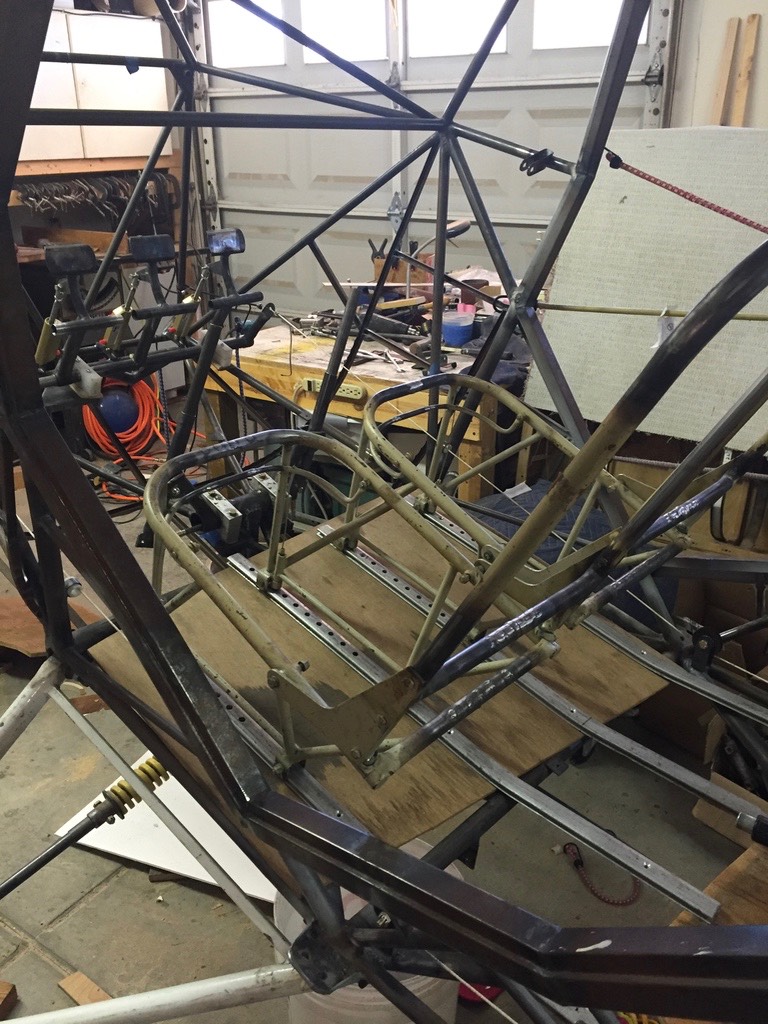
This shot shows all the tabs welded in place and drilled for nut plates. Time to test fit the floor, tracks, and seats.
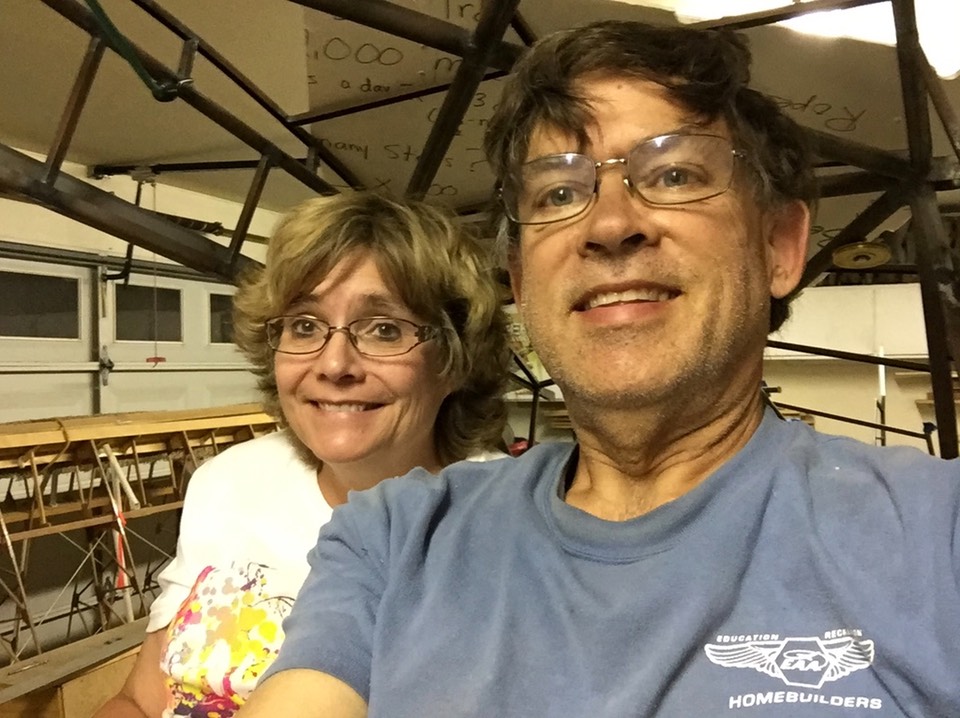
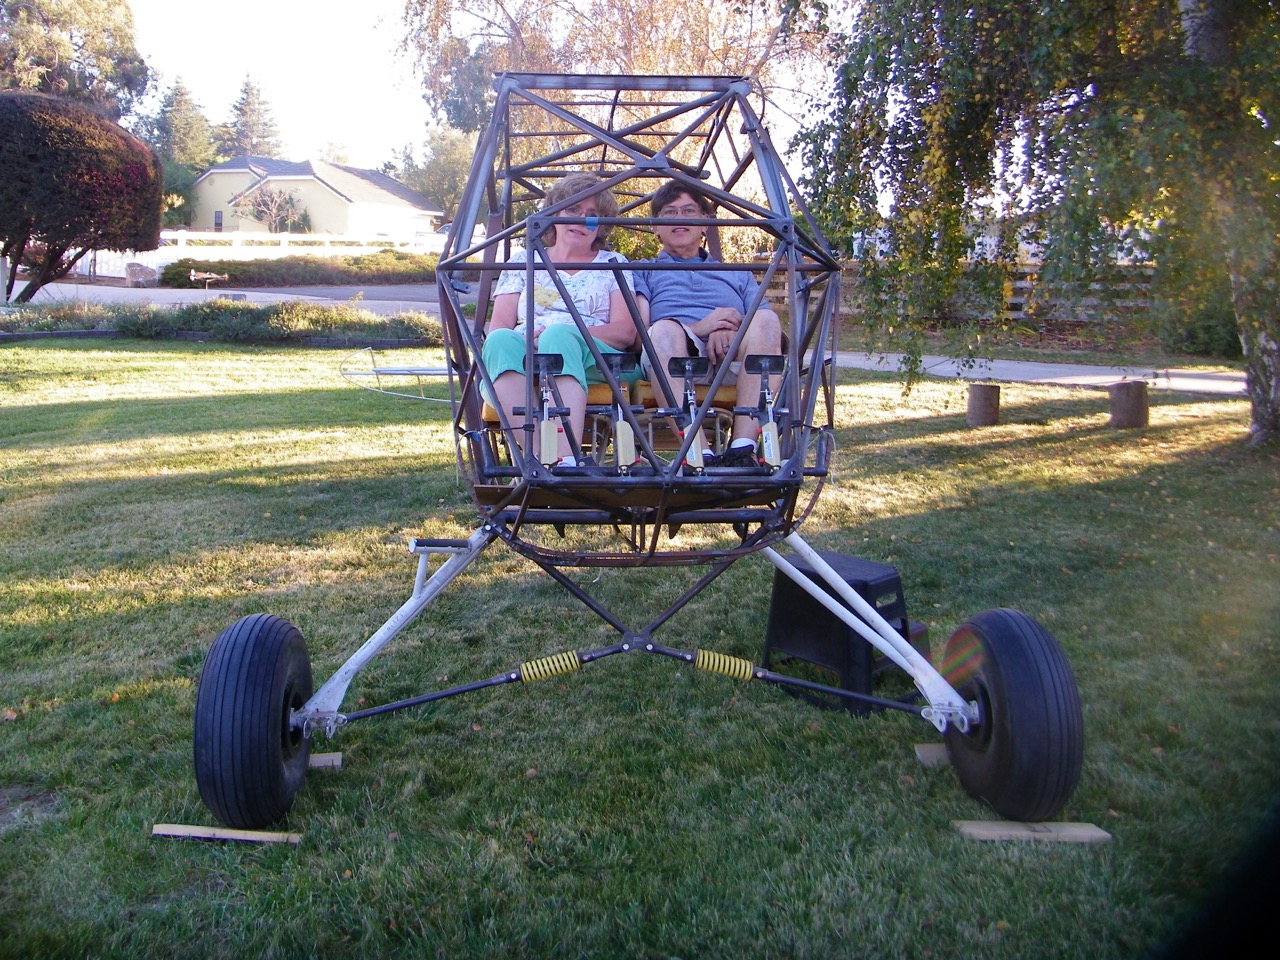
First fit up went pretty well. The seats don’t slide as well as I would like but I will need to figure out where the problem is before I call this done. Next, my wife and I were able to climb in the plane together for the first time. Kind of scary having never sat in a 2+2 together. We better fit ……
Looking good so far ……
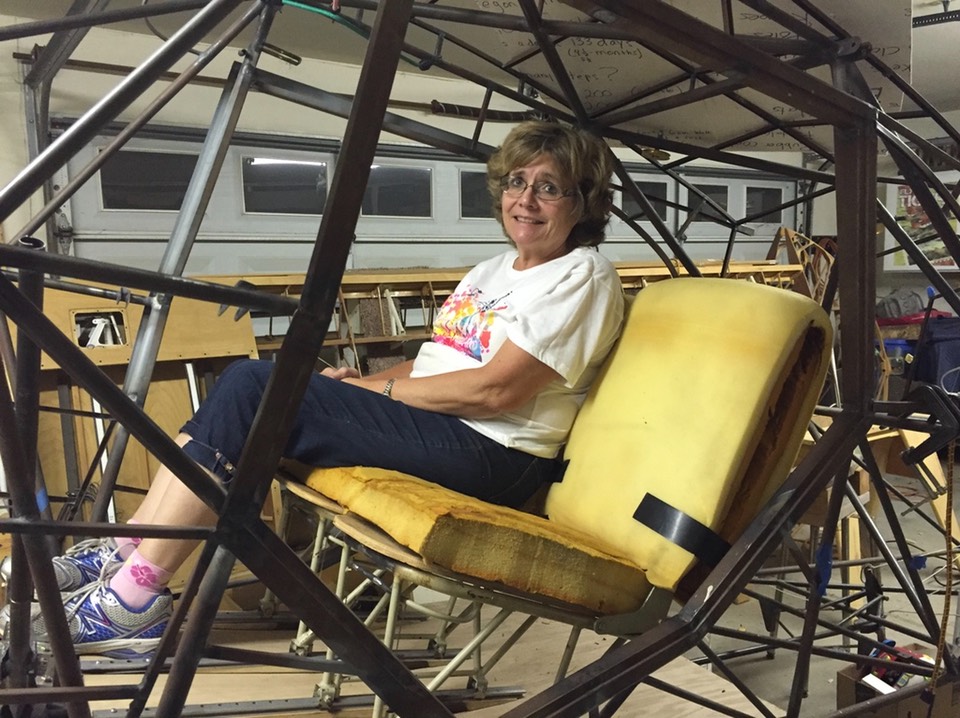
Yeah; we both fit! Not sure what I would have done if that didn’t work ……
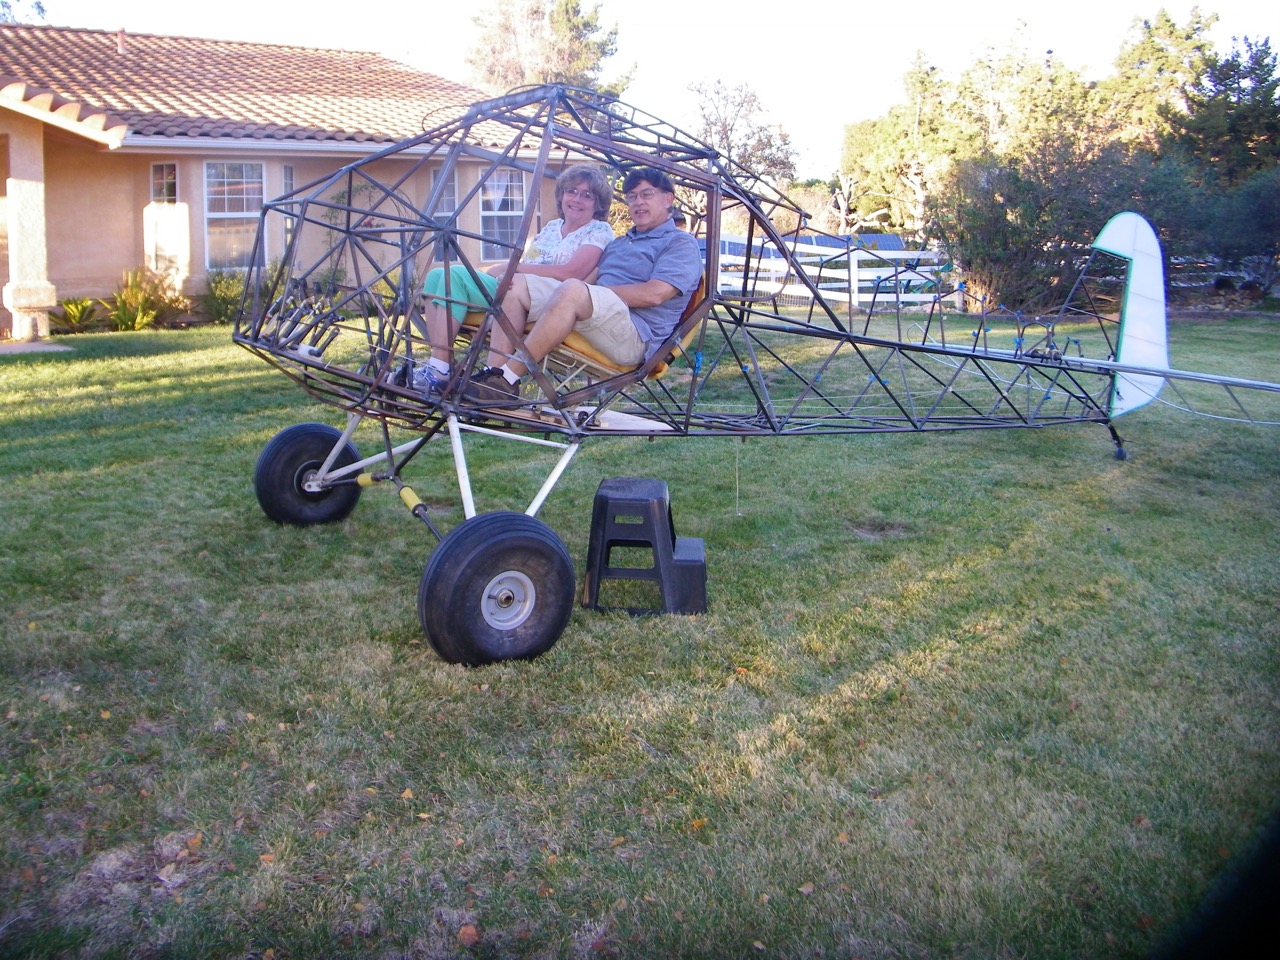
A bit more testing of the seating arrangements …….
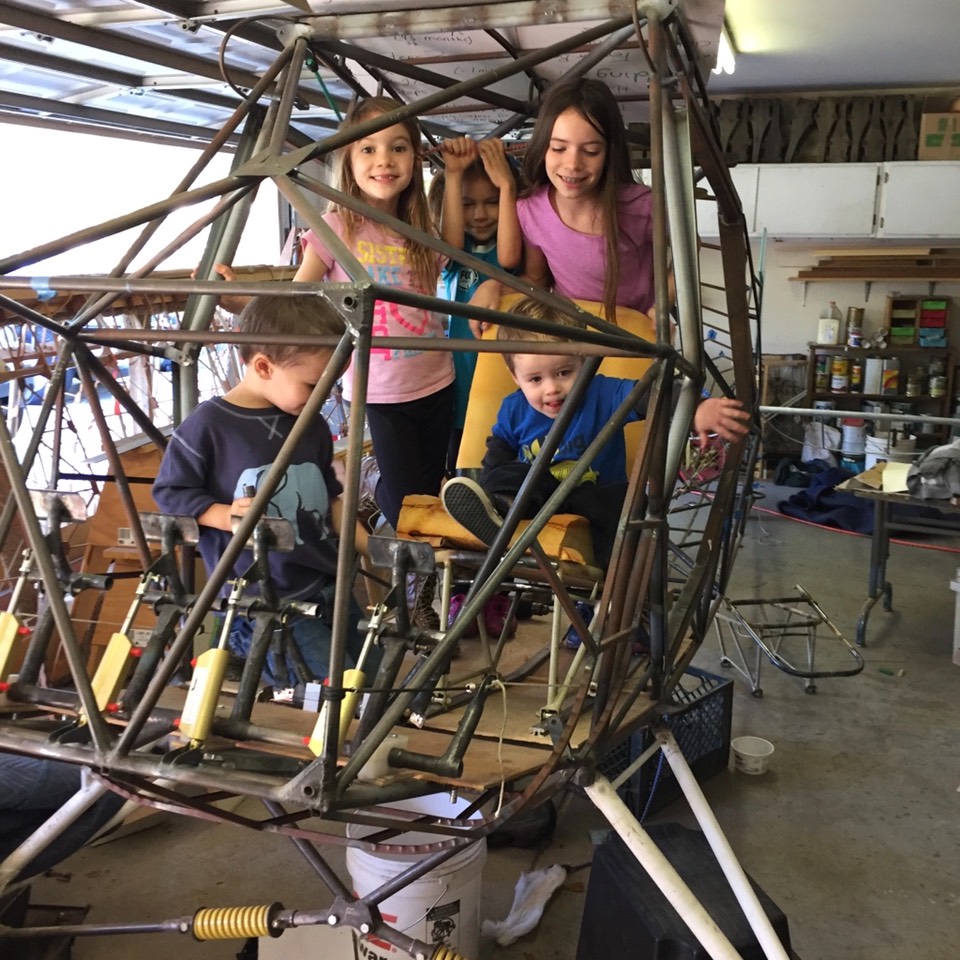
All is good according to my grand kids! I think we now have a jungle-gym in my shop.
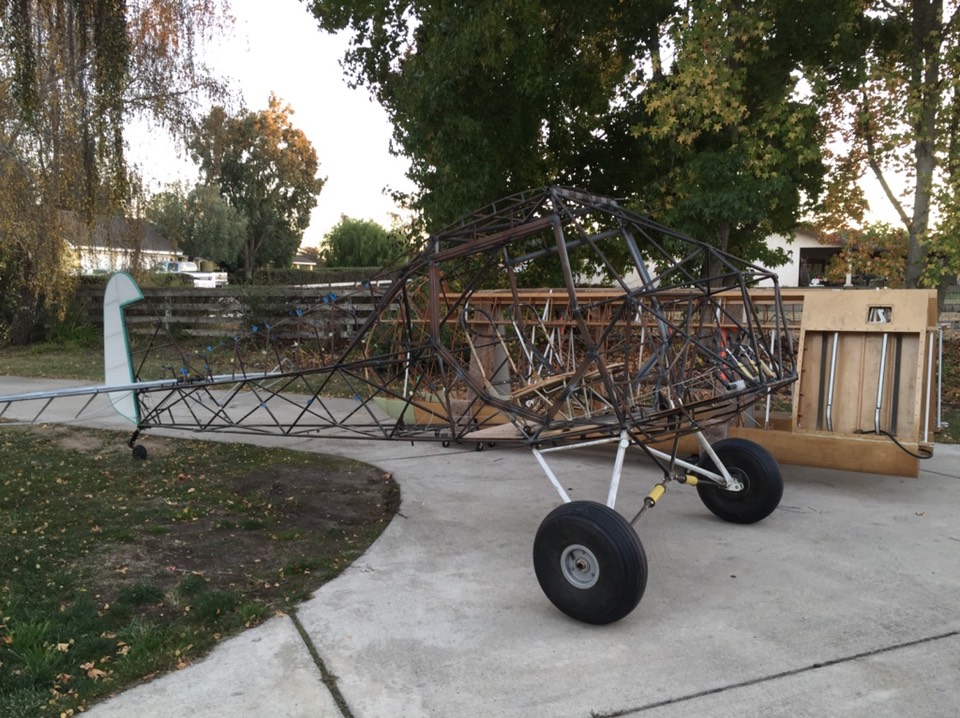
Time to give things a little time out in the sun.
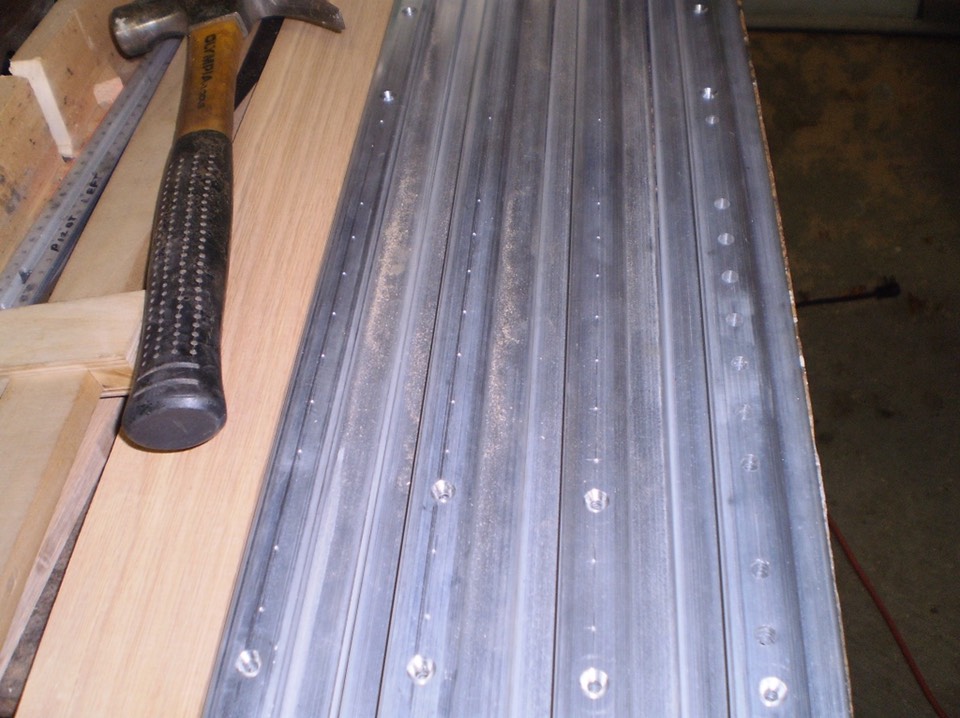
After working with the seats for a while I decided to purchase a new set of tracks from McFarland. A bit pricey but I think these will solve some of the issues I am having with the seats not sliding as well as I would like.
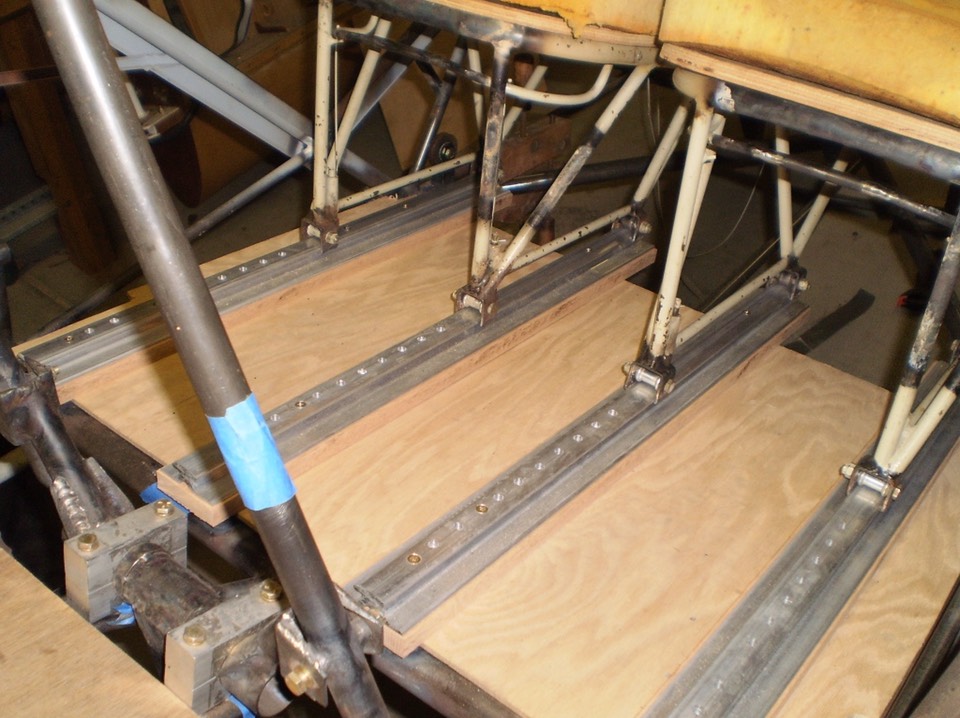
I used the old tracks as jigs to drill the locations for the mounting holes in the new tracks so everything would fit the tabs already welded in place. After drilling and mounting, I decided to put the tracks on a 3/4” thick piece of oak. This allows me to slide the seats past the bend in the fuselage floor; giving me maximum rear slide in the seats. Success at last.
With everything sliding easily, it was time to figure out where and how to attach seat belts. Again, not addressed in the plans very well at all.