

Time to do some painting. Since I completed the priming and painting of the fuselage, I have become one of the trainers for Stewart Systems. I will go into a lot more detail later as to painting and finishing. For this post, I'll just go over the highlights. Any info that is underlined includes links to the web for that product or more information.
If you are not familiar with Stewart Systems finishes, they are a water born, EPA compliant finishing system. What does all that mean? Short answer is it won’t kill you like solvent based paints. I do the finishing outside or in my garage with just a good filter mask and no smell into the house. Water, rather than MEK, is the carrier of the paint so the toxic issues are way down. The top coat is a catalyzed polyurethane and will provide an amazing finish. Best recommendation is to watch the videos on Youtube or on the Stewart site. These videos cover everything needed to paint, cover, and finish a fabric or metal aircraft.
First step is cleaning surface with Ekoclean. Simple to use. This is followed by cleaning with 97% Isopropyl Alcohol (rubbing alcohol). This will fully prep the fuselage for primer.
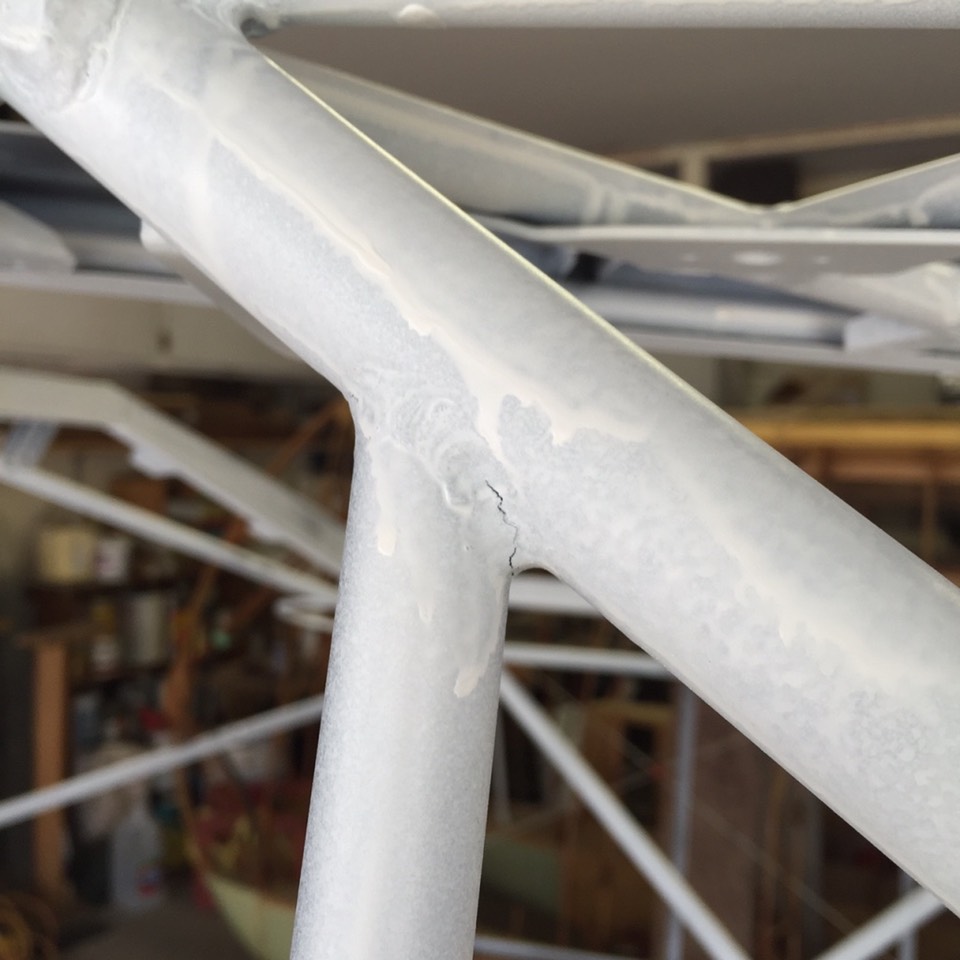
There are two primers you can choose from. EkoPoxy primer or Ekoprime. EkoPoxy primer is a two part primer, Ekoprime is ready to use from the can. Both are thinned and clean up with water. Distilled water is used for all mixing of paint. Primers come in different colors. I used Ekoprime white. The white gave a nice finish and helped to show a couple cracks in some welds, easy to fix. Follow the recommendations on the videos and it’s an easy system to use. I would recommend after the first coat of white primer to go with a light grey primer if you are painting the fuselage white. White over white primer isn’t a good contrast and it is difficult to see coverage. I made this mistake and had to apply a second coat a few days later. I also did not have enough paint on hand so had to order more to paint a week later. Waiting required that I go over the fuselage with red scotchbrite before second top coat. Live and learn. It will take two quarts of top coat to paint a fuselage and about the same in primer. Buy a gallon of Ekoprime and you will have plenty. When spraying, pick up a small touch up gun from Harbor Freight so it will fit in the tight areas of the fuselage. All other spraying should be done with the Devilbiss gun recommended on the video.
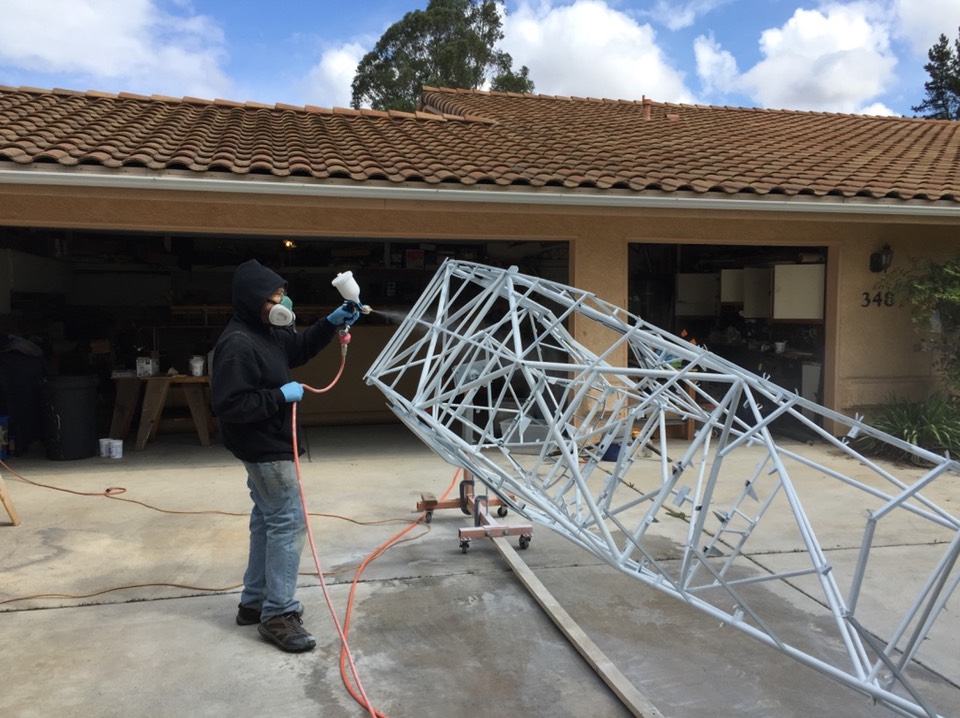
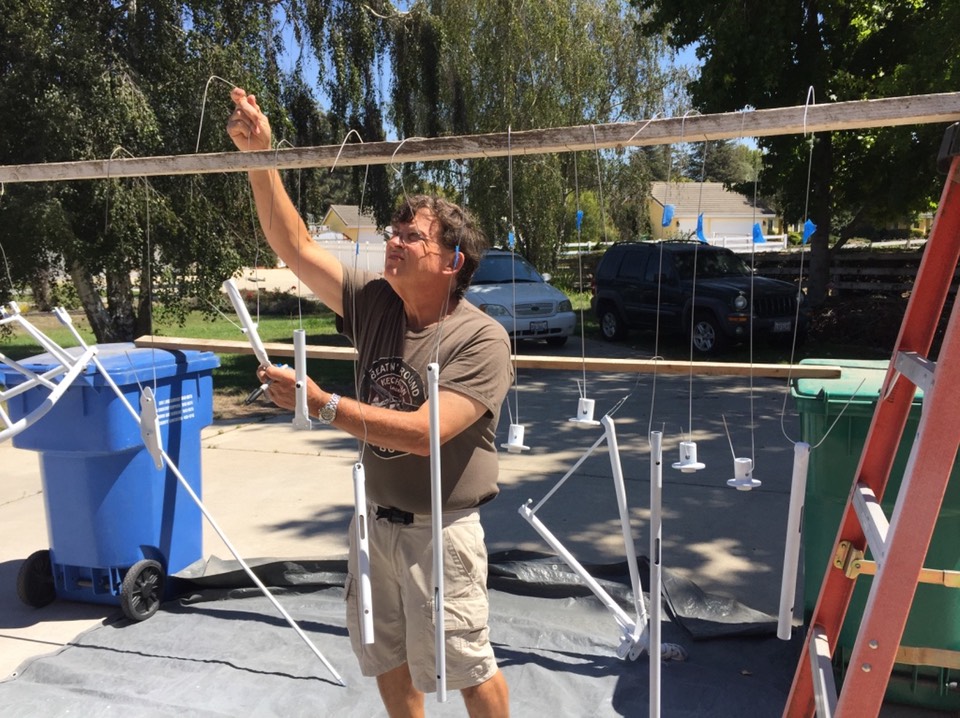
I did all the spraying out in my driveway; temp about 65 degrees. Put a tarp under for overspray and wet down surface carefully (use bucket) to help with clean up later. Here’s some shots of painting.
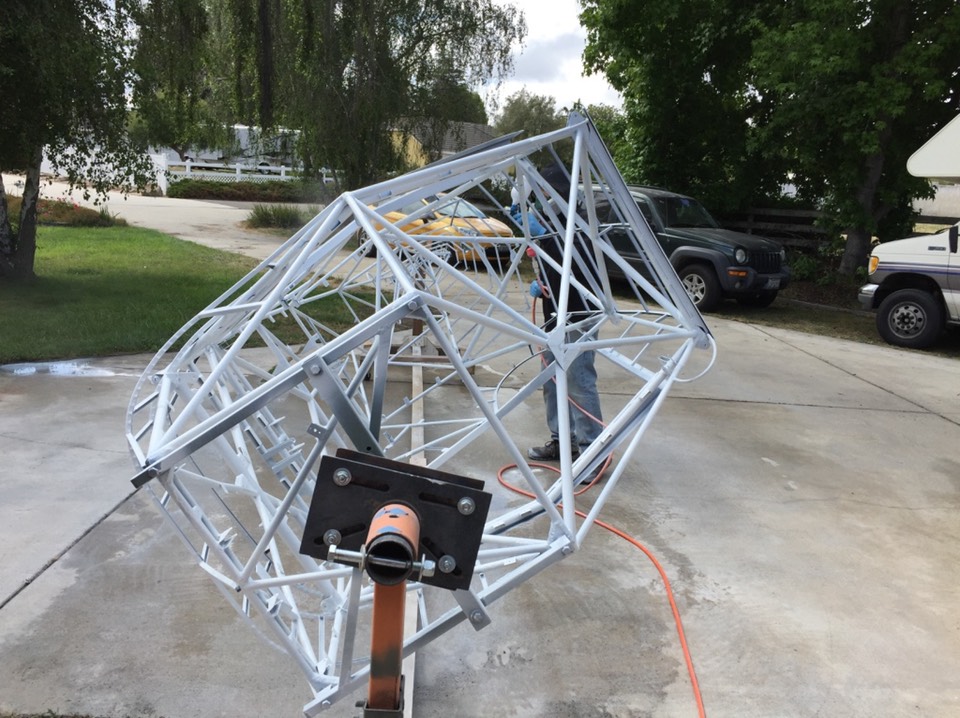

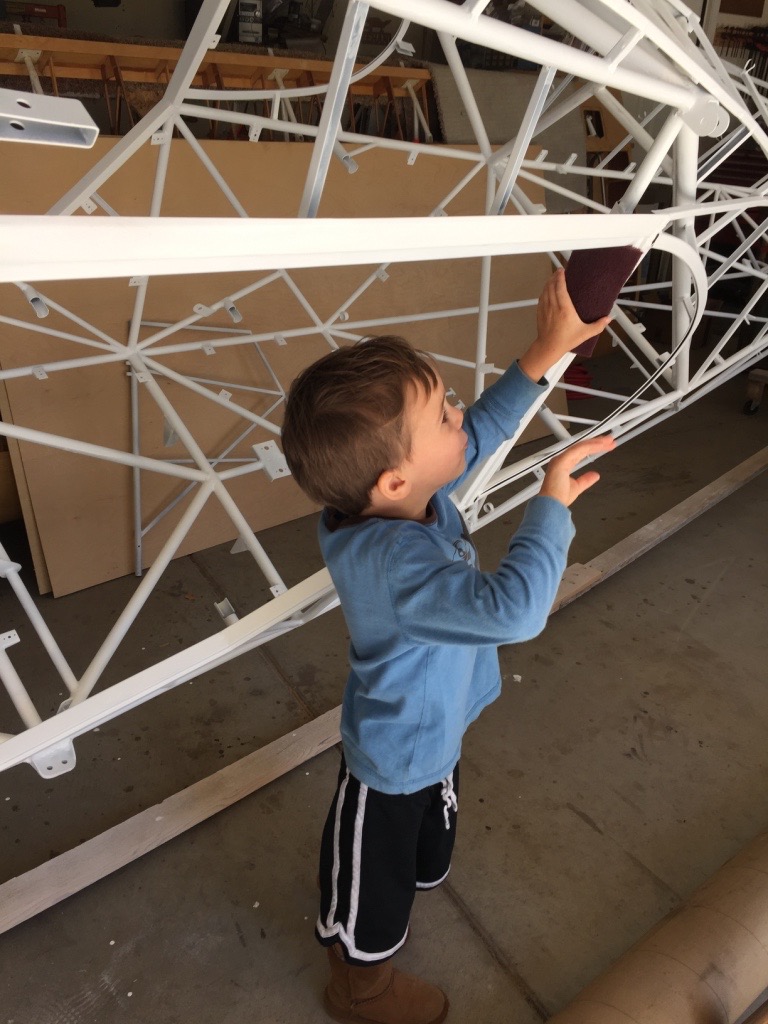
Primer finished with my little helper.

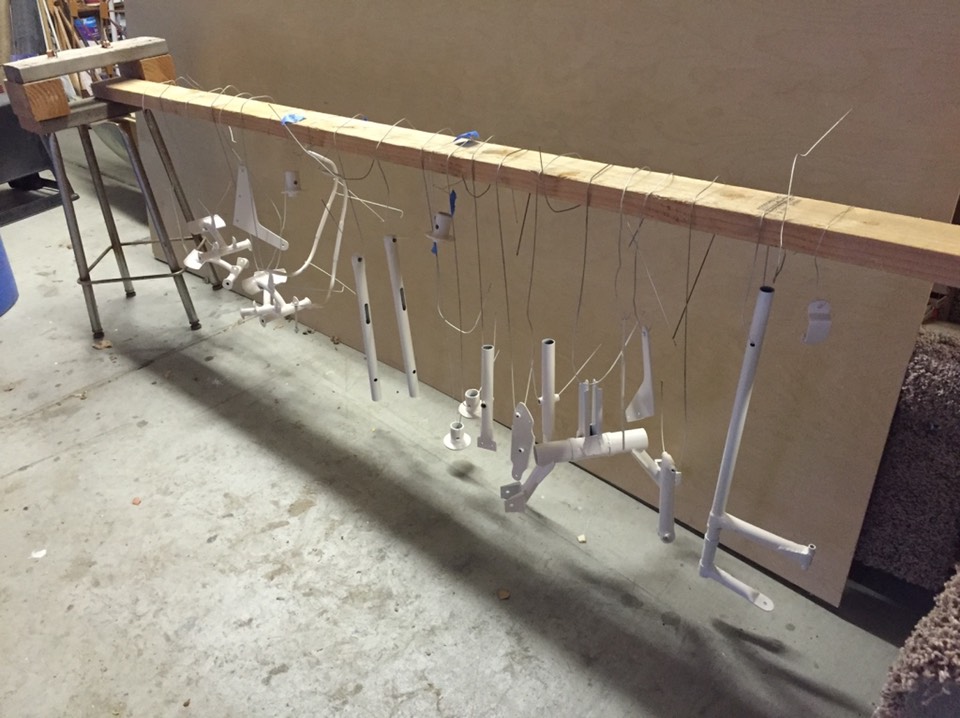
After inspection, I found that the white primer acted like a dye penetrant to identify any cracks. I found two that were easy to fix and re-prime. Runs in primer were caused by using the large gun on the tubes. After that, I used the small touch up gun on the fuselage.
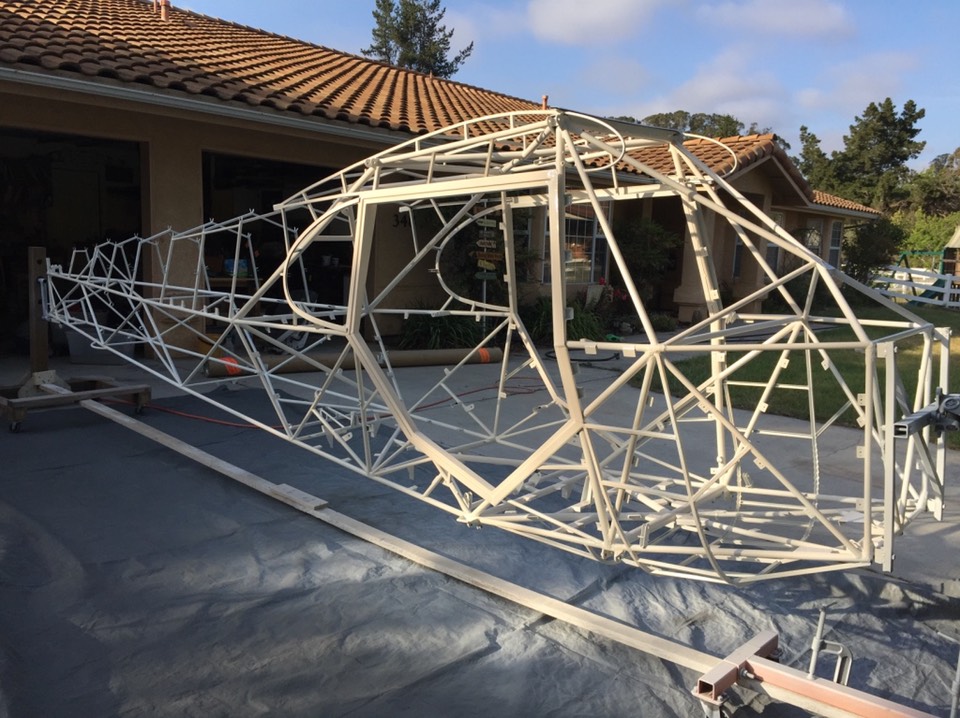
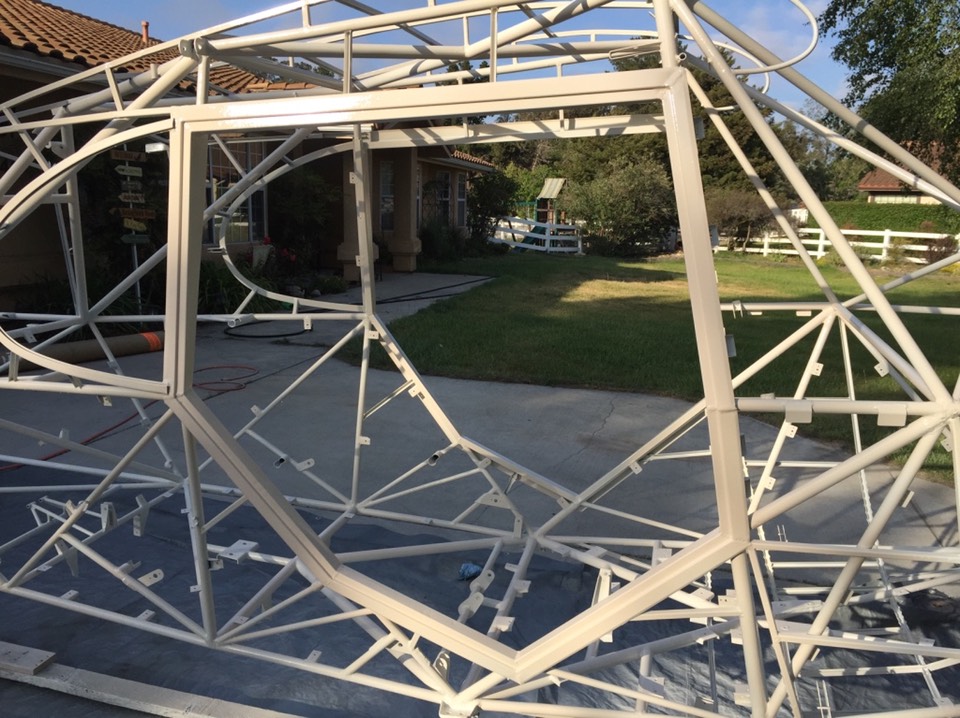
Here we are after repairing the cracks and final primer. This was a big step and change. Below gives a good look at the rotisserie. All done and ready for top coat.
Next was the Ekopoly Premium top coat. Again, I won’t go into a lot of detail here; the videos are the best. You can also download the Stewart System Manual for all the specifics on painting and finishing. Download is free. This link will direct you to all the technical info from Stewart Systems.
I used EkoPoly Sun Valley Ivory. I shot this over white primer. I should have shot a light gray primer on first for better contrast; it was difficult to see coverage with the ivory.
I also didn’t have enough paint and I used the large gun on the frame so i had to top coat a second time. This required going over the fuselage with red Scotch Bright as I had to wait a couple months between coats. I did have a helper for the Scotch Bright work.
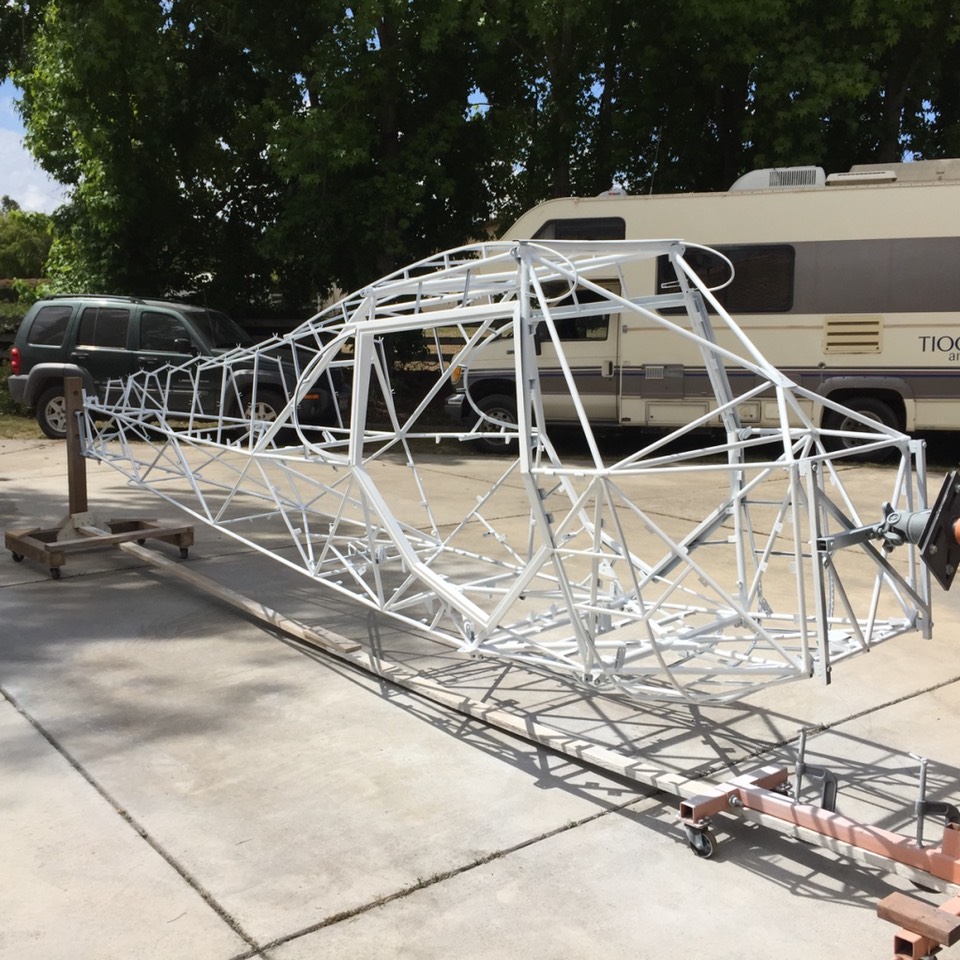
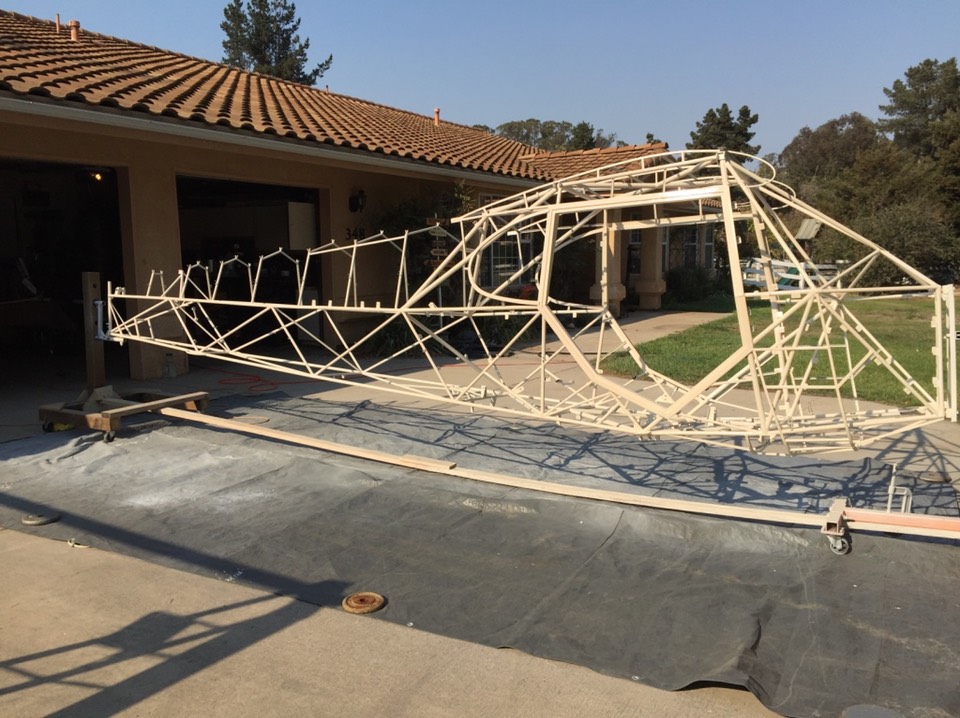
When everything was done, I was very pleased with the final finish. Even though 90% of the fuselage is covered, I still recommend top coating fuselage completely. This completely seals in all surfaces. Here’s the finished, top coated fuselage.
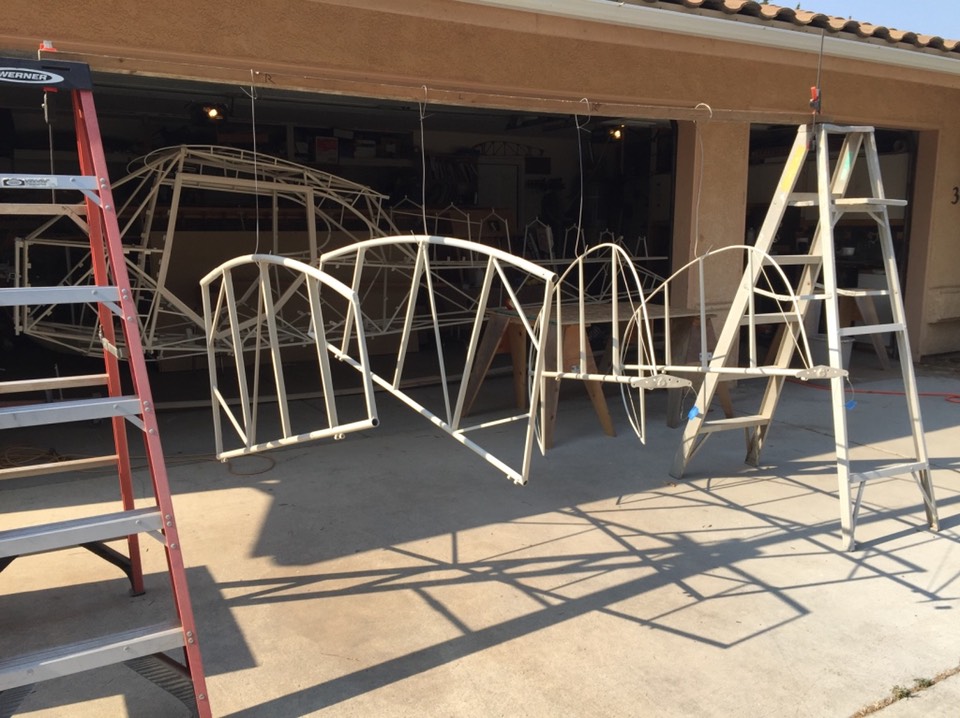
Along with this second top coat, I sandblasted most all the parts that bolt to the fuselage. These parts were also first Ekoprimed followed by Ekopoly top coat. I also top coated the tail feathers; they were already primed a few years ago.


Time to let all the parts cure for a while before assembly of the fuselage. Next step, fuel tanks.