

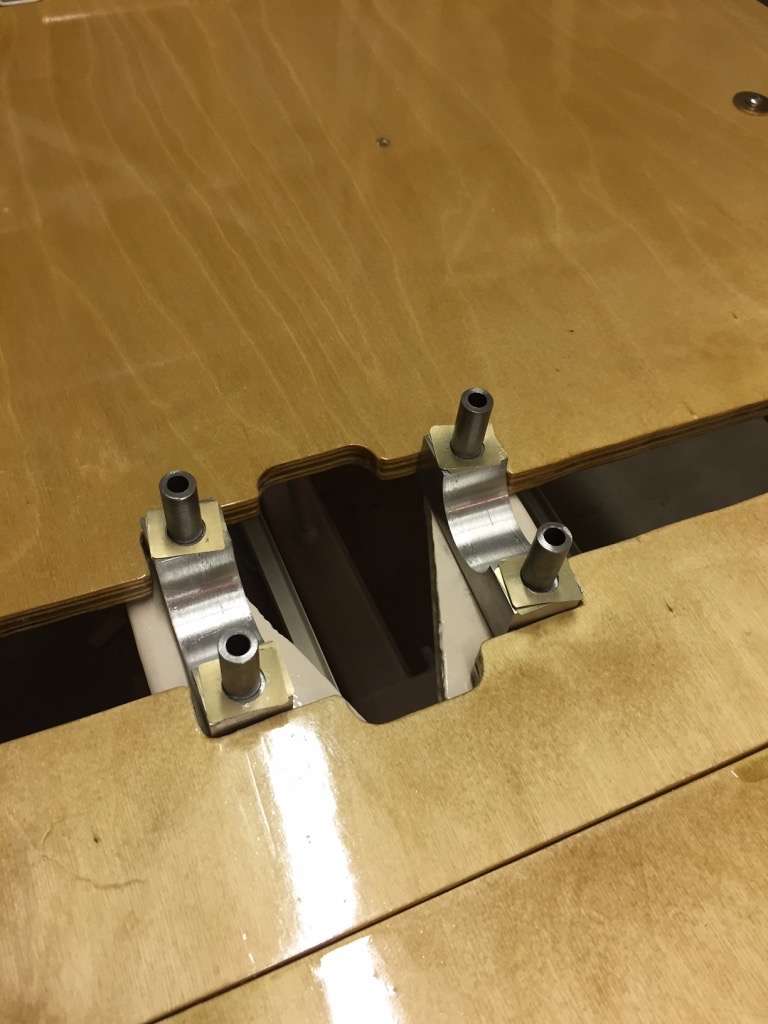
The next steps did not require much in the way of fabrication. At this point, I started assembly of parts previously completed. All these assemblies had already been fitted. Some shimming was necessary on the control sticks for smooth operation. First, the rudder pedals.
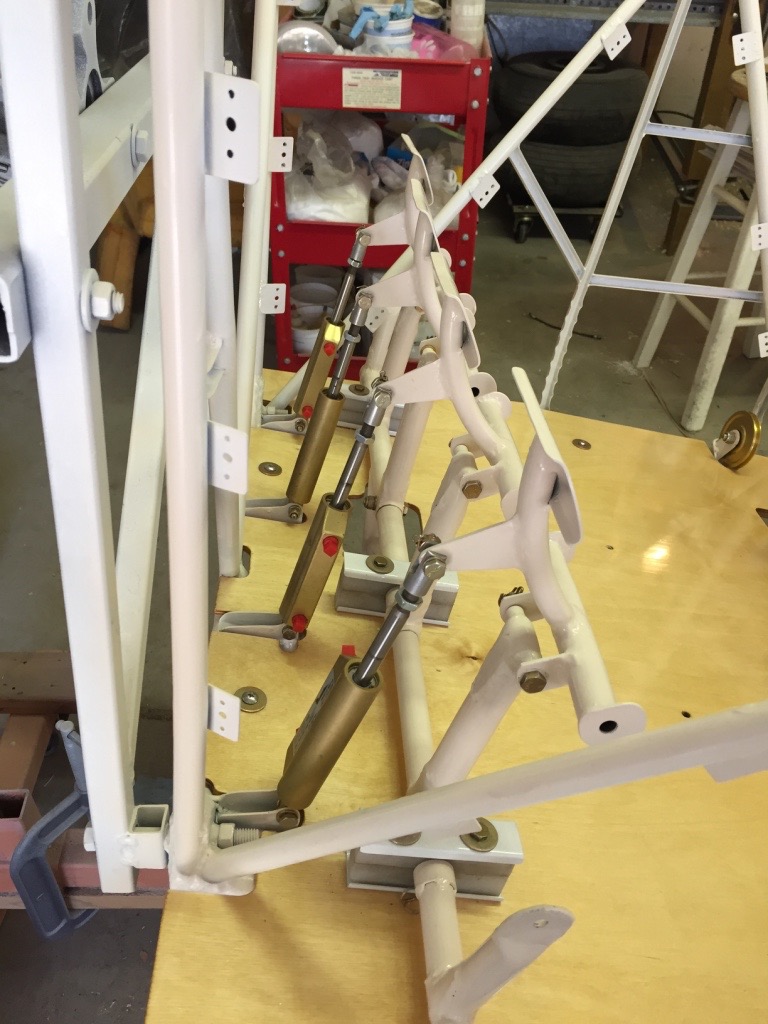
Control sticks were next. They required shims for smooth rotation inside the pillow blocks. I made my shims out of cat food cans. Each shim was about .005” thick. It was just a matter of stacking shims as needed to get smooth operation. This took some time, trial and error, but not too difficult.
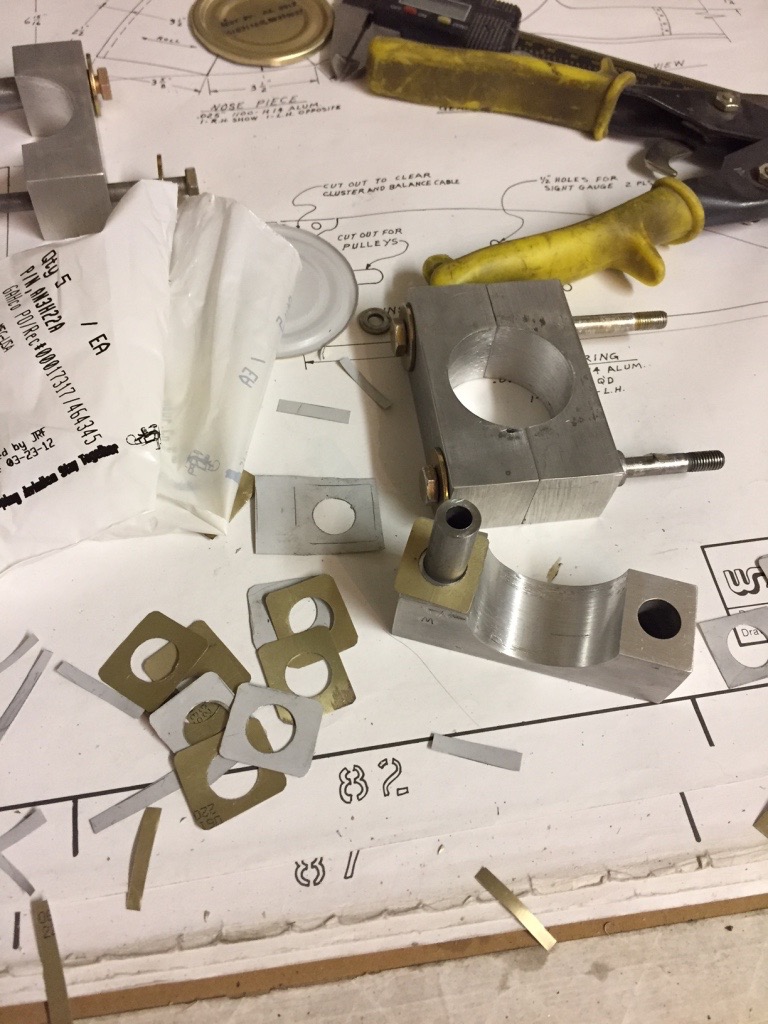
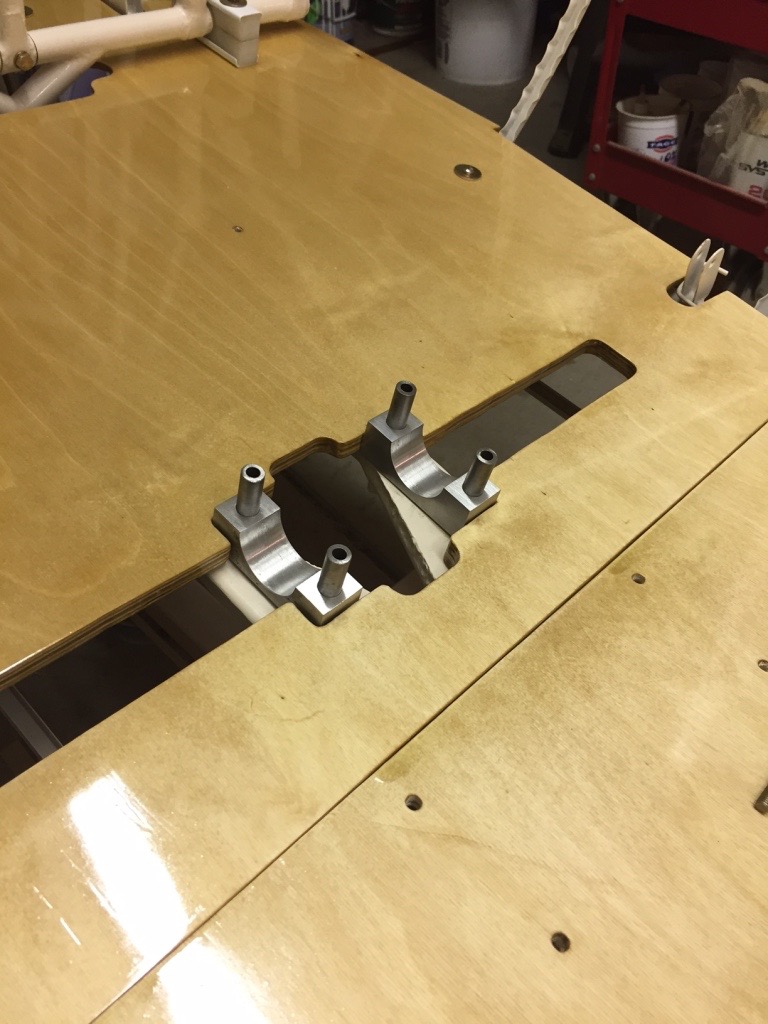
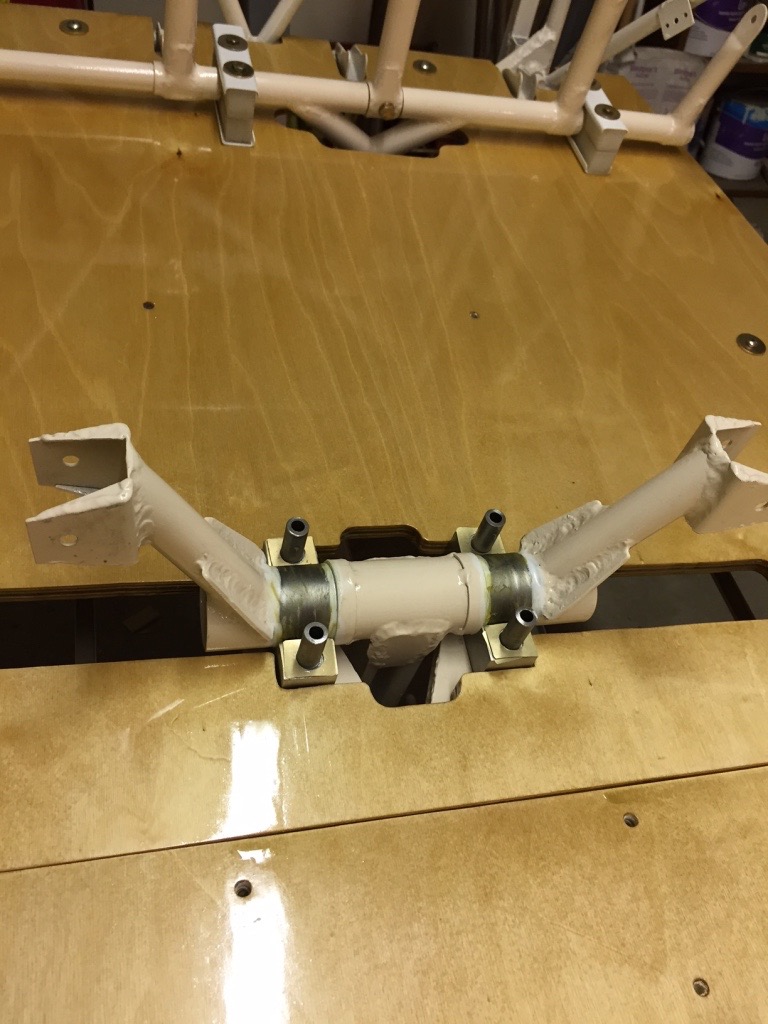
Shims in place ……
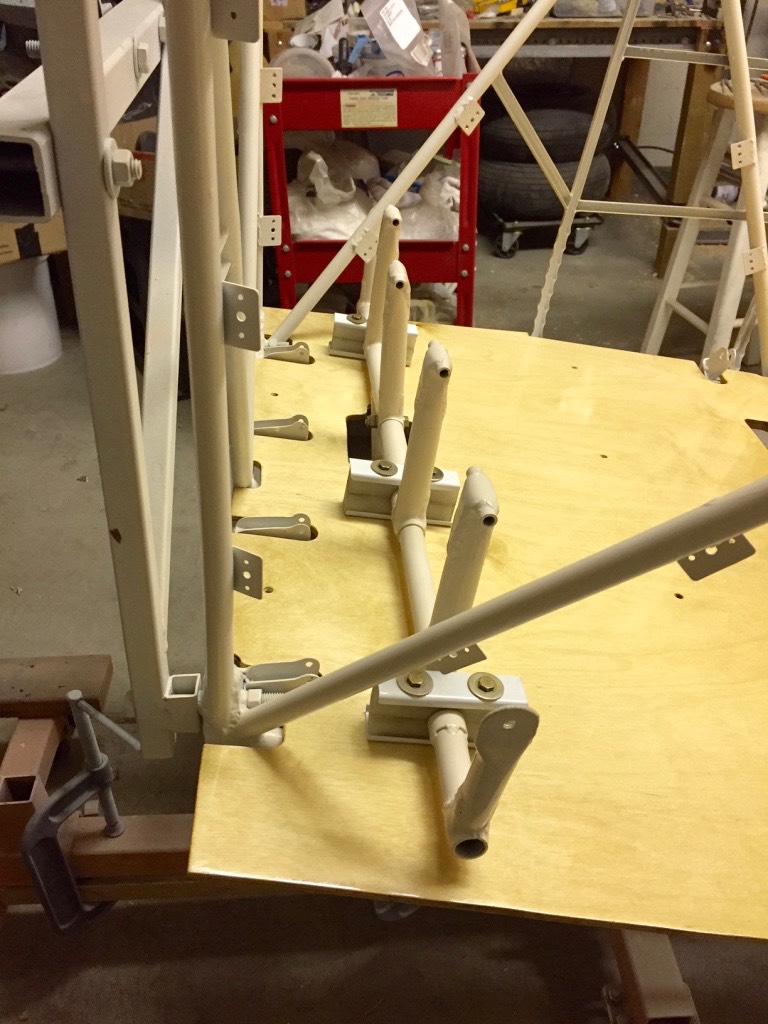
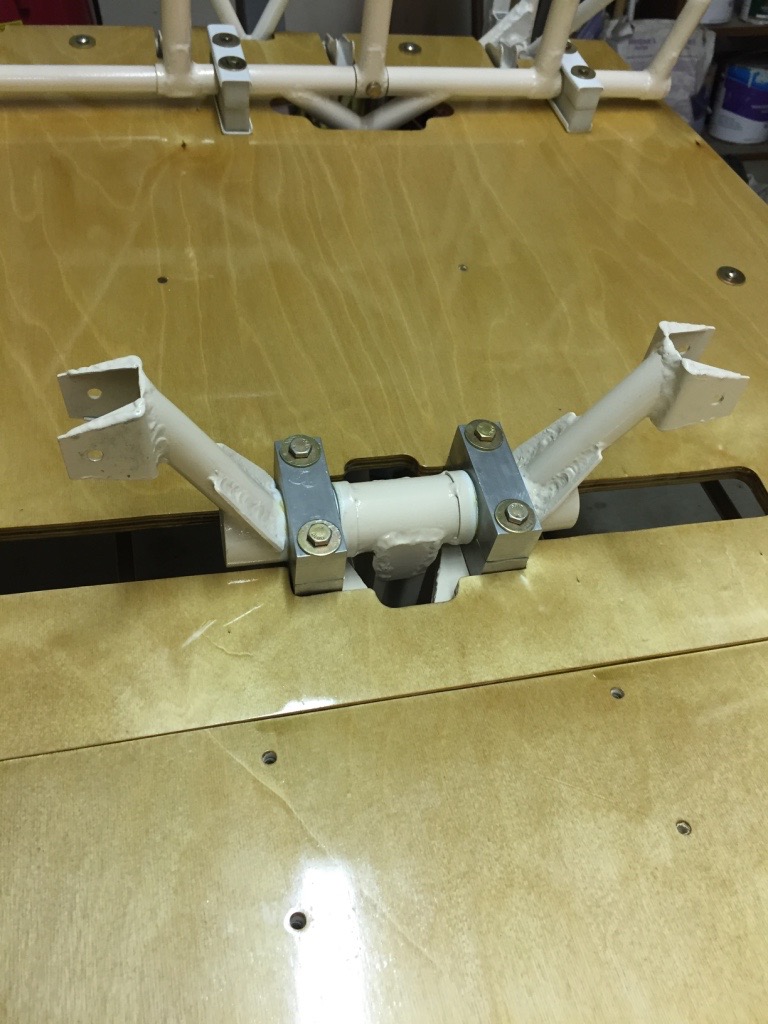
Checking for fit. Nuts are underneath the pillow blocks.
Done!
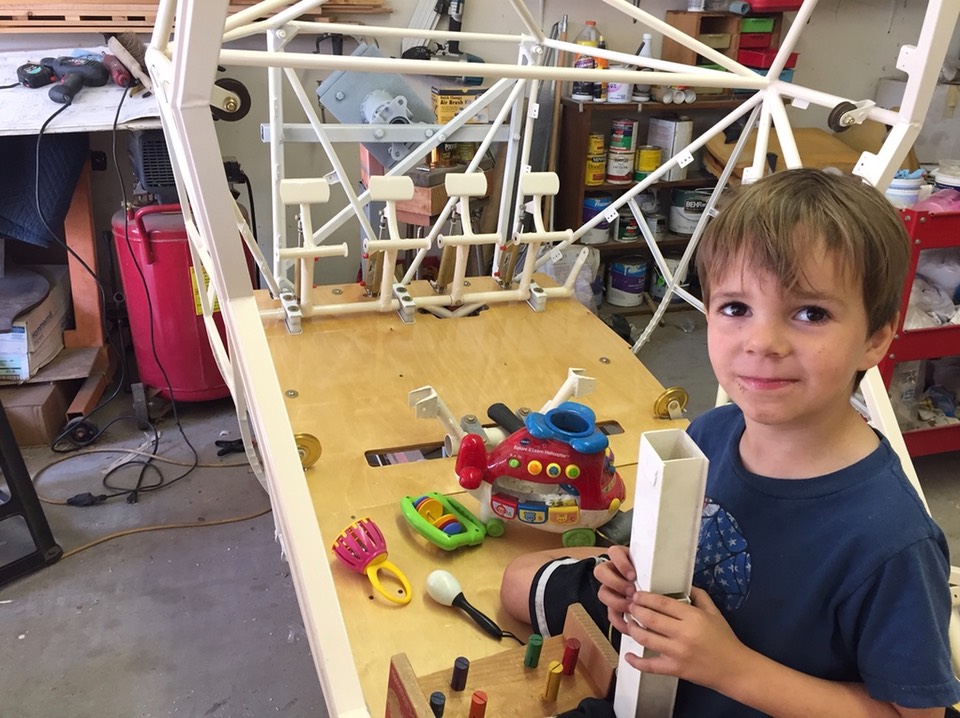
After the control sticks were in, I added the brake master cylinders. I had a little help while I installed all these brake parts. Nice to have a helper. This gives you an idea how tough the paint and varnish turned out.
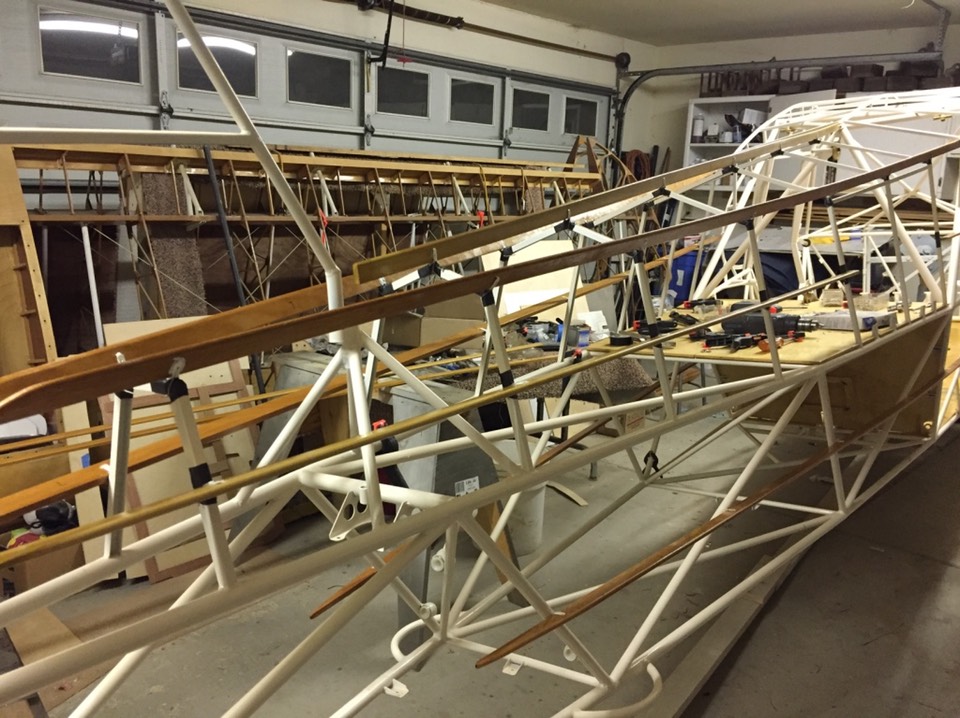
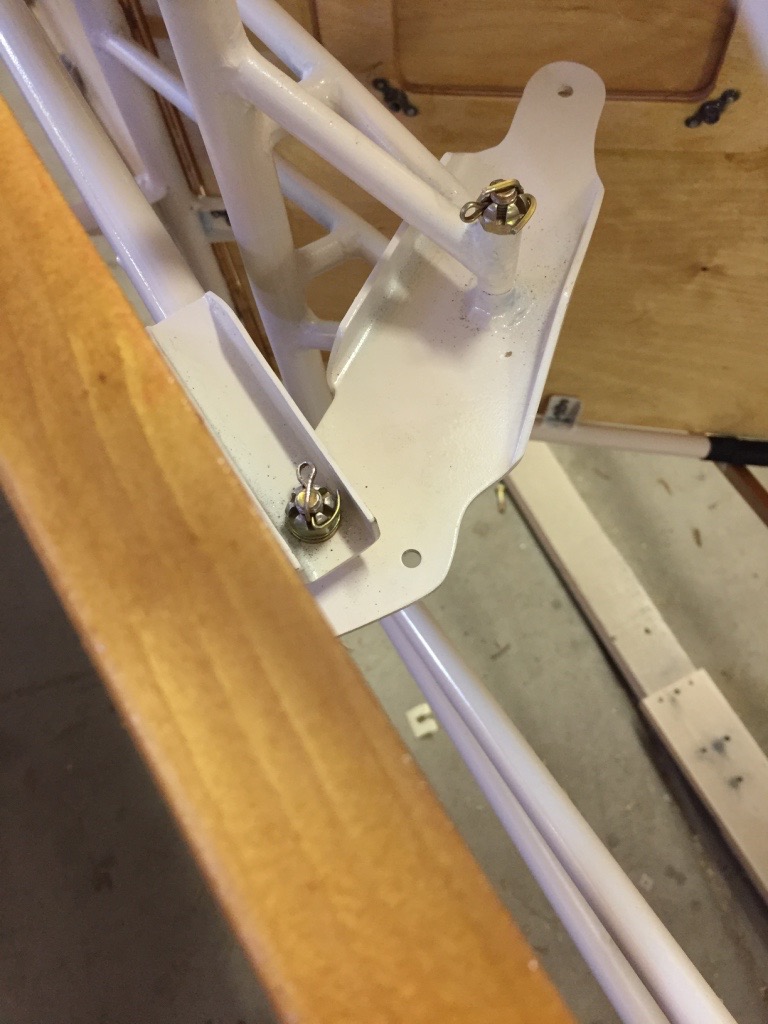
Next are the wood stringers. The stringers will hold the fabric in place and give the final shape to the fuselage. These were first cut and fitted than removed and varnished.
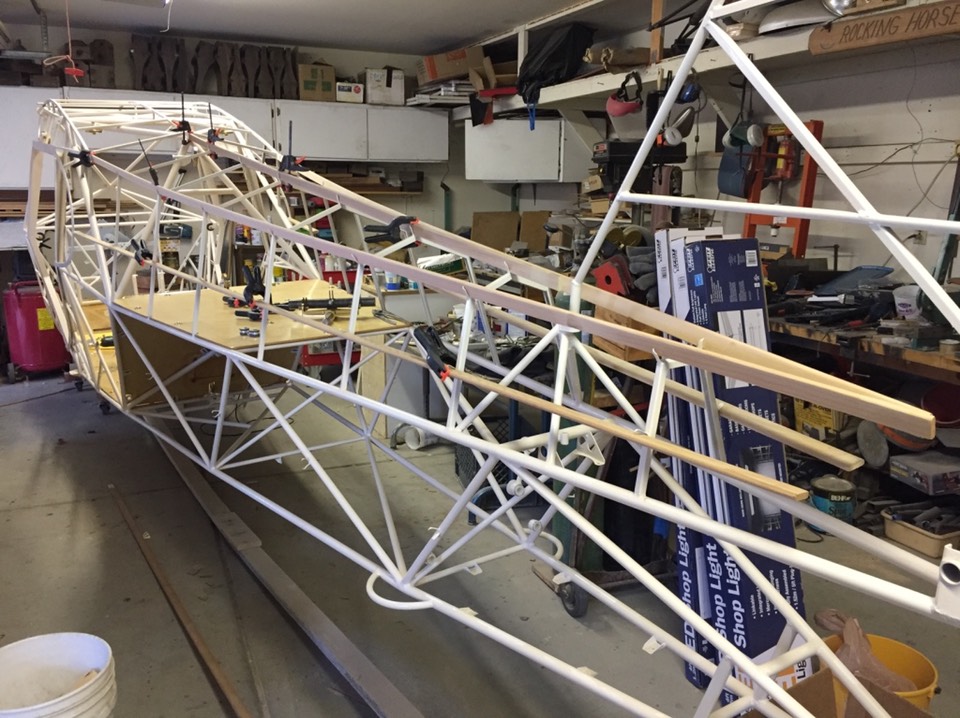
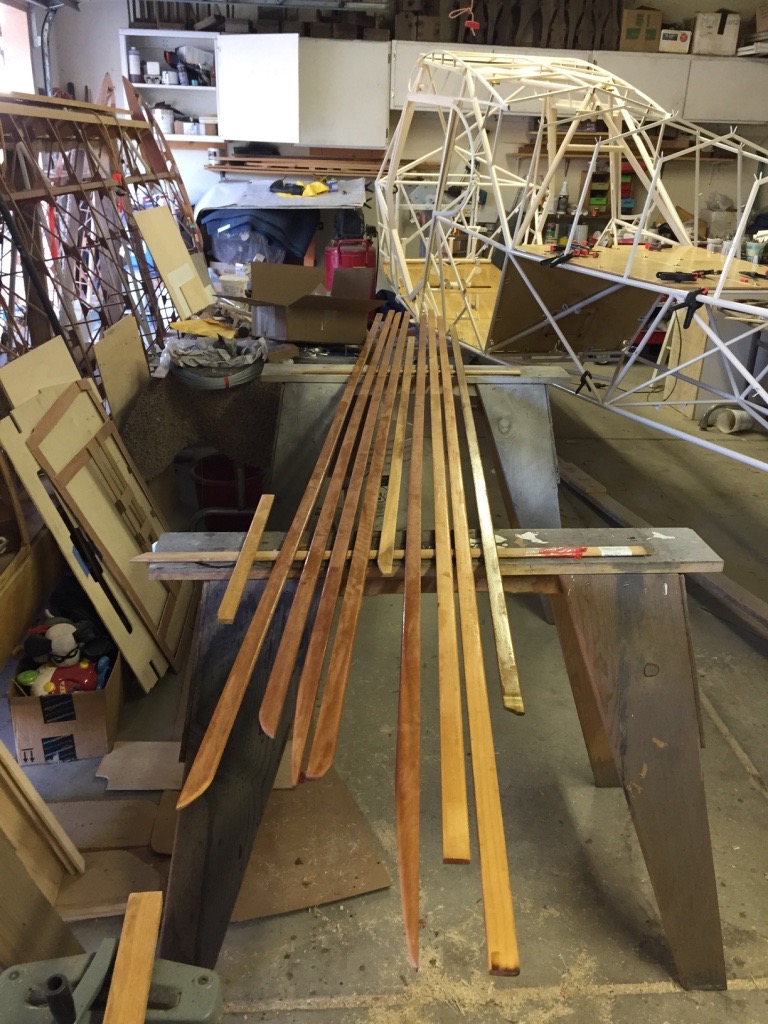
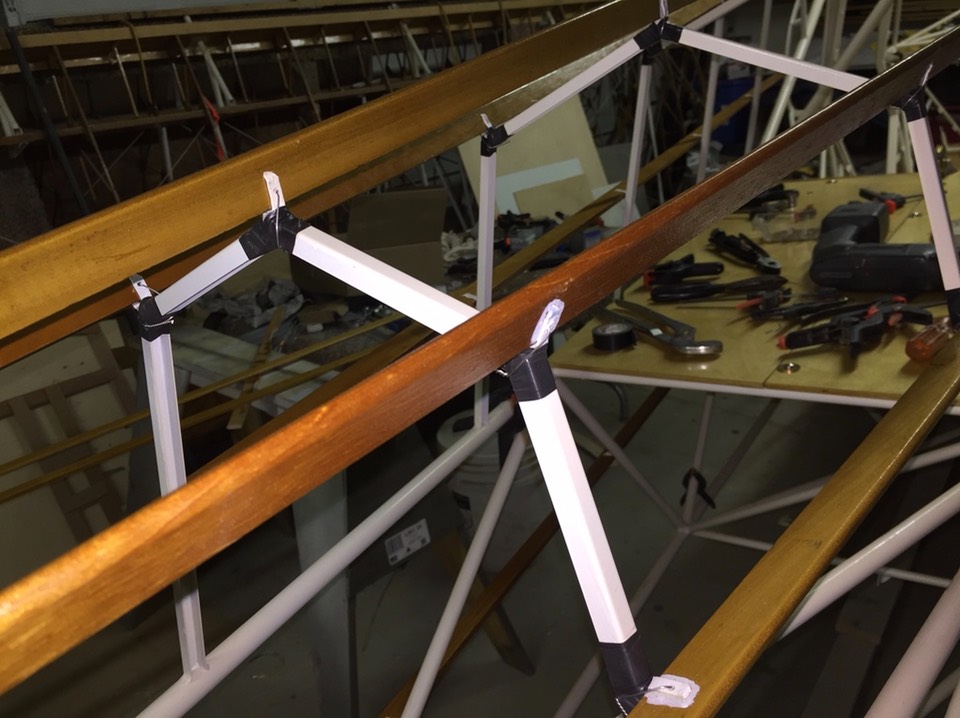
Each stringer is held in place with safety wire through the tab previously welded in place. The painted surface of the fuselage is protected with cloth friction tape. After safety wire is in place, the entire area is varnished. Old school again.
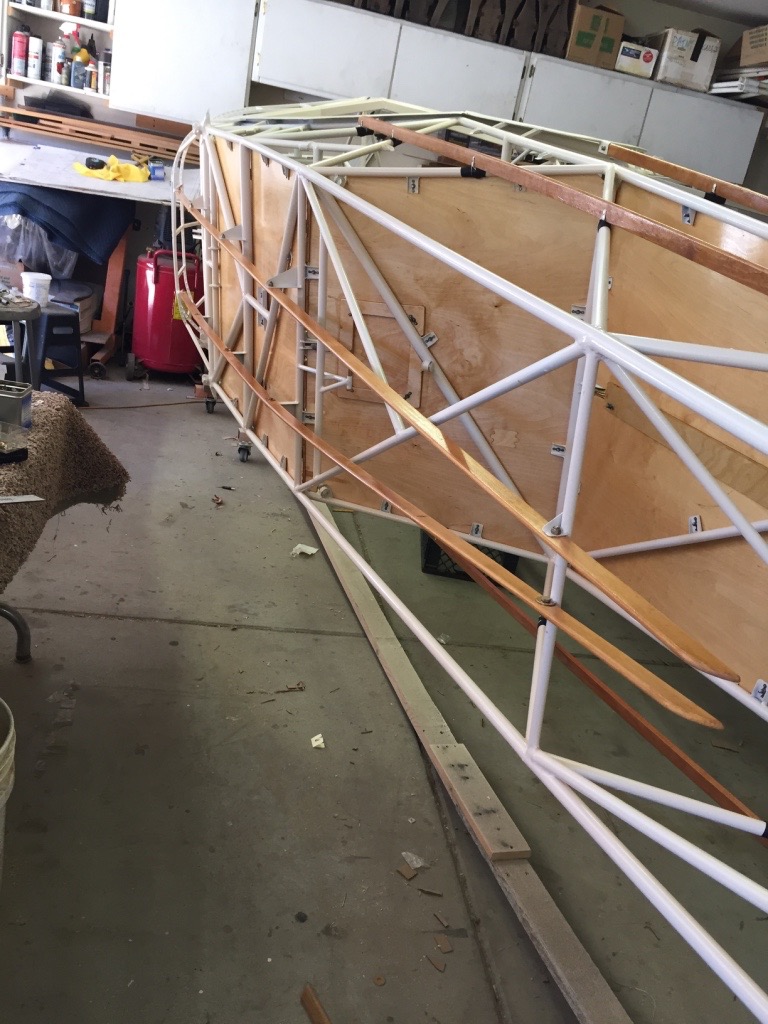
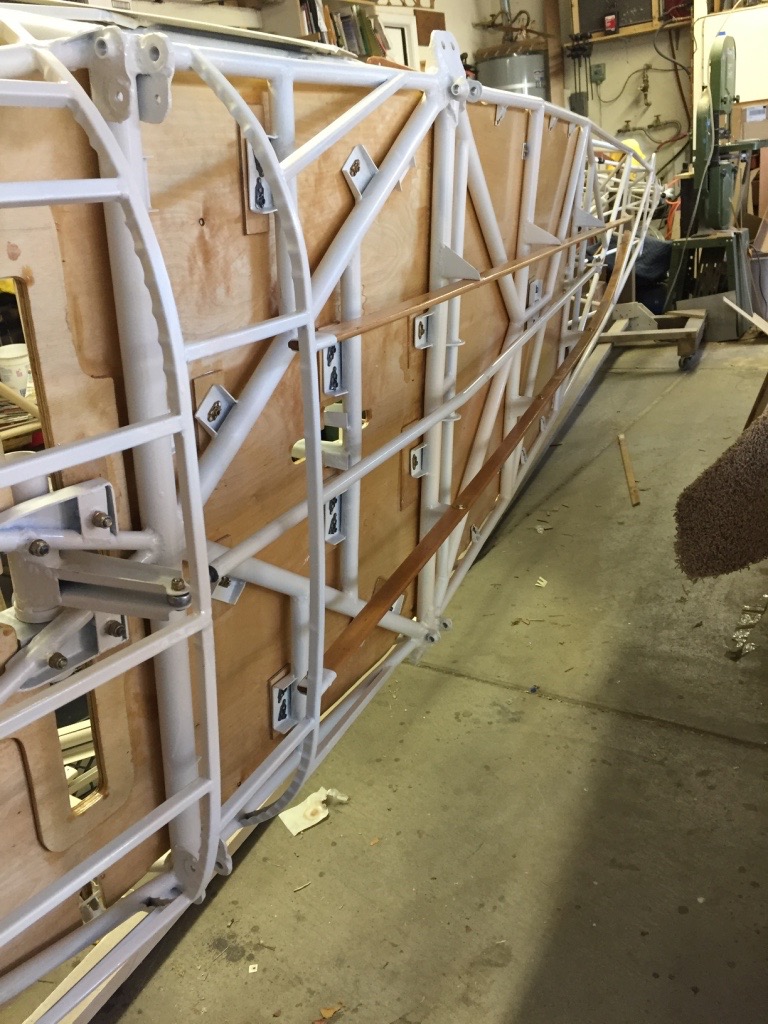
Bottom stringers installed.
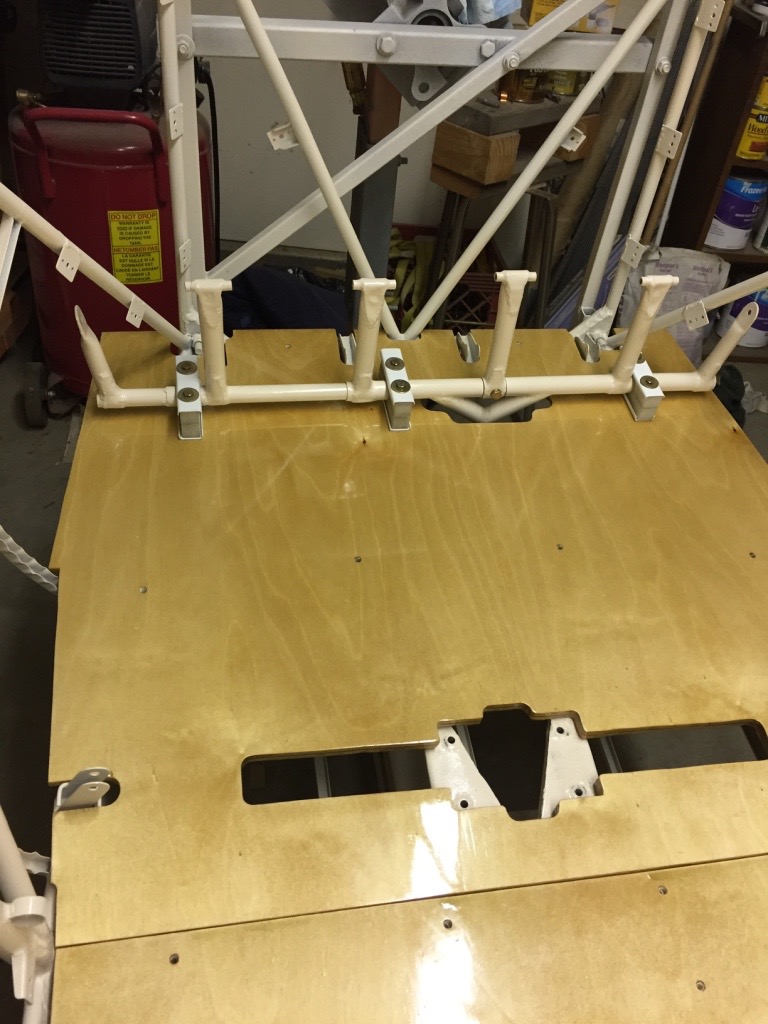
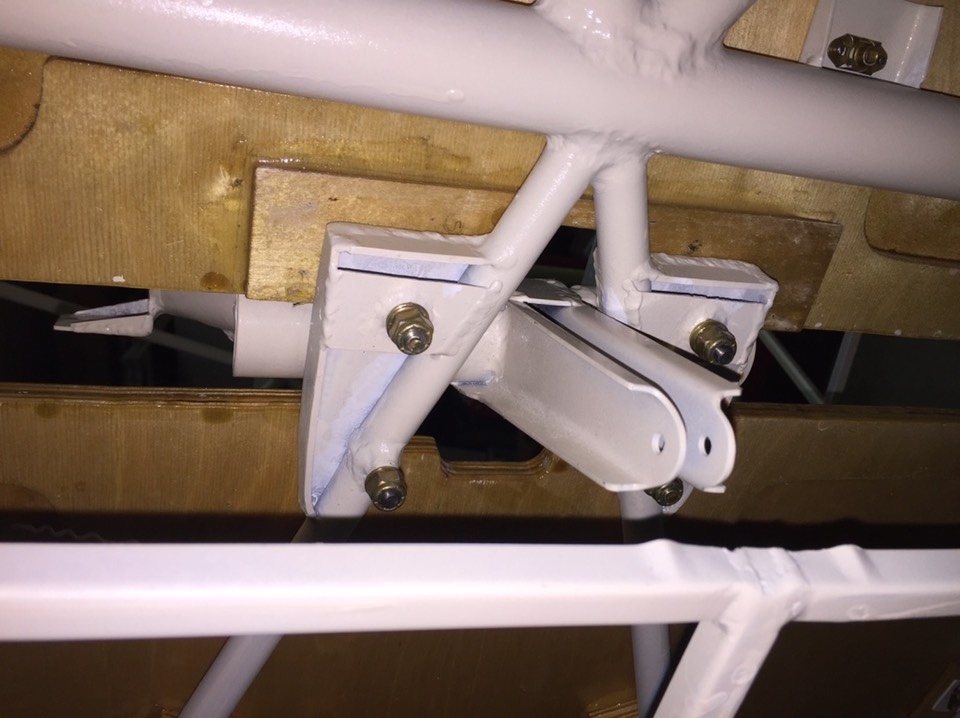
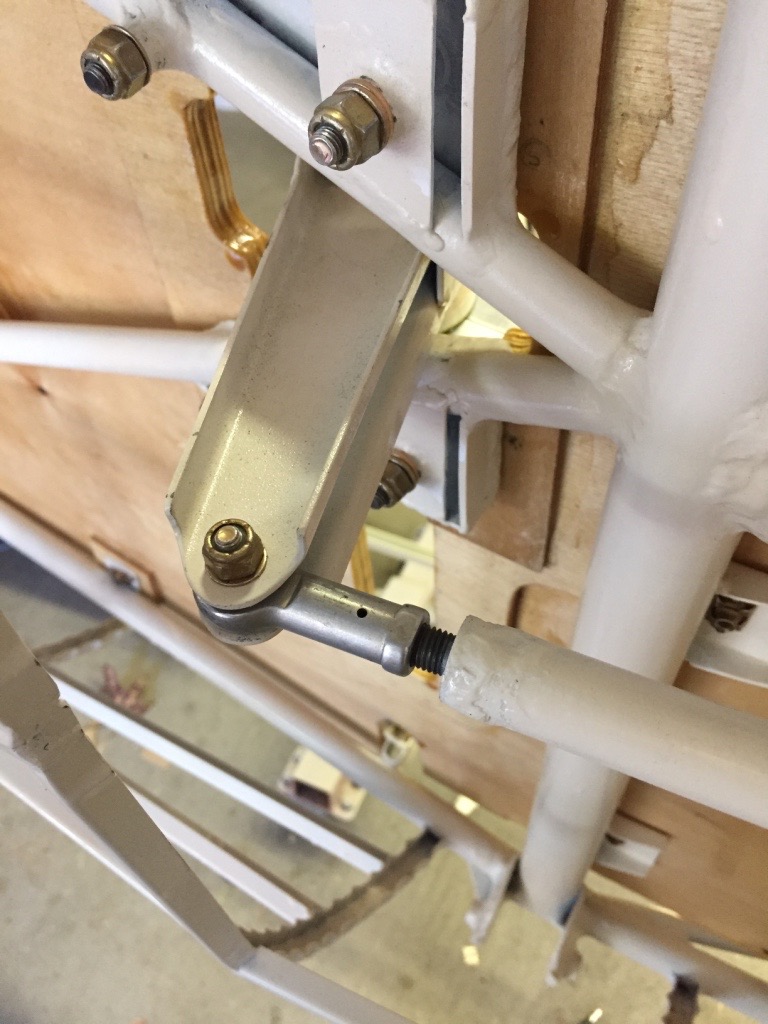
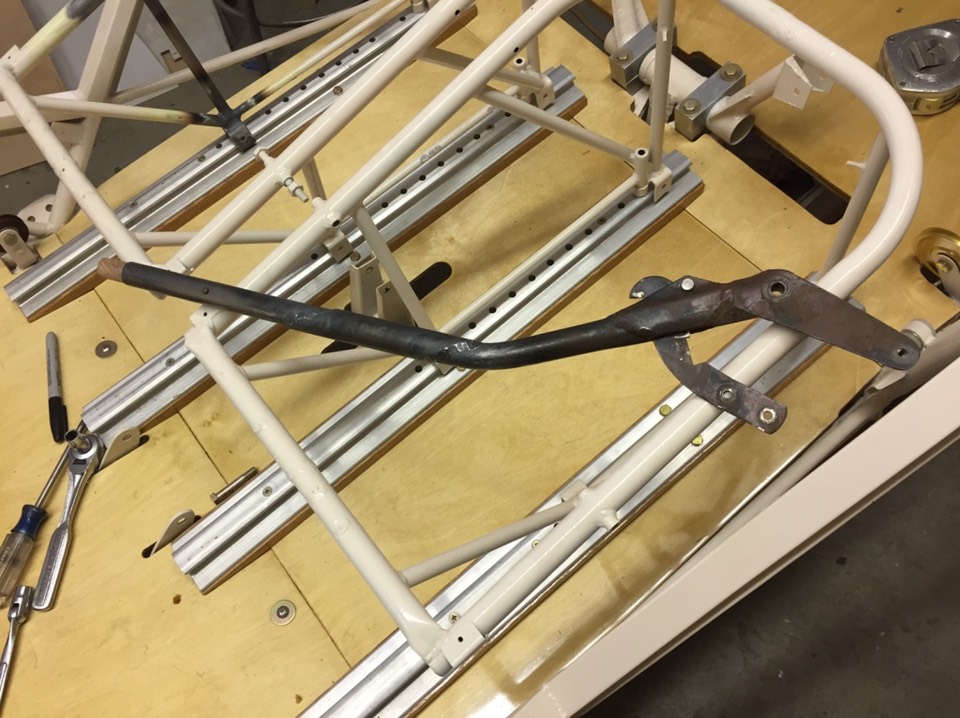
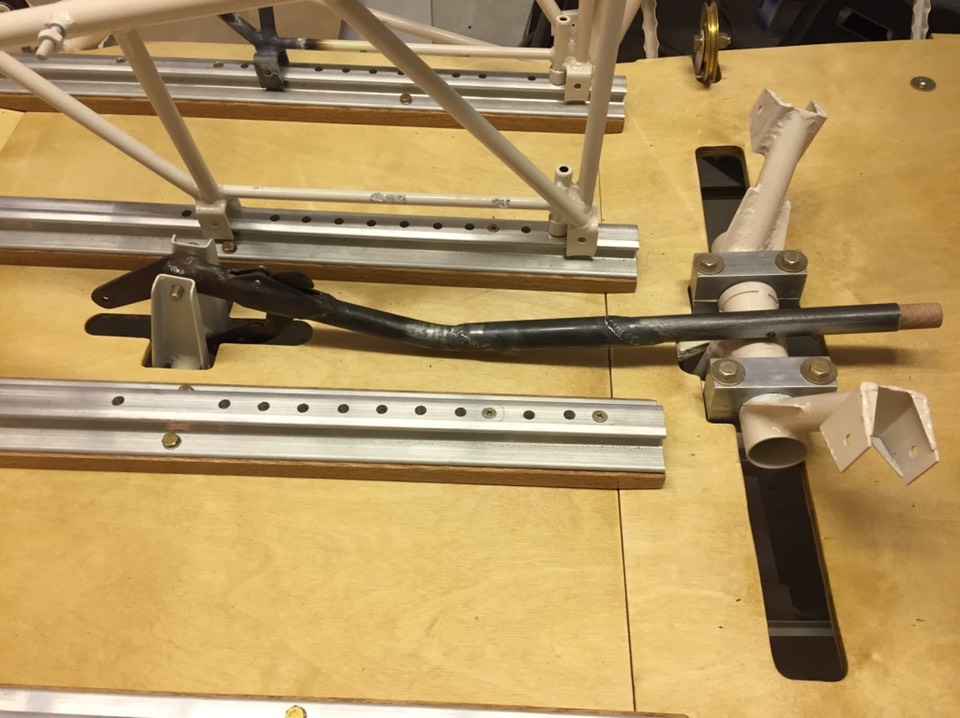
While under here, I added the tube connecting the control sticks to the rear bell crank. Everything was finished and painted, just needed to be assembled.
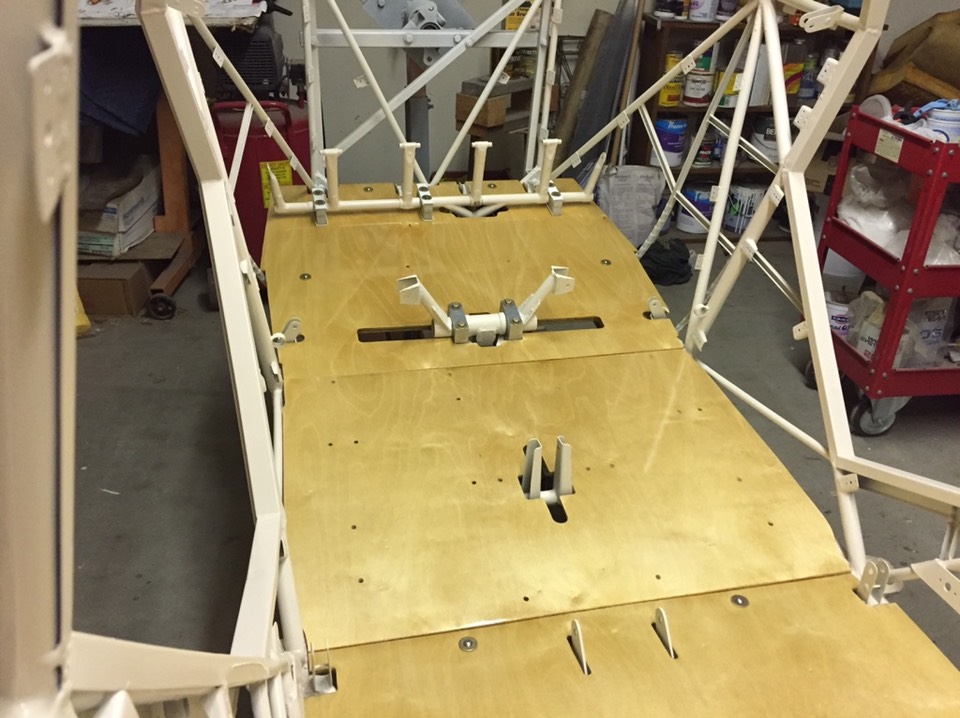
Seat tracks were installed next and floor boards were screwed in place.
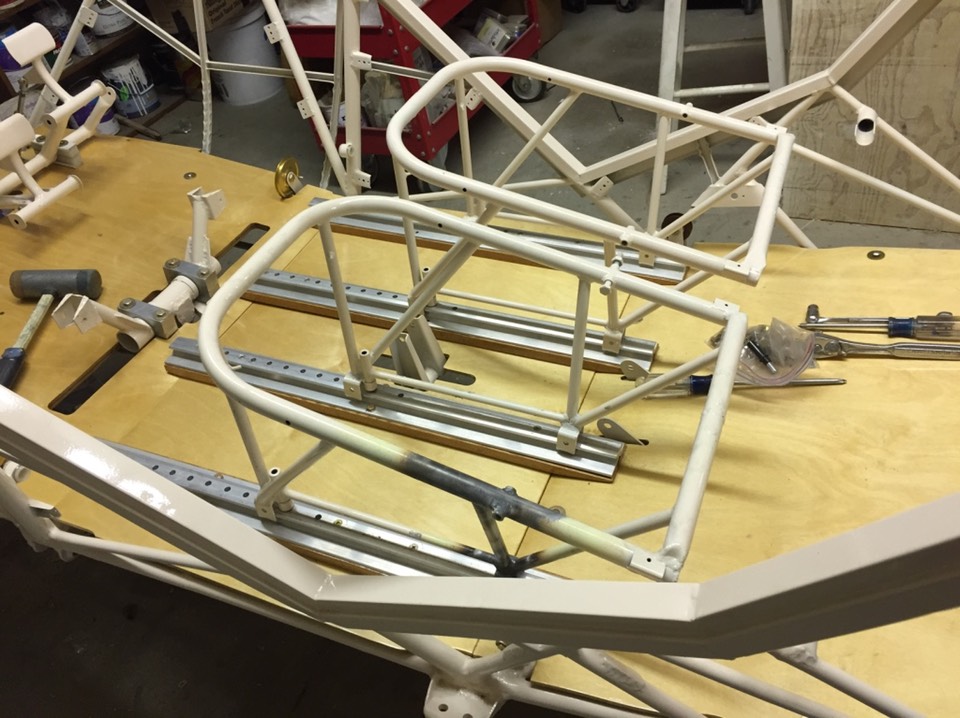
Flap handle needed to be modified so it would fit between seats.
The next step will be fabricating the side access door for the upper baggage. You can see the area on this side of the fuselage where there is a gap in the stringers for the door.