

Cabin doors
Now, for one of the most time consuming fabrication steps to date. The plans are very lacking in detail regarding door construction. There are a couple drawings but no detail at all on the gas lift strut or door latches. This would be a work in progress.
There are many different options for doors. I chose wood doors with the bottom half covered. Many builders use plexiglass for the lower half for visibility. I like the traditional look of a full door so that’s the direction I went. I also read how flexible the open lower half doors were and I wanted my doors to be very rigid. So it begins …..
Being a woodworker, I’m in my element here building the doors. These did prove to be a challenge as none of the angles were close to standard angles and most were compound angles. Each door is built into the existing fuselage frame. I chose to build the doors after painting the frame; it may be better to build these before the paint is applied. If you build metal doors, you will need to weld the doors while they are sitting in the fuselage frame; likely damaging the frame so decide before painting. I was avoiding this step as I knew it was going to be a challenge
So, with little idea of the final design I got started. I used Douglas Fir for my doors. I first started the doors the end of October, 2016. This would be a long process to completion. I started old school ….
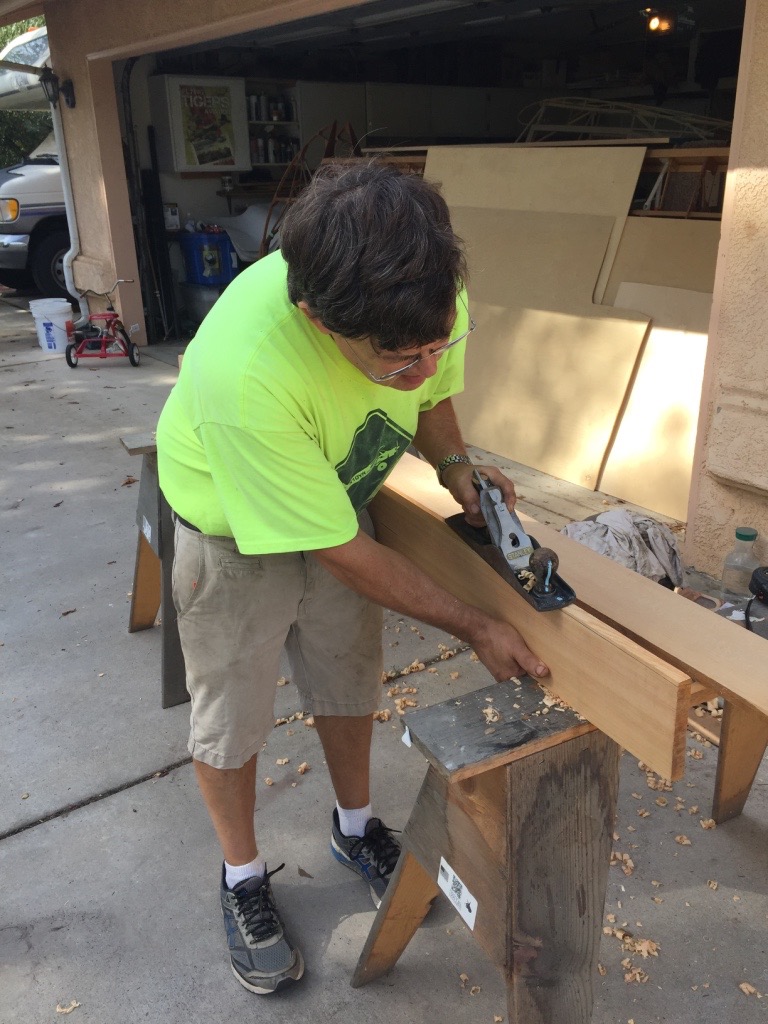
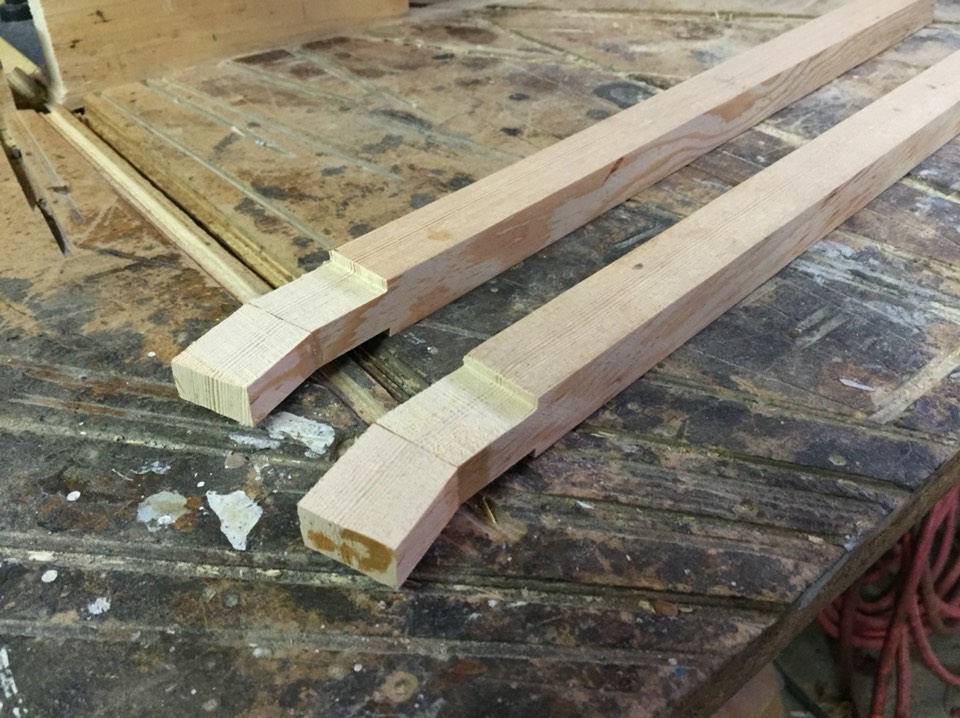
I needed a true edge before heading to the table saw. The frame of the door was going to be made from strips of Douglas Fir measuring 3/4” x 1”.
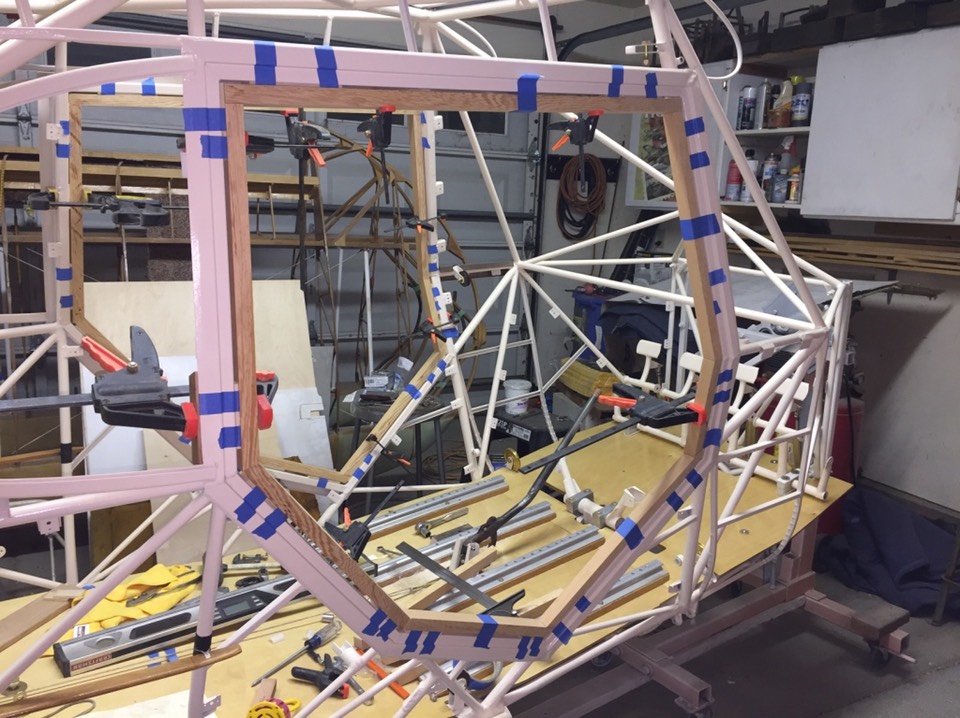
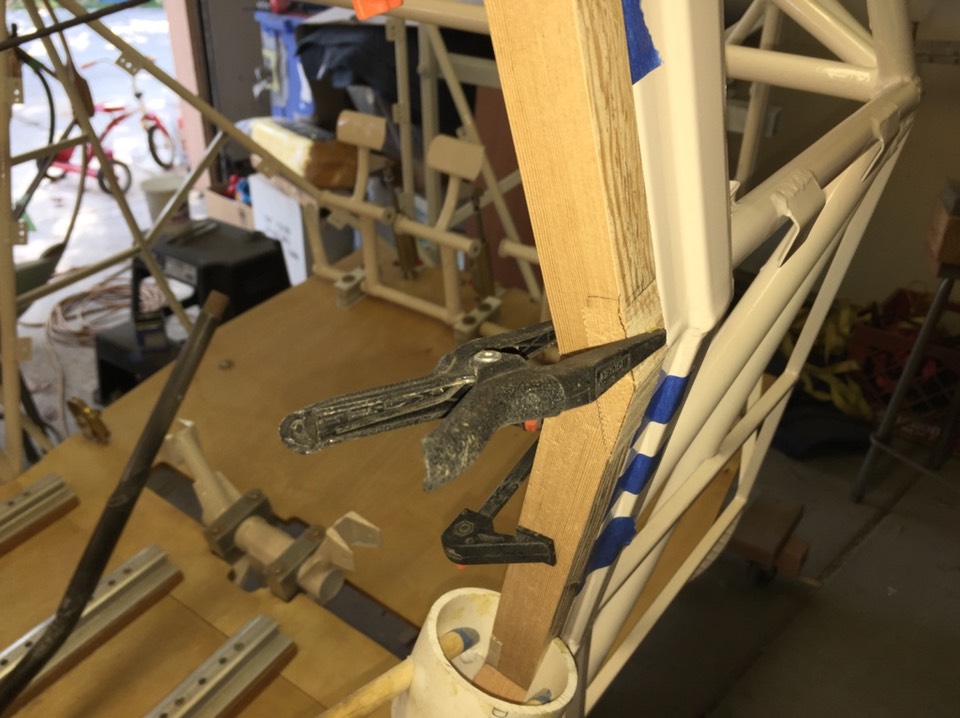
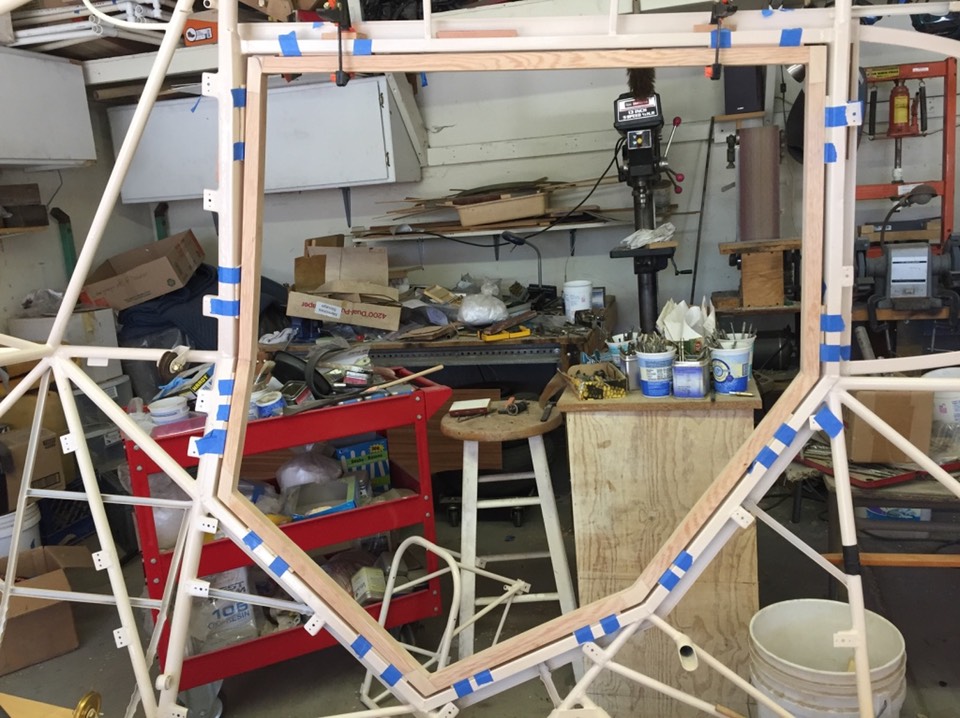
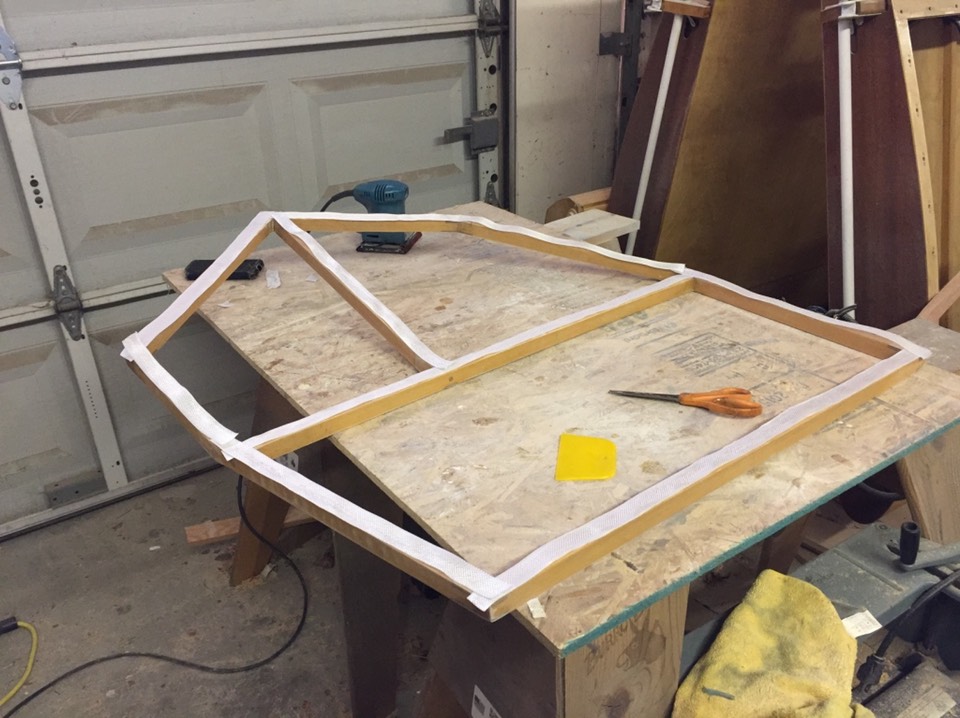
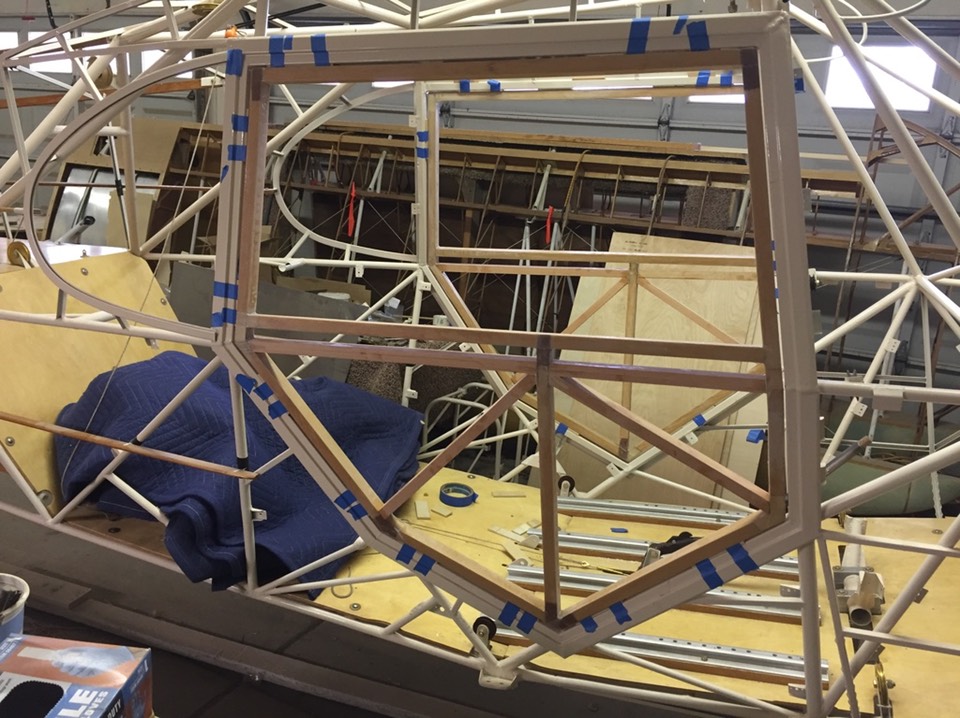
I first ripped strips to size than started fitting them into the existing door frame. I first cut 1/4” spacers and taped a bunch of them all round the frame. These pieces would establish the needed gap between the frame and the door. This is absolutely essential regardless of building the doors out of wood or metal. After lots of work, I had the frame pieces in place. Each joint had to be fitted into place, sanding the compound angle on my belt sander.
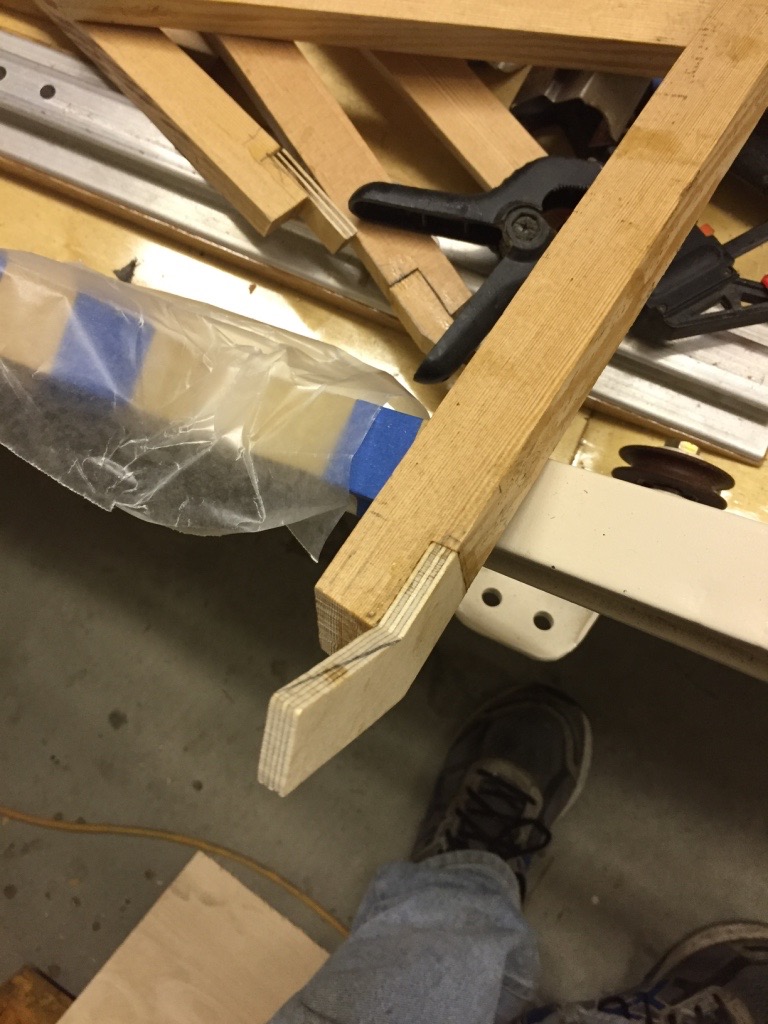
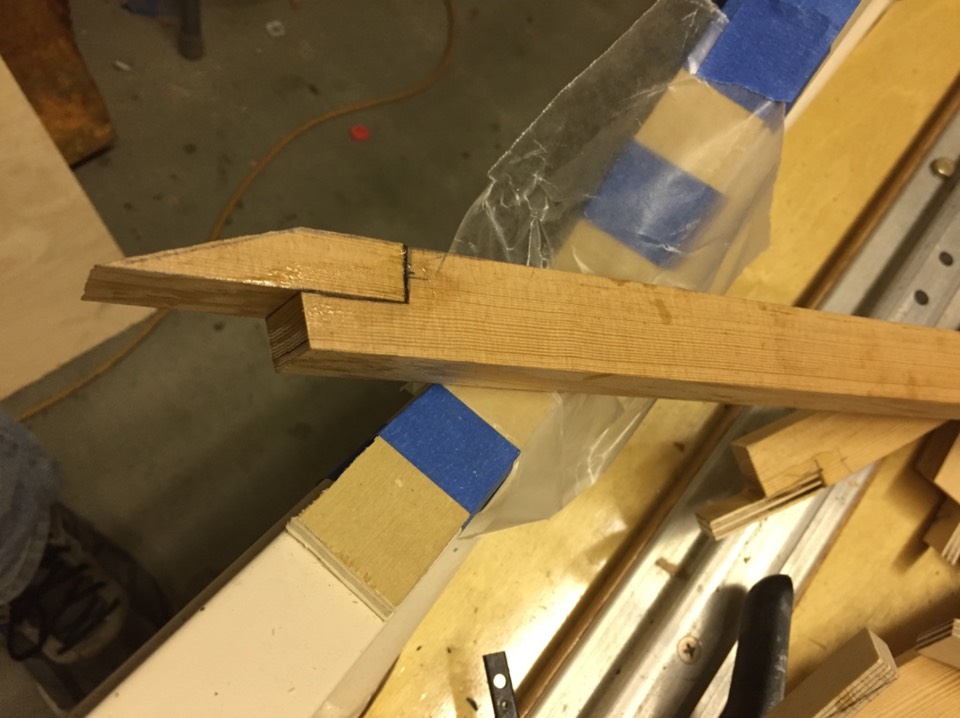
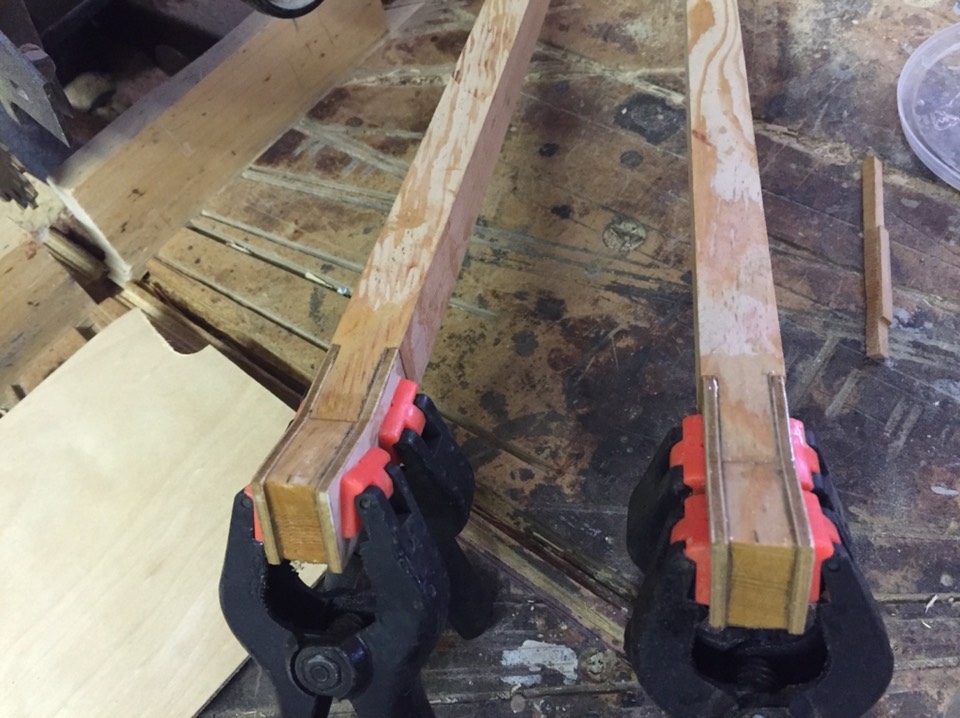
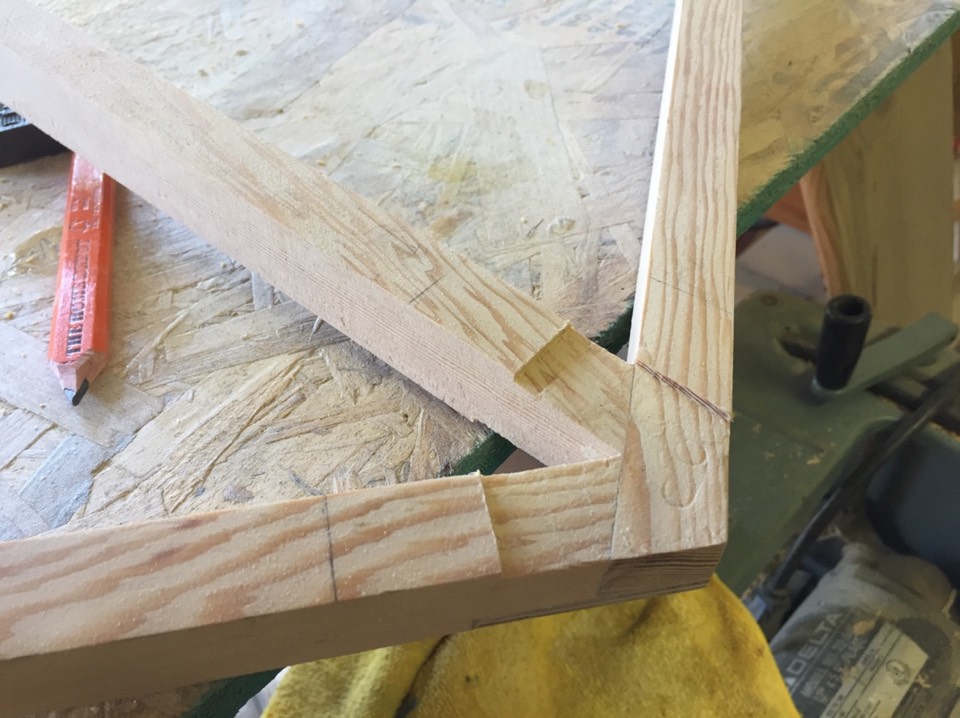
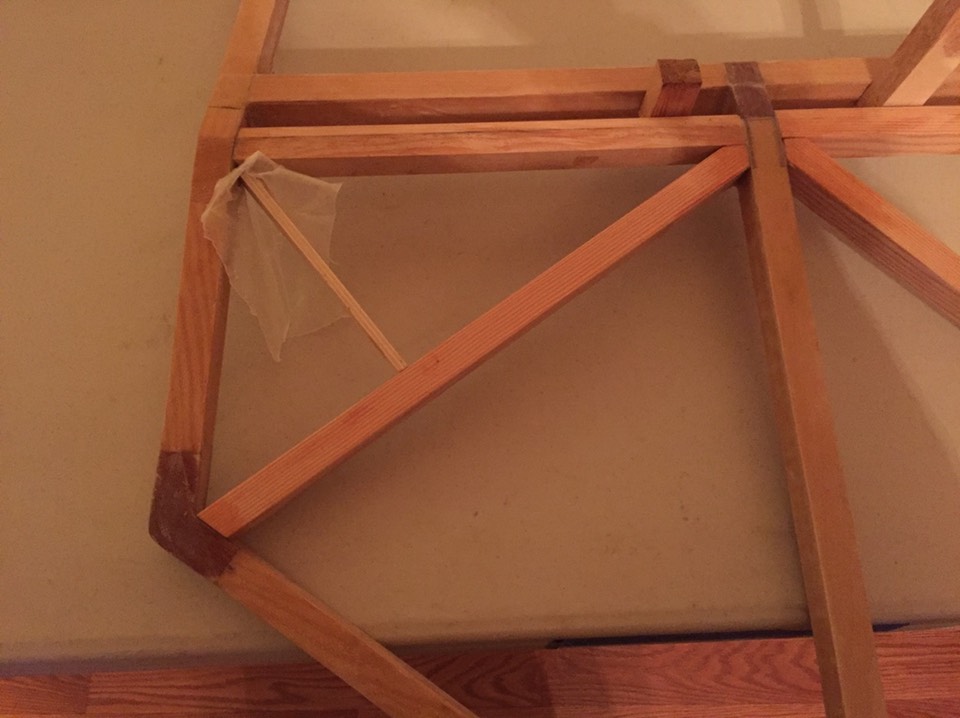
Each corner required a lap joint of some kind be created. Here are examples of some of the joints.
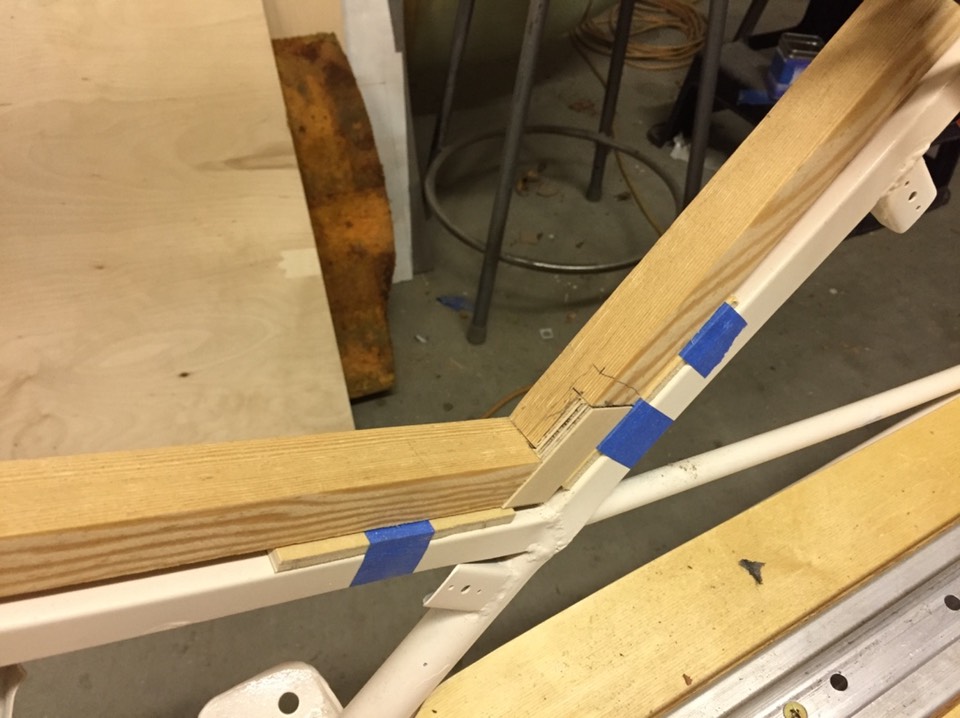
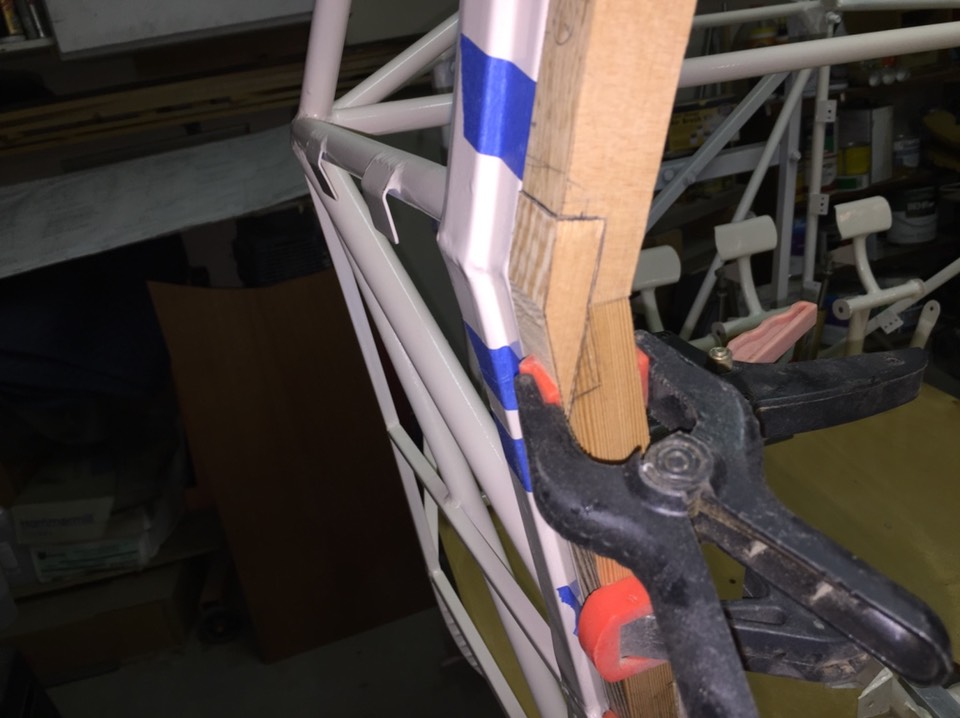
Every joint had to follow the contour and angle created by the door frame. Each angle was a compound angle.
Next, the gluing process. Use lots of wax paper to keep things from sticking. I used T-88 epoxy for all joints. The gluing had to be done in two stages. First, glue in all the gussets and other pieces necessary to build the joint. There are so many different ways to accomplish this type of a step. Experienced woodworkers will have no problem figuring out ways to complete this step.
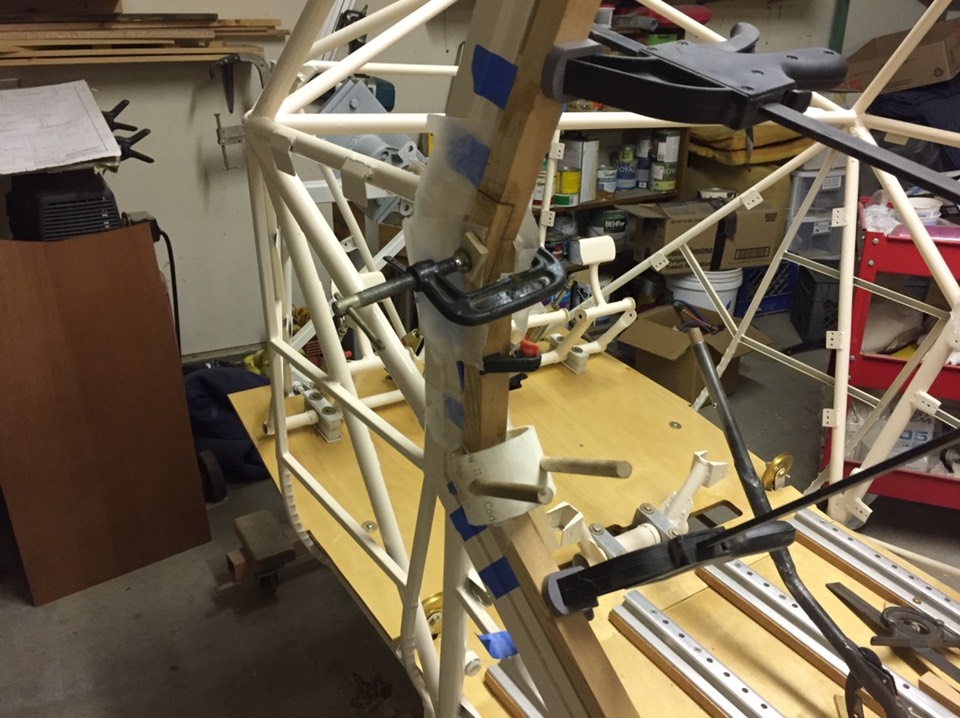
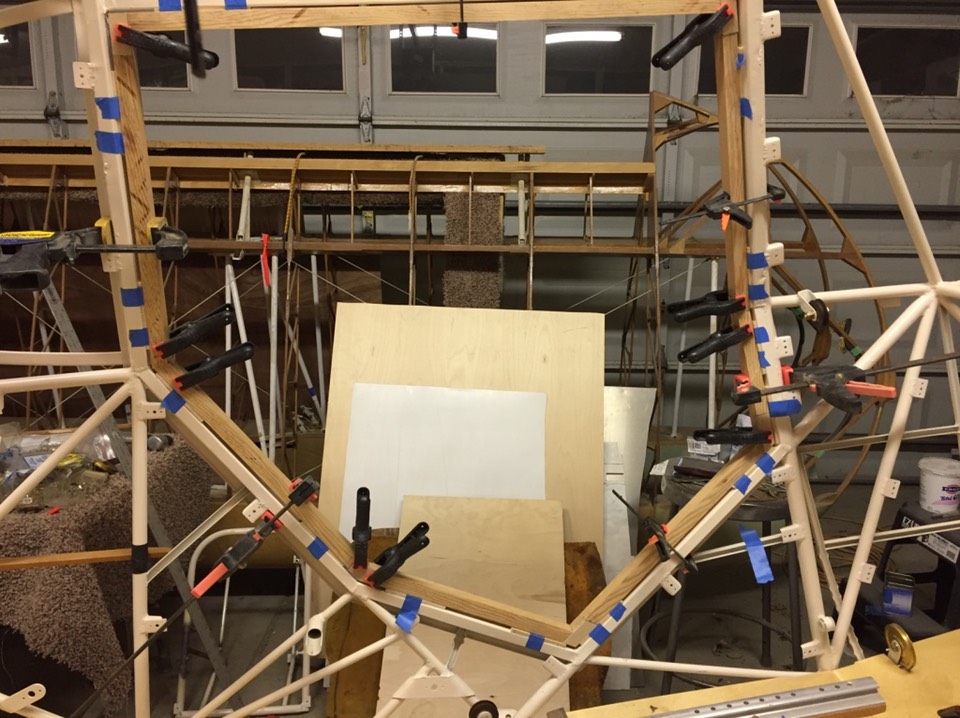
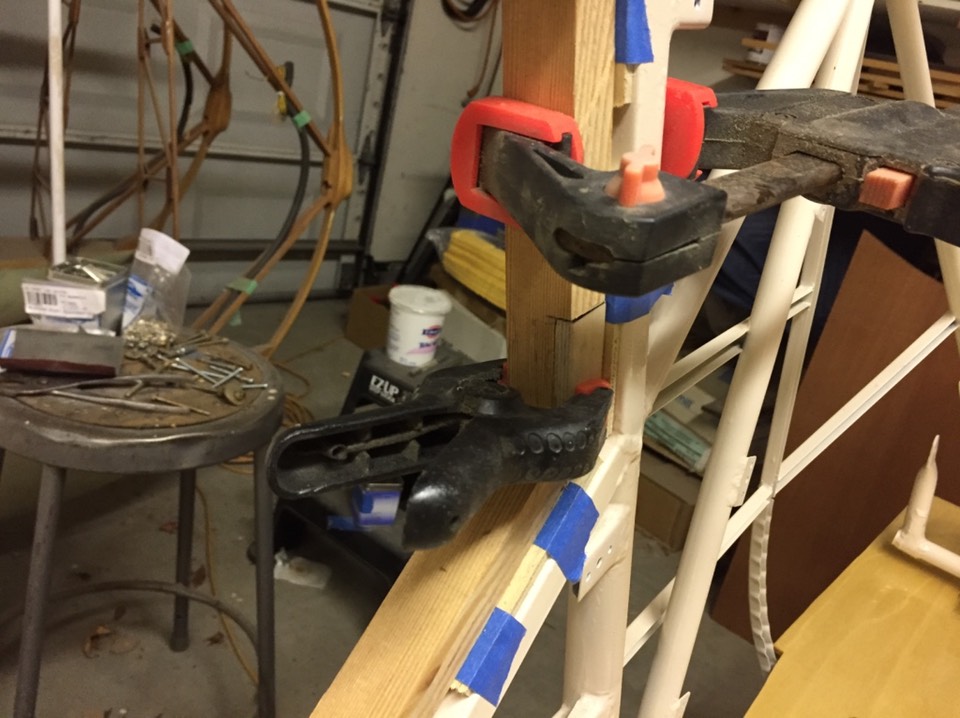
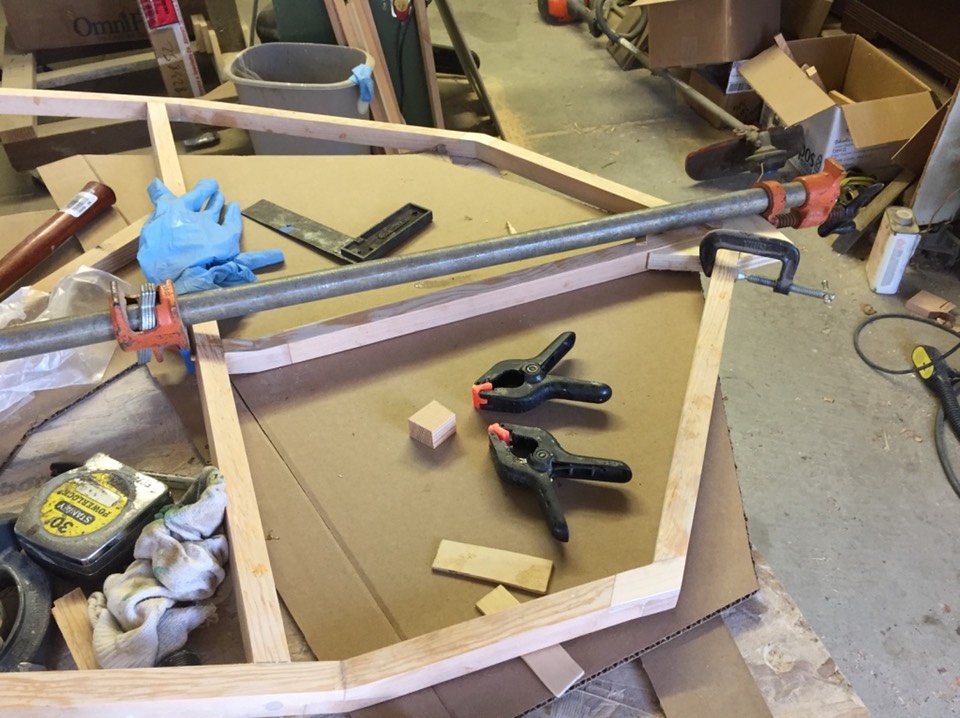
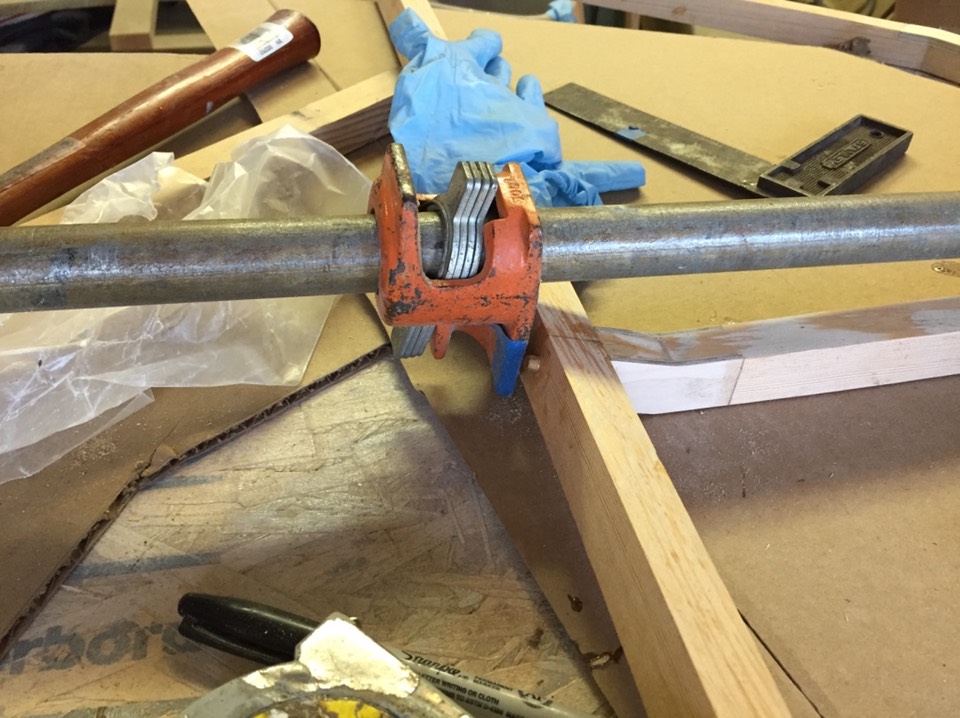
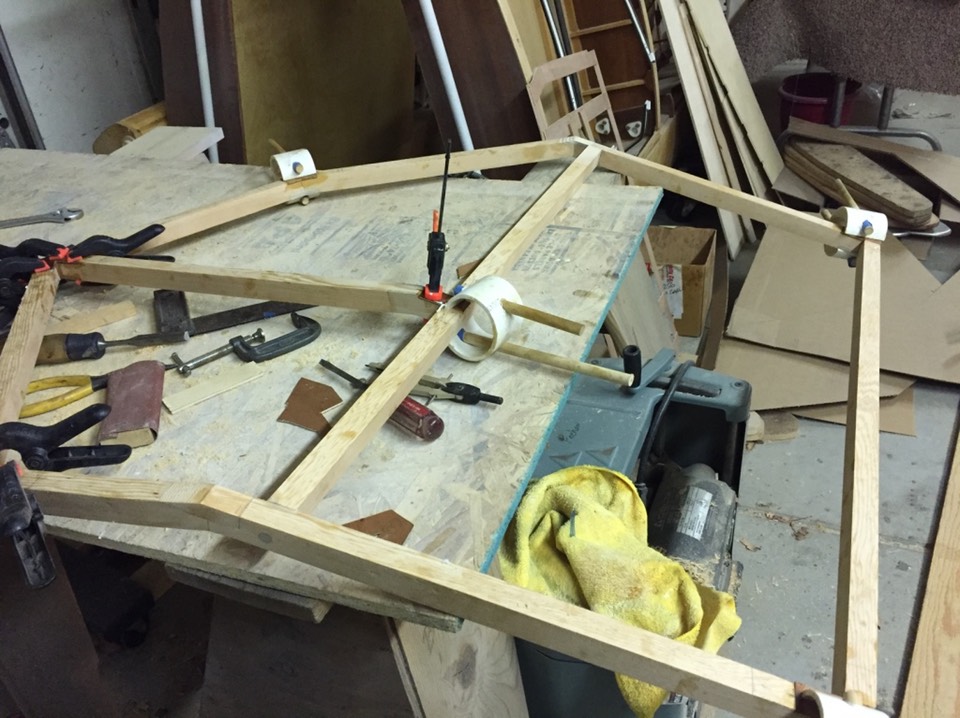
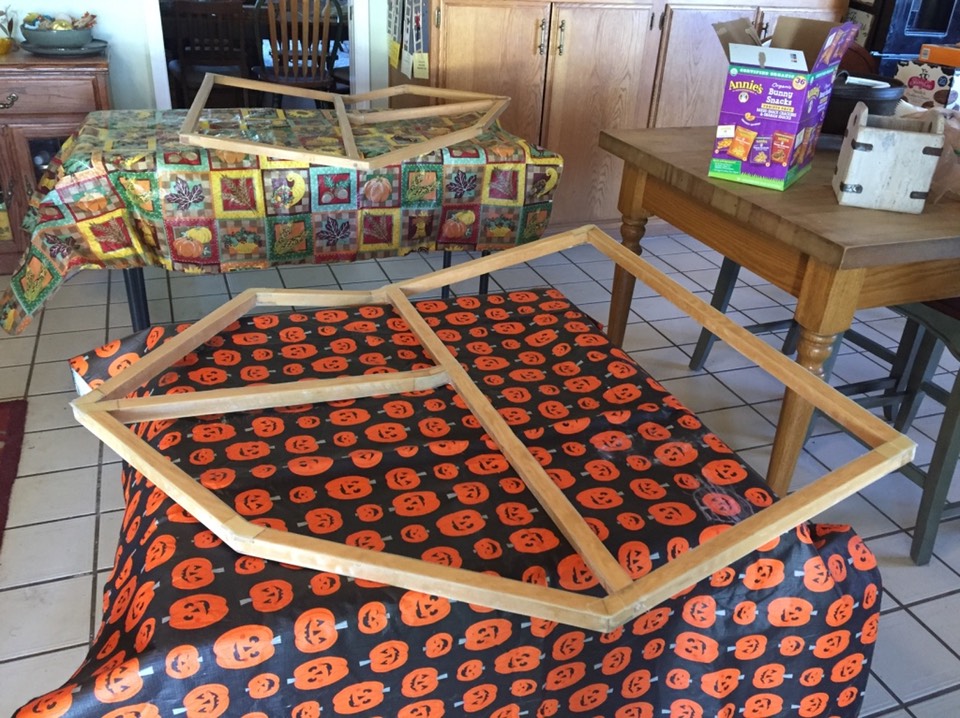
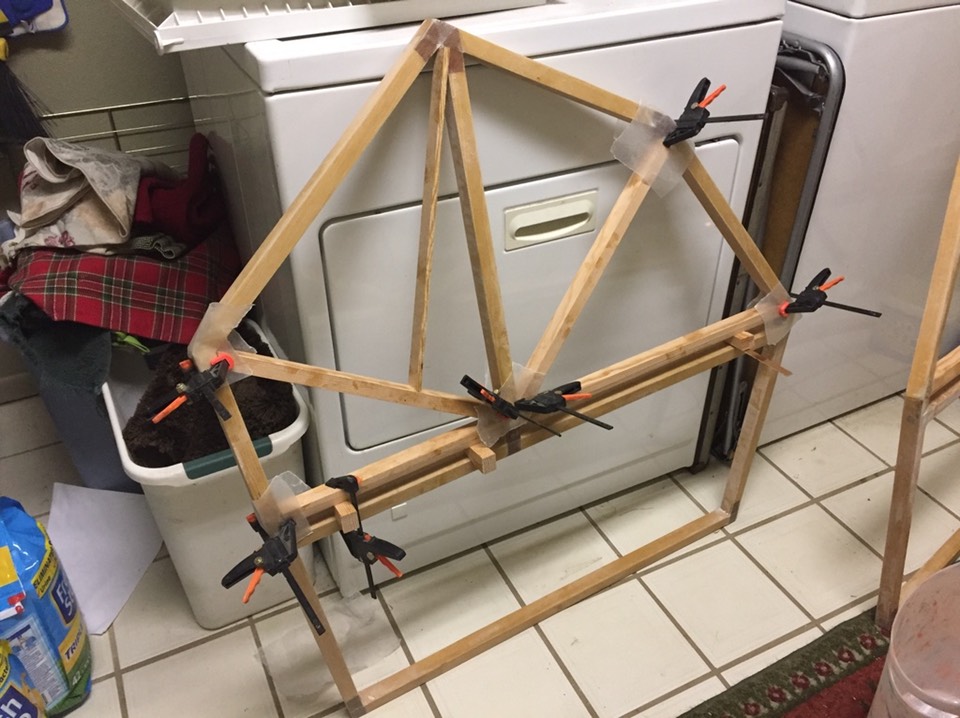
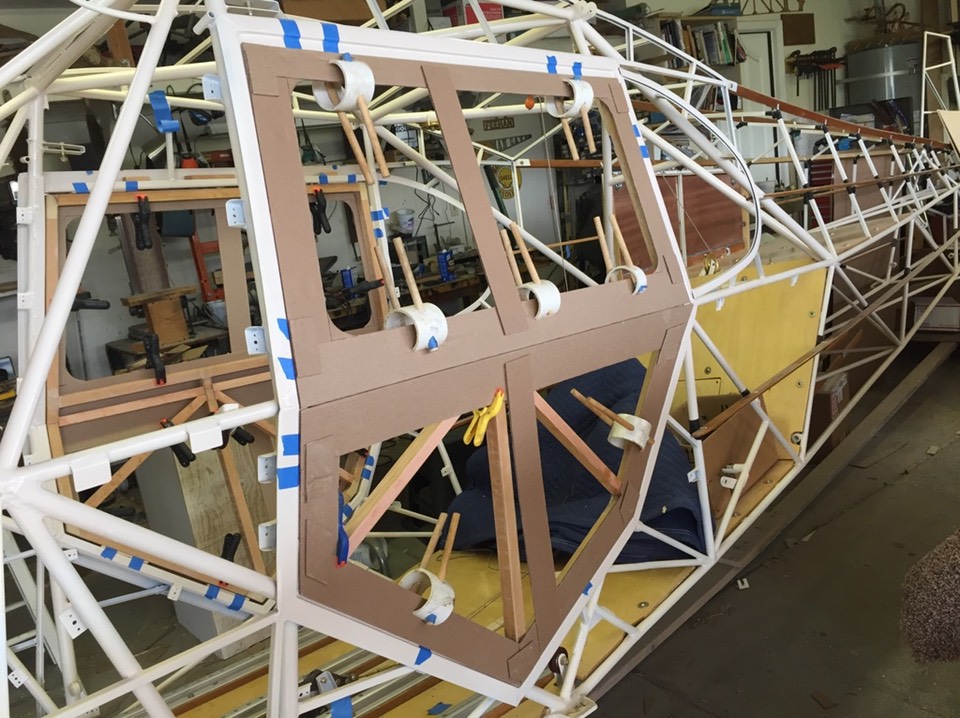
All the small gussets and other specialty joints were pre glued as shown in the joint pictures, the frame was secured in the fuselage for gluing. It took a couple tries to figure out how to clamp everything in place. With the glue dry and the clamps removed, the frame sits in the door opening. Again, note the use of the 1/4” wood shims all around the doors.
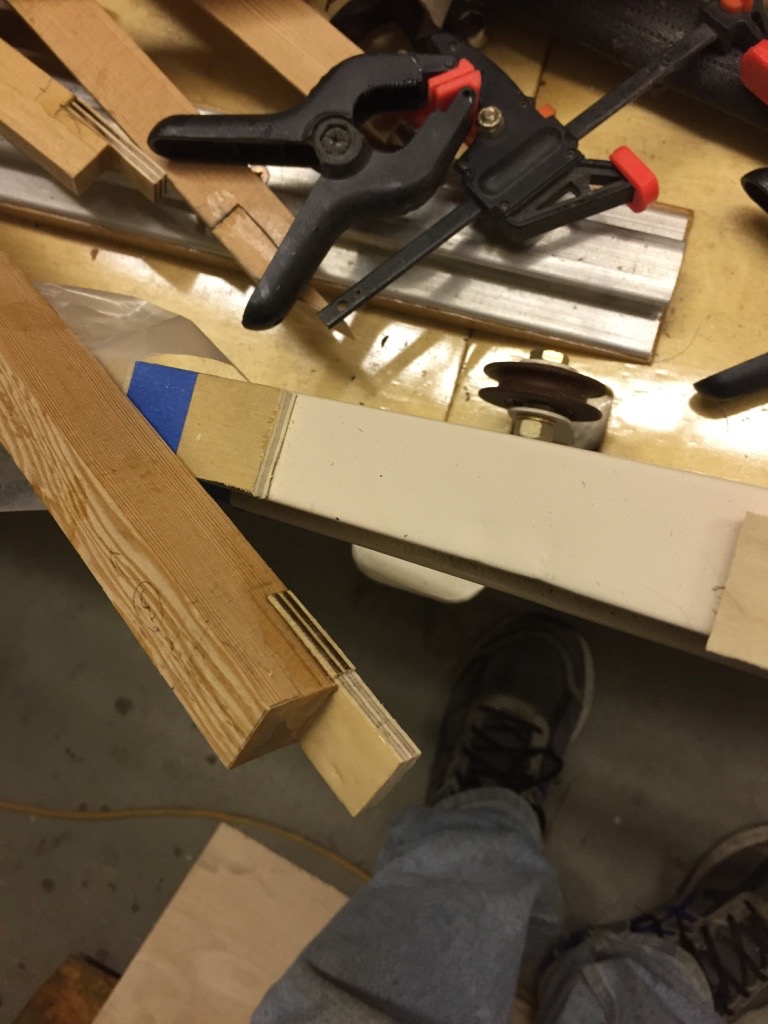
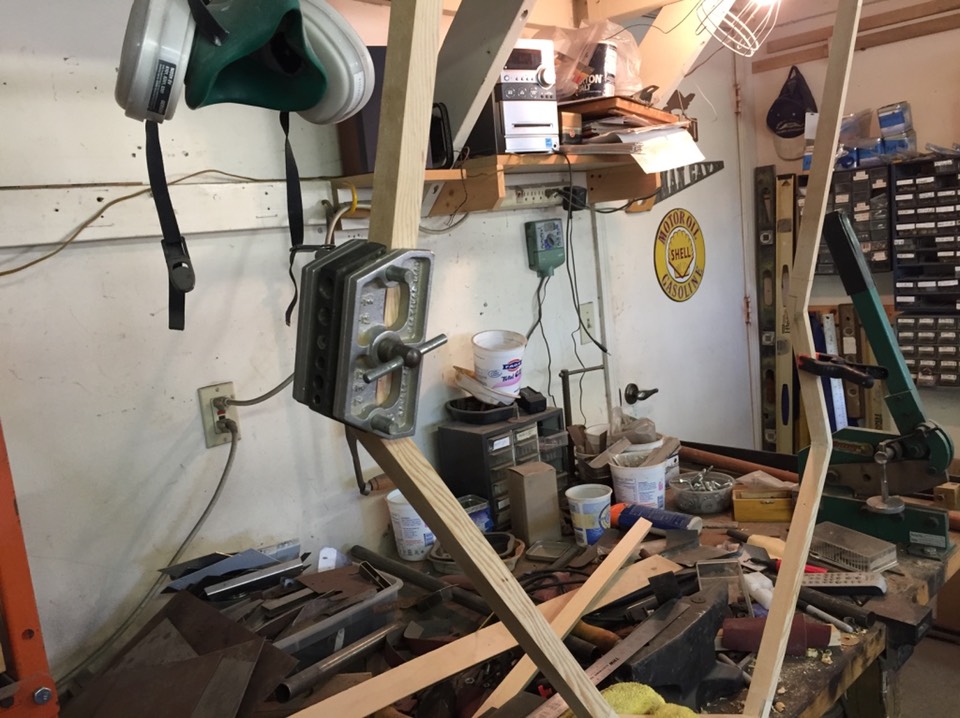
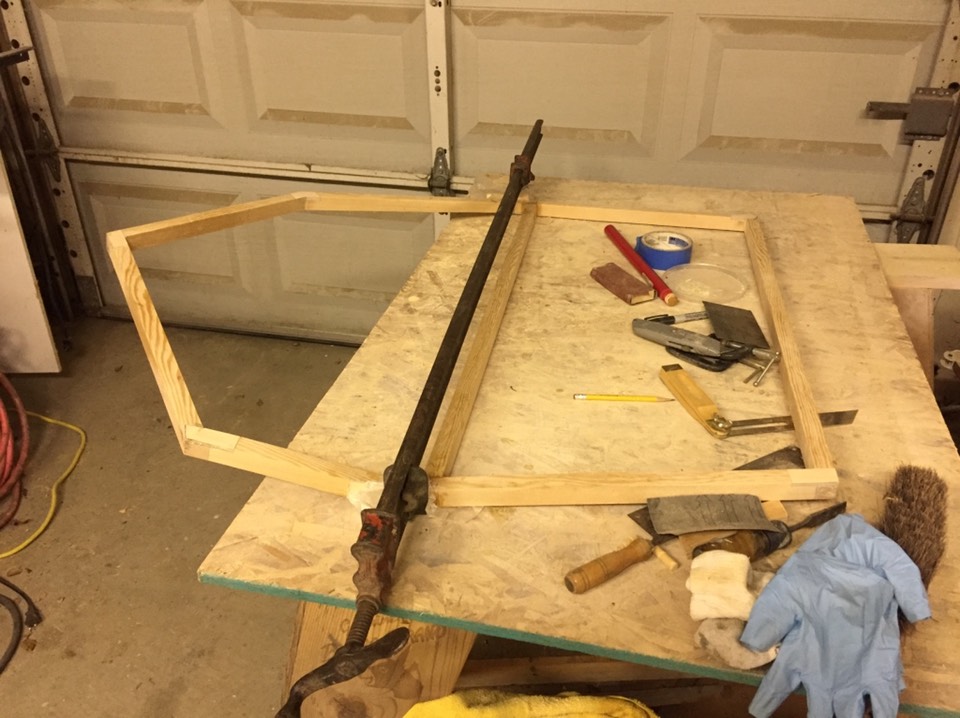
Next, I added the cross brace down the middle of the door. This was done with standard 3/8” dowel joint. I use a jig to drill the joint.
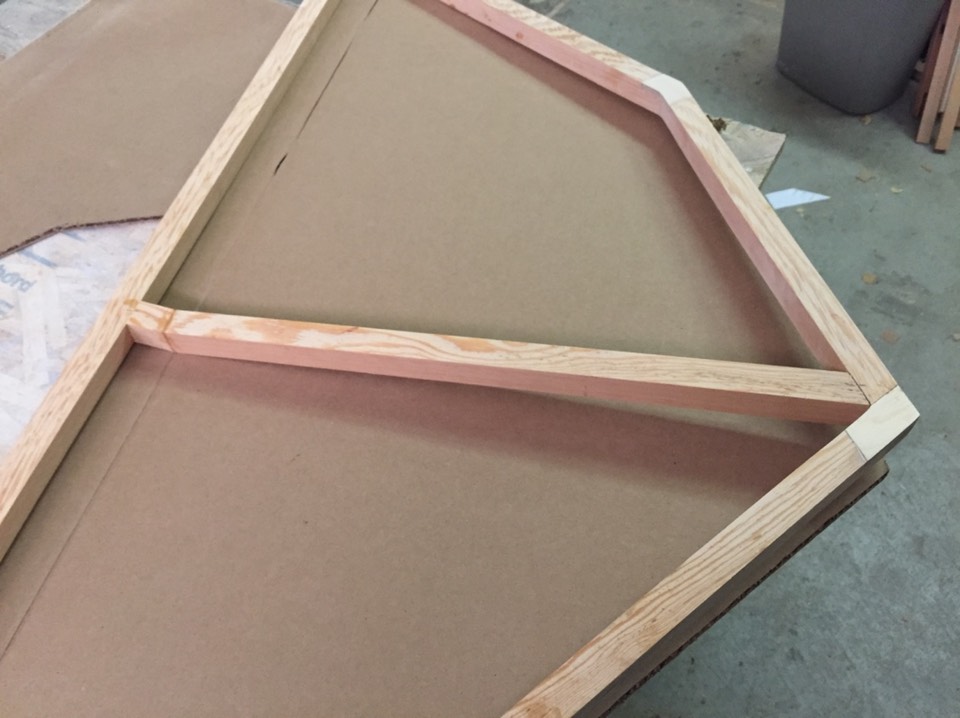
Here is a close up of the dowel joint and a gusset made from 1/4” birch ply. Very tricky joints.

Next, a center support for the door lower half was added.
Some more joint work ….. you have to be creative to build a strong door.
Ends of the joint had to be routed to inlay another 1/4” plywood gusset; lots used all around the door.
This was done at every joint on the door. A tedious process but very important. End grain butt joints have very little strength without a gusset.
All the gussets were then sanded flush with the surfaces of the door.


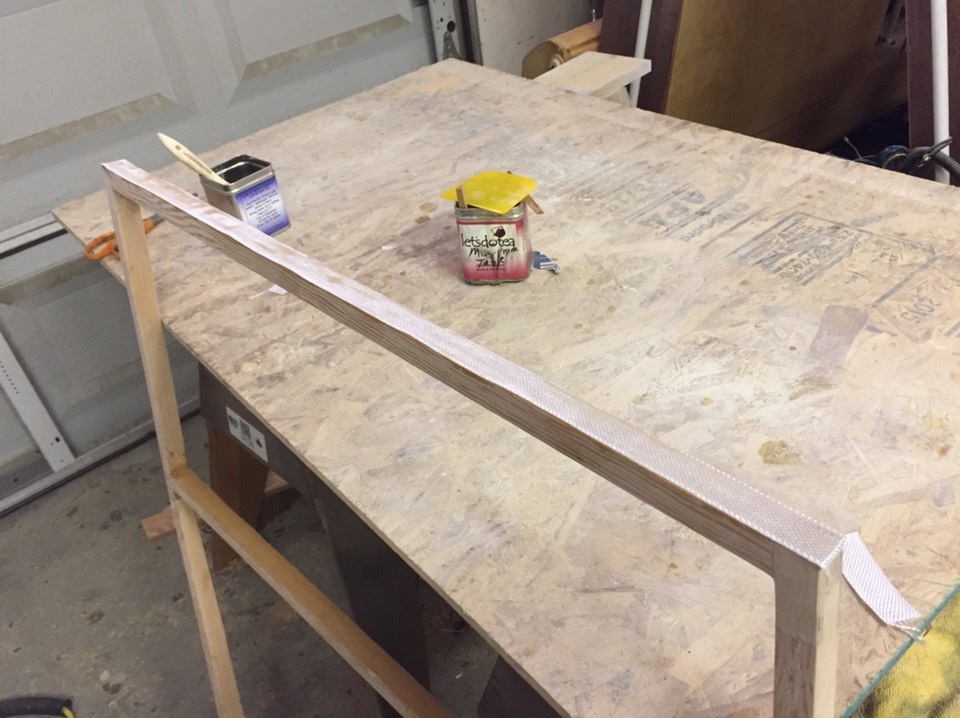
Next, all edges were fiberglassed. This adds strength to the frame. Not sure if it was needed but I chose to do it anyway.
Yes, I dry my epoxy in the kitchen …….
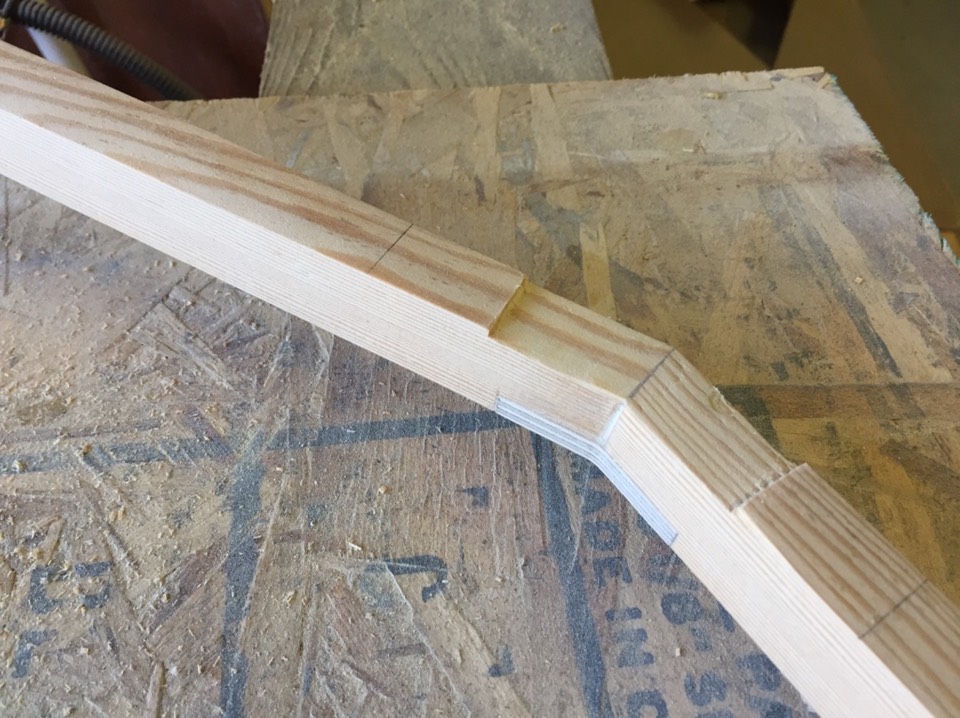
Next, I added additional wood to the door frame. I was using the drawings in the 2+2 plans as a guide here. The second long middle strip was needed due to the angle change of the door. The upper strip will be the mounting point for my sliding window tracks.
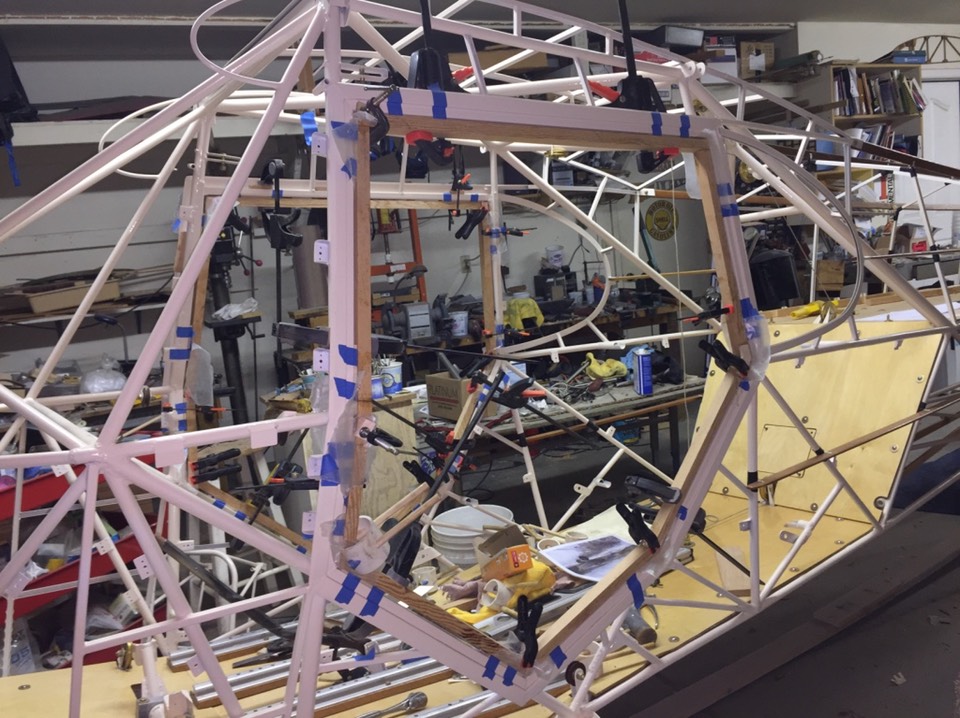
Below is a shot of the finished door frame in the door opening on the fuselage. The shims had to be adjusted to compensate for the thickness of the fiberglass added to the outside of the door frame.

After the frame is finished, door skins and latches will need to be fabricated. I used 1/8” birch plywood for the door skins. Patterns were made in the same fashion as I used on the floor boards. In this case, I think I used 2" or 3” wide cardboard that I cut on my band saw. My source for all the card board? Costco! When you shop, you will see flat cardboard separating the layers of boxes on the pallets. Go in the afternoon about 4pm and there will be lots of product where a large piece of card board is on top of the next level. They are happy to let you have the cardboard, no charge. If I need cardboard, I just grab some the next time I shop.
This is a good place to end this post. Next step before cutting and gluing on the door skins was designing handles and locks for the door. Absolutely nothing in the plans for latches .... nothing at all.