It’s time for an update. I’ve been busy building but not taking care of my web posts so let's see what I have been working on.
Four major steps have been completed since the last update: Torque tube for control sticks completed, wings mounted and aileron cable pulley cages tack welded in place, cables run for flaps, and brake pedal/rudder pedal completed with master cylinders. I will post these updates in four parts to better show the progress. First post will be the control stick torque tube build.
The torque tube was built as per the plans. All the parts had been previously water jet cut by another builder. We split the cost of the set up and had two sets of parts cut. This saved a bunch of time, as there were lots of parts to cut.
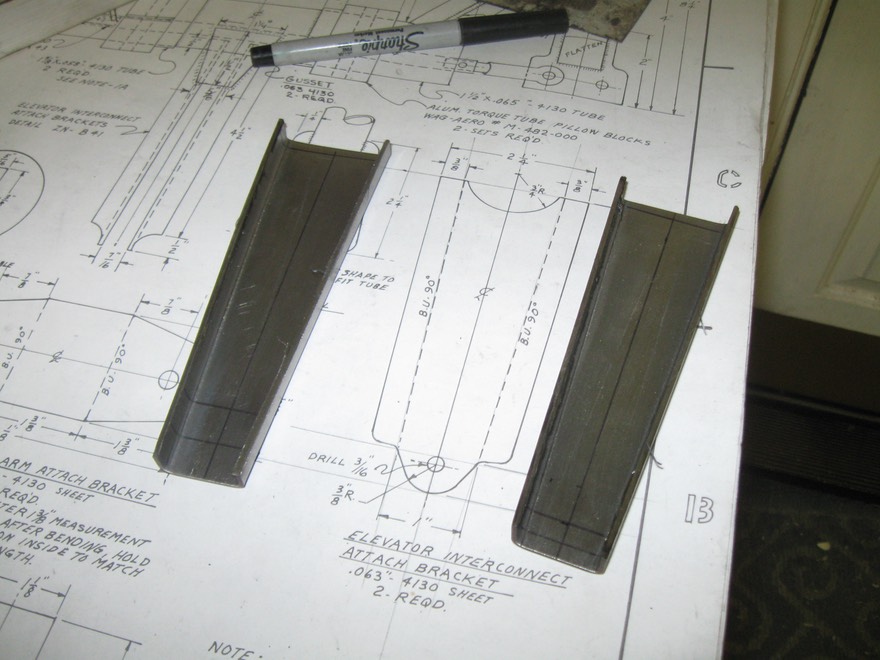
First step was some bending of the elevator interconnects. Pretty straight forward. I first bent the steel using my press and then trimmed the parts to size.
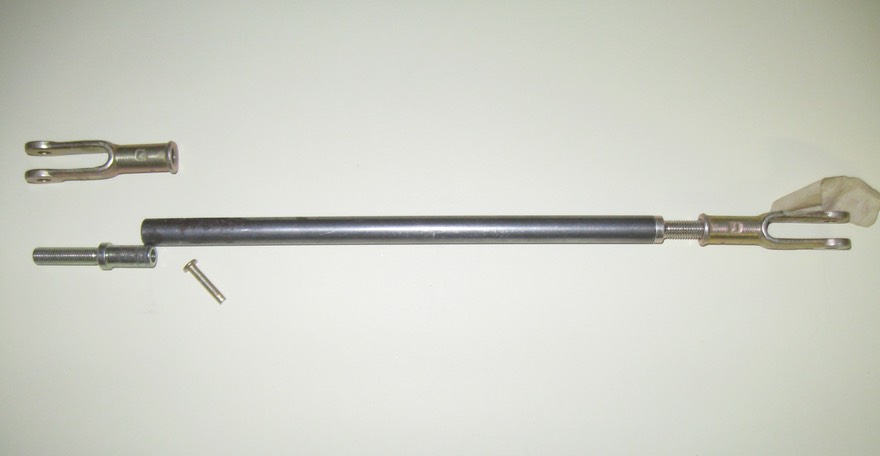
Next, piecing together the rod connecting the two control sticks.
Next, the control stick stubs were welded up as per the plans. Nothing special here, I just followed the plans using the previously cut pieces.
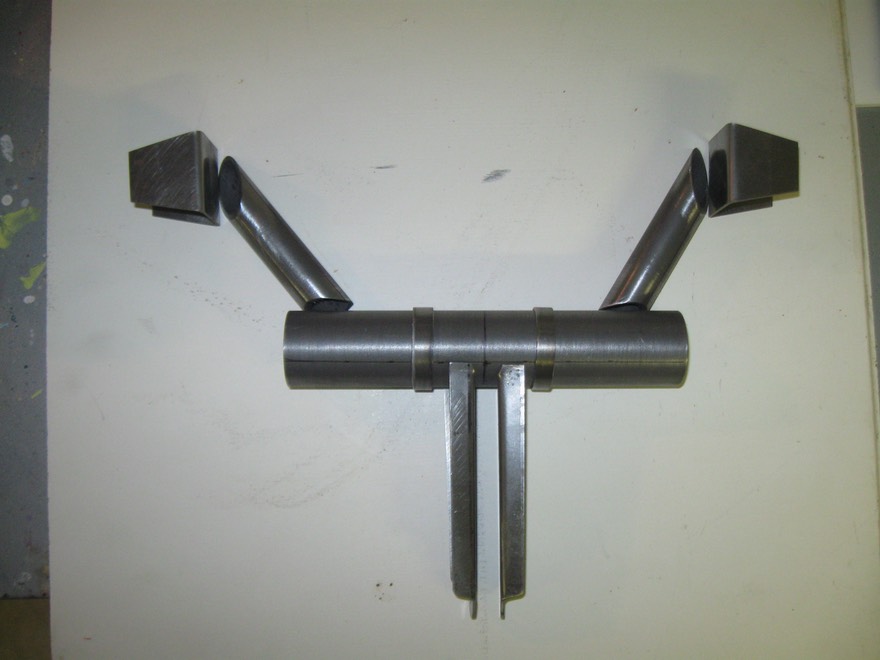
Here's all the parts laid out together ready for basic welding.
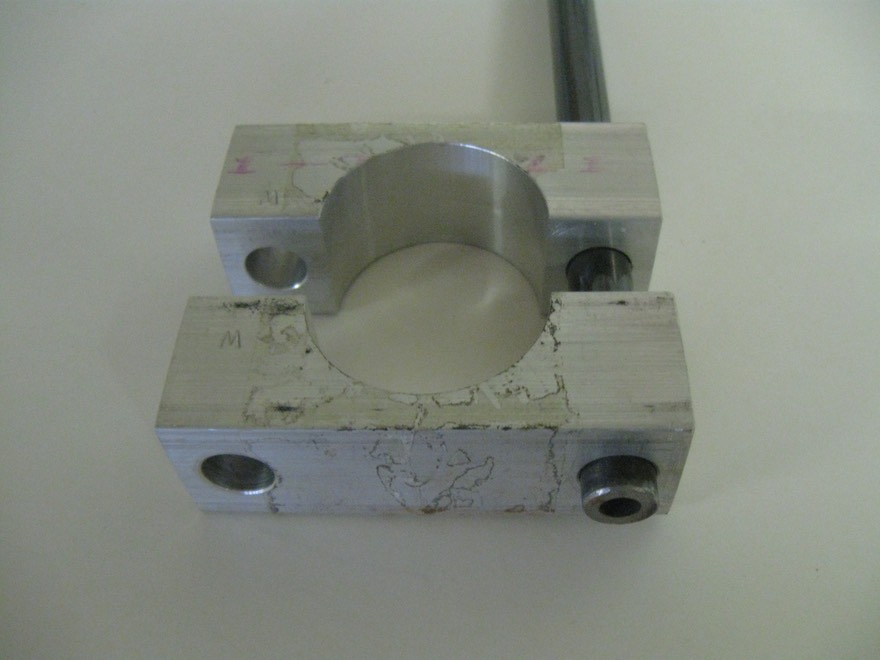
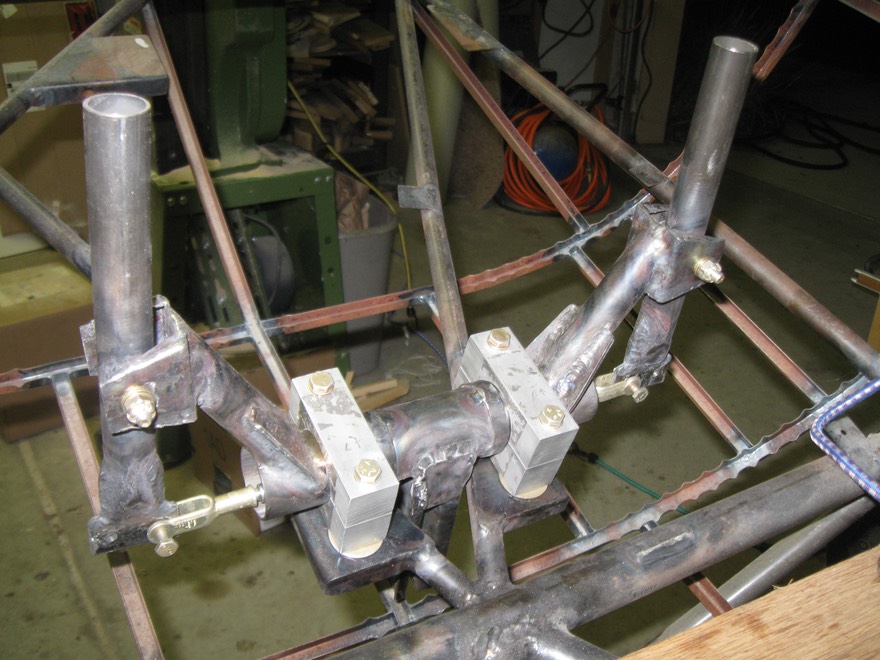
Pillow blocks were next. I am using the pillow blocks from Wag Aero. I cut and fabricated bushings to fit inside the holes in the pillow blocks.
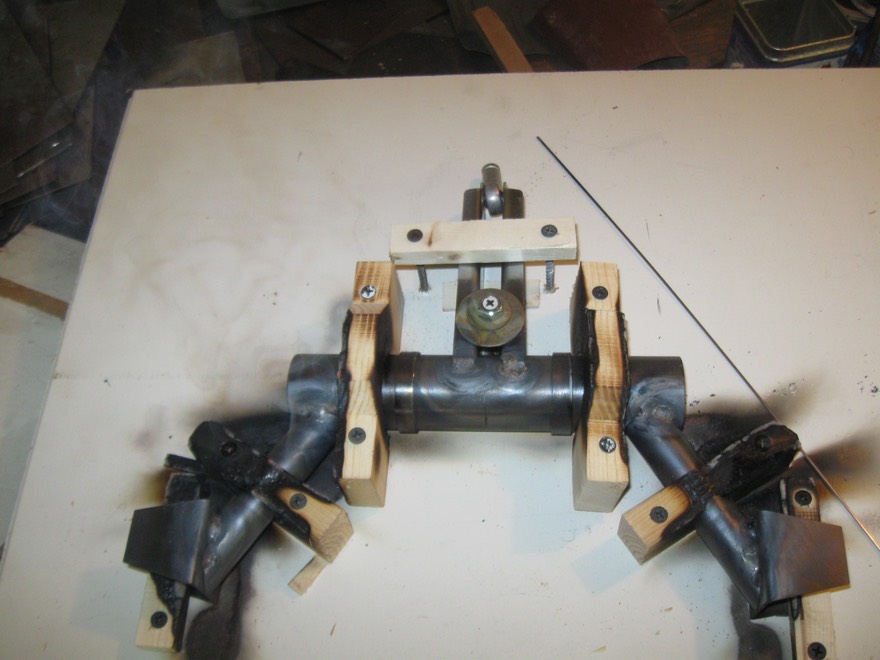
All the parts were than jigged together for tack welding. Lots of time went into carefully holding all parts in place. The welding went pretty easy although there was a lot to do and it took some time to complete.

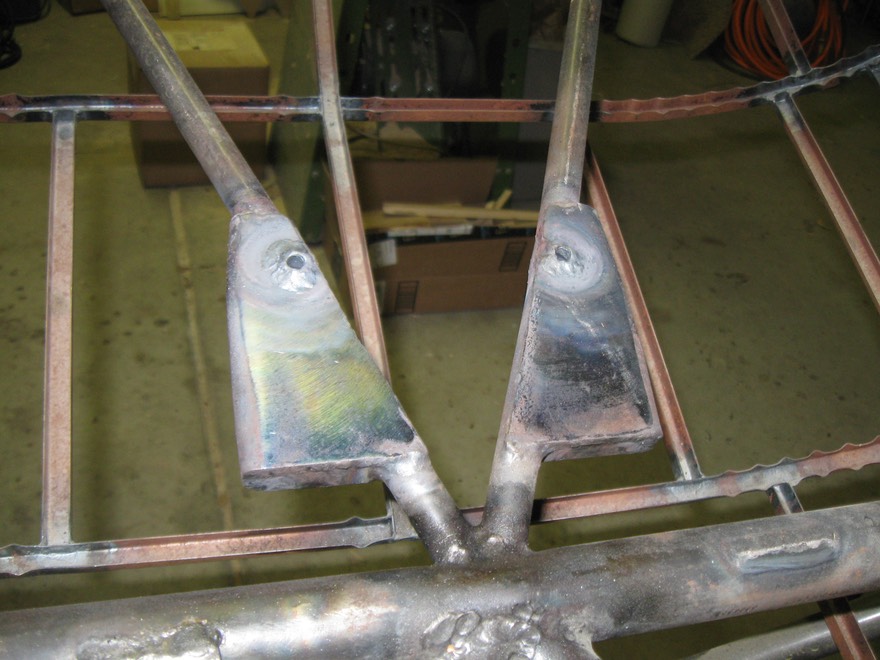
Parts welded; the braces were then added and welded into place.
The little angle pieces were then held in place and welded into place.
Welding done .......
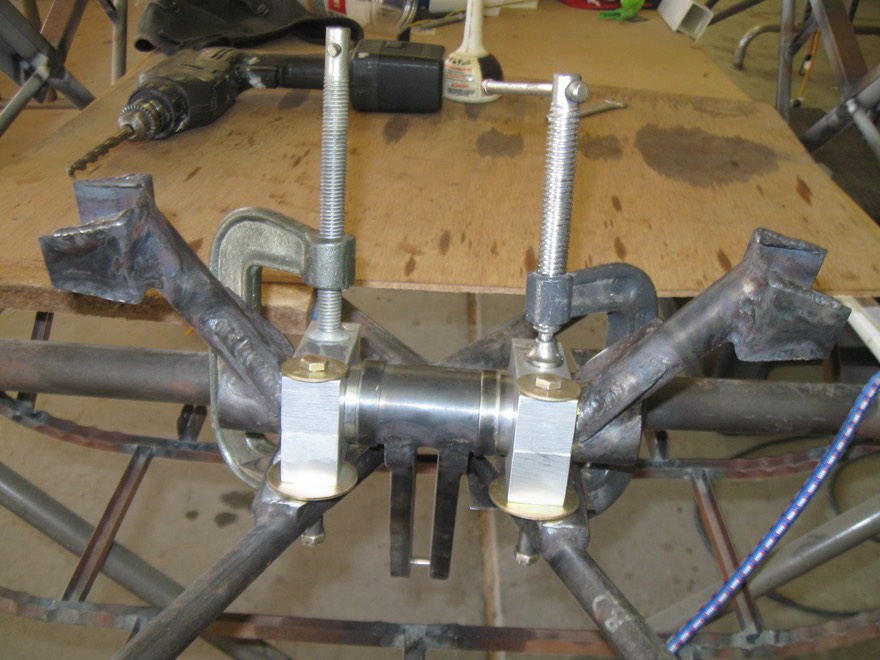
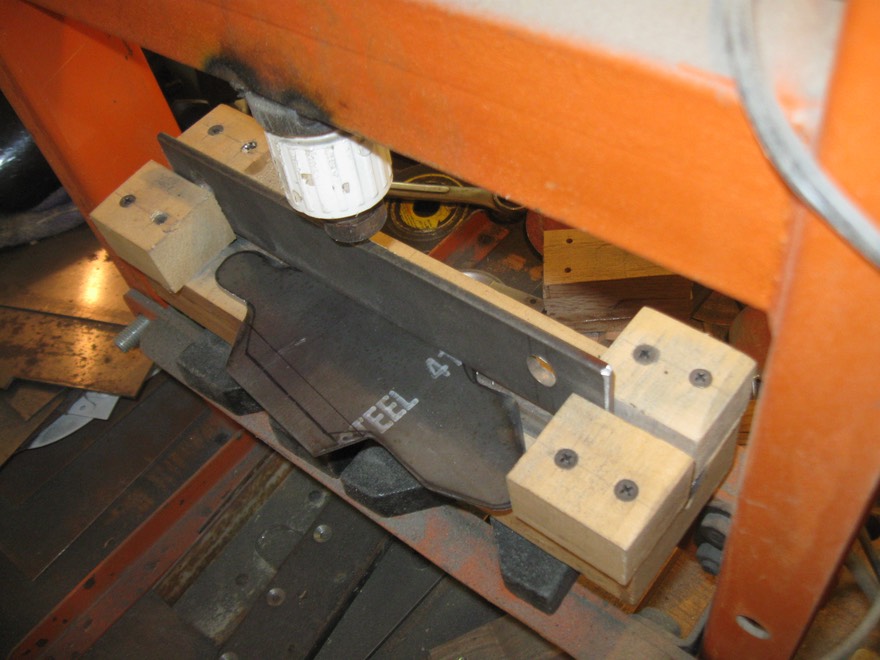
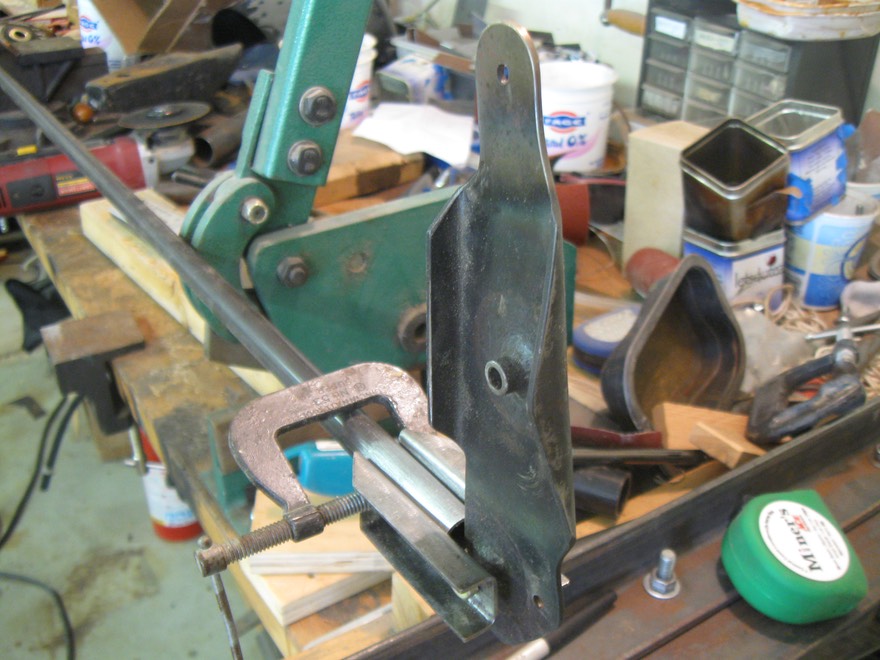
Next was locating the position and welding in the bolt bushings into the mounting plate. I only welded in bushings for the front holes; rear will come later when fuselage is on rotating jig for final welding still needed.
The finished torque tube must be used to jig the bushings into place. After bolting everything in place, the pillow blocks were removed and the bushings welded in place. The bushings were cut down and final welding by turning over the fuselage was necessary.
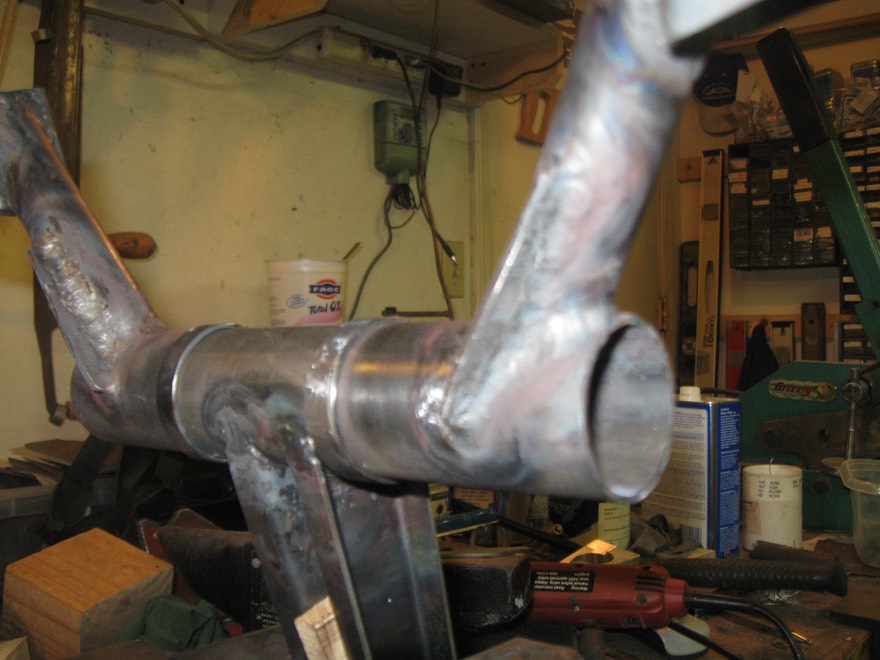
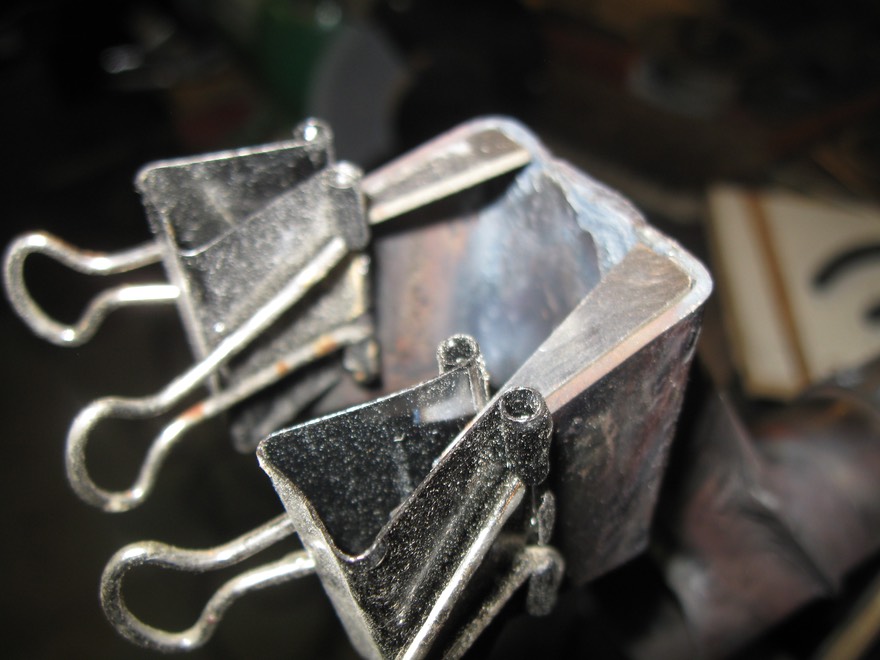
Here's the bushing from underneath. I tack welded the bushing from below then removed the pillow blocks, cut the bushings and then welded the bushing in place.
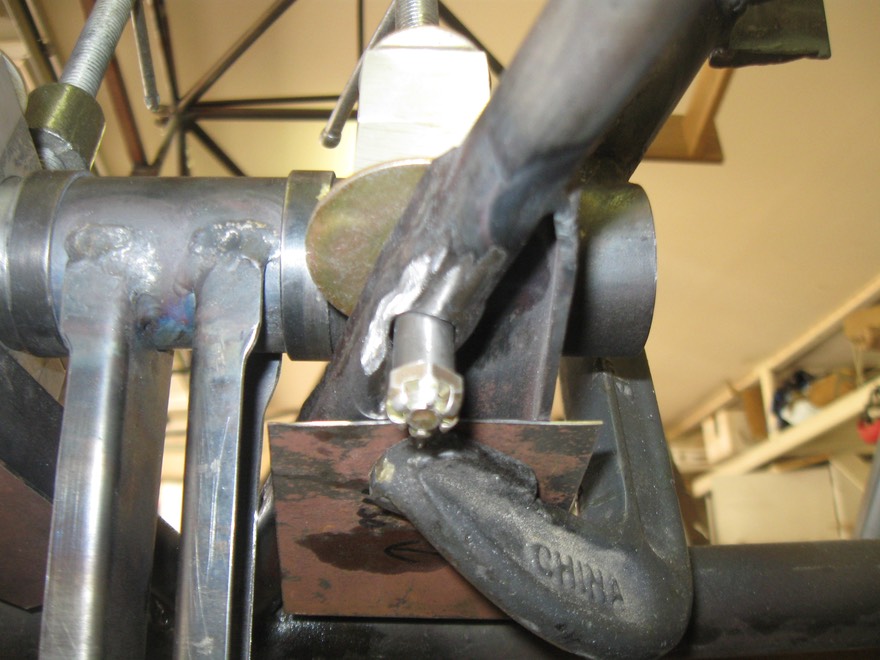
Bushings welded in place below.
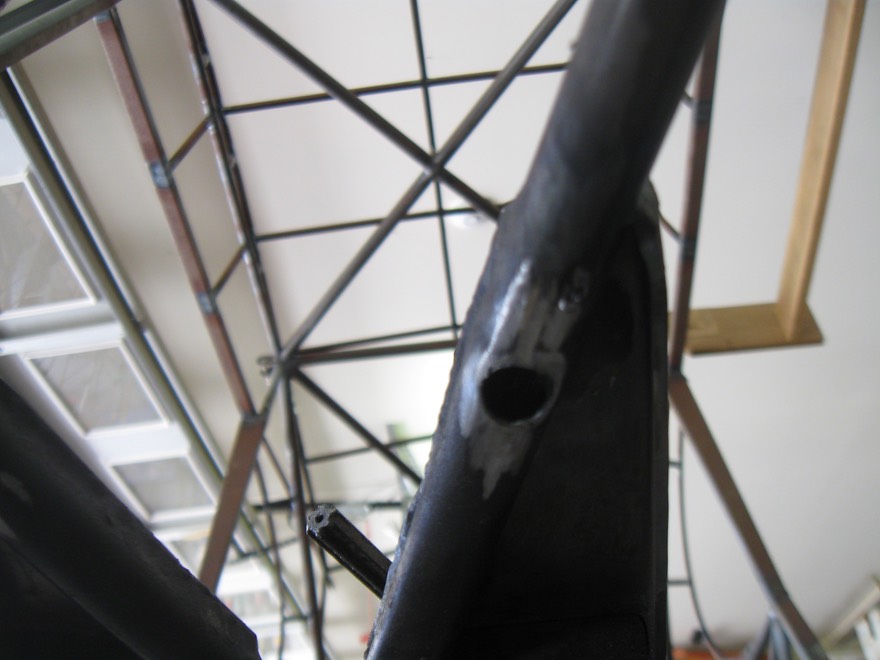
Bushings welded from above. Some grinding from top will be necessary. I will place a washer or shin between the pillow blocks and the mounting base to take up the space created by the bushings above the plate.
Here's the finished torque tube with all the holes drilled and everything clamped in place. Proper alignment is very critical so the torque tube will properly rotate freely for smooth movement of the control sticks.
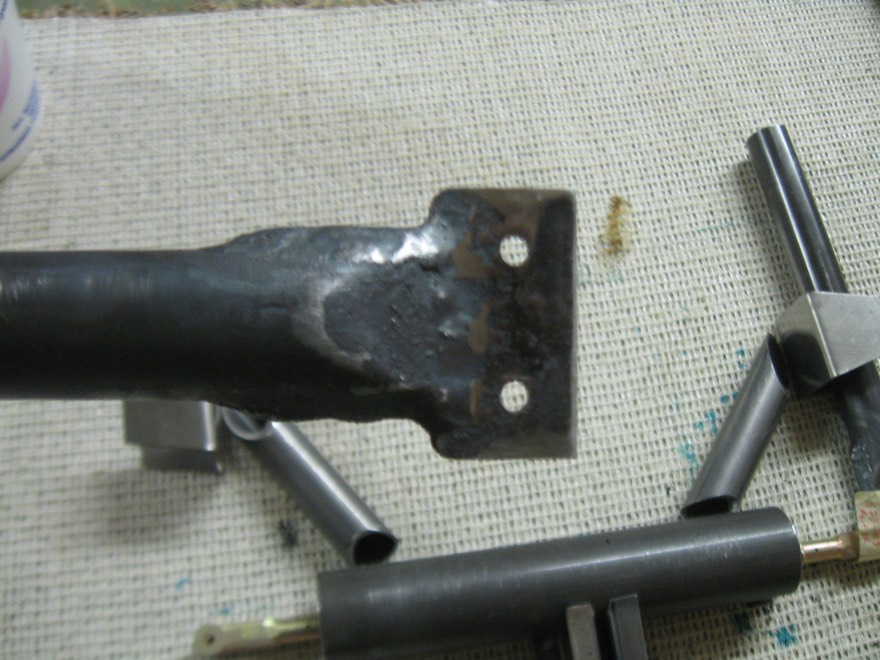
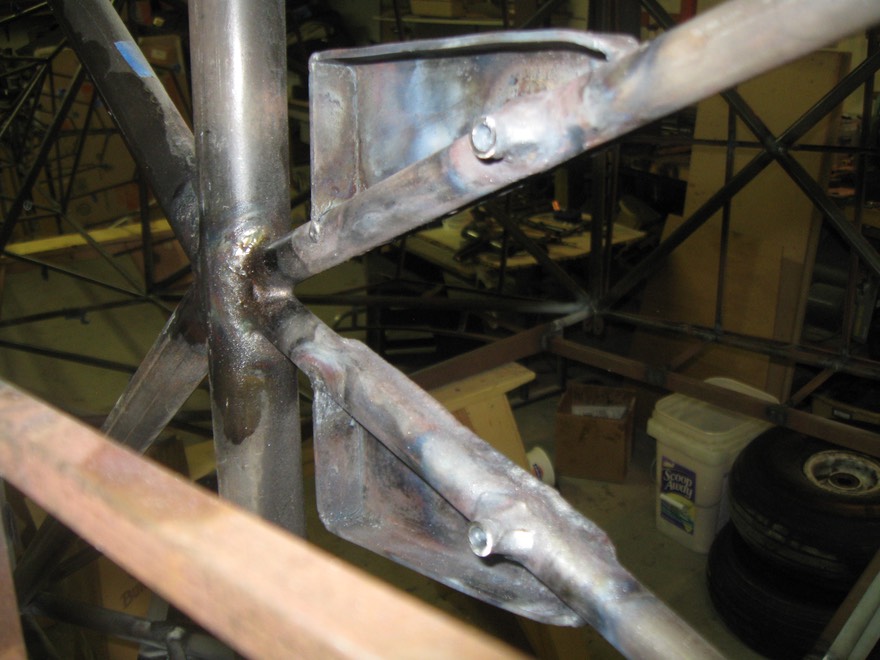
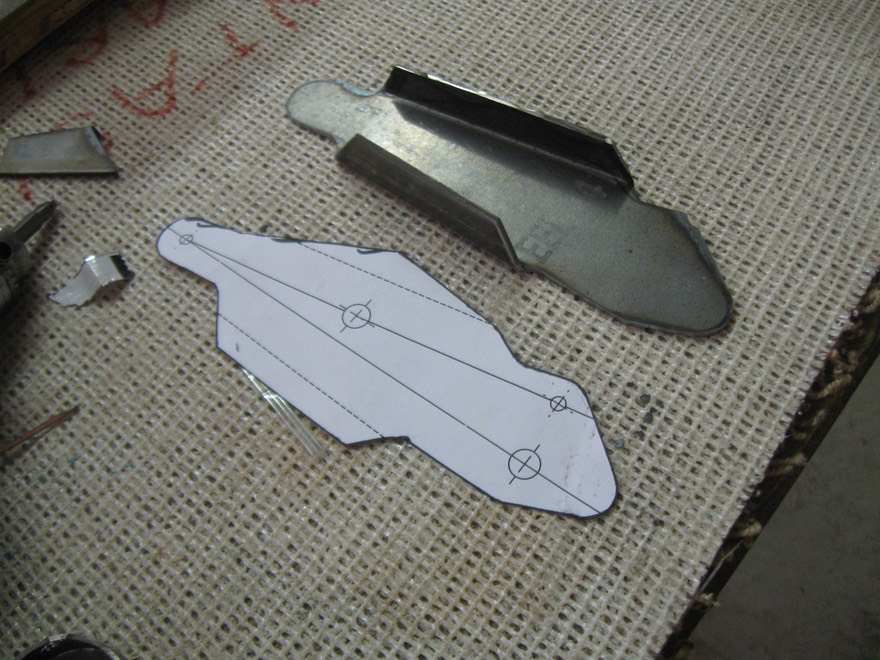
Next was making the bellcrank and push/pull tube to connect the torque tube to the elevators. I again just followed the plans; this was pretty easy to build. I rough cut the steel for the bellcrank than bent it in my press. Note that I left a extra 1/2" on the bent tab to allow for easier bending. The tab was cut down later. Bushings were also welded into the bellcrank for the necessary bolts.
Bend and ready to trim.
Bellcrank finished
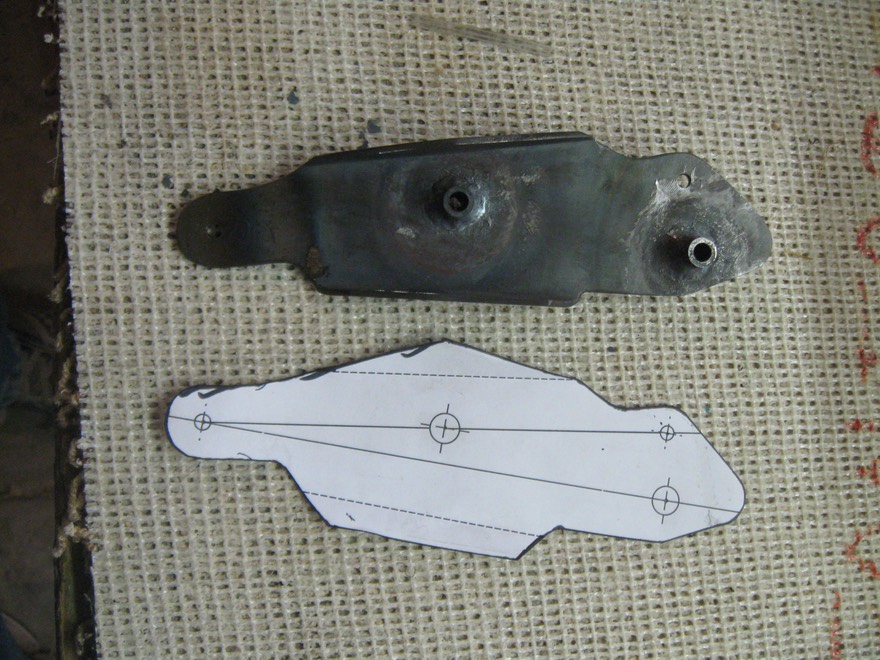
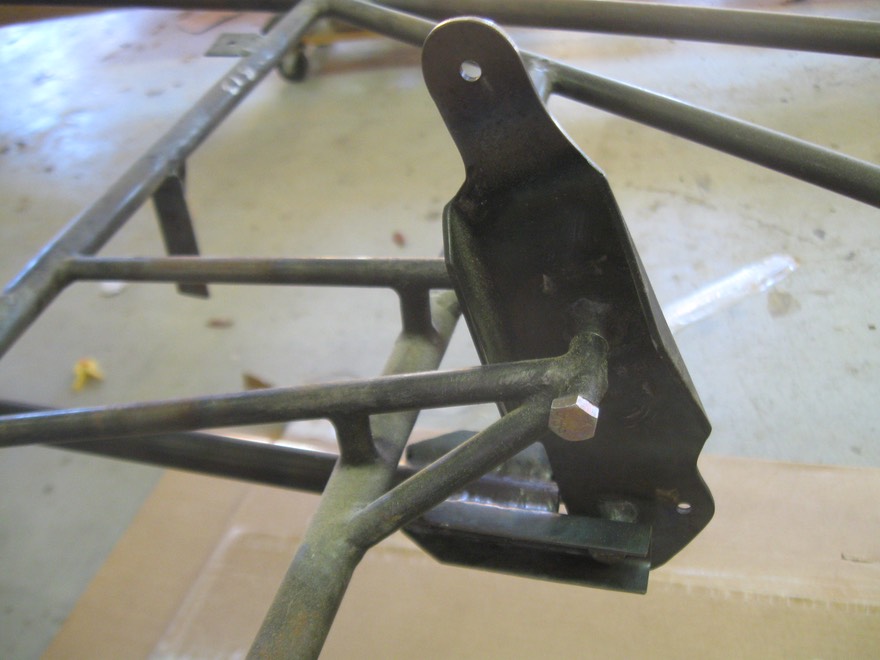
Bellcrank mounted in place ready for push/pull tube.

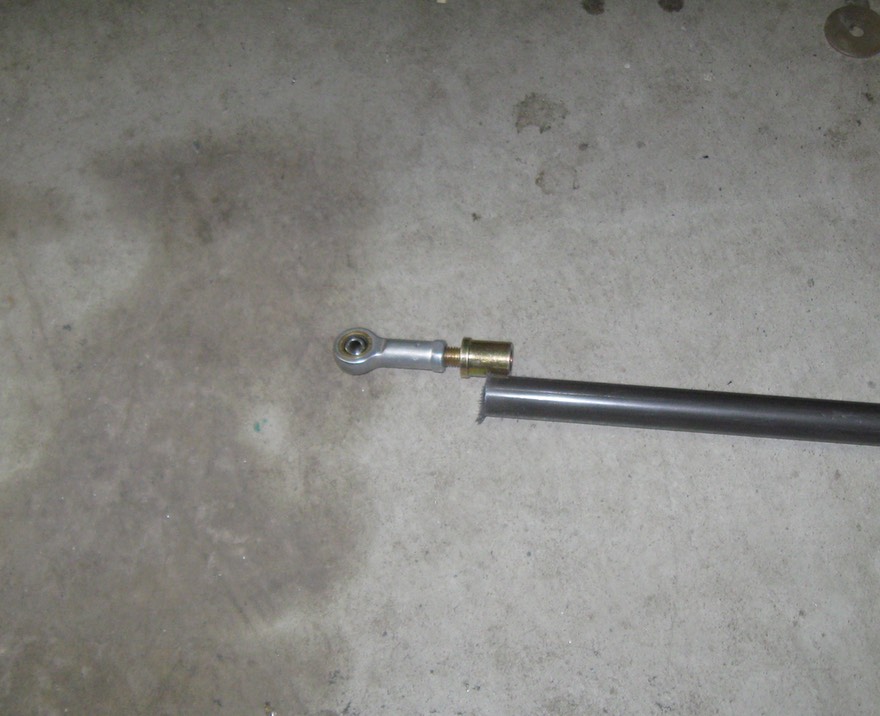
Ends of push pull tube .....
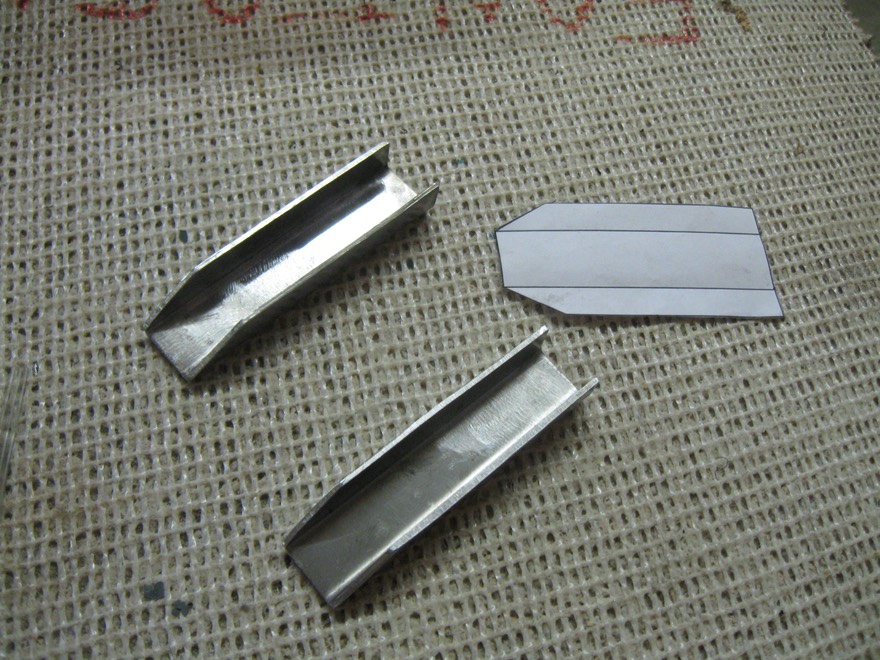
Clamping the ends of the push pul tube with the bellcrank for tack welding.
Pivot end ready for welding ....
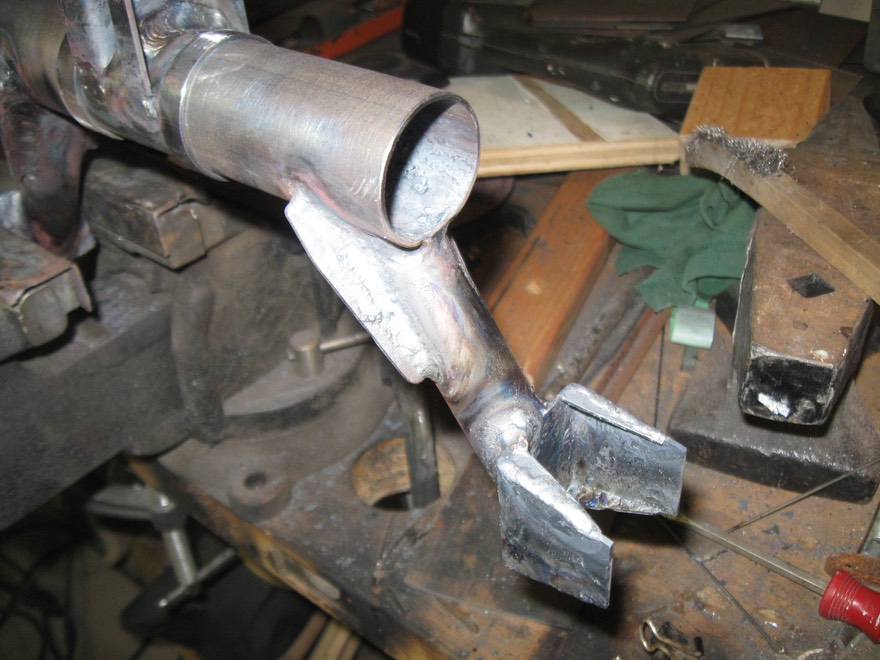
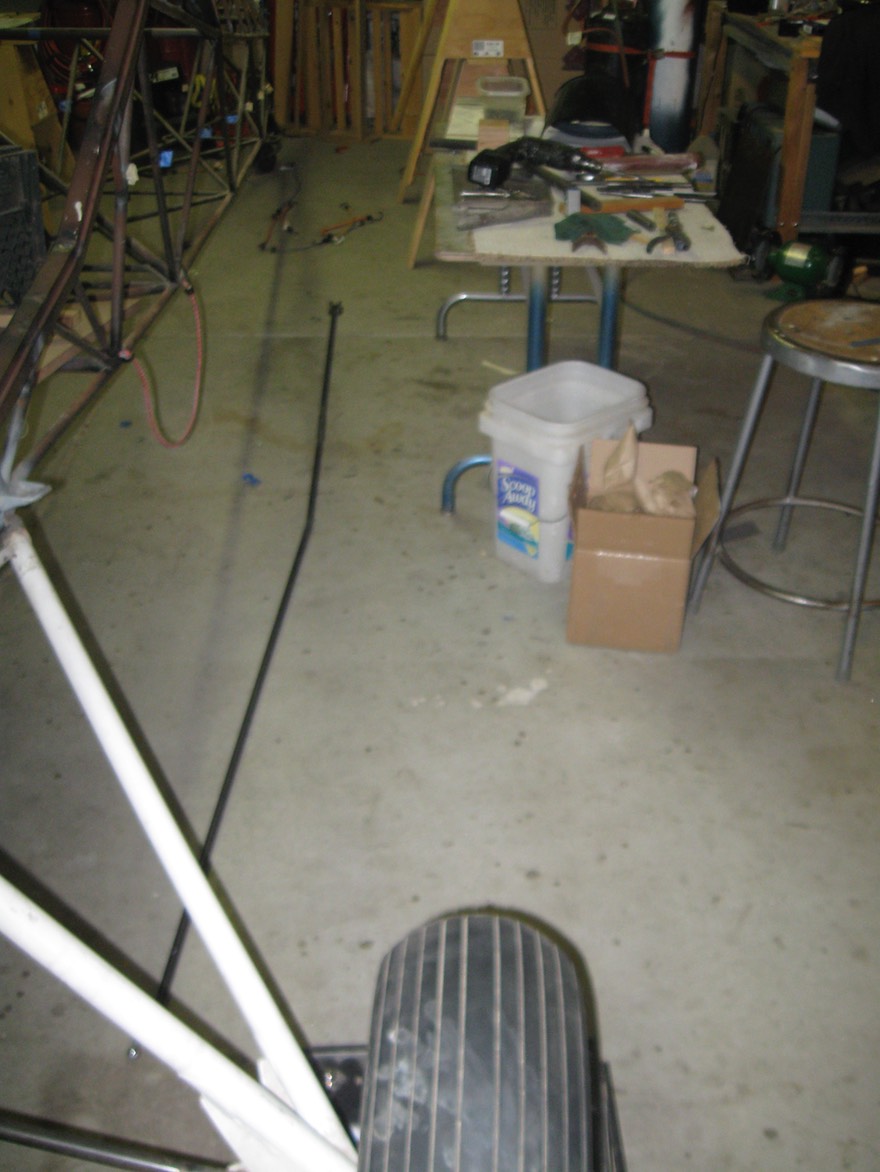
Finished tube ....... very long piece!
Completed push/pull tube bolted to the bellcrank.
Finished and tested tested by quality control department. It passed !