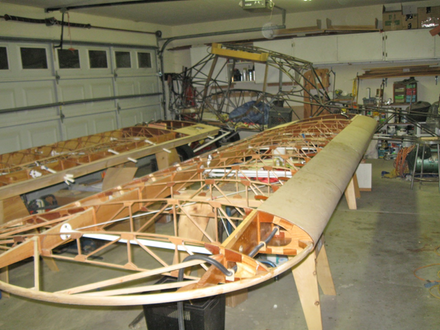
After I finished the tank bays it was on to the leading edge plywood. This was going to be a big process and I thought it would also be difficult. It did involve a lot of steps but turned out to be rather straight forward. I'll try to show the major steps as I moved through the process.
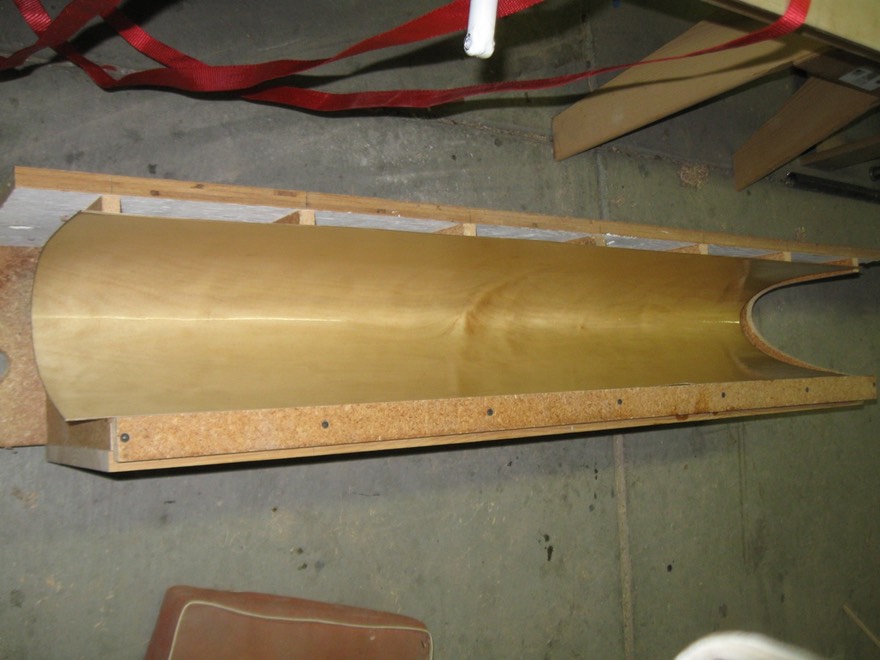
First, I made a jig to pre bend all the 1/16" birch plywood skins. Each skin had to be soaked for about 1/2 hour and than clamped in the jig for 24 hours. The entire process took 8 days to bend all the wood. While drying in the jig, I worked on prep of the wing to accept the plywood. First the jig.
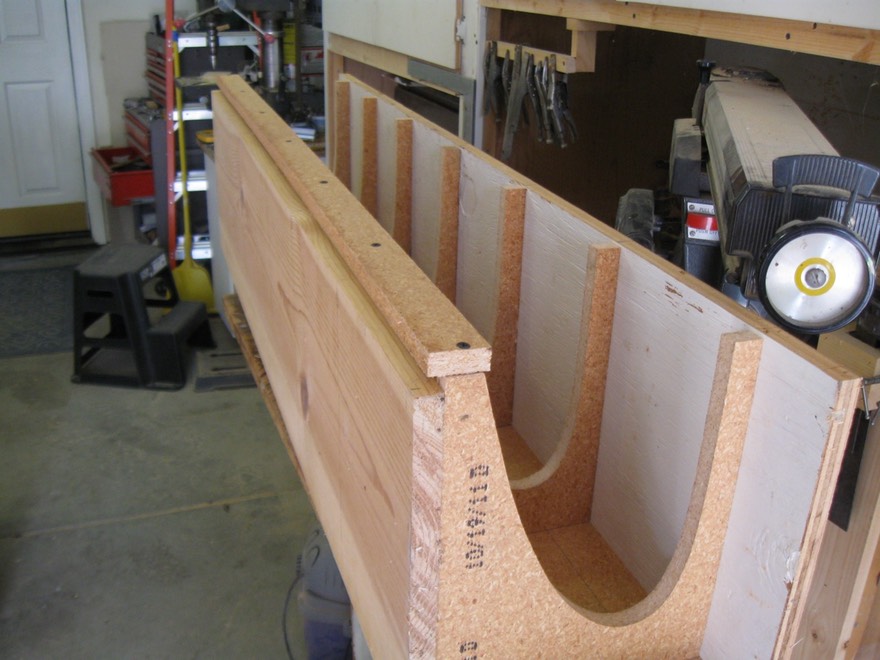
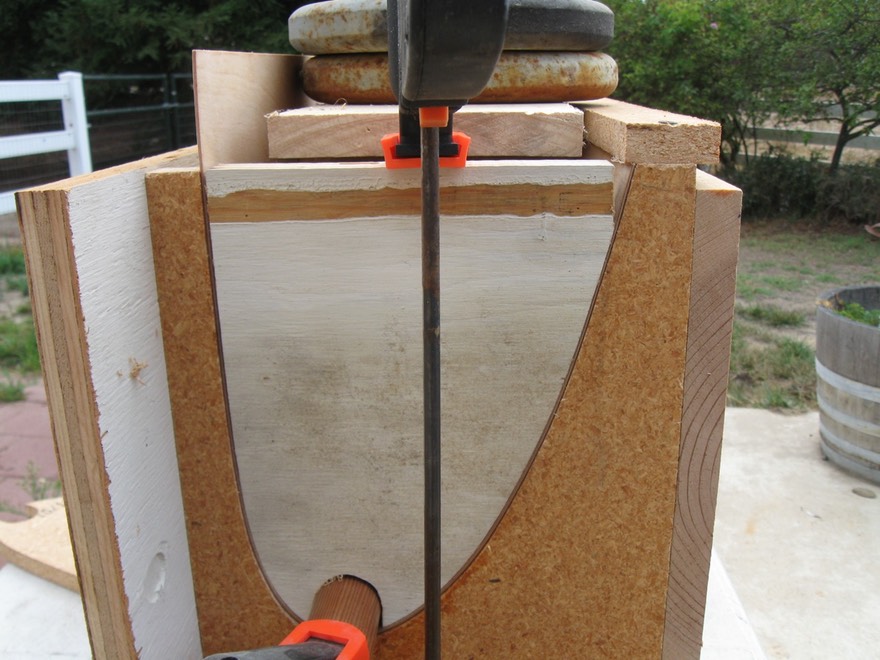
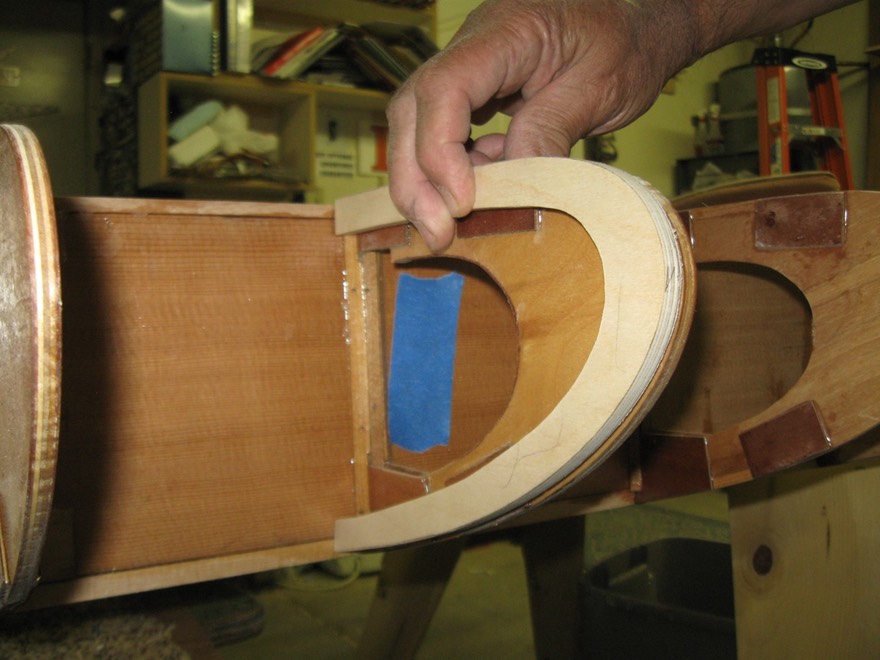
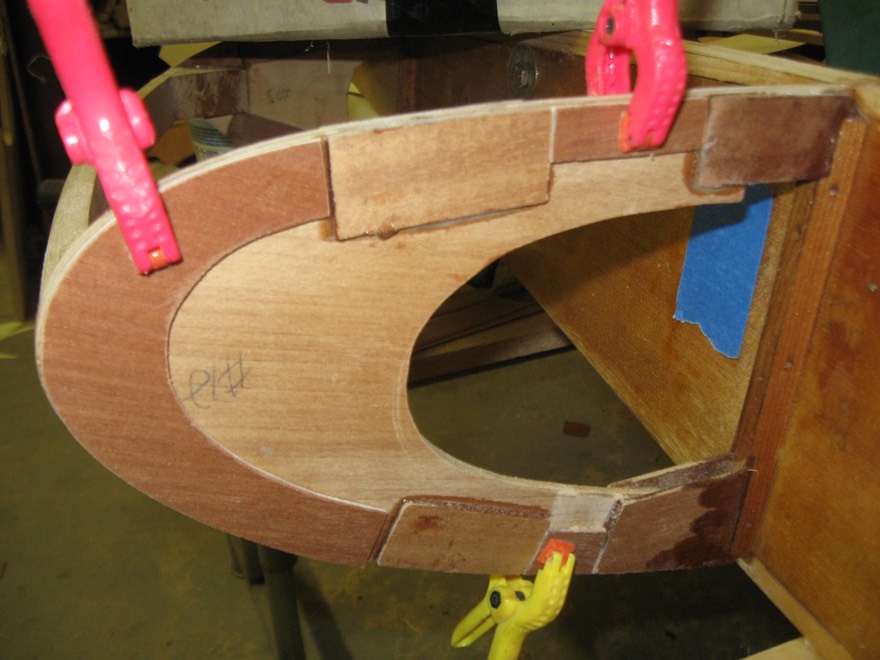
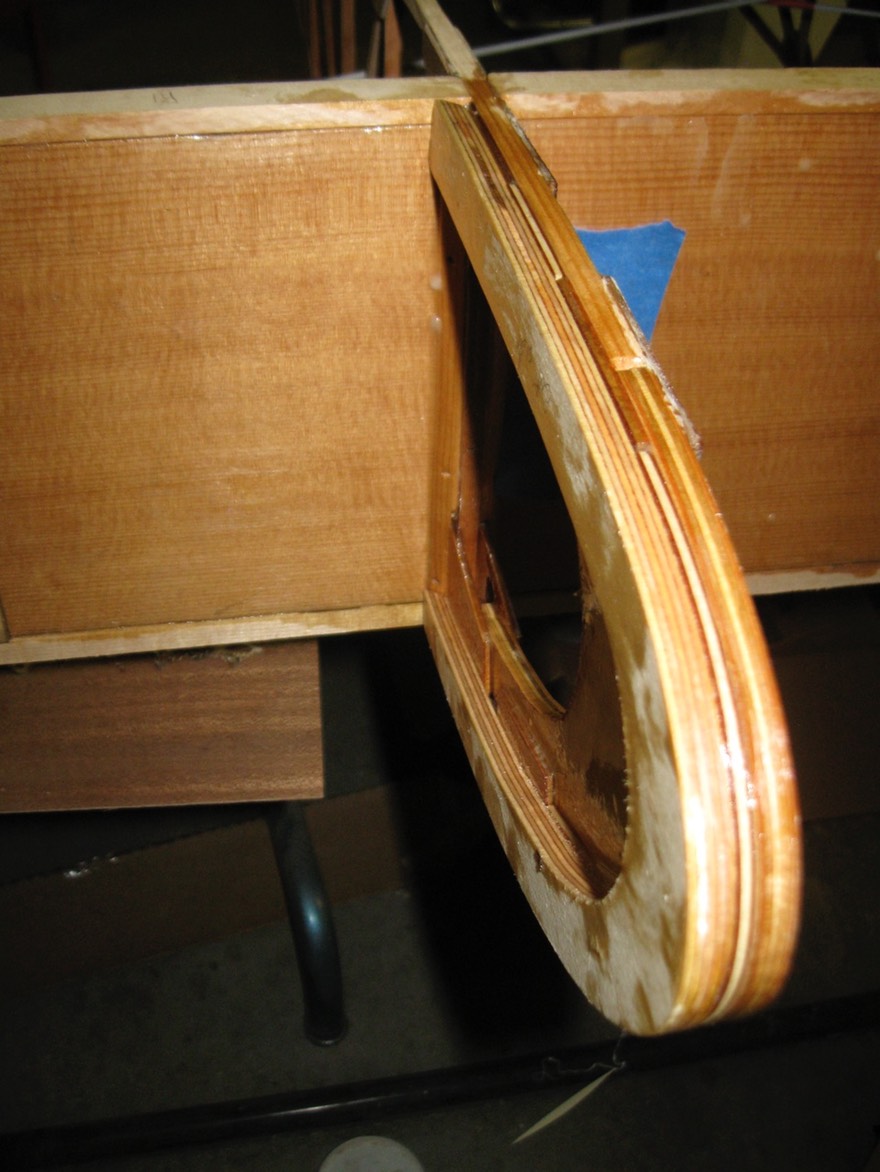
I made the jig from wood on hand. Each cut out of the "D" was formed from a master that accounted for the 1/16" thickness. This may have been overkill as to exactness.
The plywood was soaked in our spa for about 30 minutes before clamping in the jig. The next few pictures should better show parts of the jig.
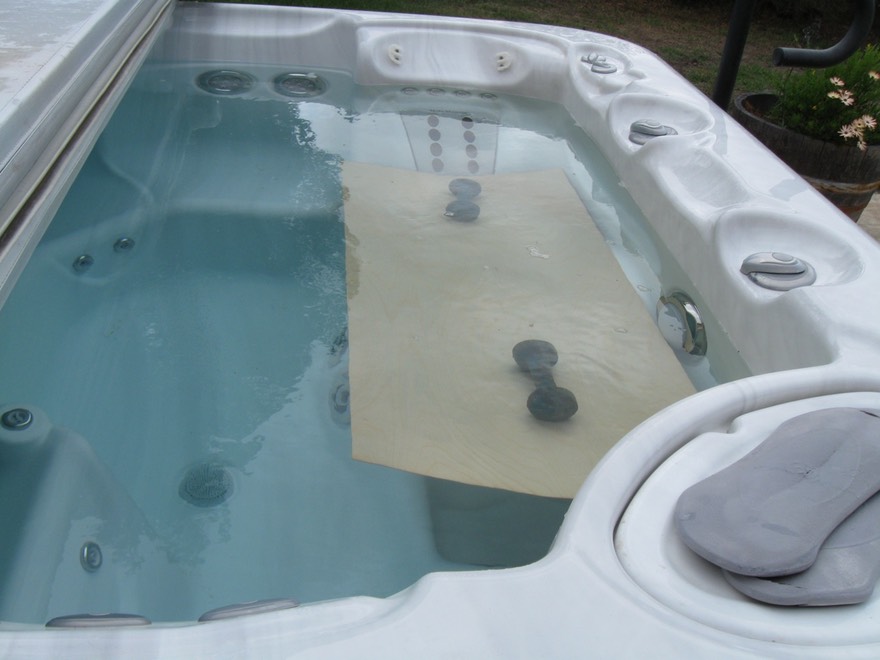
The soak first. The wood was than inserted in the jig with a "D" at each station to clamp the wood in place. A piece of closet rod was used at the tip to hold it into the jig. Each "D" was cut to fit.
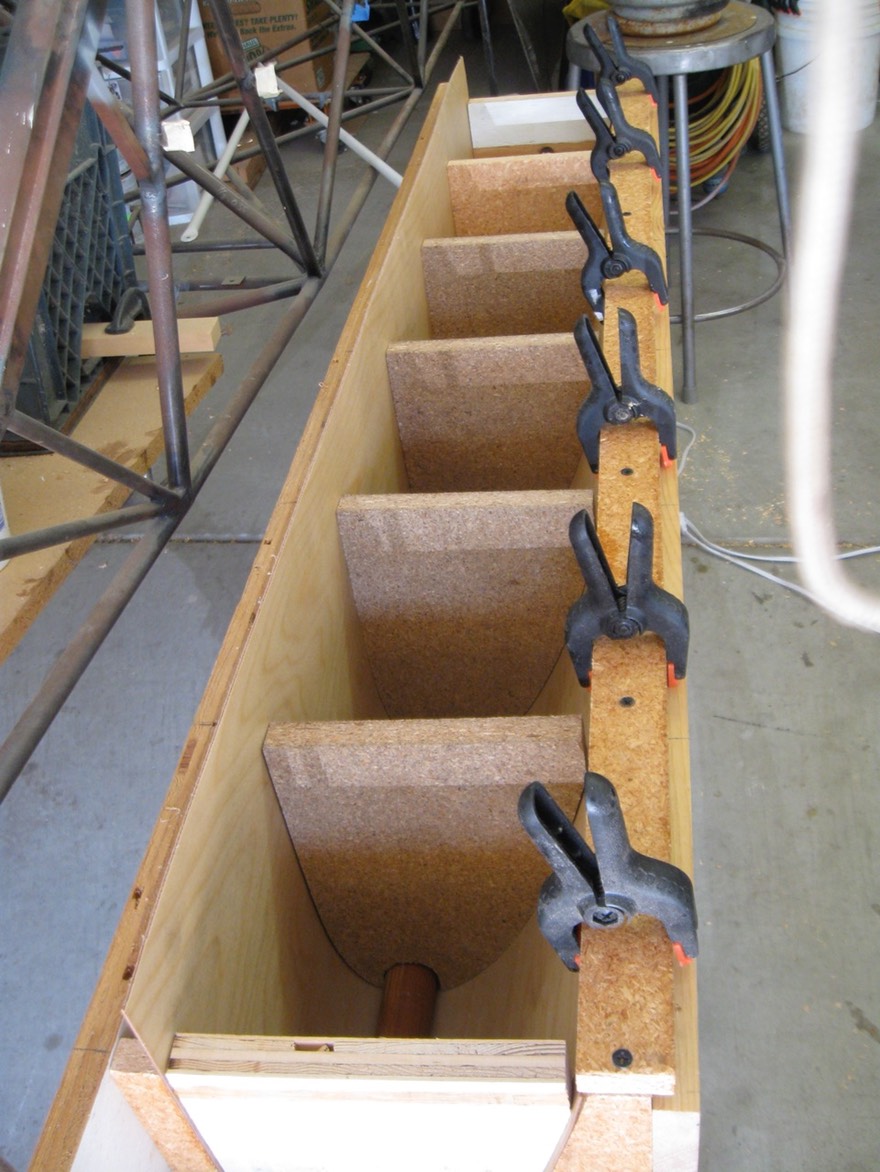
Here you can see the ply locked into the jig. I placed a board across the top and put weights on it for the over night drying. I also put a fan in front of the jig to circulate the air better.
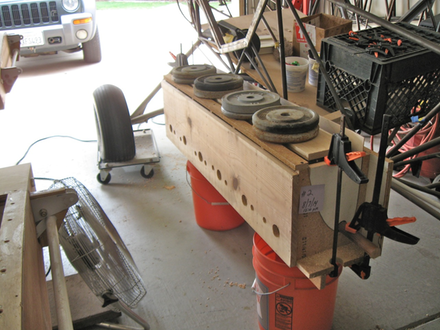
This was repeated for 8 days until all the plys were bend and ready to use.
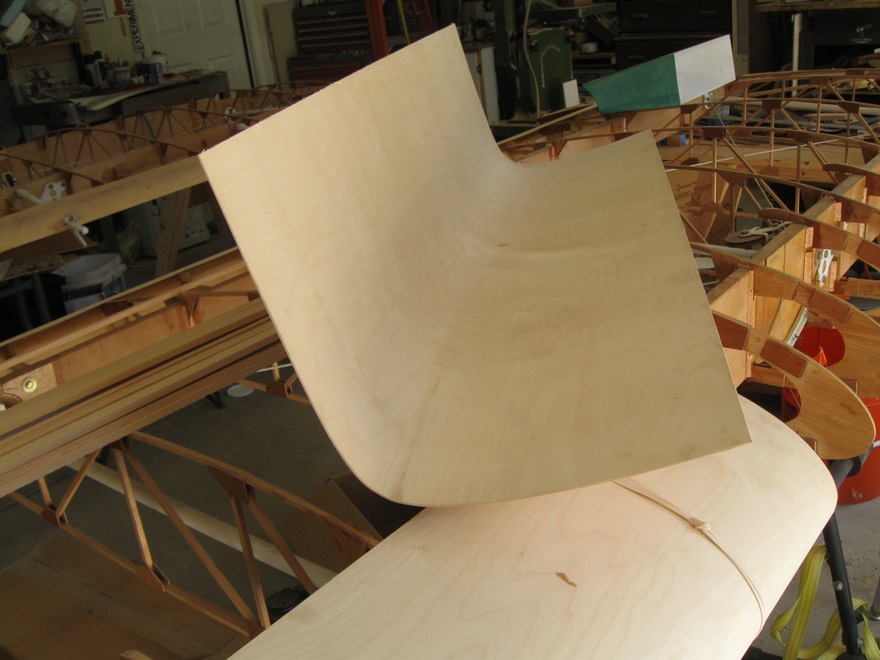
Here is what the ply looked like after removing from the jig. I kept them clamped together with string; standing them on edge to keep the bends nice till ready for use.
Next, prepping the wing. The spars needed to be build up to the level of the ribs. This would make the leading edge a bib "D" box; locking in the proper twist in the wing.
The bottom of the spar needed the same treatment.
The area around the lift struts on the bottom of the wing needed to be boxed so the ply would have something to bond to in that area. I glued some blocking and a strip of spruce between the ribs at that location.
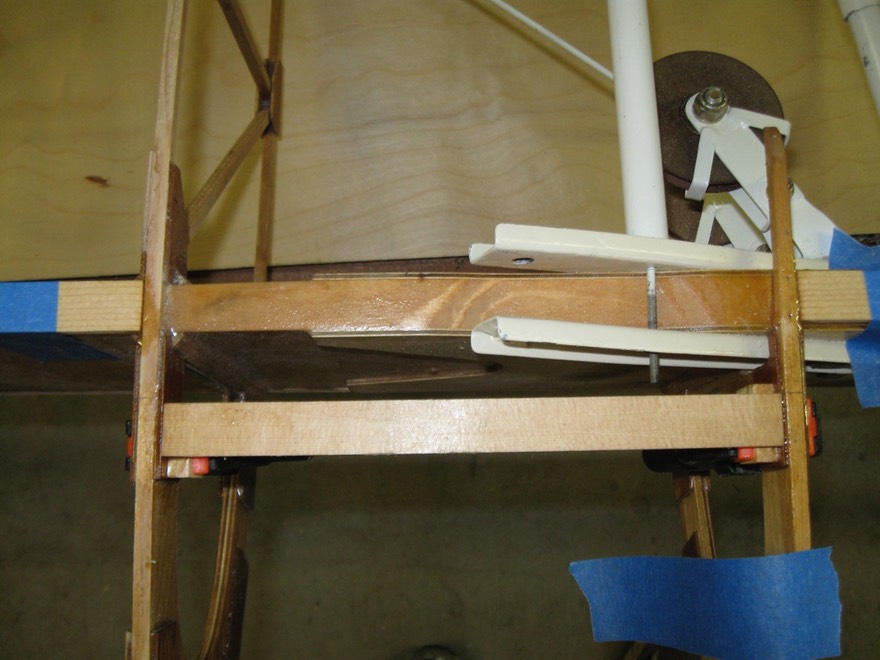
Next, extra blocking was added around the tank bay area. I kept finding areas where I wanted to add additional strips to form a better shelf for attachment of the plywood. Note the area I built up around the fuel tank straps.
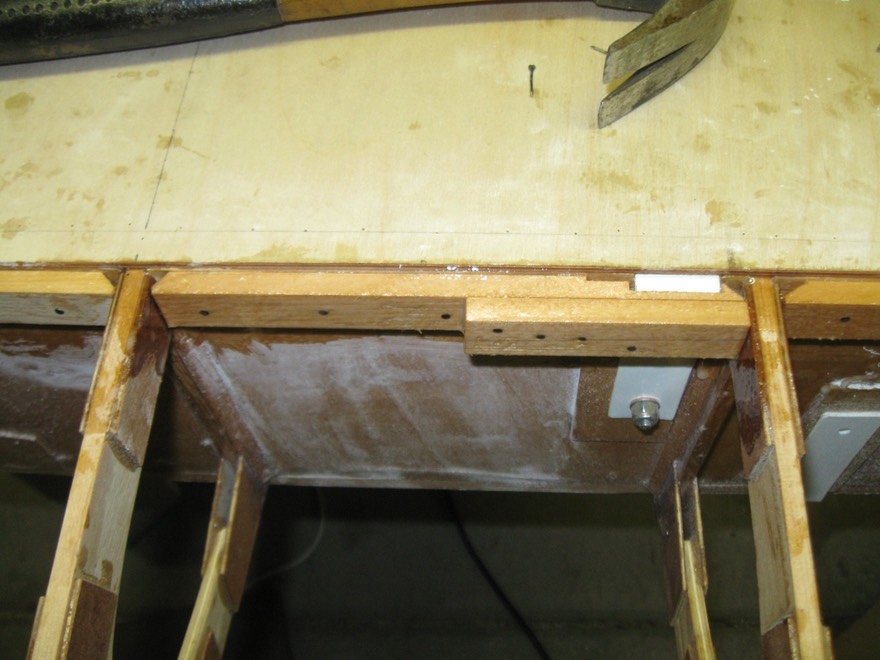
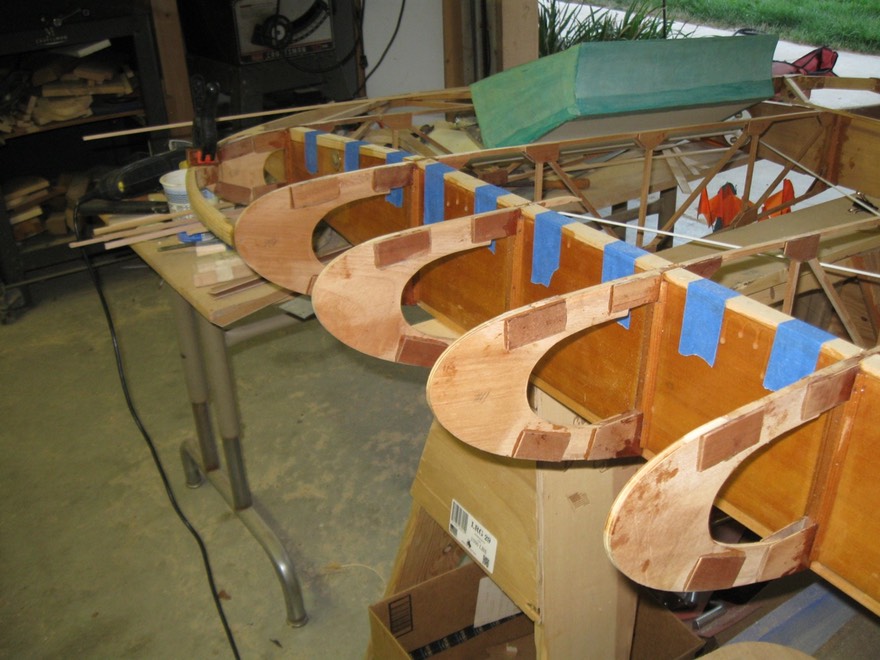
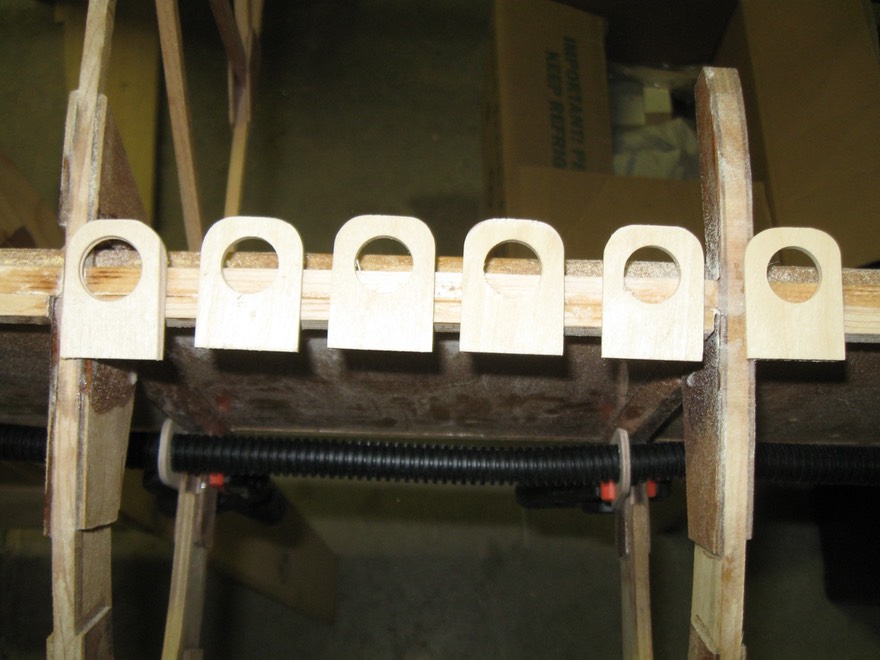
Next, I needed to double the thickness of the "D" sections of the ribs where the ply would be joined. I found this method on a Stearnman site. Other ways include scarfing the ends of the ply where they overlap. Although this way I used added a few ounces it was much easier.
I made a master from 1/4" birch ply and than duplicated them on my router table. I also made filler ply of 1/16" to build up the areas between the gussets. The finished thickness was about 9/16".
Everything was locked into place and glued with epoxy. Low spots were latter filled with a mixture of epoxy and microballoons.
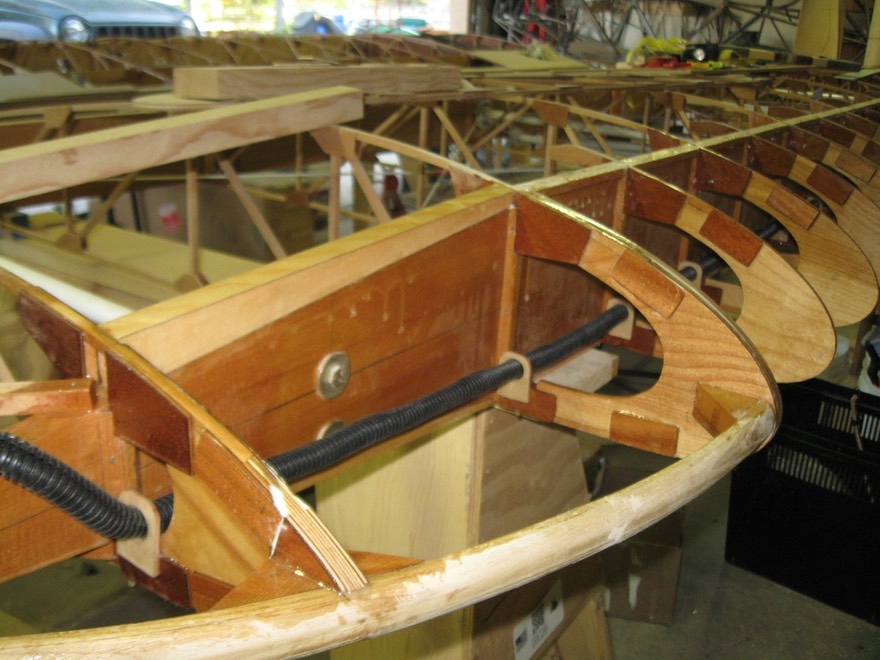
I realized I needed to run the wire for the landing lights and the nav lights before sealing up the leading edge. I decided to use a conduit to run the wires. I chose 3/4" split conduit typically for automotive wiring applications. It worked out pretty easy. I had to make some 1/8" plywood brackets to hold the conduit. There are lots of ways to do this; this is just what I came up with.
Each piece was glued in place and the conduit was pulled through. I first ran a couple of strong strings through the conduit to allow pulling the wire after the conduit was in place.
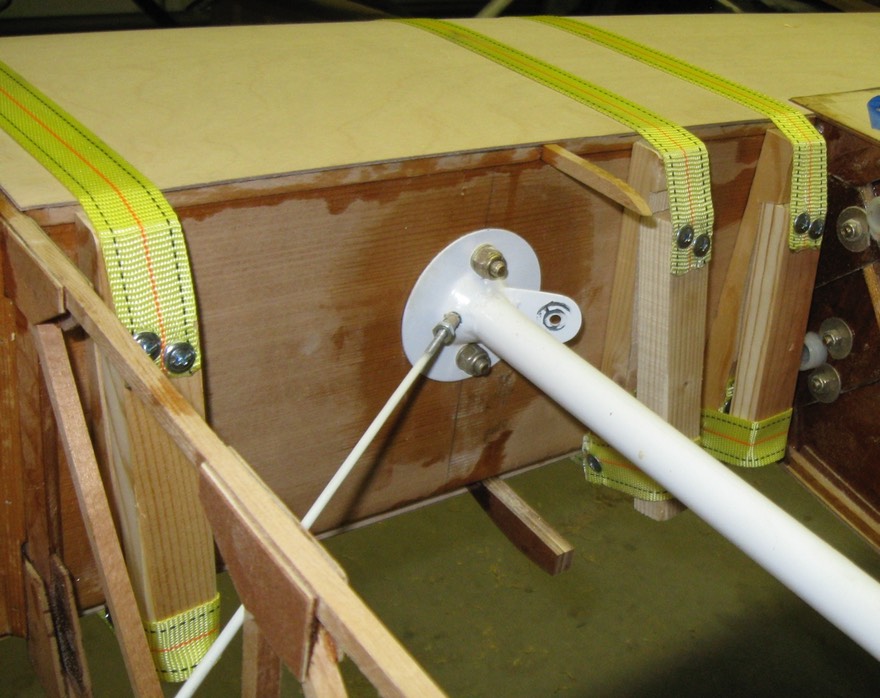
I next started to figure out how to clamp the ply in place while the epoxy dries. I looked at many sites and many ideas before making my own strap clamps. I made 10 of these and they proved to be very easy to use and fool proof.
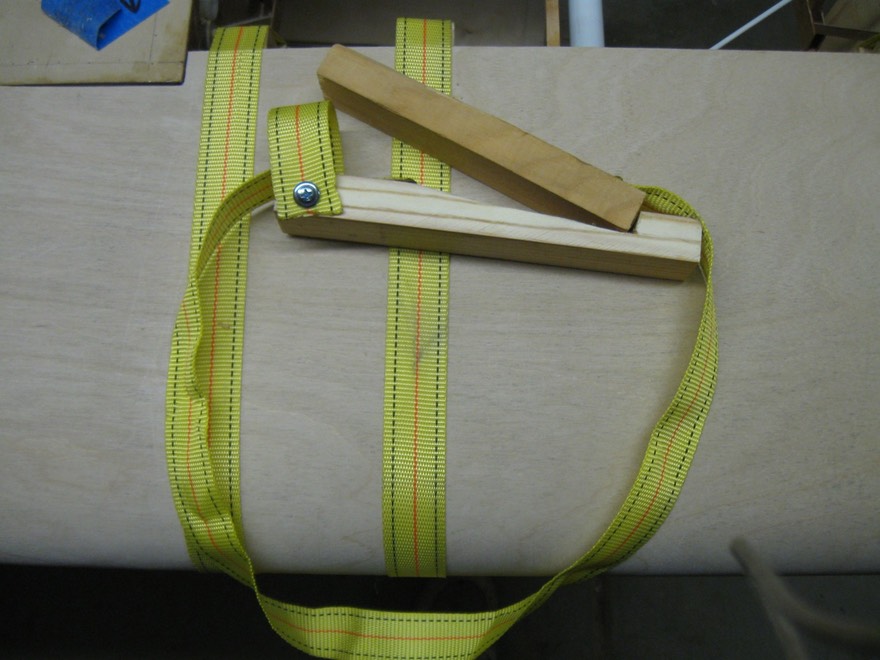
The length of the strap is critical. It needs to be correct for the size of the leading edge. The notch helps hold it in place when you pull it in place. The lower loop locks the arm in place. The strap material is from Harbor Freight; about $3 I think. Below is a shot of how it holds the ply in place. I also used some longer straps around the false spar in areas where this didn't fit. Be careful using strap clamps as they can distort the false spar if pulled too tight.
Next was sanding the ends of the ribs all to the same level. This was essential to ensure that the ply contacted the ribs evenly for gluing.
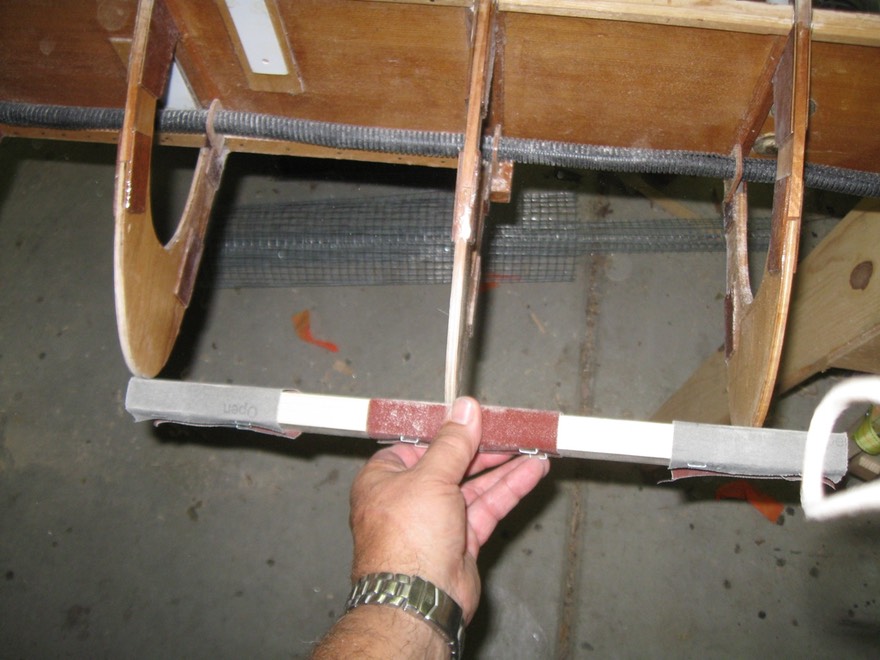
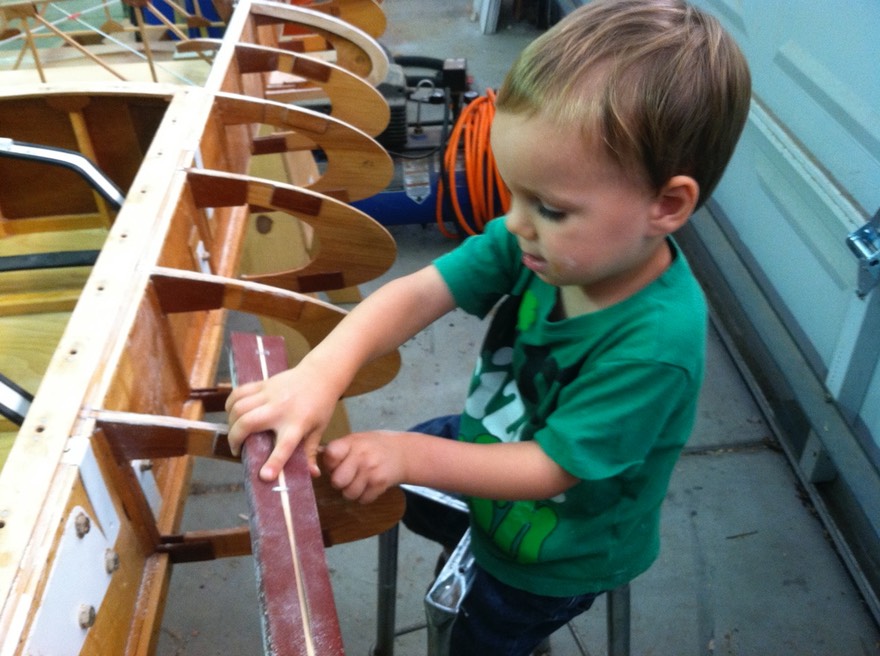
The top of the "D" had to be sanded also; but I got help on this step.
After sanding and test fitting, I applied epoxy to the inside surfaces of all the plywood. I did one sheet in the jig while one sheet was clamped and drying in place on the wing. That way, I had a sheet ready to glue in place each day.
Before gluing, i marked on the dry epoxy surface where contact would be for each rib. This is where I would apply the epoxy for bonding. All surfaces inside the wing were previously coated and allowed to dry first. A second coat of epoxy was applied to the rib surfaces and inside the ply prior to securing in place. Clamping was done with my home mede strap clamp, straps around the false spar, and nail strips.
Nail strips were used on the top and bottom spar edge to apply even pressure.
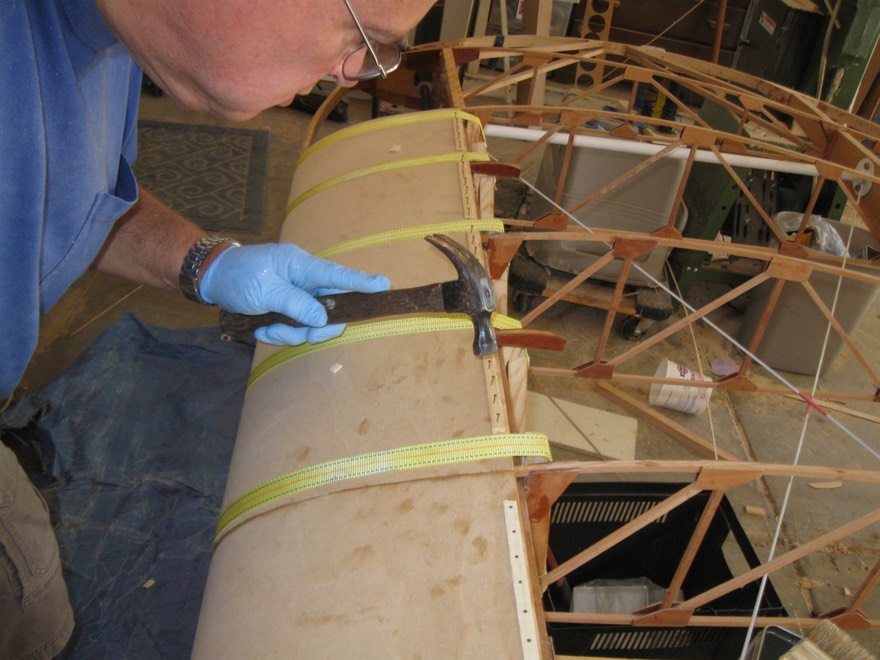
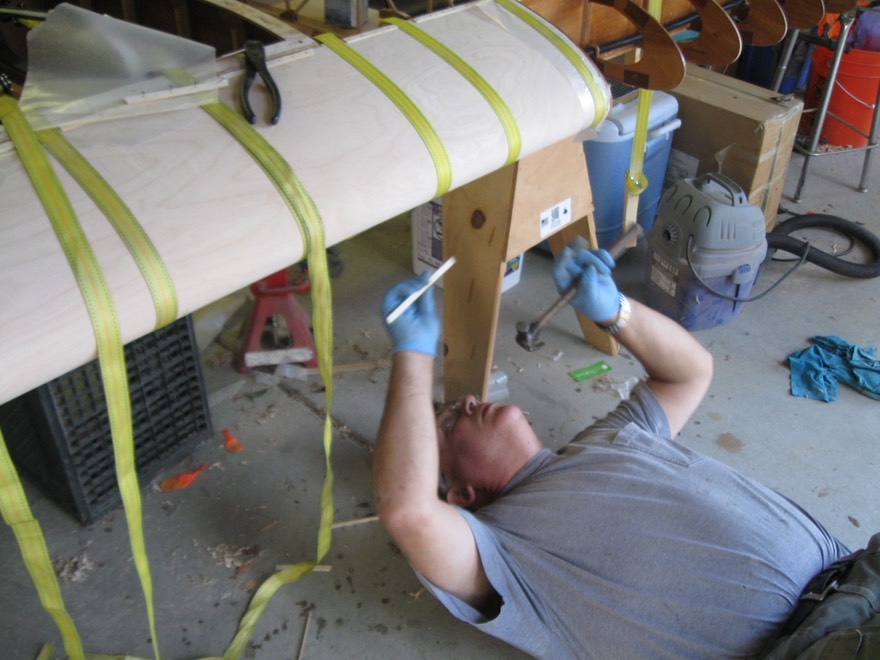
It was a little difficult to nail the bottom but it worked. The nail strips were used along the edge to fully clamp the ply to the spar.
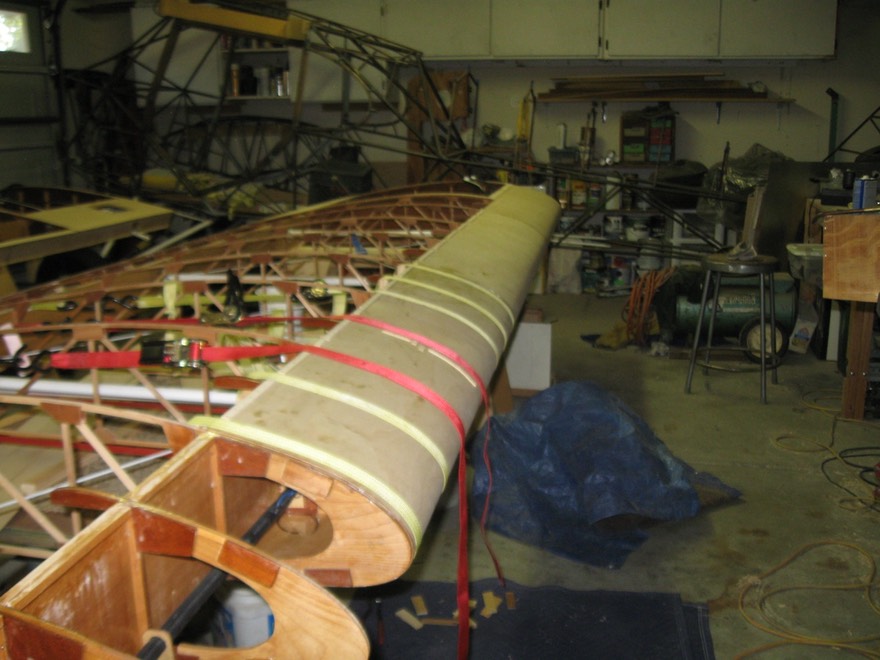
Here's a shot of the bottom all clamped and strapped in place.

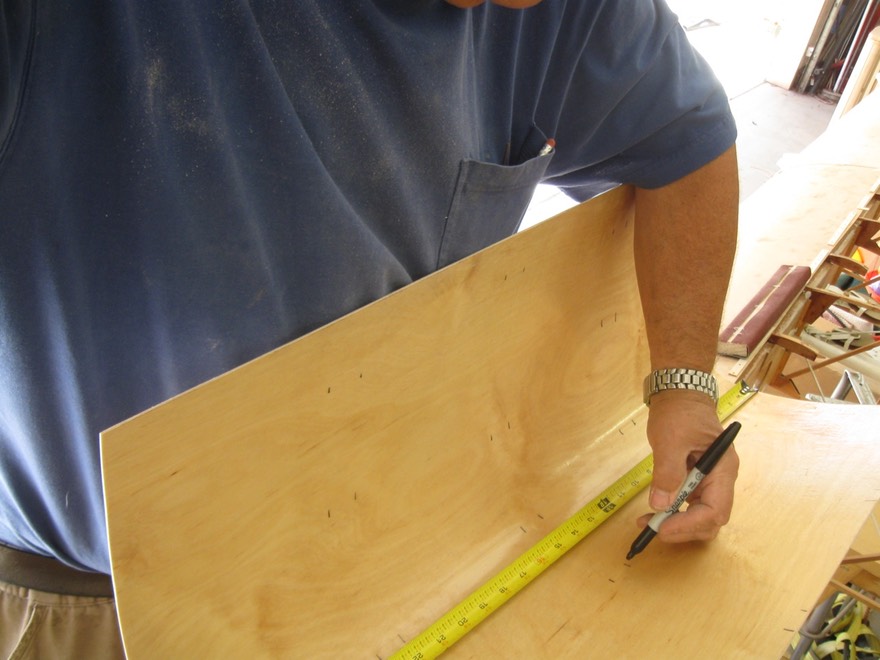
Next, remove the straps and nails and move on to the next piece of ply. Each piece needs to be dry fitted and trimmed before any gluing.
After lots of repeating the fitting, clamping, and gluing the leading edges are done. I was amazed at how strong and stiff the wing became after gluing.