

Fabric covering control surfaces
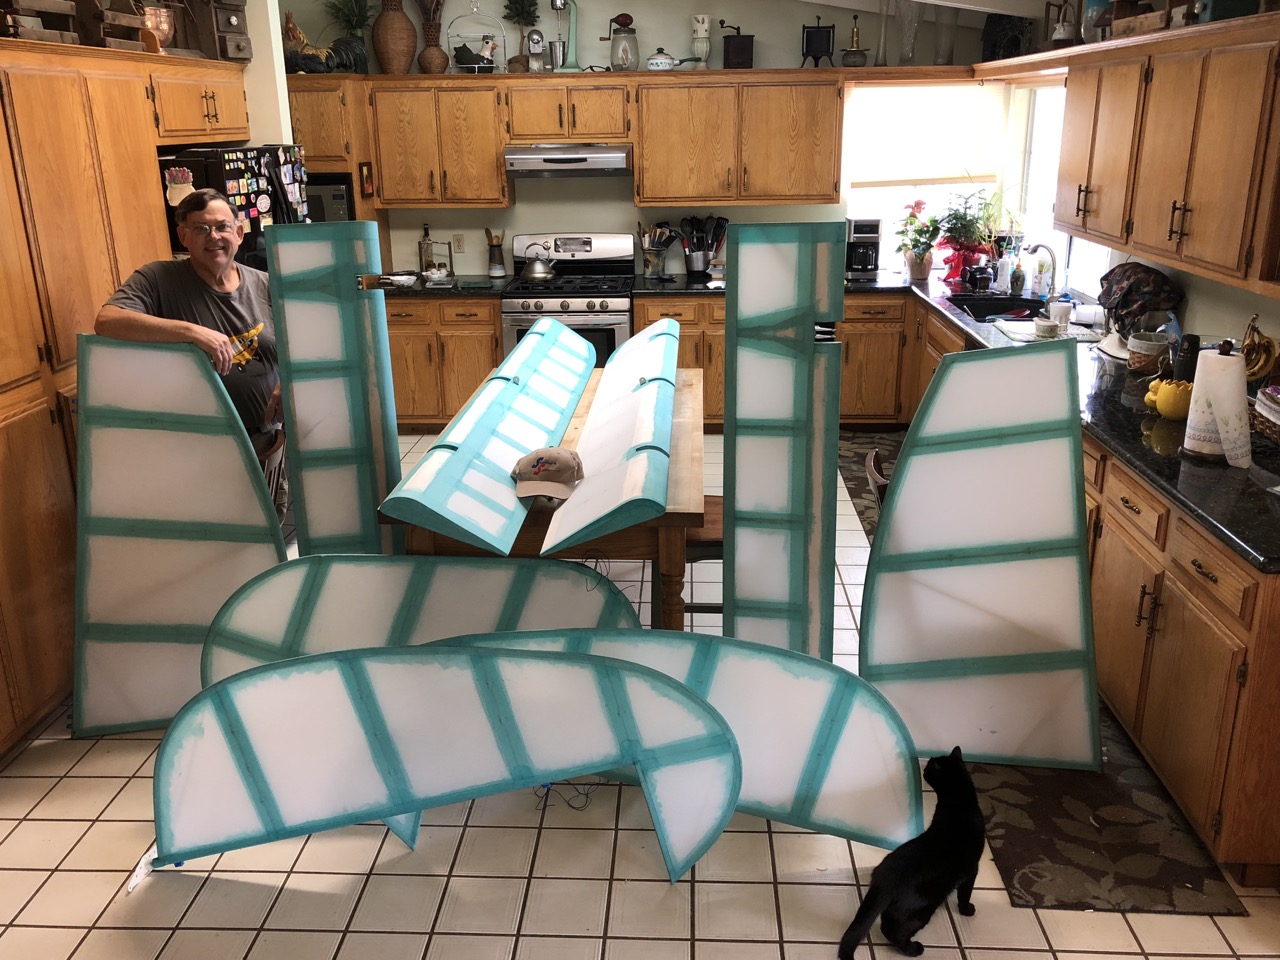
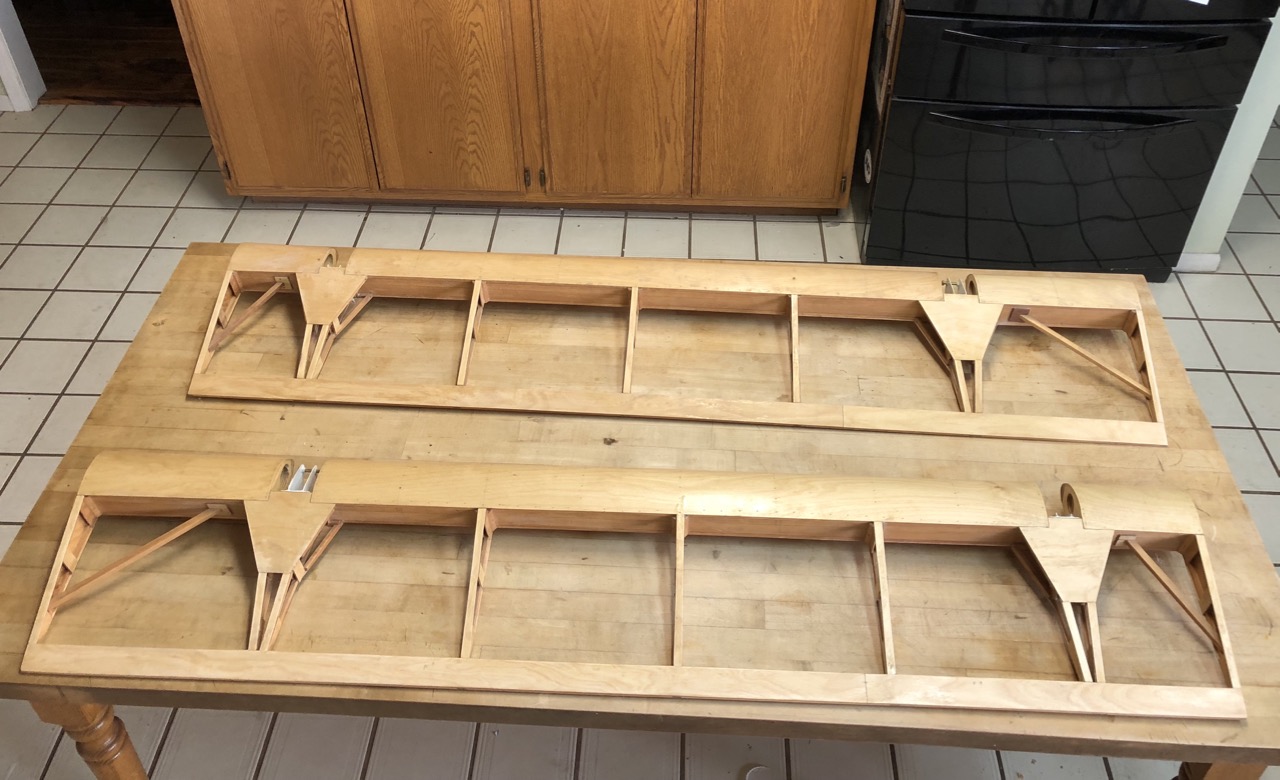
Just back from Sun N Fun, time to do a post. We had over 50 people in our seminars through out the week at Lackland Airport. We covered panels, applied inspection rings, rib stitched, applied rib and finish tapes, and painted. All in all, a very busy week. Just before leaving, I took this picture of my most recent work. All the covering is done using Stewart Systems. Covering is a very time consuming activity. I estimate about 16 hours to cover an aileron from start to finish, ready for wash coat. Flaps are a bit less, maybe 12 hours. Each of the other surfaces are about 8-10 hours. All in all, I have about 120 hours in covering all the control surfaces.
If you ever questioned why it costs $30,00 - $50,000 to cover a Cub type plane, now you know. We estimate that a complete re cover job, without major repairs, will take from 600-800 hours to complete! That includes tear down, prep, recover, paint, and reassemble. A new project will be a lot less since no removal of old fabric is involved. To just cover and paint a Cub aircraft so everything is ready to reassemble will take about 400 hours.
I finished the tapes on the second aileron after getting back from Sun N Fun and all parts are ready for the Ekobond wash coat to fill the weave in the fabric. Next step will be Ekofill to finish sealing the weave and provide the UV barrier.
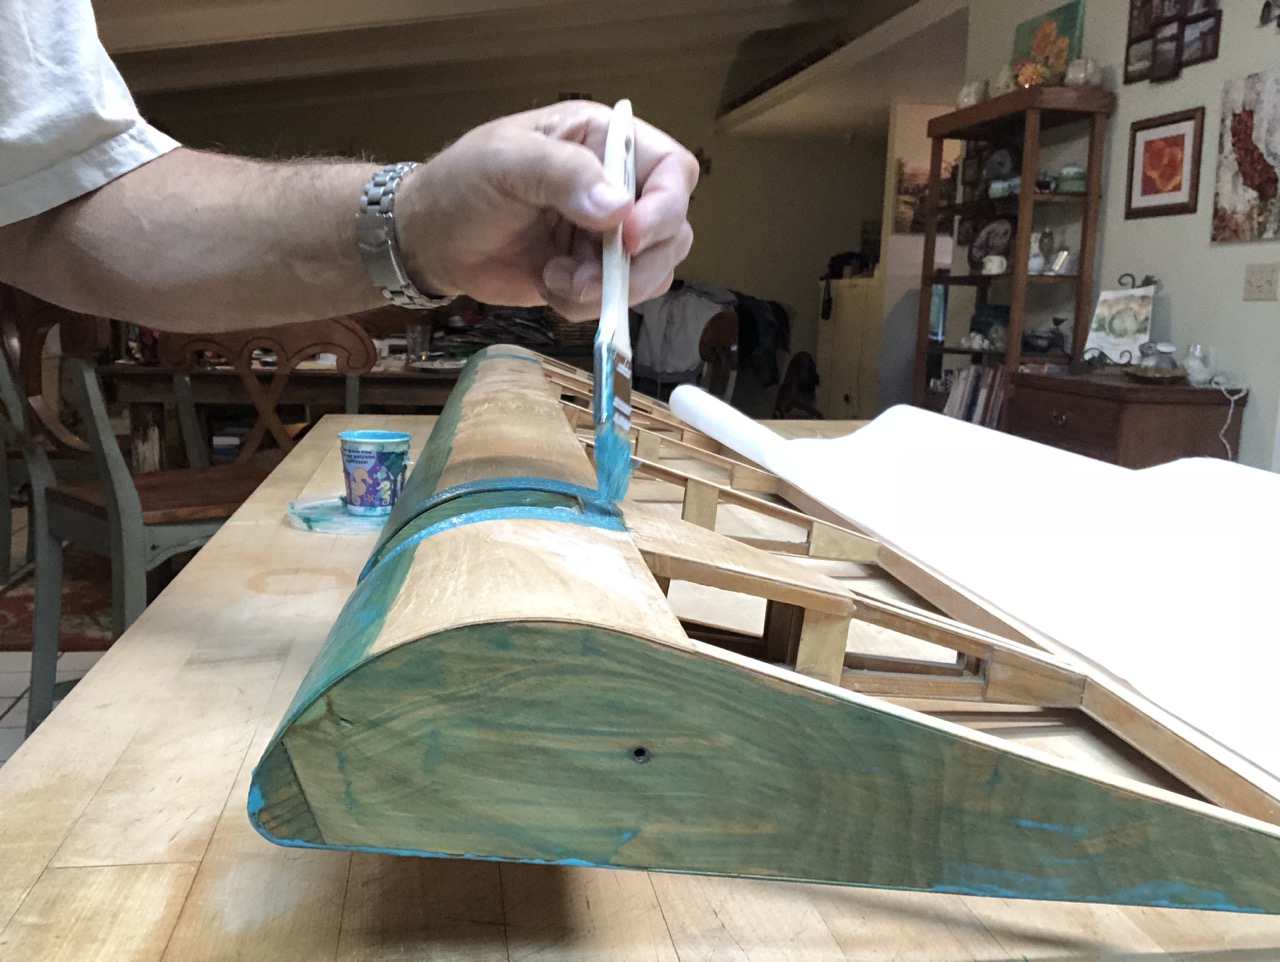
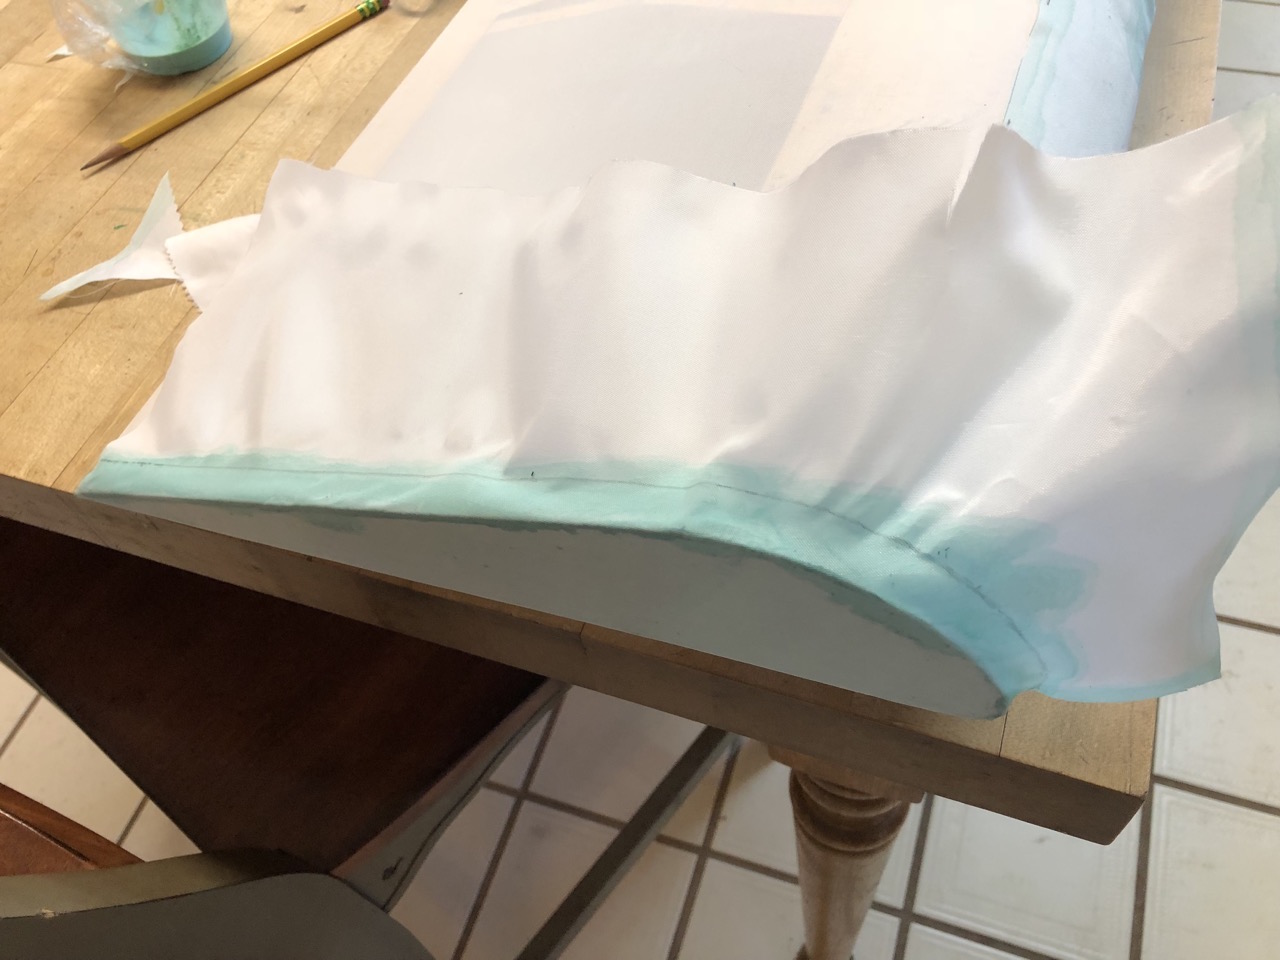
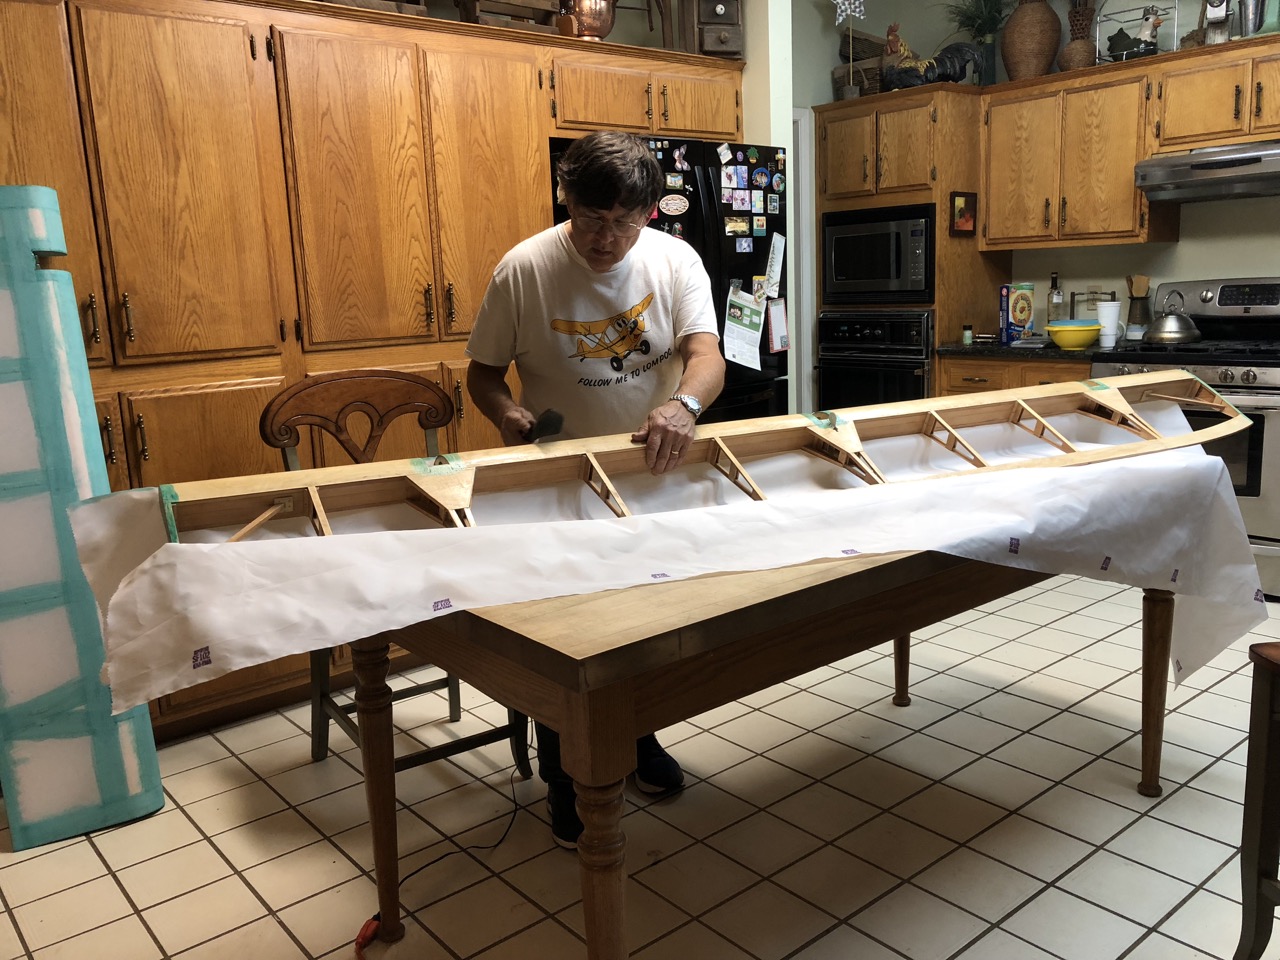
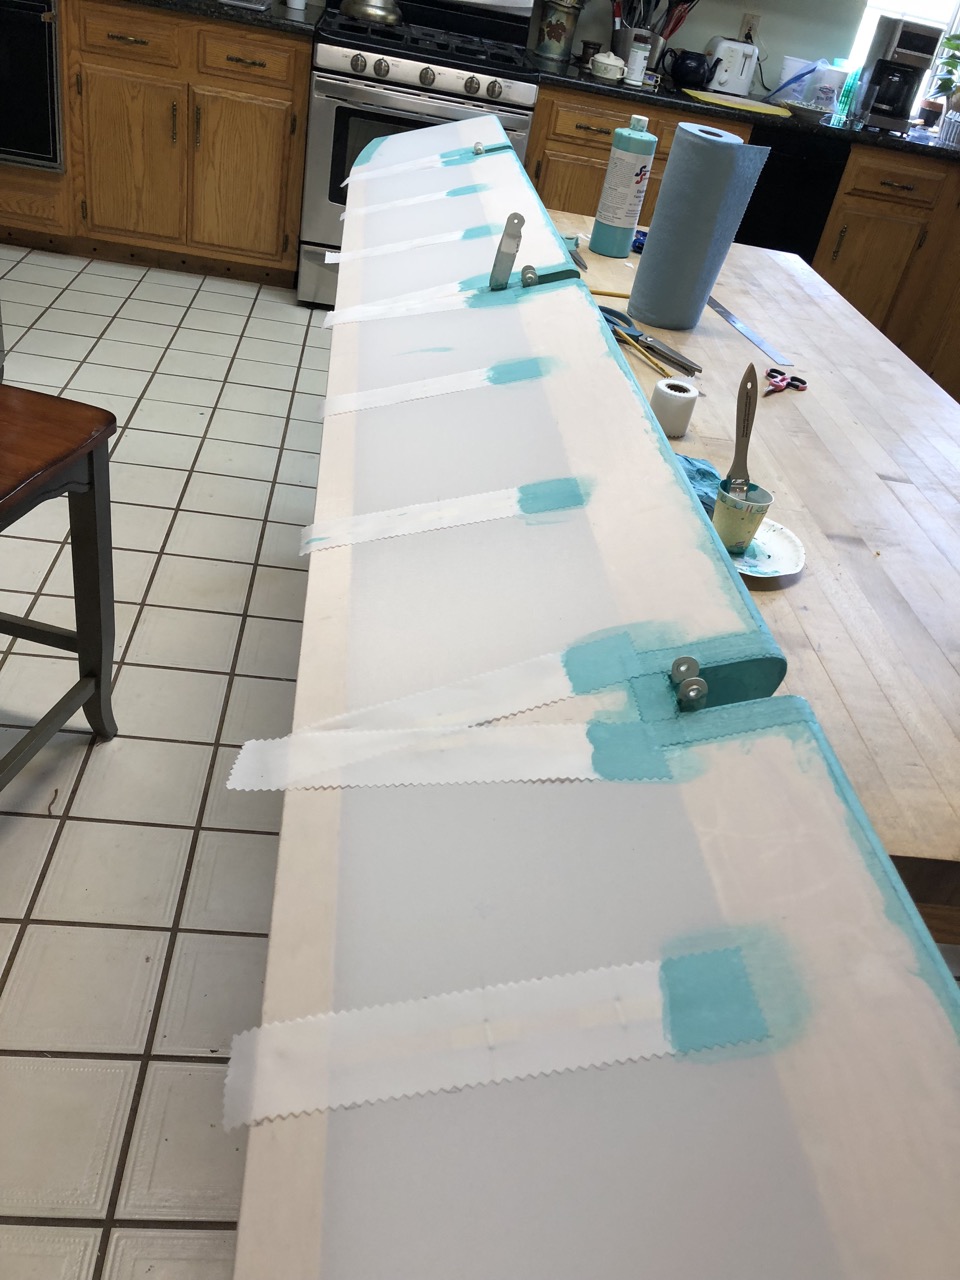
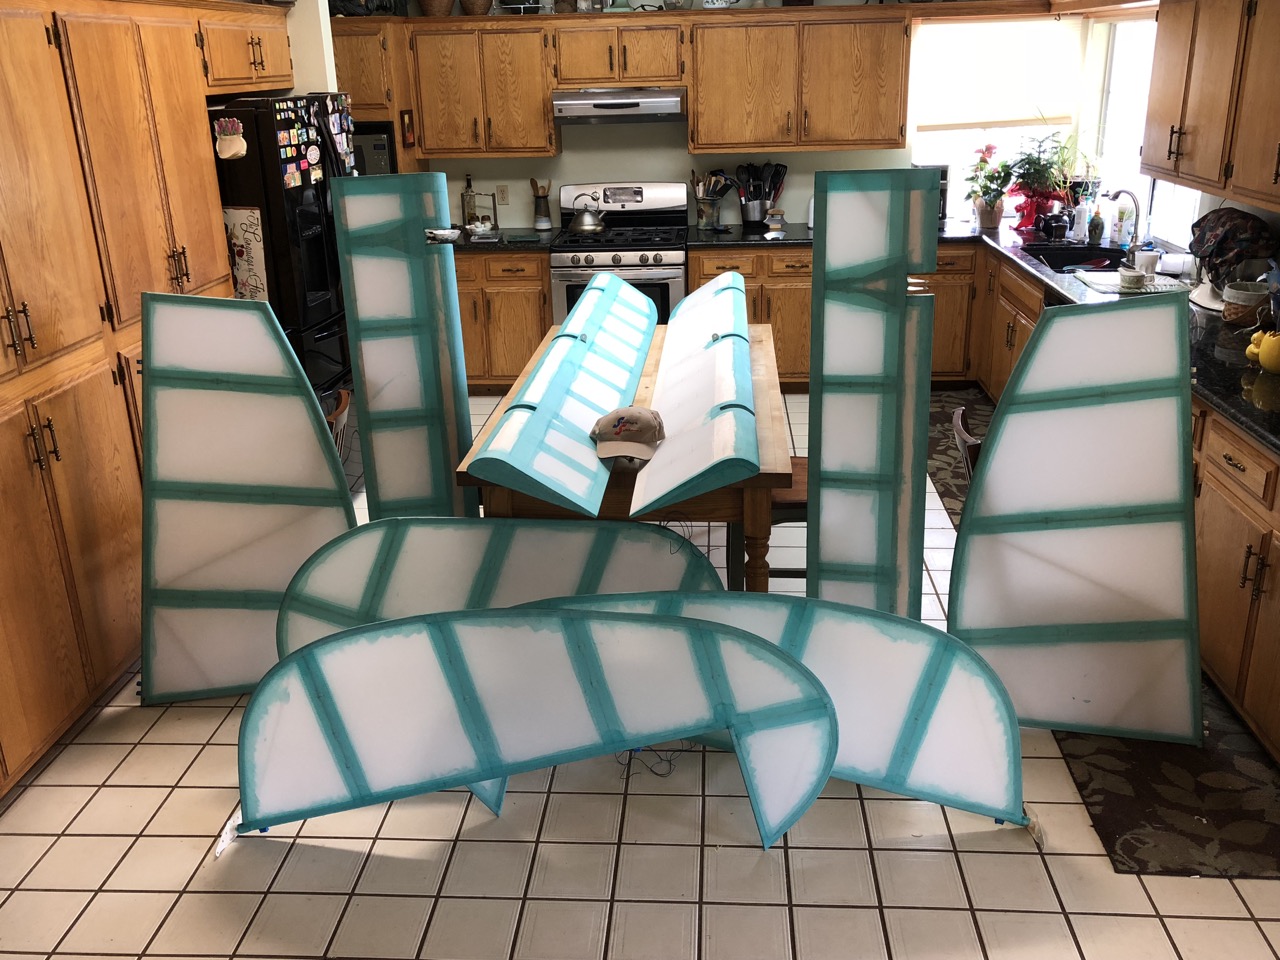
I started the covering in the shop but the temperatures were a bit low and the shop was crowded with the spray booth, fuselage and wings all in the three car garage shop. I quickly moved into the kitchen and did the majority of the covering in there. Flaps and ailerons were much easier to cover inside with the nice butcher block table in our kitchen. And yes, my wife was home all the while I covered the parts. Here are some pictures of the various pieces in the process of covering.
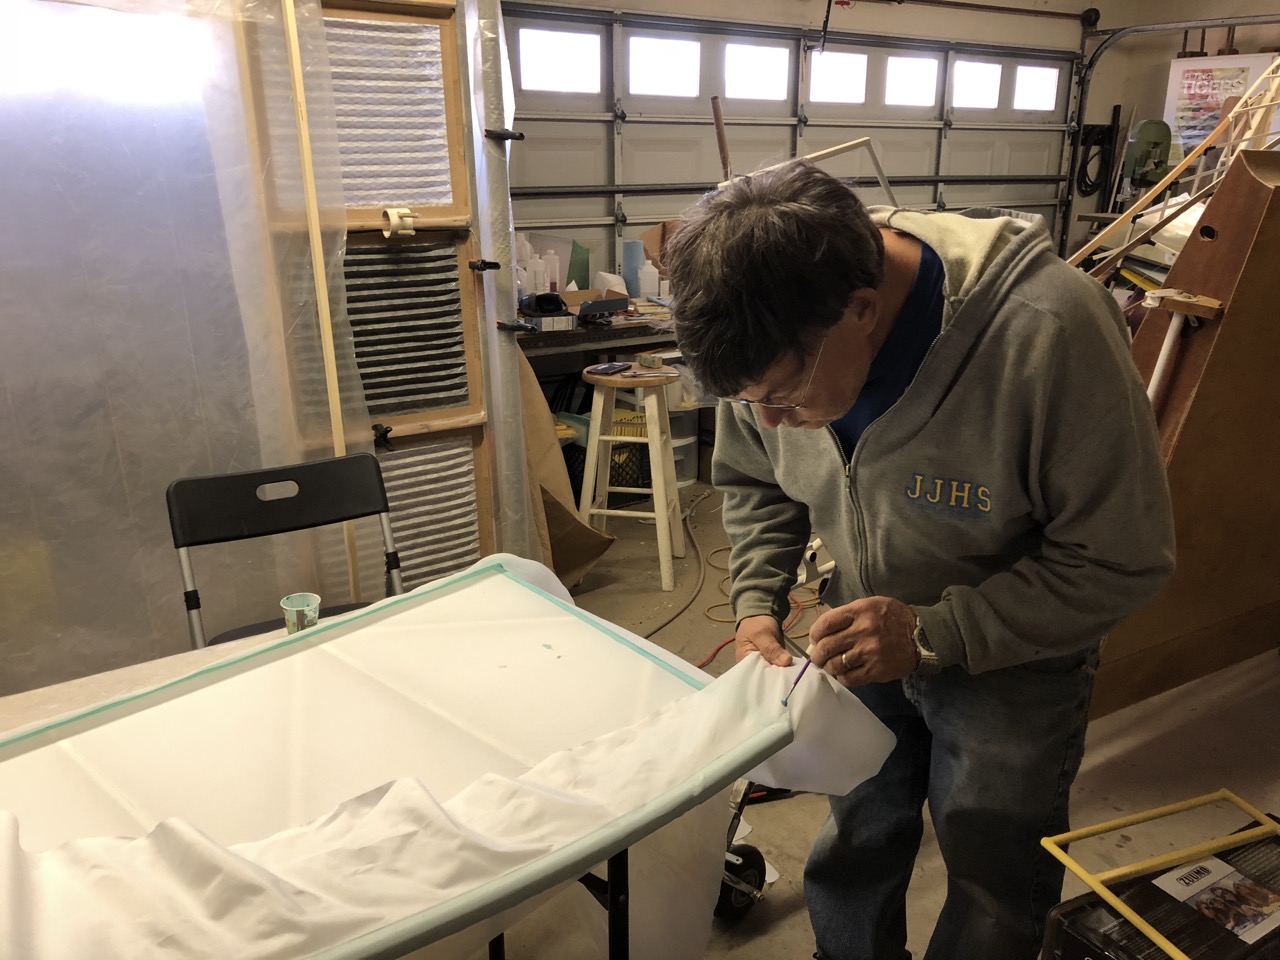
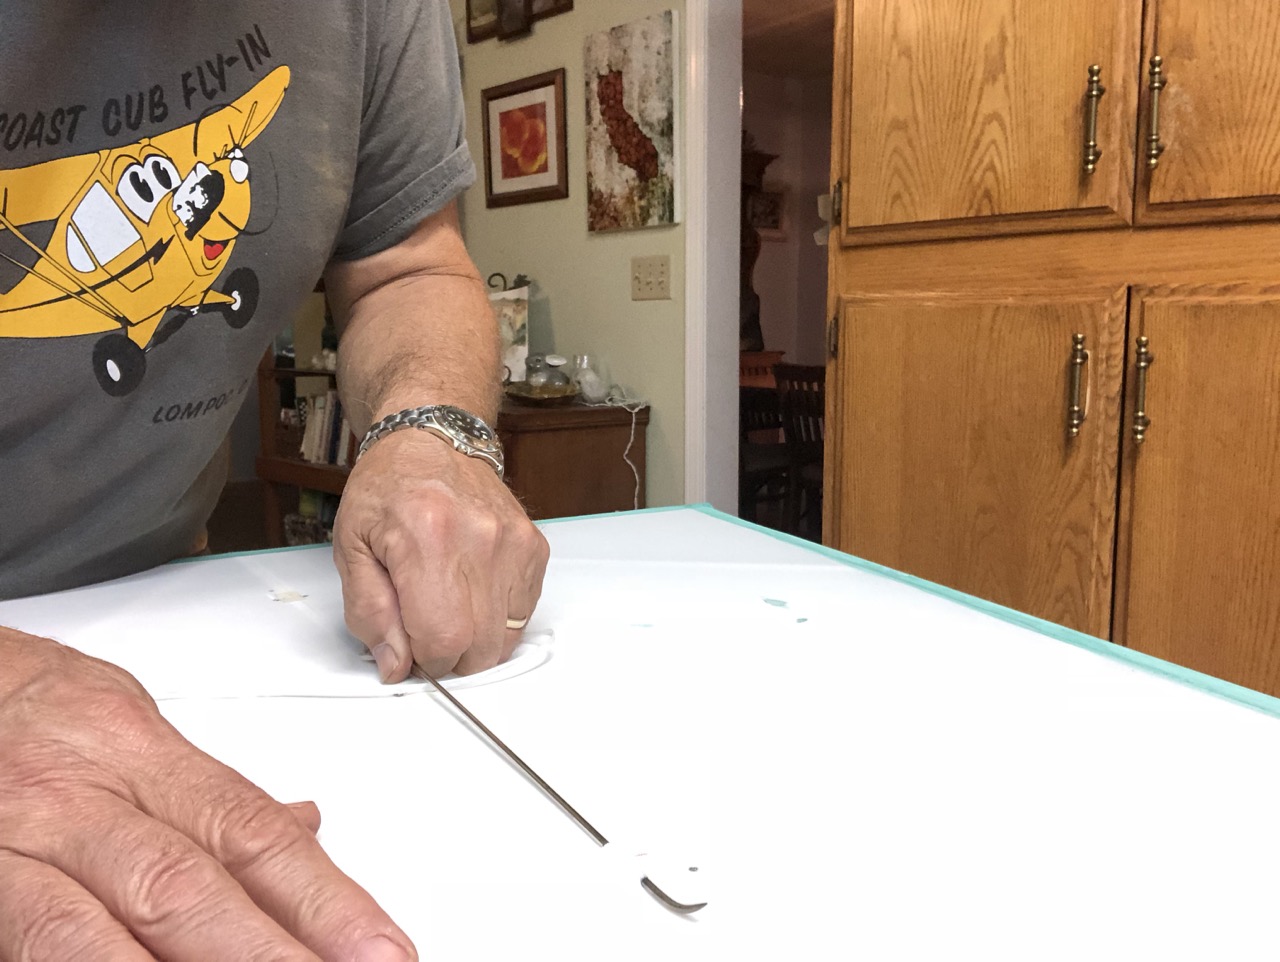
Whenever I am making a straight cut that will be seen, I mix glue 50/50 with water and paint on the line to be cut. Let the mix dry (10-15 minutes) and then cut. The mix will lock the fibers and you will not have any frayed edges on the cut.
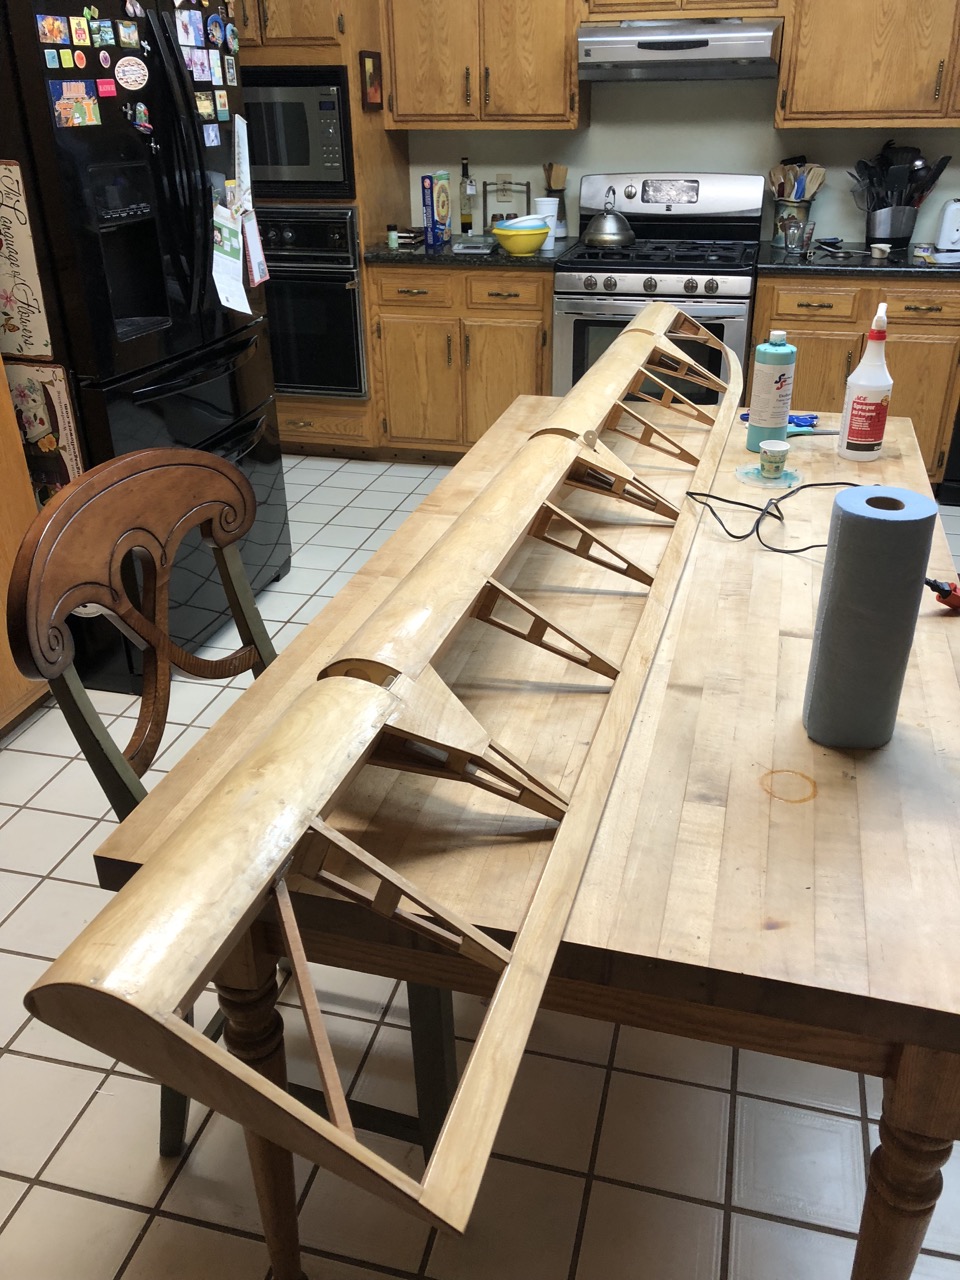
I also started my stabilizers in the shop, later to move everything into the kitchen. I saw no point in heating the shop when the house was already nice and warm.

Into the kitchen under the watchful eye of Sandy.
Rib stitching of the control surfaces was done per Piper Super Cub drawings. A lot of builders put in stitches every 2”, not sure if that is necessary. At Sun N Fun, AOPA had the Super Cub sweepstakes plane on display; rib stitching was done on that plane as per Piper drawings.
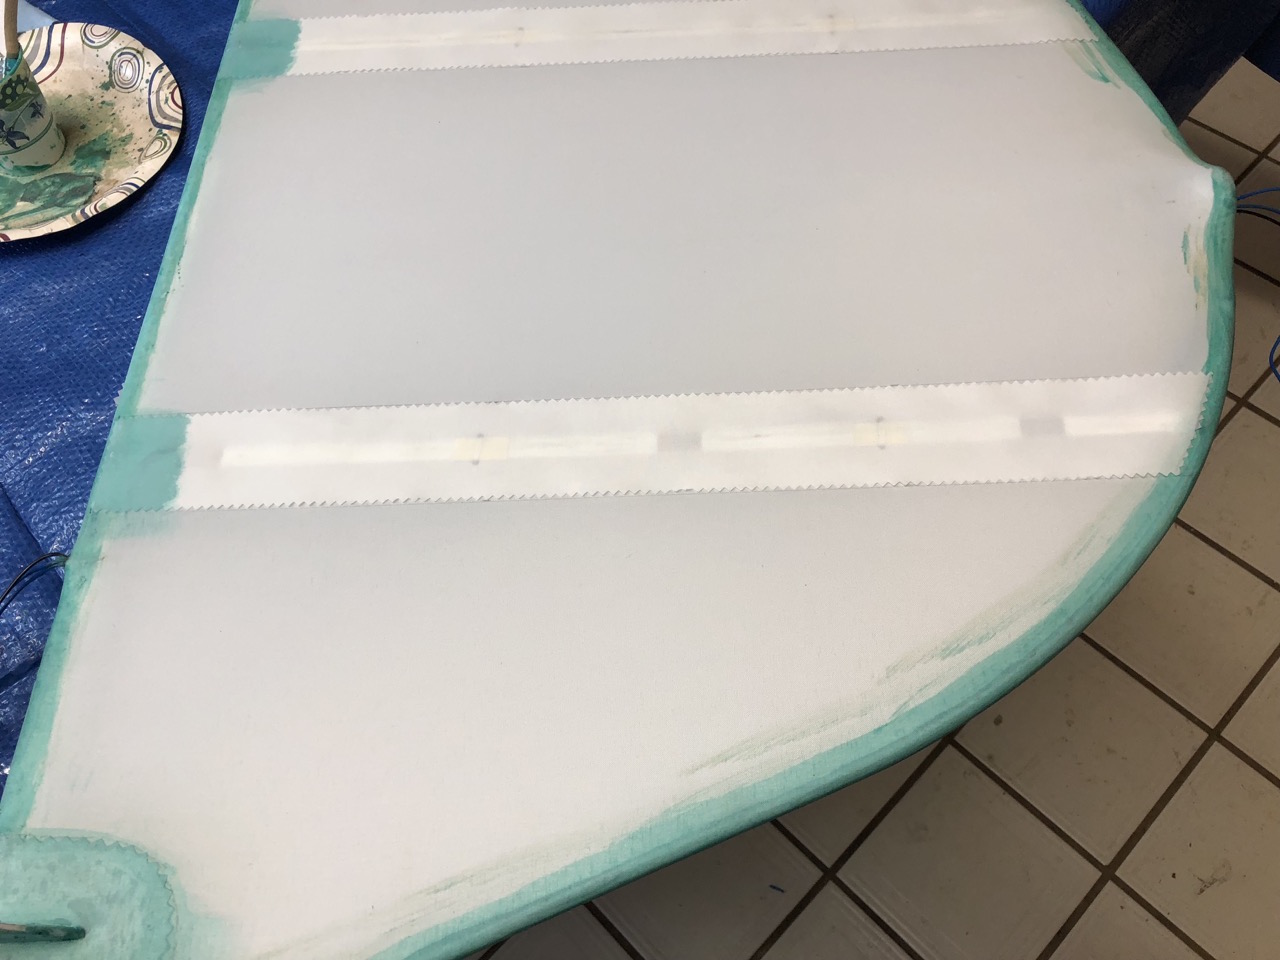
After rib stitching, tapes are applied over the stitched ribs. Tapes are also applied to surfaces where there is a rib or stringer under the fabric so vibration won’t chew through the single layer of fabric. The process of applying tapes is covered in the Stewart System manual and shown in detail on the videos.
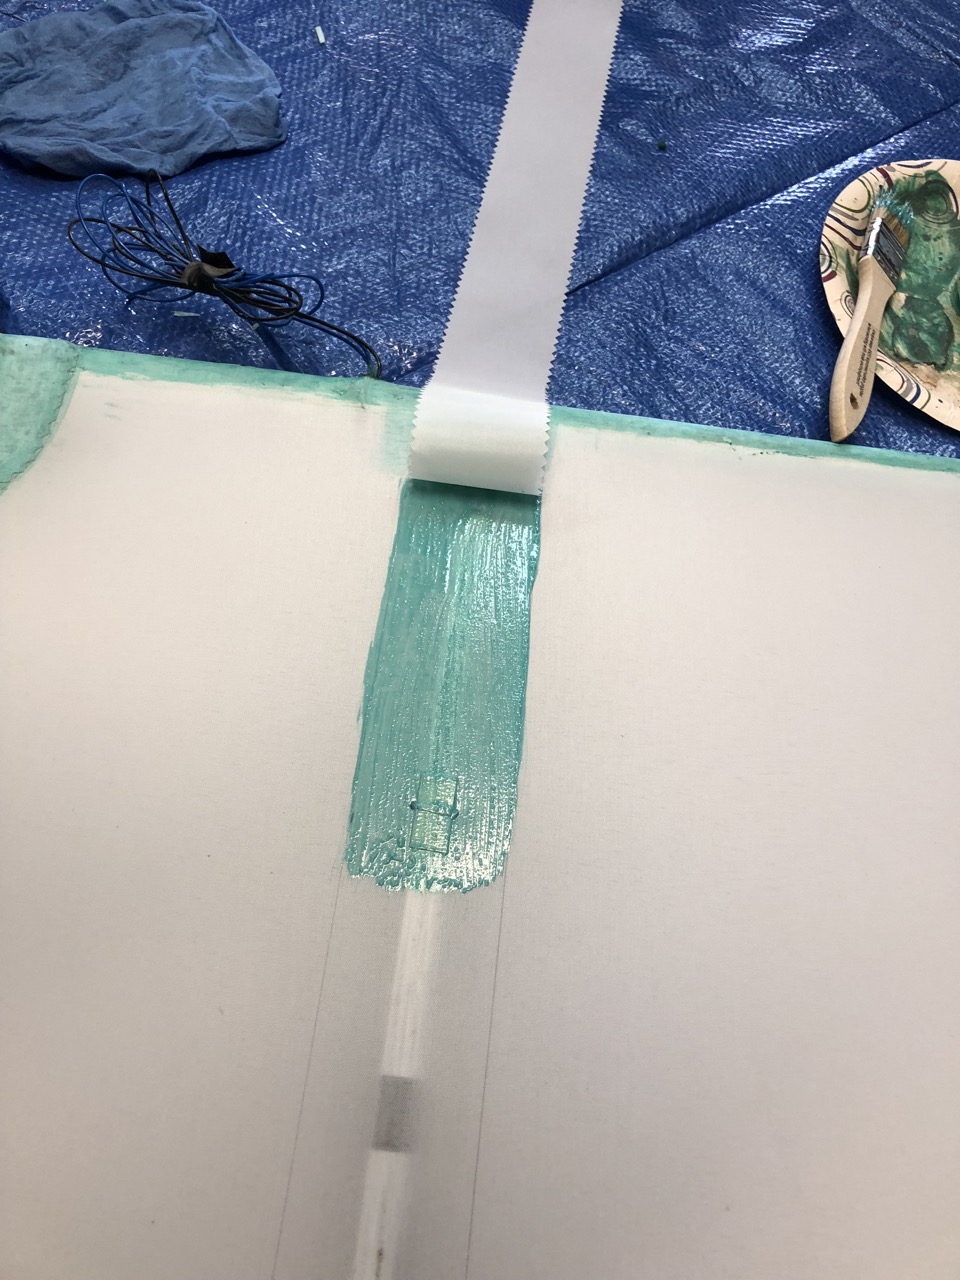
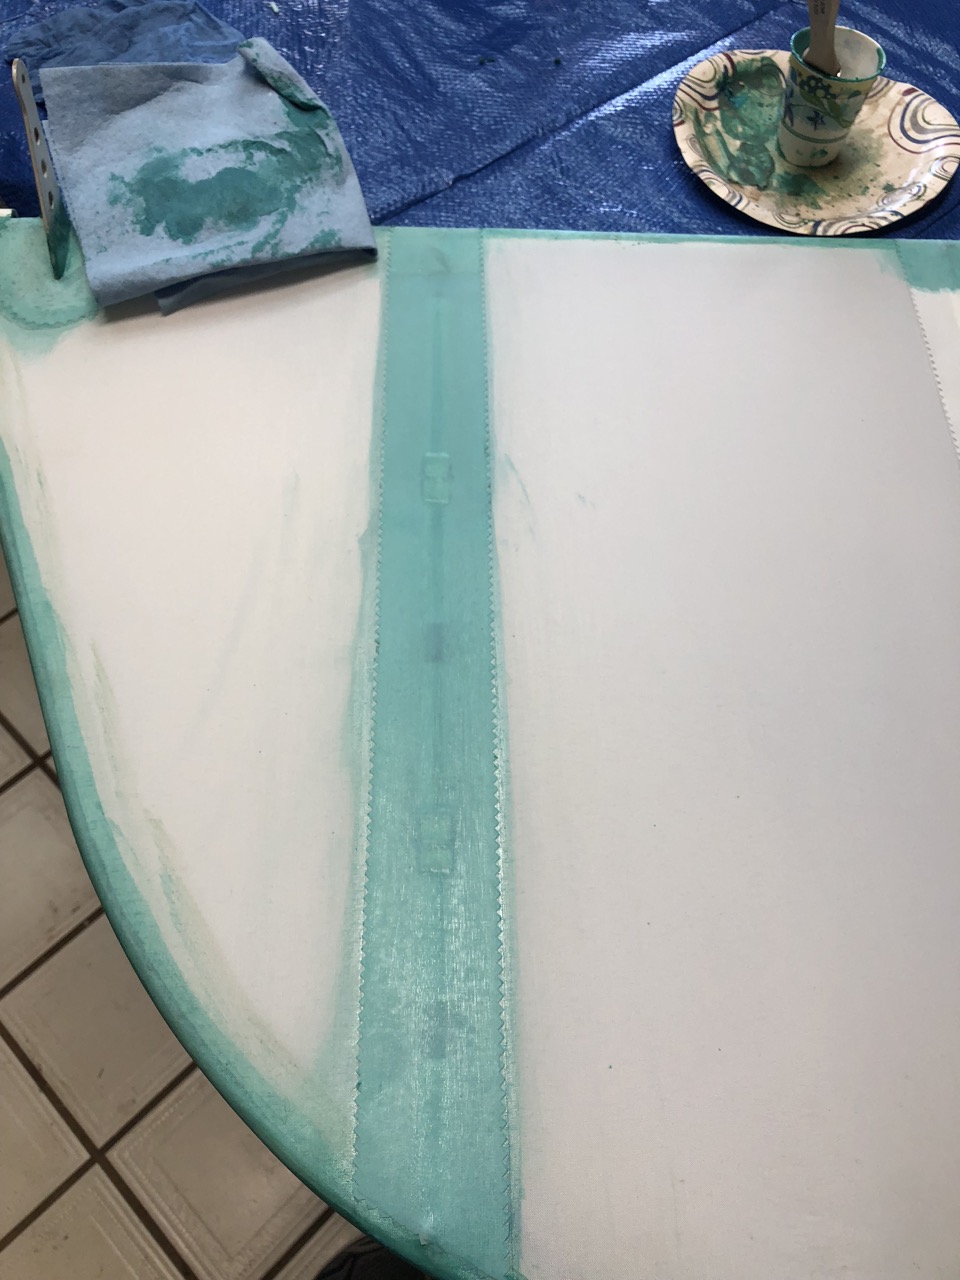
First step, is to glue the fabric to one end, wipe off excess glue from the surface with blue paper towel. No heat is used on any straight tapes with Stewart Systems process.
After tape is set up at the end, lift it back, apply about 6-8” of glue, lay tape into the glue and wipe off with paper towel to set tape.
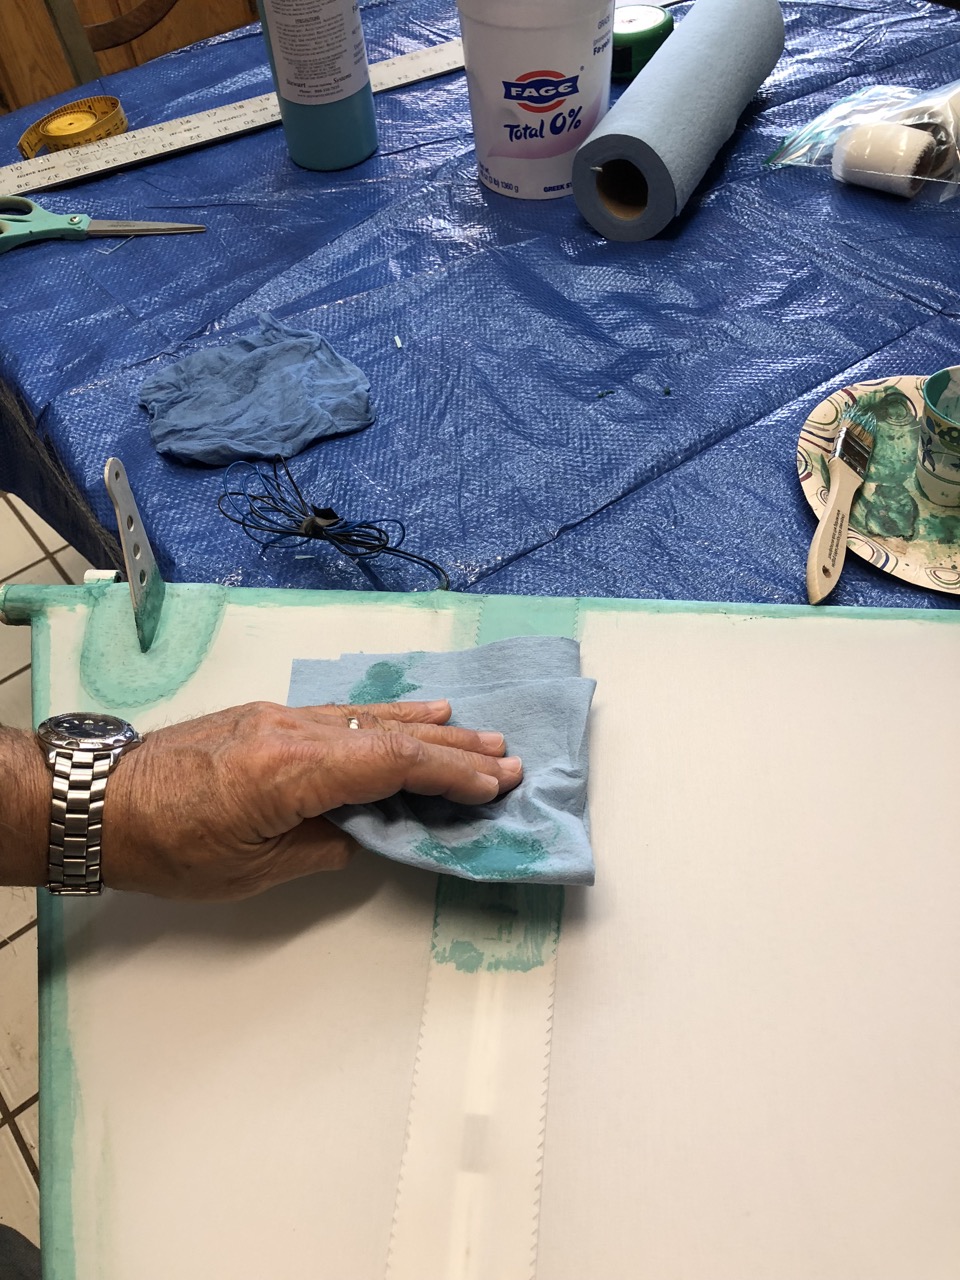
Finished tape. Make sure you wipe off all excess glue from tape surface as this is a finished surface now and excess glue will show through the Ekofill.
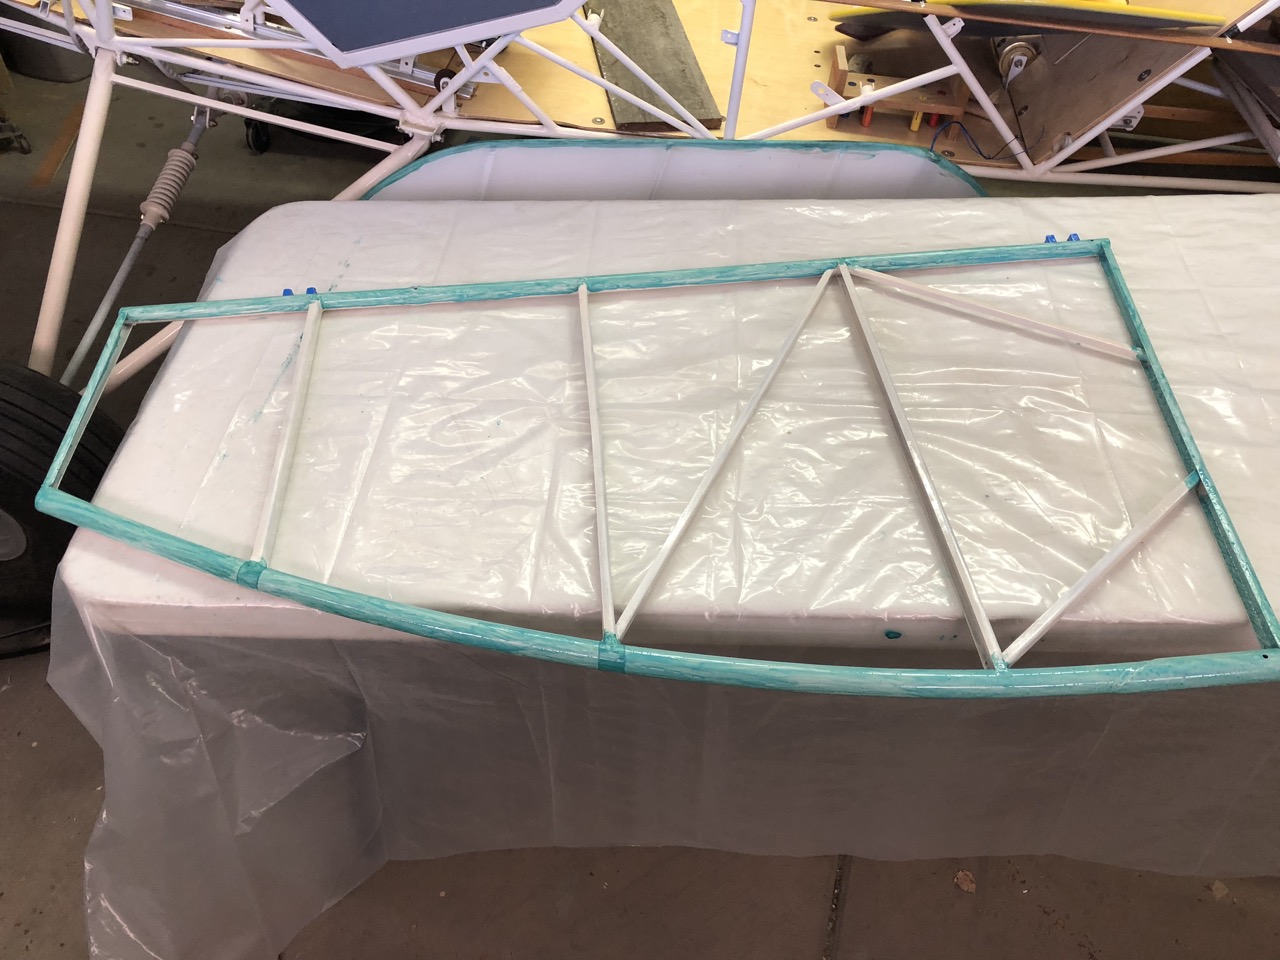
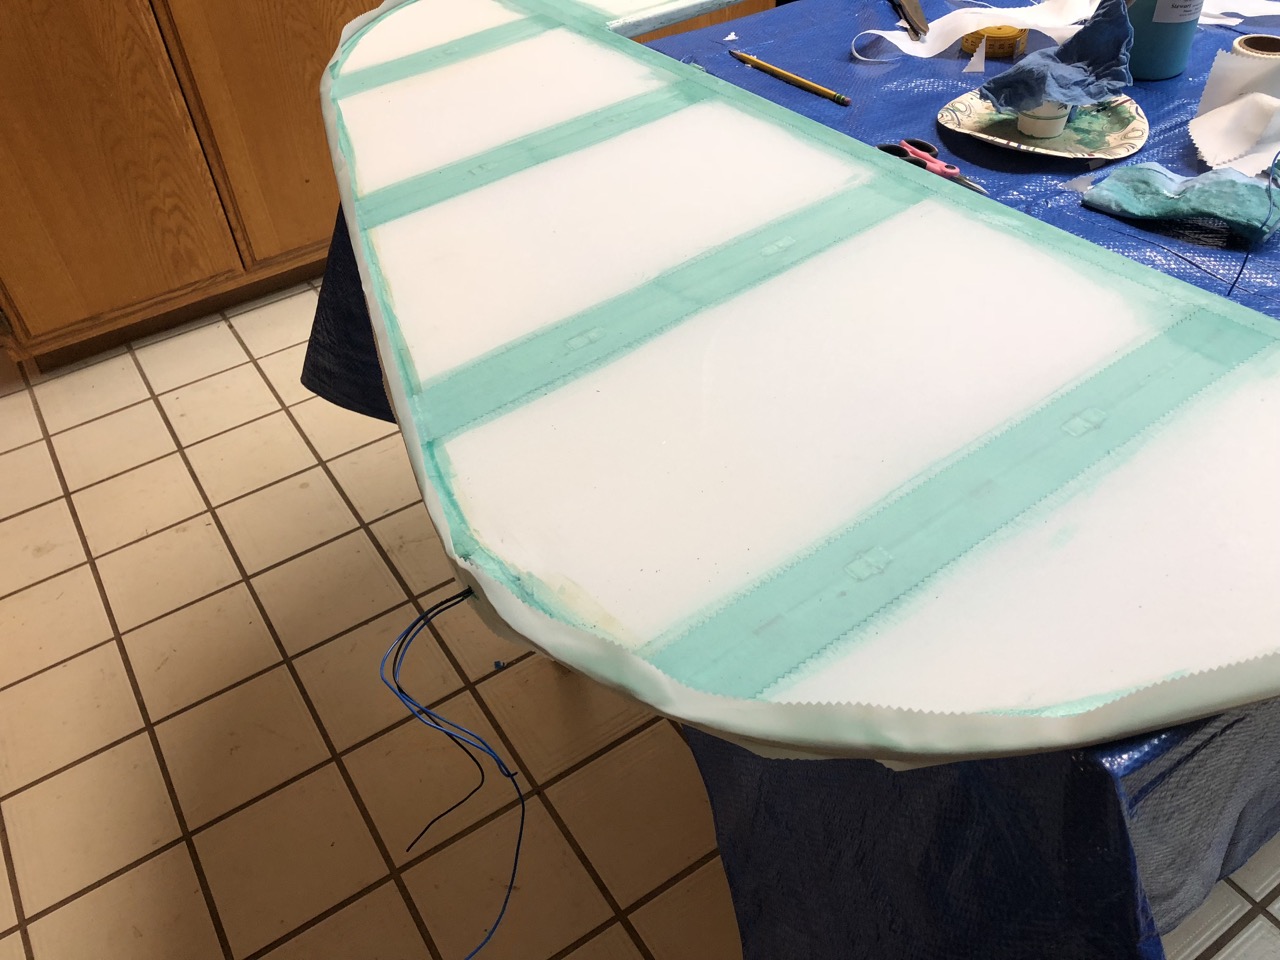
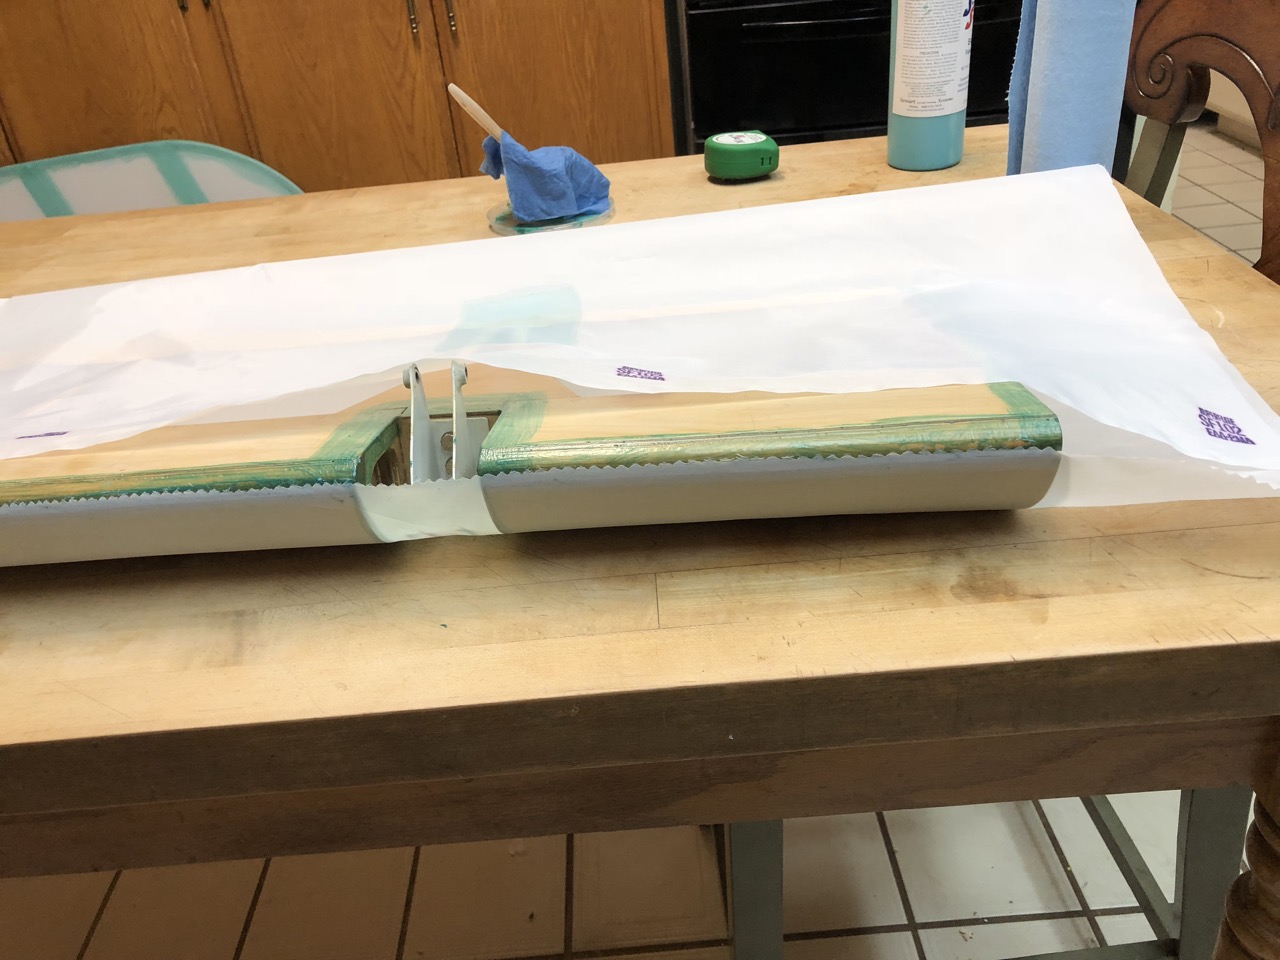
Perimeter tapes are applied after all tapes are in place. First, glue is applied along the edge of the tube, about 1/8” wide. After setting up, the glue will hold the tapes in place for pre shrinking.
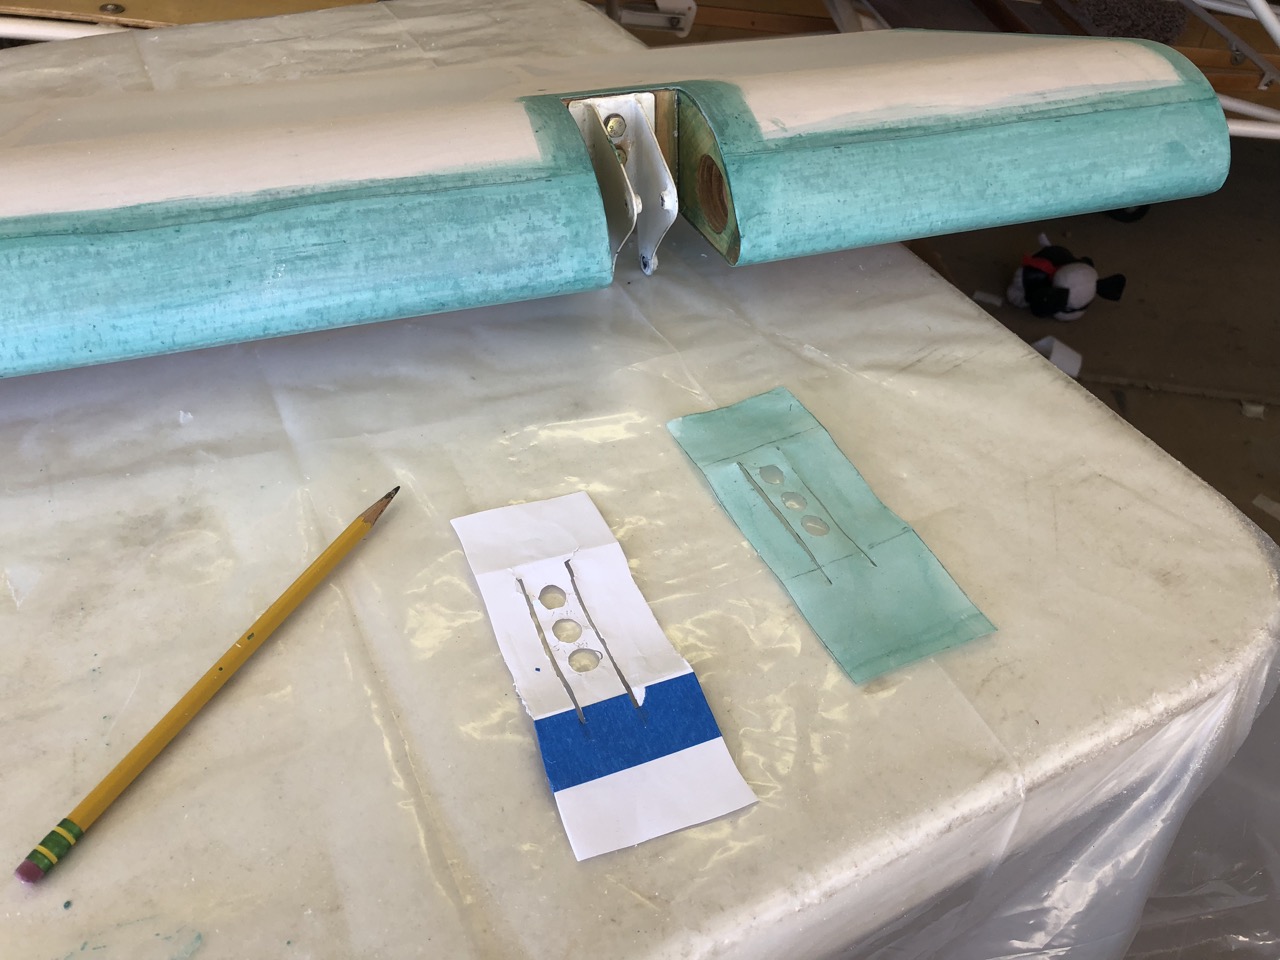
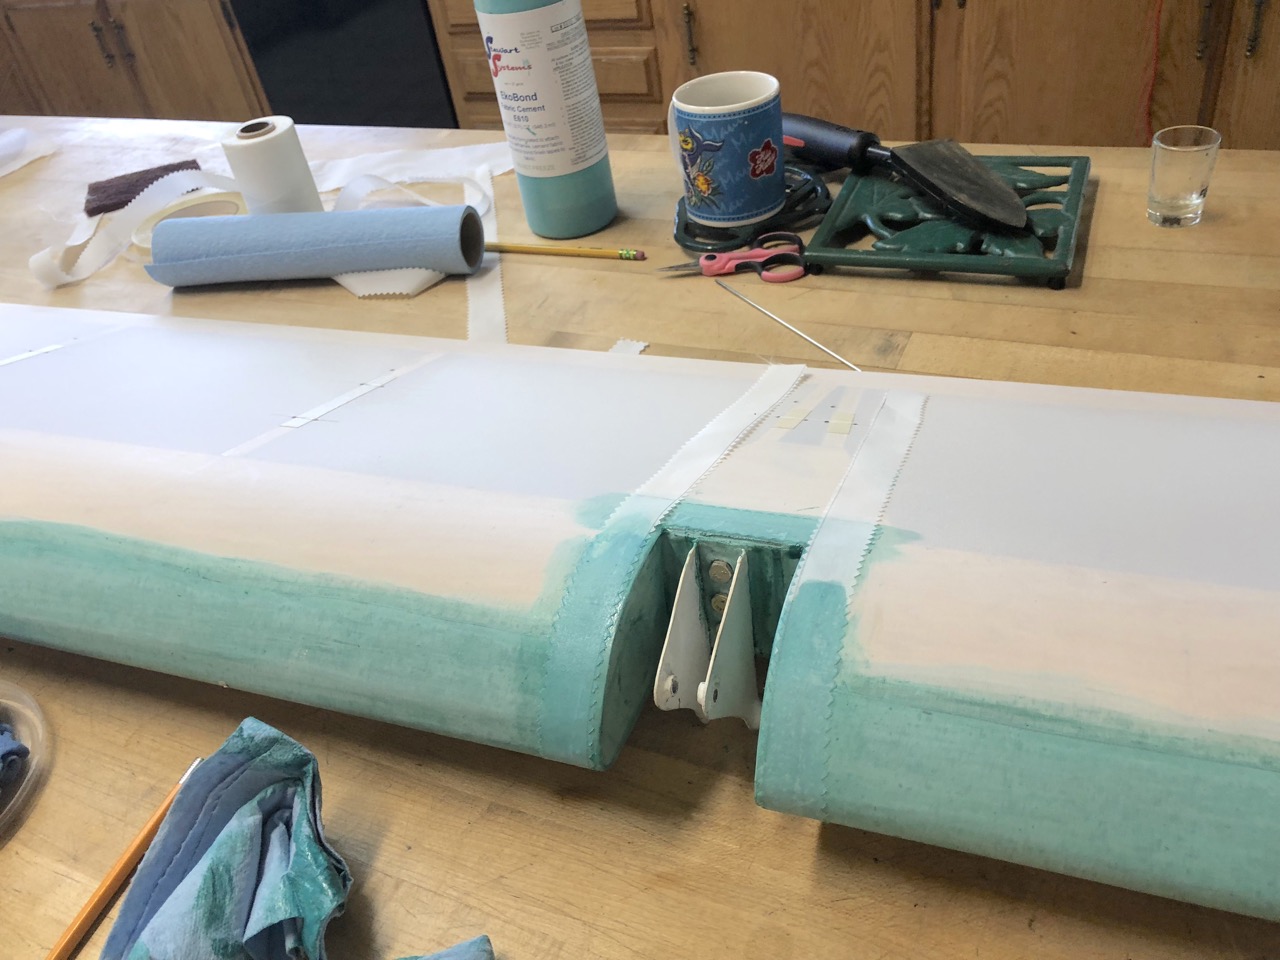
Same is done on horizontal stab, note the cut out for the hinges.
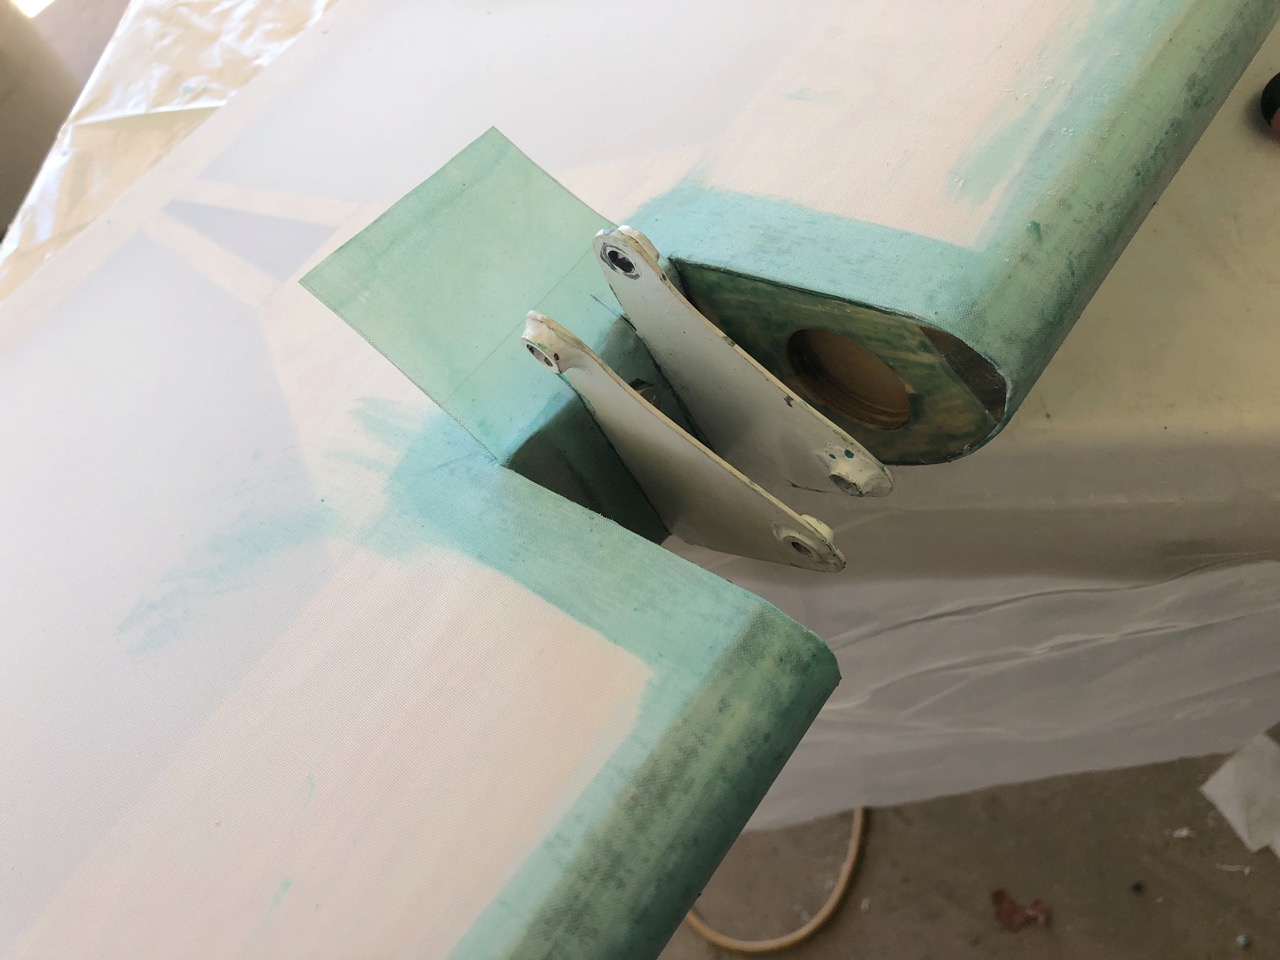
Next, on to the flaps. Process is the same as other surfaces with some extra work at the hinges.
Application of glue ….
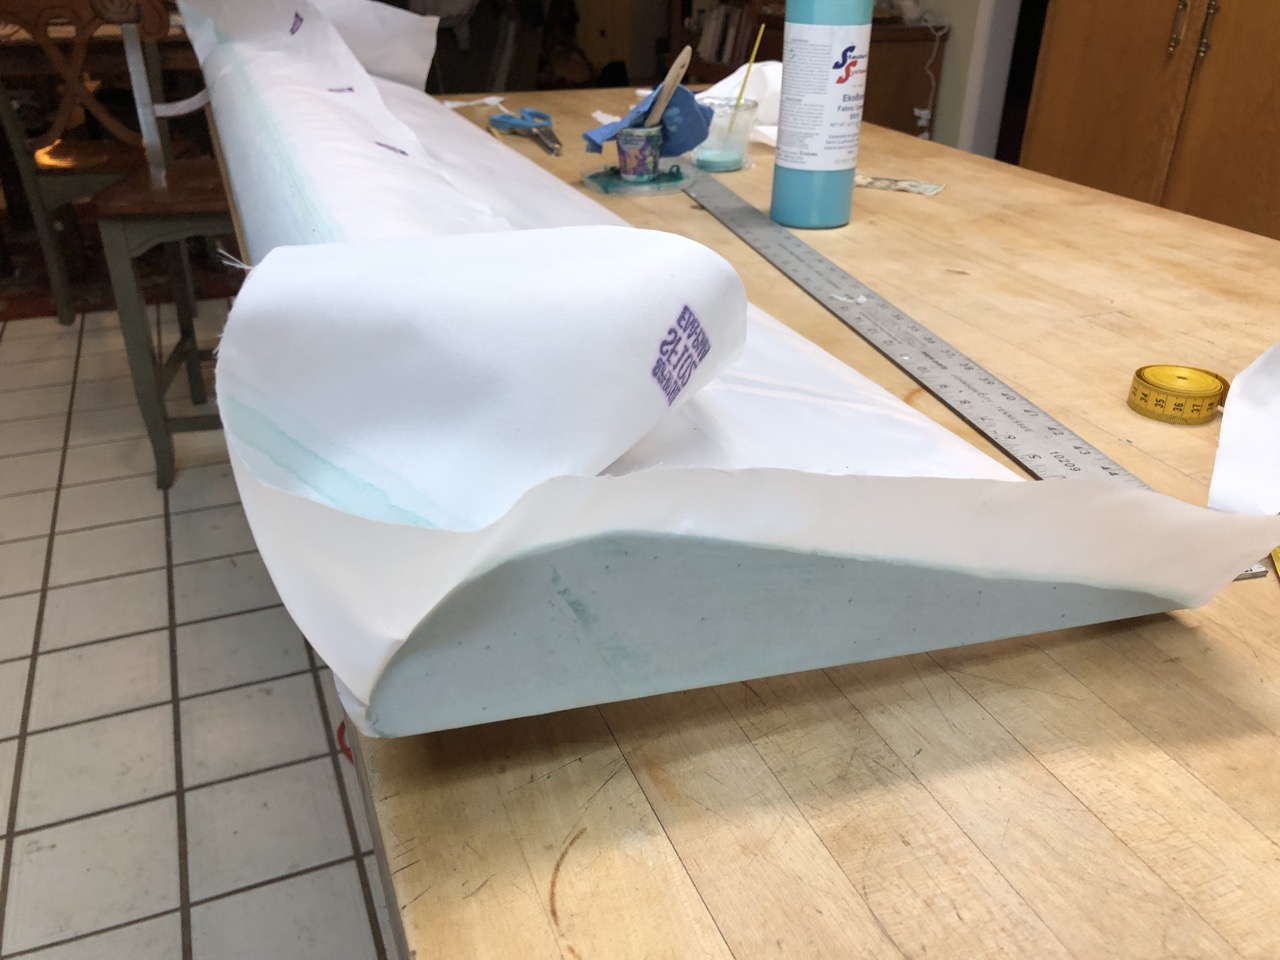
Fabric is one piece, wrapped around the surface. A certified glue joint at a trailing edge is 2”, wing leading edge is 3”, all other surfaces are 1”. I went with a 2” here on the flaps and ailerons as per manual and videos.
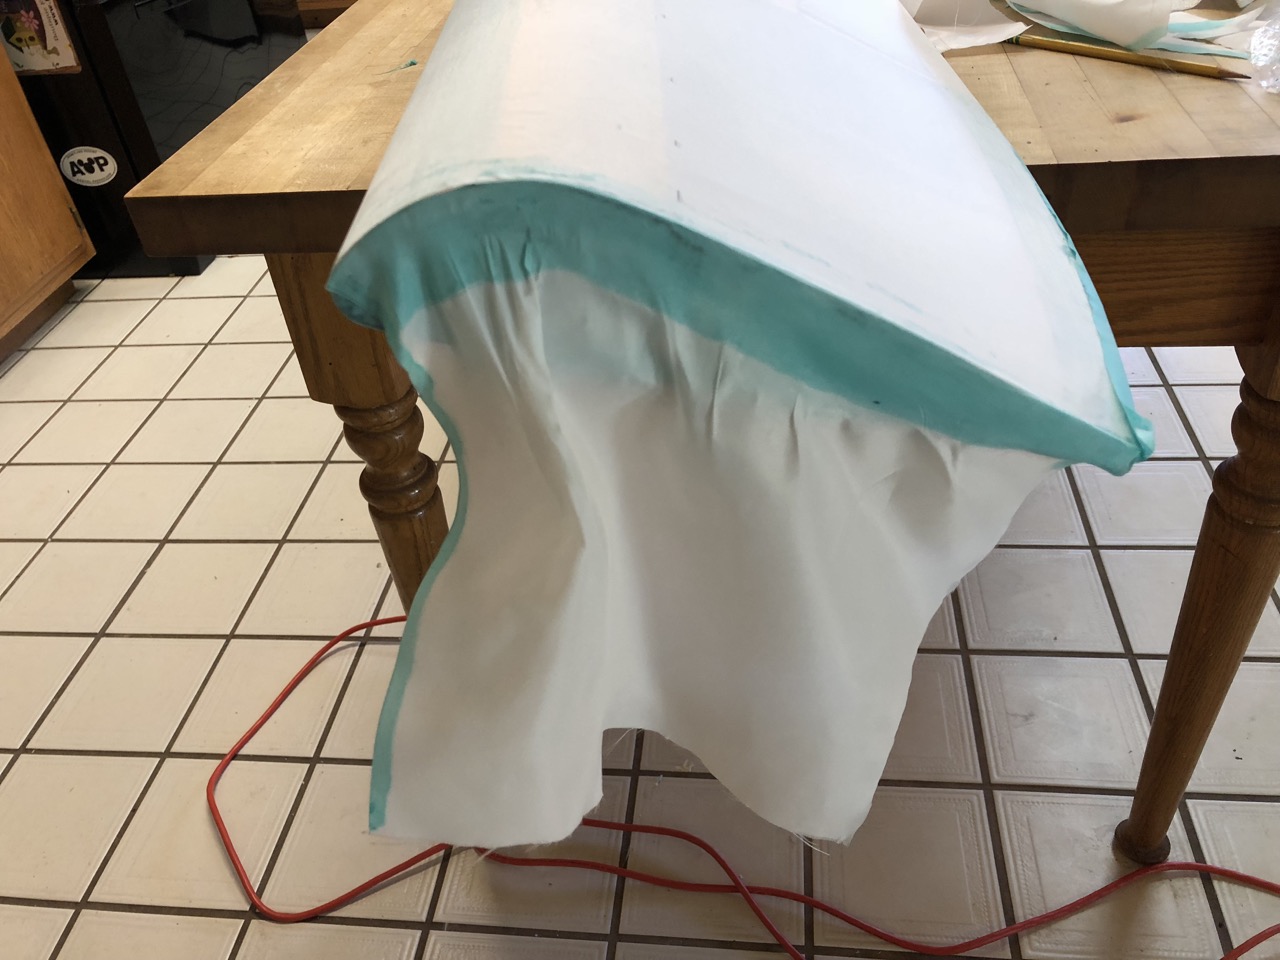
End wrap; no darts needed if careful.
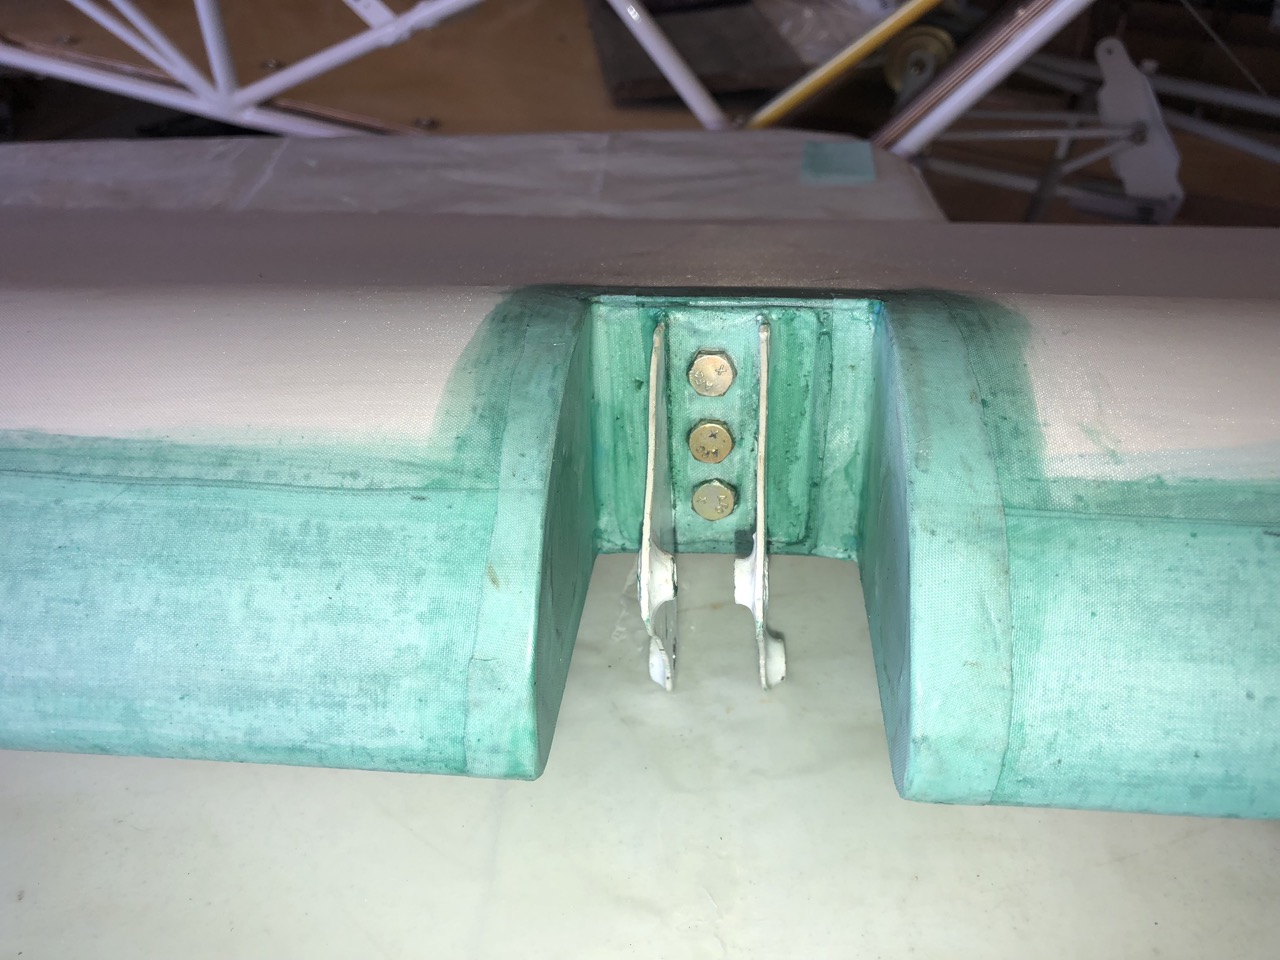
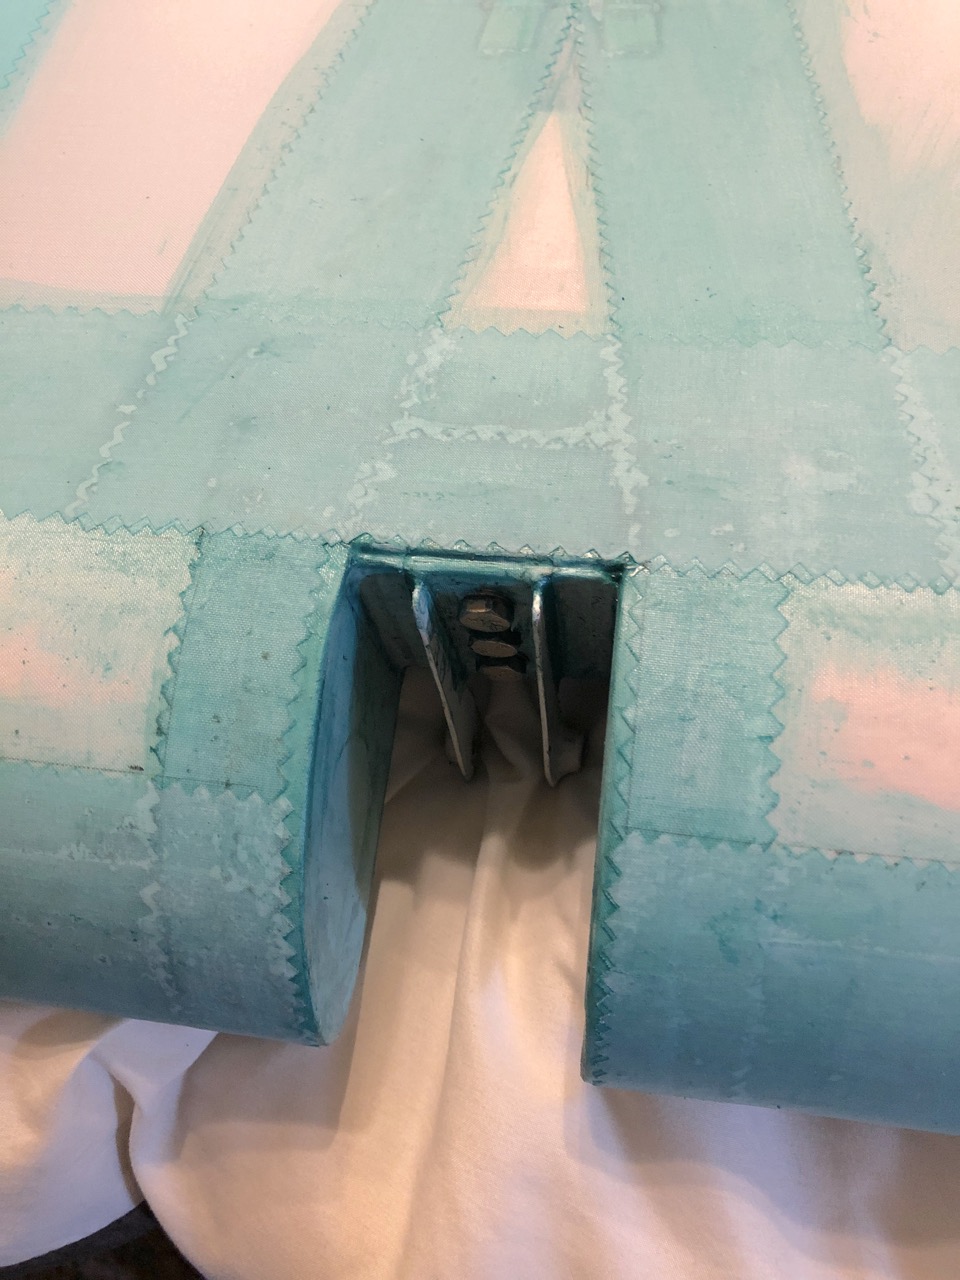
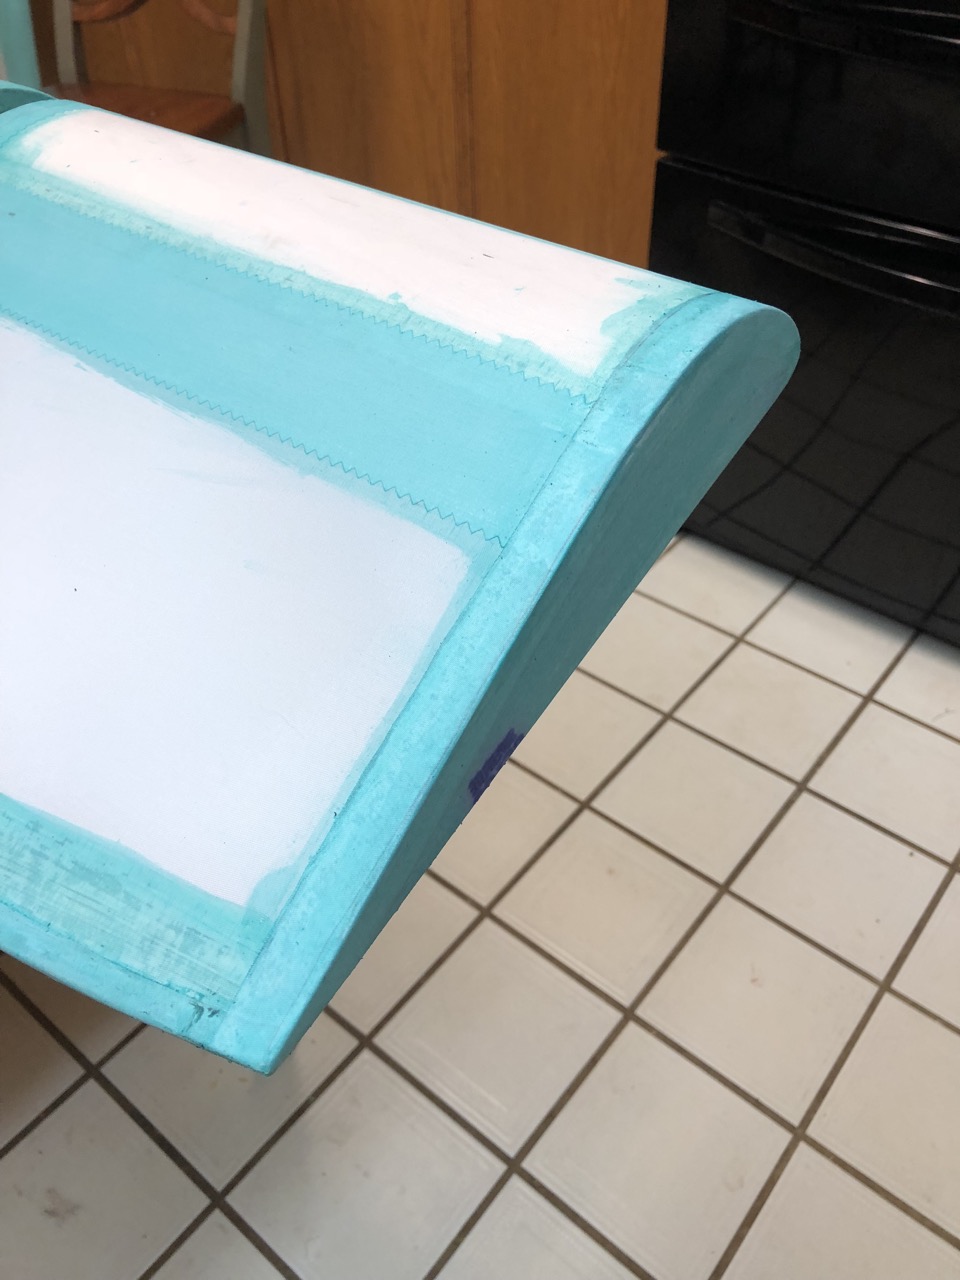
My flaps and ailerons are wood so I want to encapsulate the entire pocket. This took a bit of time (about one hour) per pocket, I first attached a piece of fabric over the hinge, than a “D” shaped piece on the exposed inside areas. I pre coated the fabric with 50/50 mix to seal the edges and glued in place with full strength glue.
Finished pocket. Edges will be taped with 1” pinked tapes next.
Applying 1” tapes.
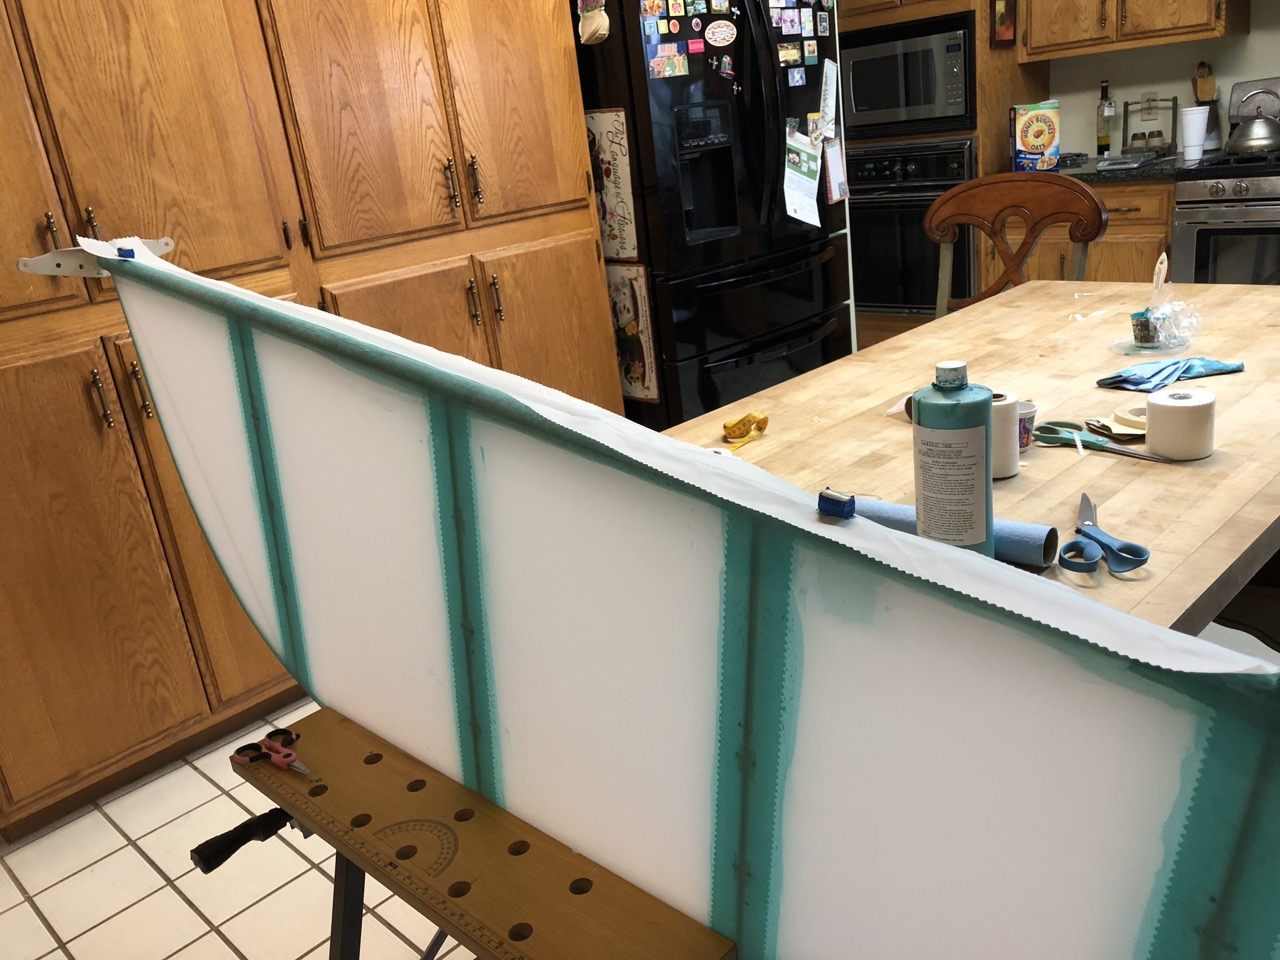
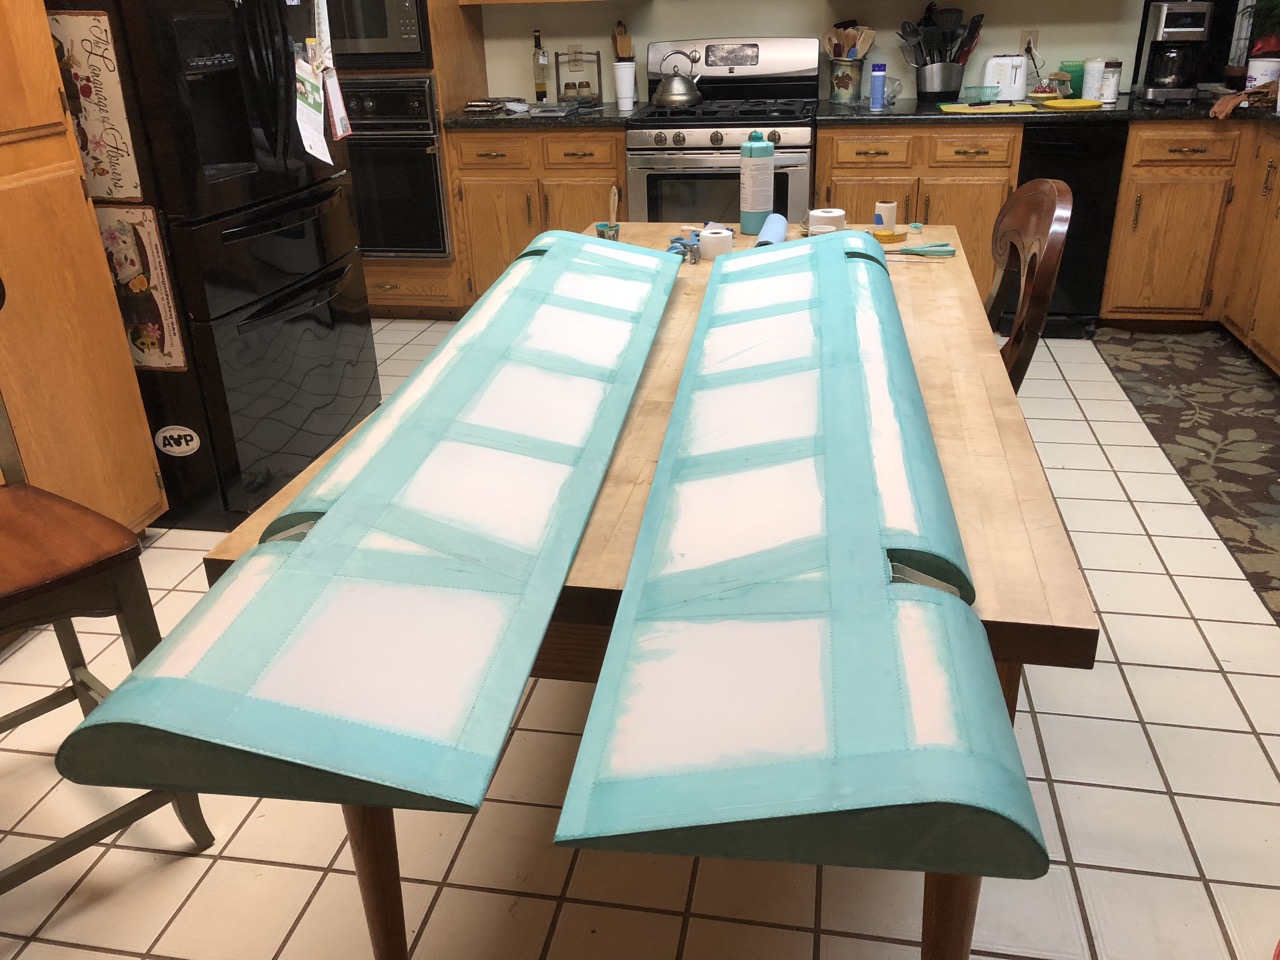
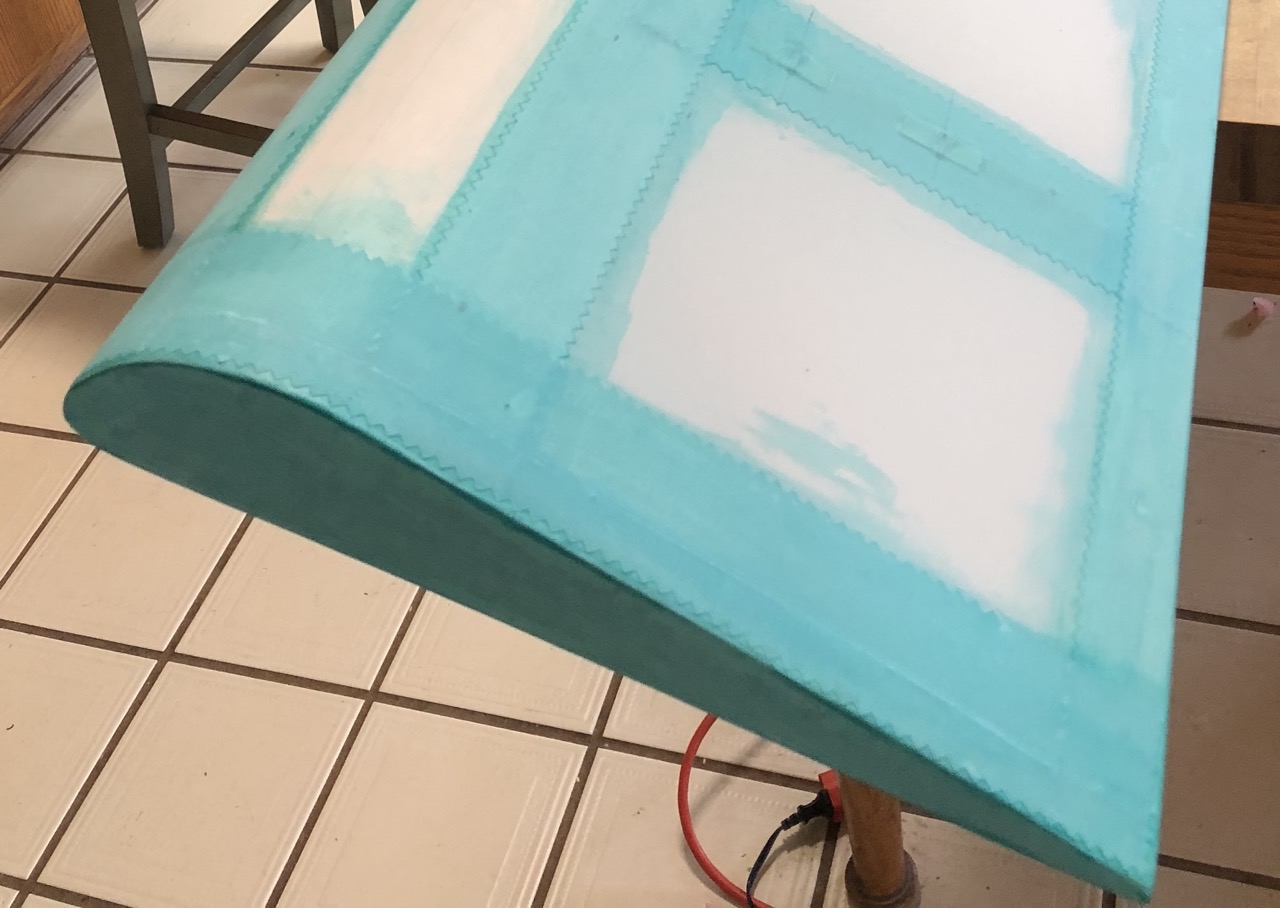
Typical pocket area finished with all tapes in place. The color is a bit off here, no pink glue!
Finished flaps with all tapes applied.
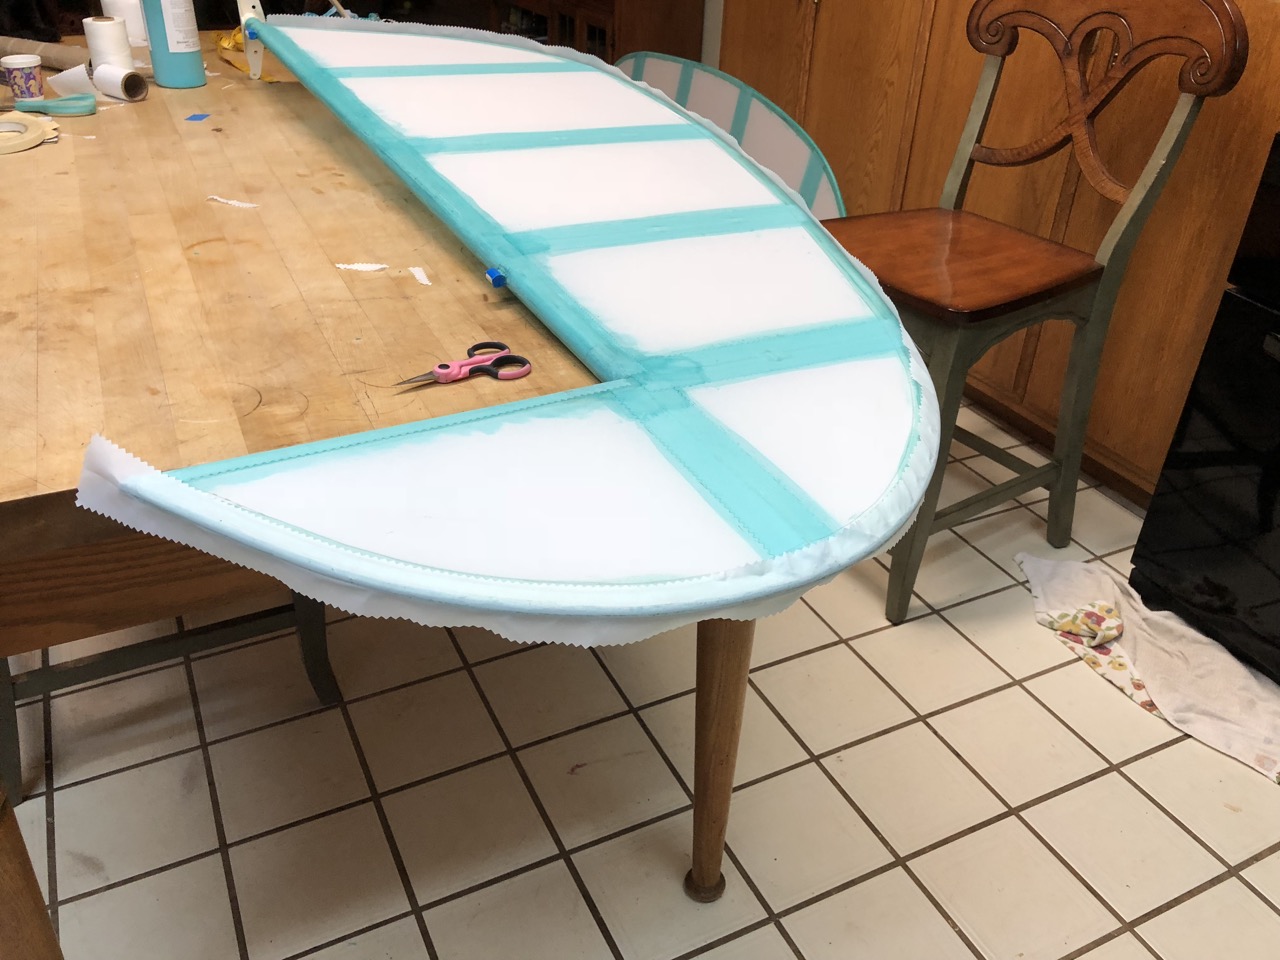
On to the ailerons. Nothing different from flaps. A little different cutting of fabric around the control horn but easy to figure out.
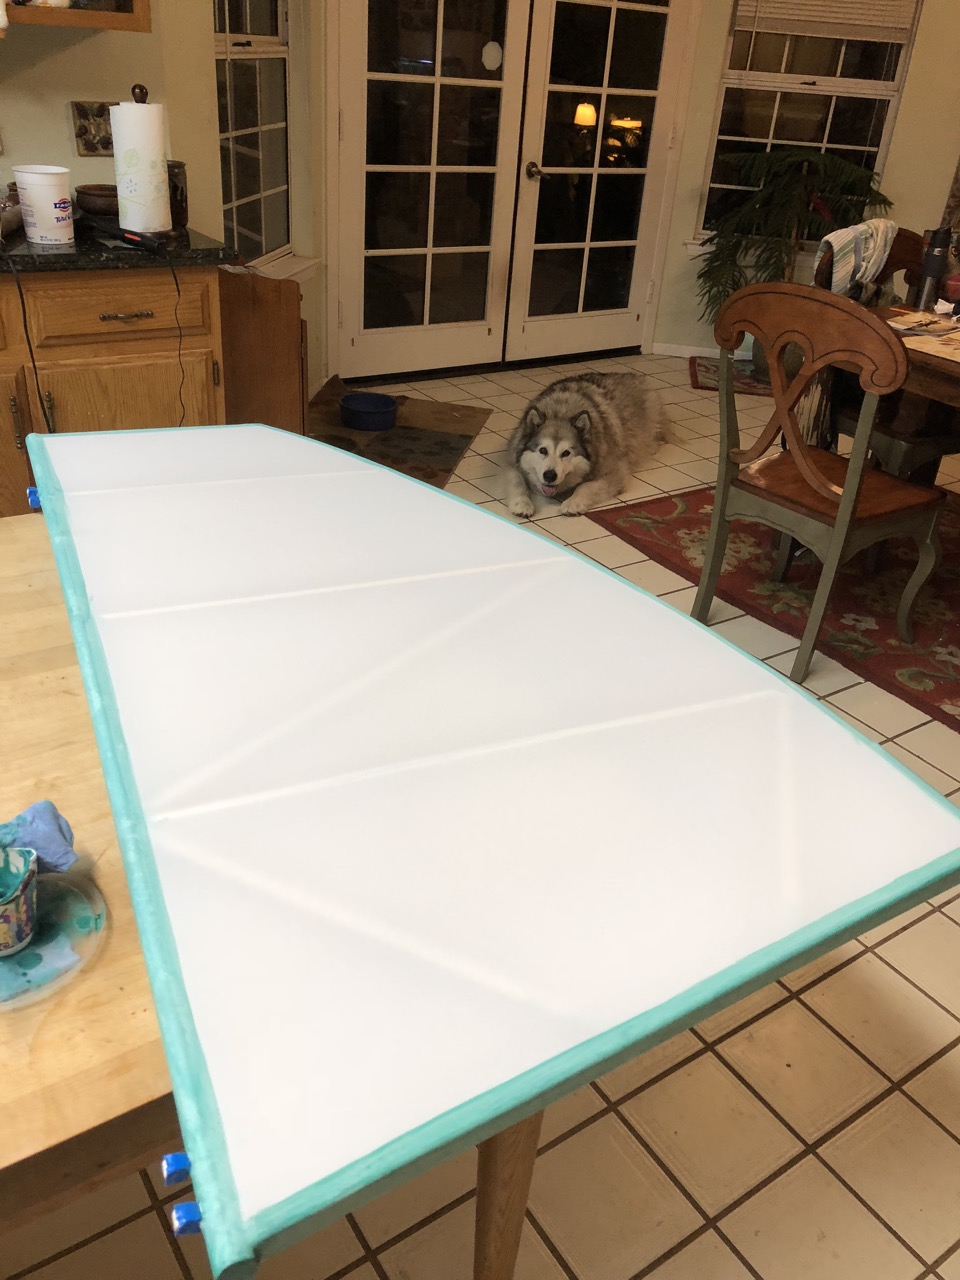
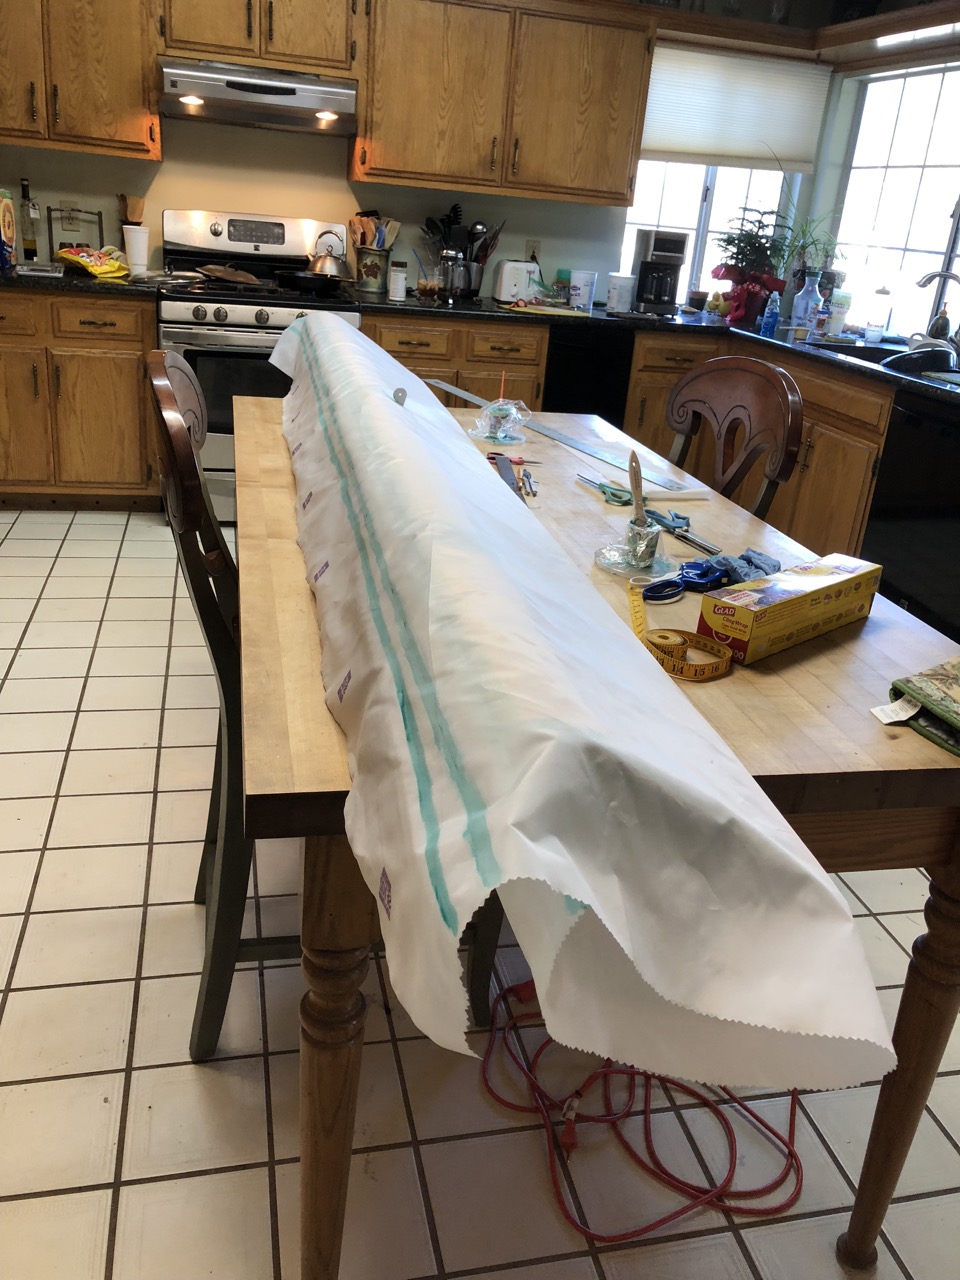
Yon need a big table to do ailerons.
Ends were done the same as flaps.
Before finishing the ends, I rib stitched and then taped over the ribs.
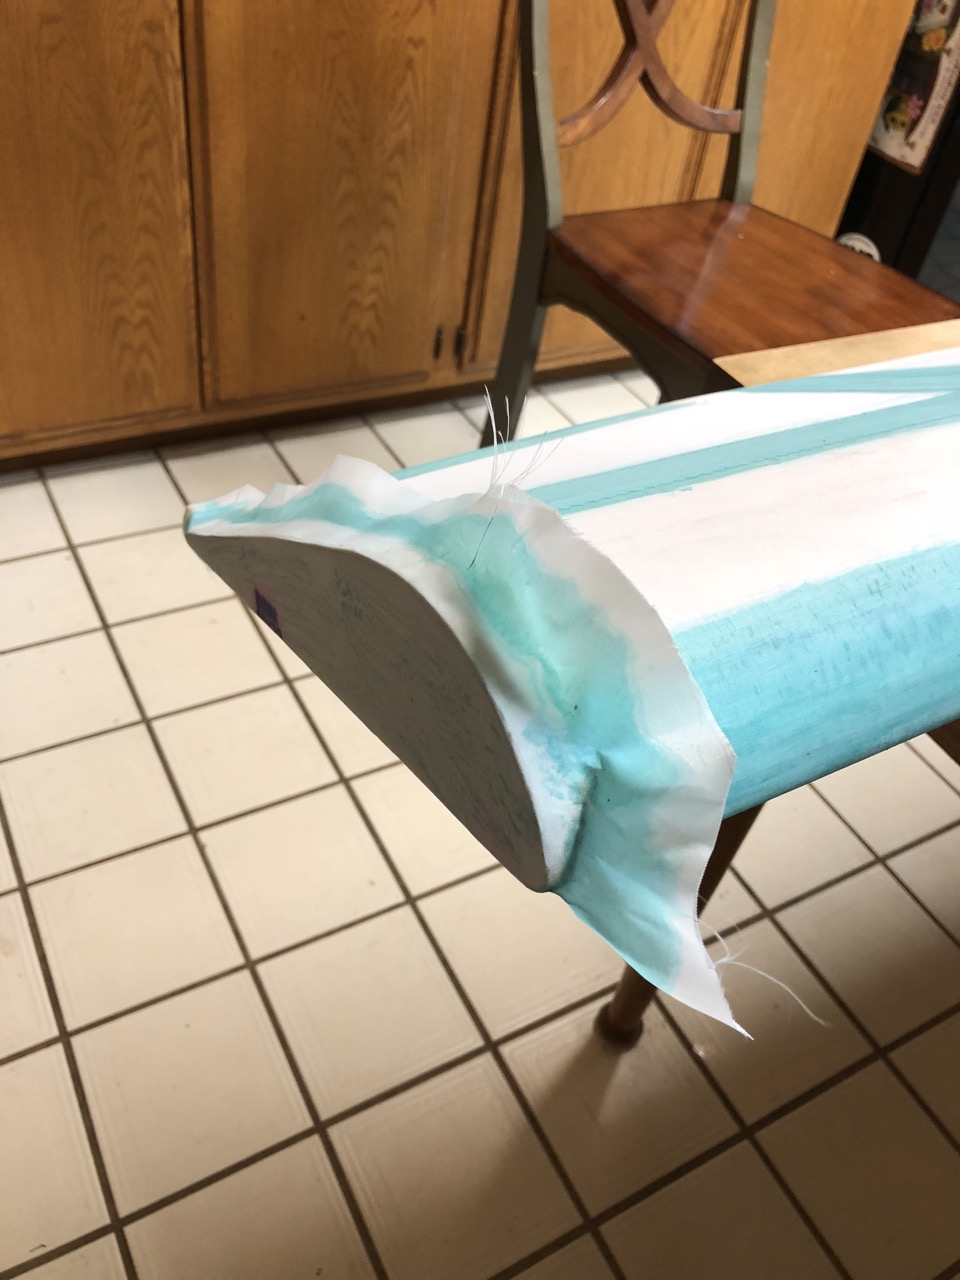
The ends were formed over the tapes covering the end of the rib stitching. This later was covered by 2” tape at end of aileron.
Finished aileron end. This last tape is one piece from trailing edge to trailing edge, locking everything in place.
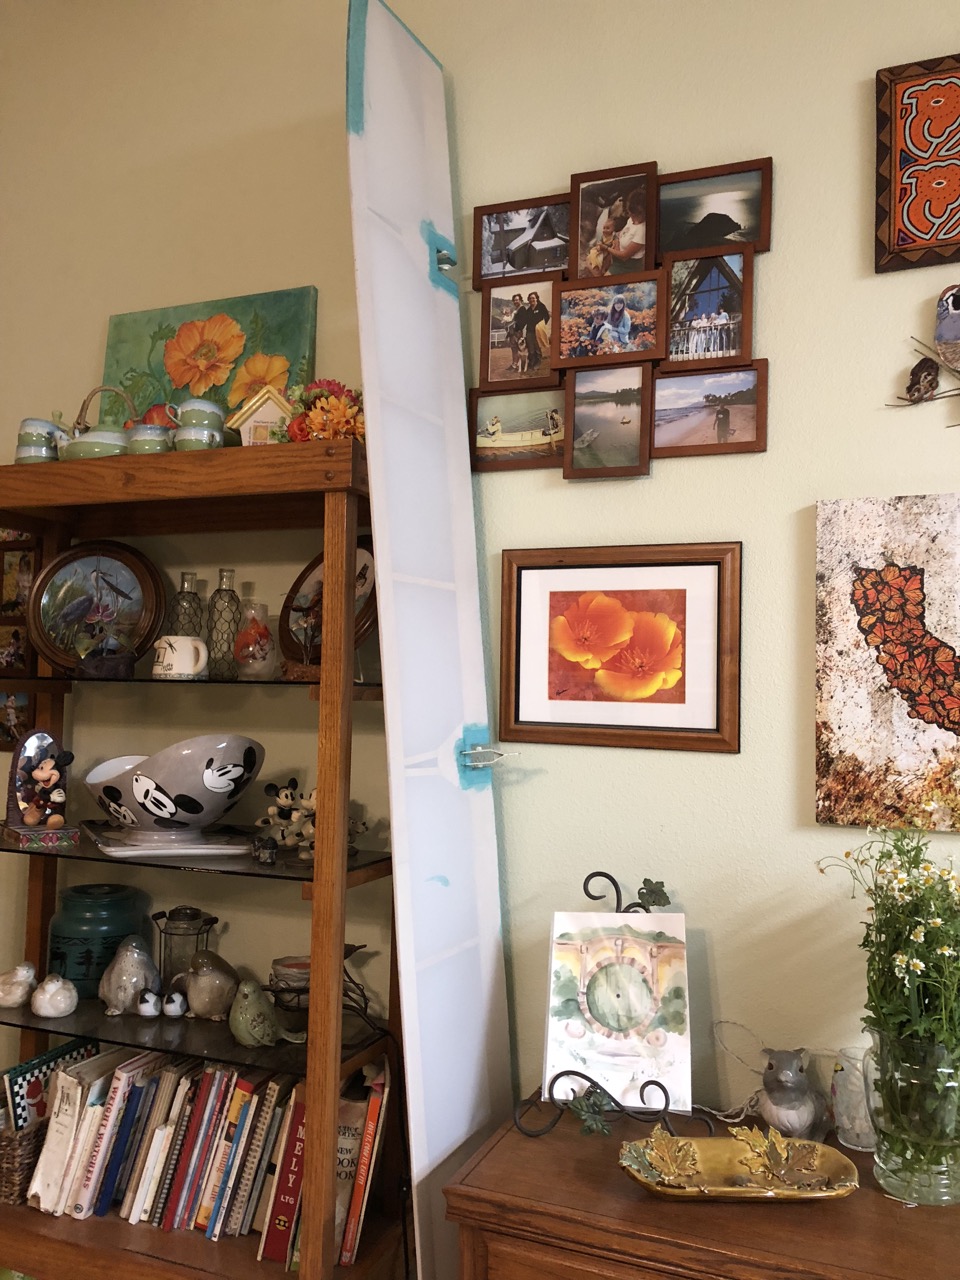
Storage gets a bit tricky with ailerons.
In the middle of all this, time for my wife to do a Girl Scout aviation badge. Good use of Stewart Systems Ekobond!
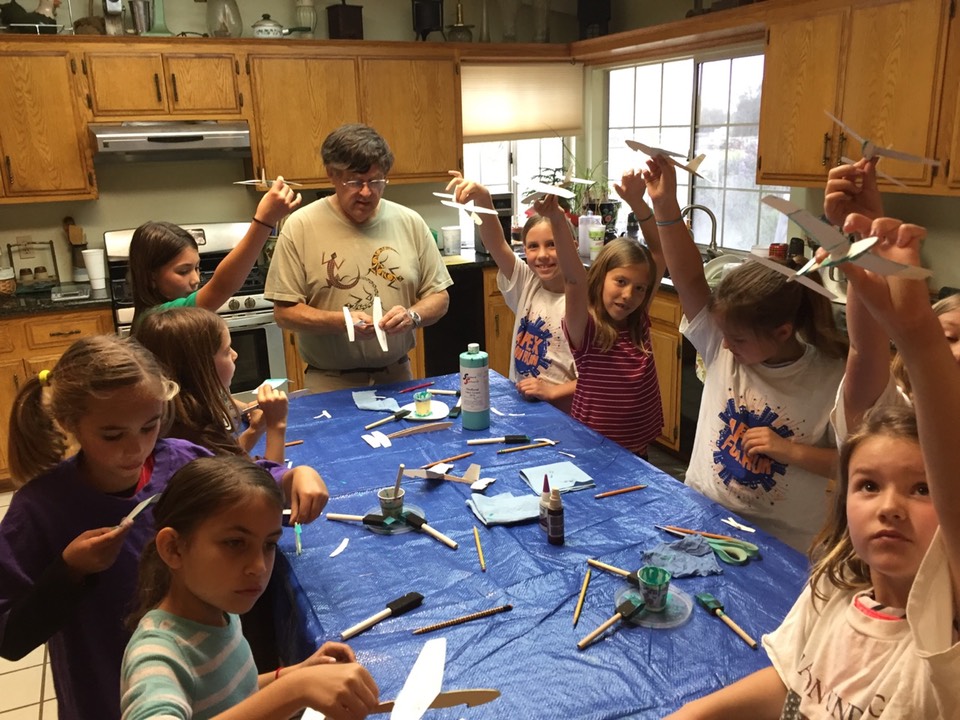
Girls are gone …… aileron finish tapes all done.

One aileron complete, one needing tapes.
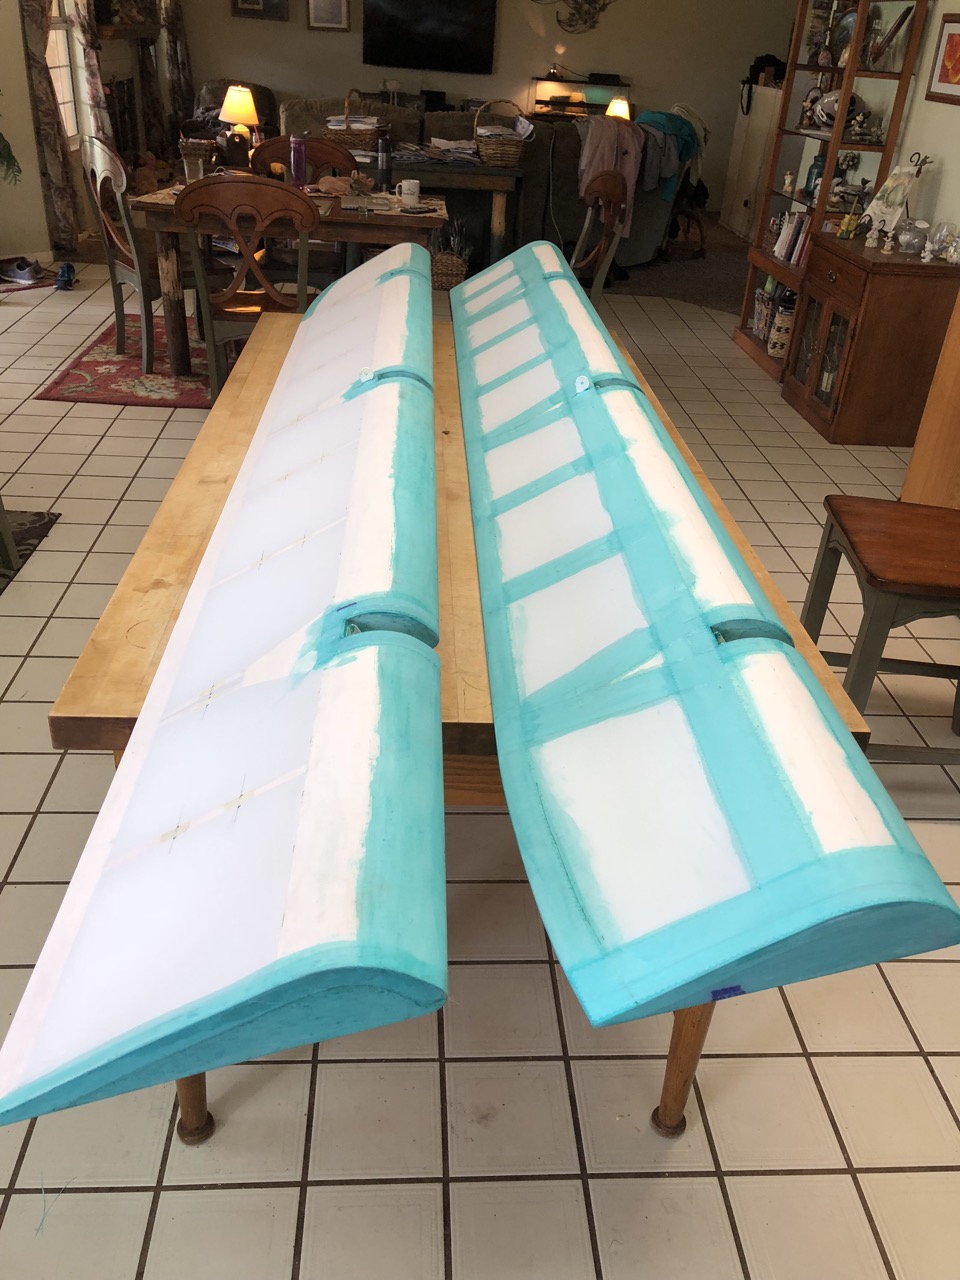
All parts finished, one aileron needs tapes. Most of the work was done in the kitchen, with my wife home …. and I am still married!
Return to Past Posts and Pictures by Date