

I have finished the wood flap to match the aileron. The fit and finish turned out much better. I learned a few tricks and the flap went together much faster. Here’s some finished shots:
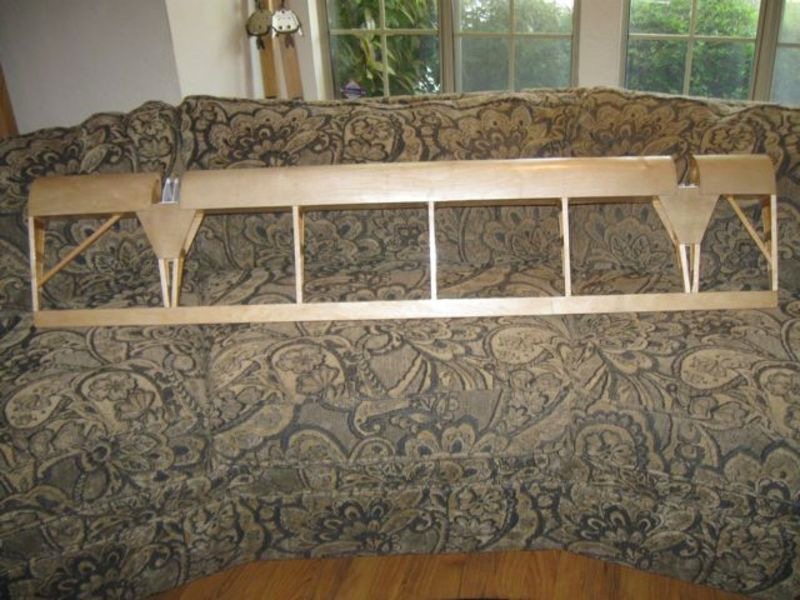
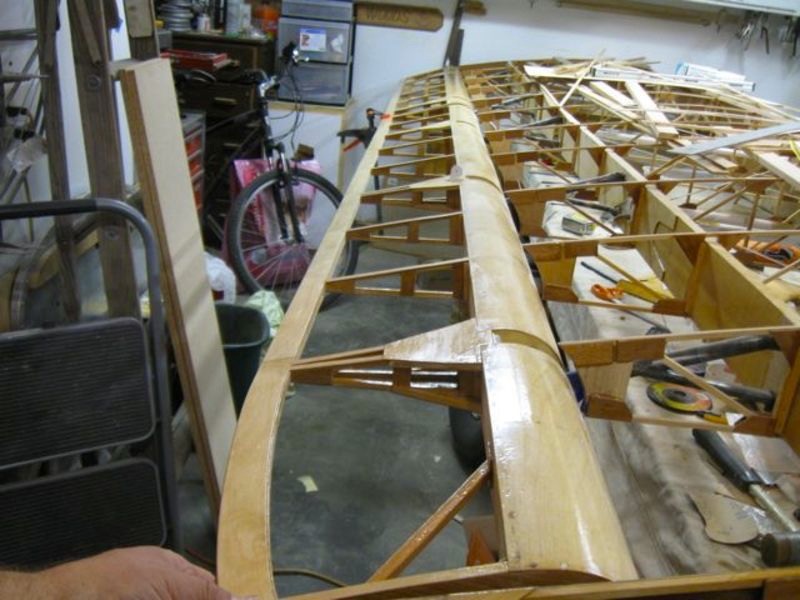 And the entire wing; aileron and flap mounted together.
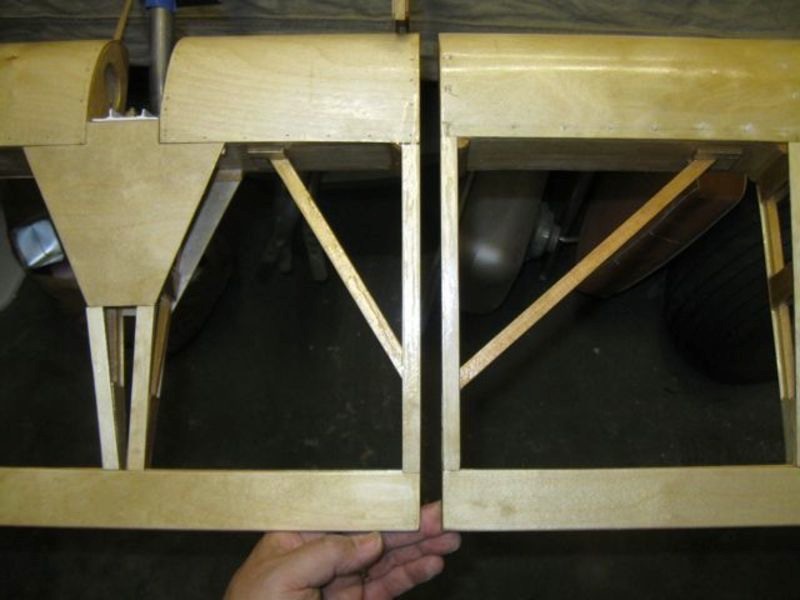 This is the gap between the flap and aileron:
The major difference between the aileron and the flap was use of the nails. I made the mistake of nailing the ply on with the heads flush with the ply on the aileron; big mistake. For the flap, I used the method outlined in “The Sport Plane Builder” by Tony Bingelis, pg. 69 and 70. This saved me about 8 hours of frustration and mess. Live and learn. I also bought a great tool to pull the nails. It’s called a Staple Jack nail puller. Check out their web site www.nailjack.com. I bought it through Amazon (I get free shipping) for something like $25 or less. This tool is an absolute must. They have a larger Nail Jack, make sure if you get one that you get the Staple Jack as it is smaller and better suited to this task. I made up a bunch of nail strips in advanced and cut them as needed when I installed the ply. It worked real nice; don’t forget the wax paper. After everything is dry the wood strip is split with a chisel and removed leaving every nail head sticking up enough to grab with the Staple jack. How cool is that. the strips are about 1/16″ x 3/8″ pine. I pre-drill and insert the nails before gluing. It takes some time but way less than digging out the nails. I inserted the nails while watching TV.
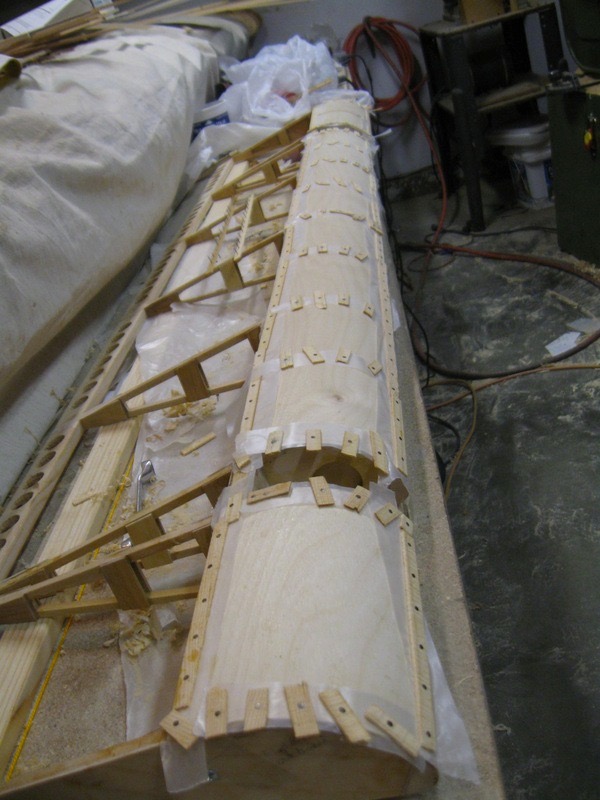 Here are some pictures of the nail strips. These were easy to use and remove.
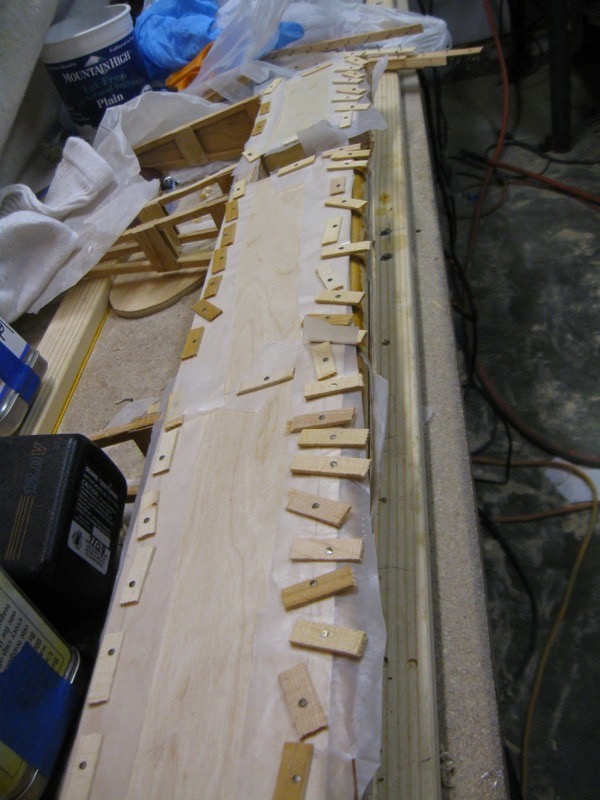
I used wax paper under all the nail strips to help with removal. This works great.
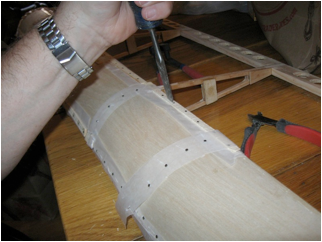 The above picture shows how I cut some of the strips; they just worked better here this way. Next remove the wood strip when dry. This leaves the wax paper and the nail head sticking out for easy pulling.
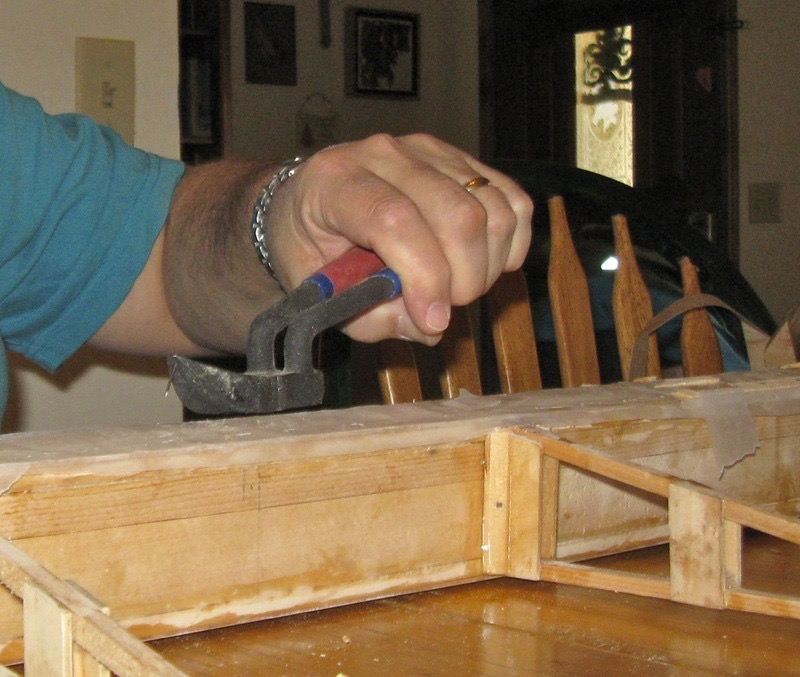 Nest is the Staple Jack in action. You could use diagonal cutters for this step but the staple jack made no marks at all.
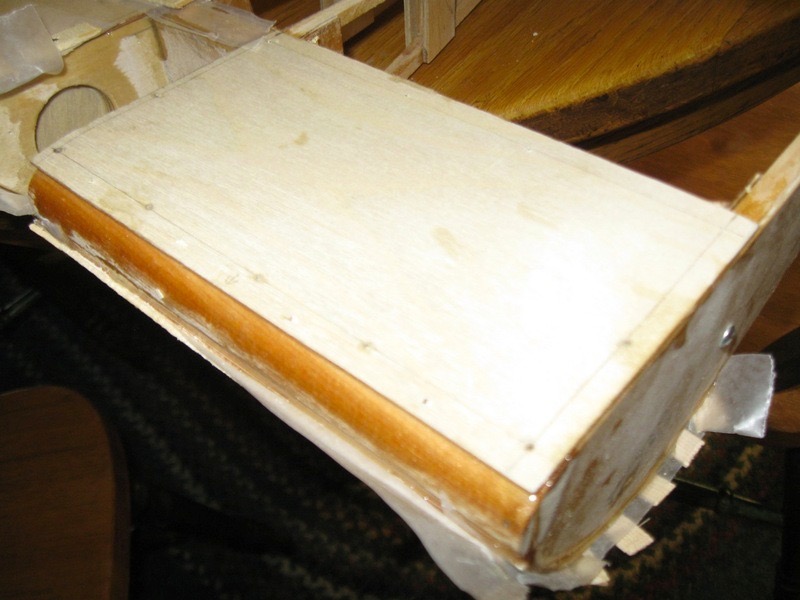 Yes, I removed the nails on the kitchen table and yes, my wife was home and knew about it. The next picture shows a section of the bottom with the nails removed and ready t shape to match the leading edge.
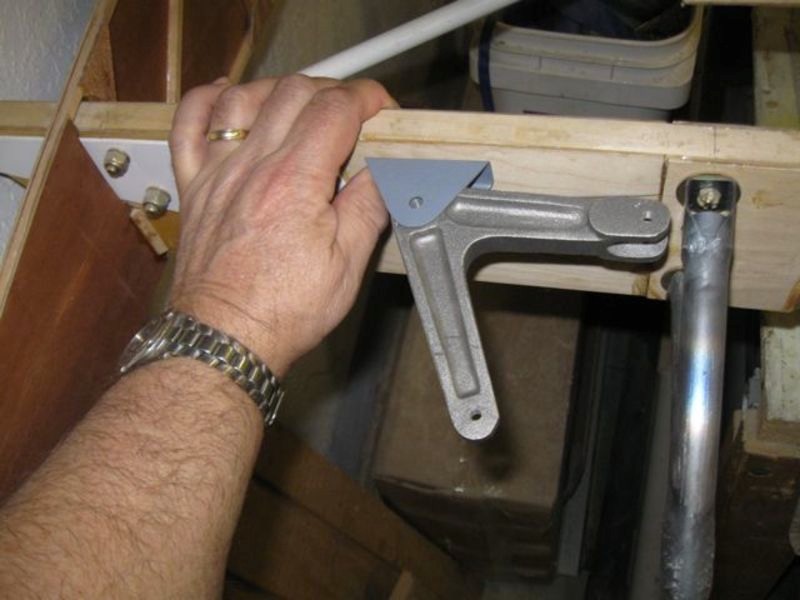
The final weight of the flap came in just under 5 lbs. You could go lighter with a metal trailing edge but that just didn’t make sense to me on a wooden flap or aileron. My next step is to install the flap bellcrank and hardware. I am collecting and making parts and it should go pretty easy. The below picture is the first step in figuring out the placement. I am using stock PA 18 hardware but the location is modified due to the type of flap hangers I used. More to come soon.
Return to Past Posts and Pictures by Date