

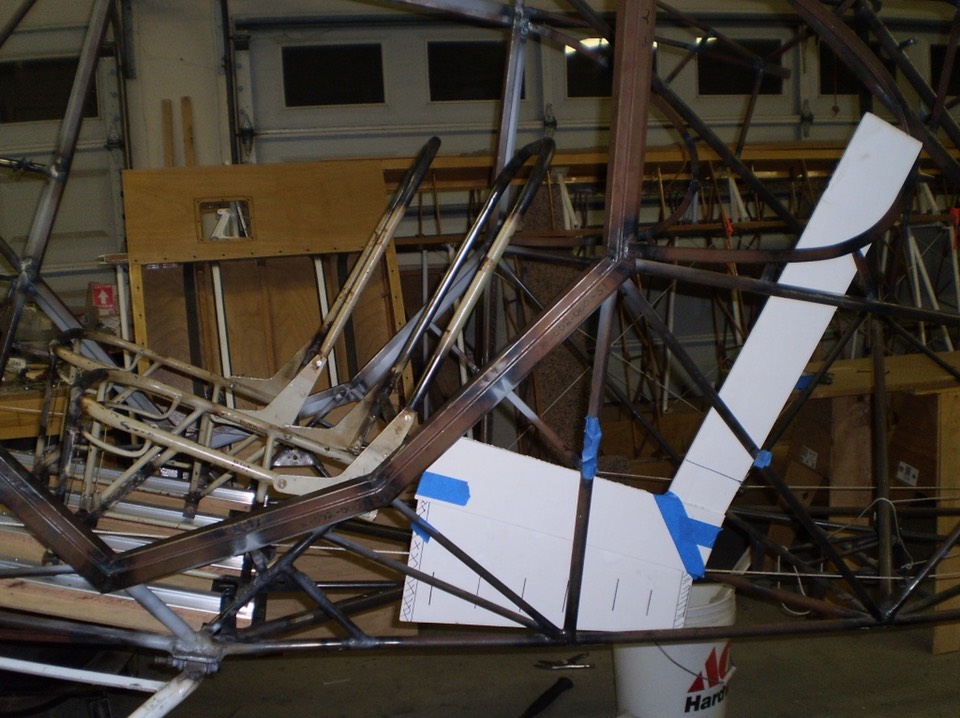
The rear seat in the 2+2 plans is a simple removable cloth sling. I decided I wanted a more traditional rear seat. After doing some research, I settled on a design from one of the posters on Supercub.org. If you take a look at this video you will get an idea of how I intend to build the seat supports. The particulars of the actual seat will come later. I took a look at the drawings from the PA14 and the 2+2 to get the location for the tabs. One change from the video is that I will have removable cross tubes rather than just two in the video. The door opening shown in the PA12 video in is different than the 2+2 and does not have a place for a removable front tube. I decided to use a removable front tube with the support tubes welded near the door opening. I made a foam board template to get a visual of how the seat would fit into the fuselage.
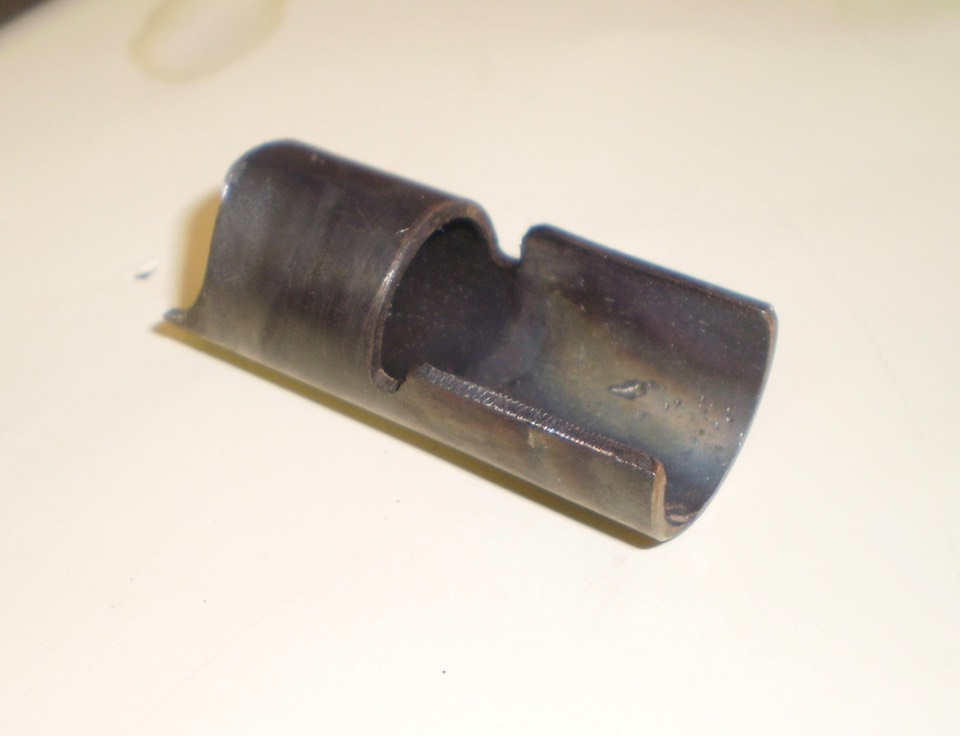
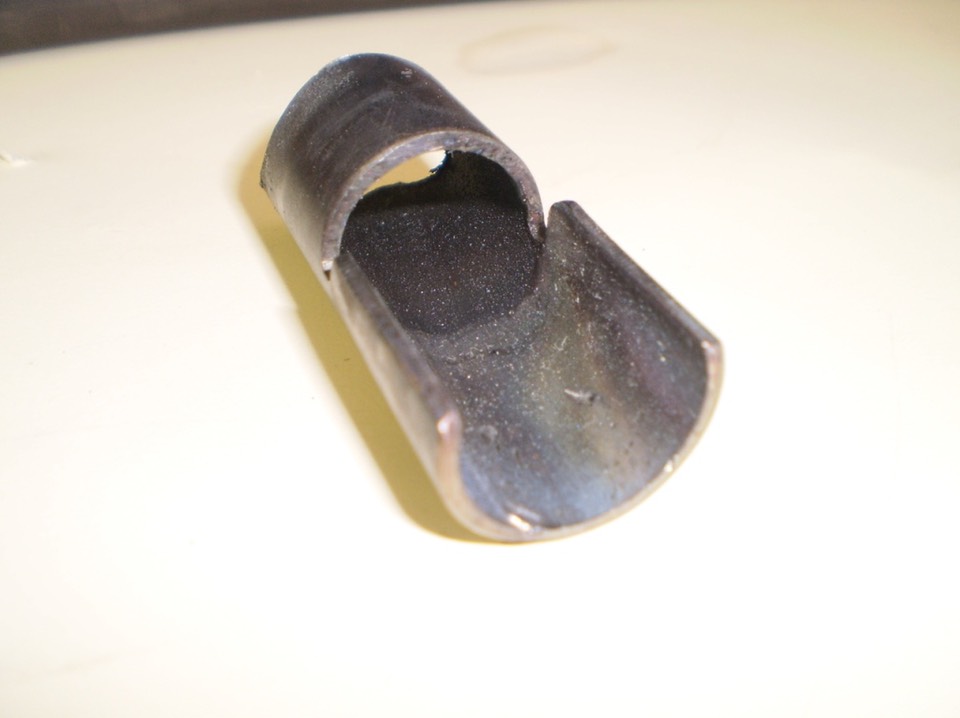
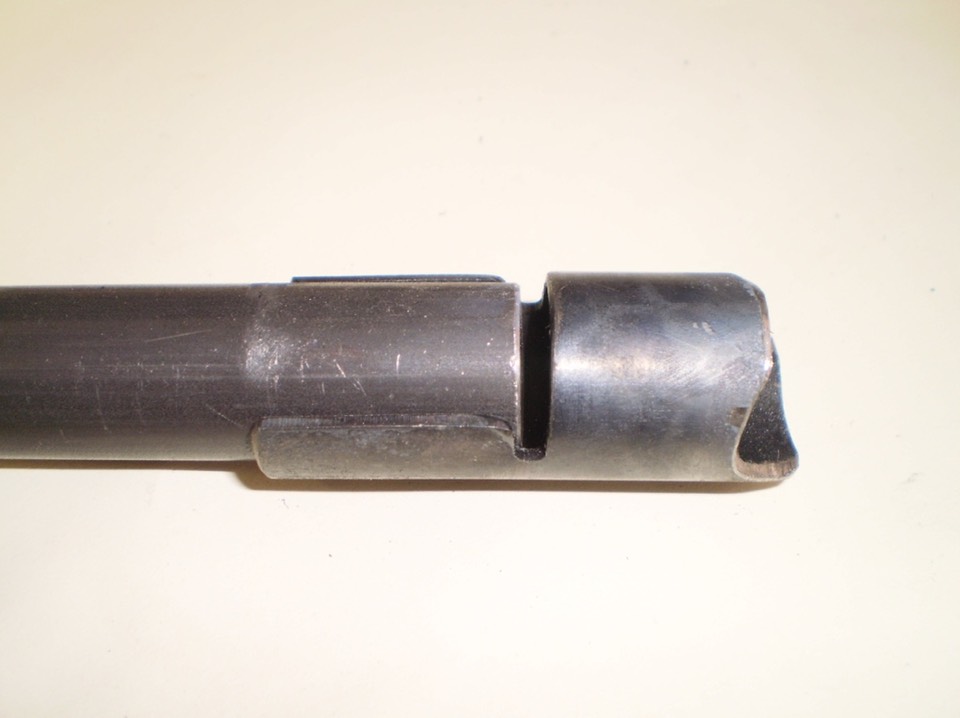
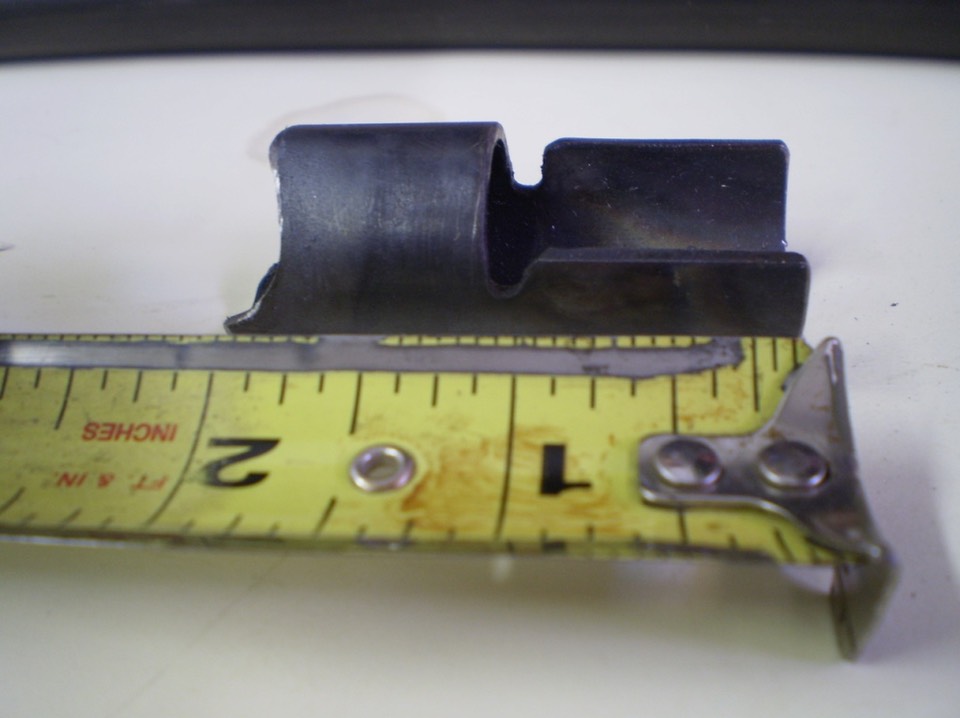
I cut and fabricated 6 attachment tubes for welding into the fuselage. These were patterned after the fittings from the above video. These next few shots show one of the attachment tubes. I first made them about 6” long for the upper seat back support and shorter for all others. Each support was than cut to length for the particular location and the end cut to fit the tube it was being welded to. The support tubes are 7/8” .049 4130 cut to accept the removable 3/4” cross tube. Later I will add a removable locking pin or bolt to secure the cross tube in place.
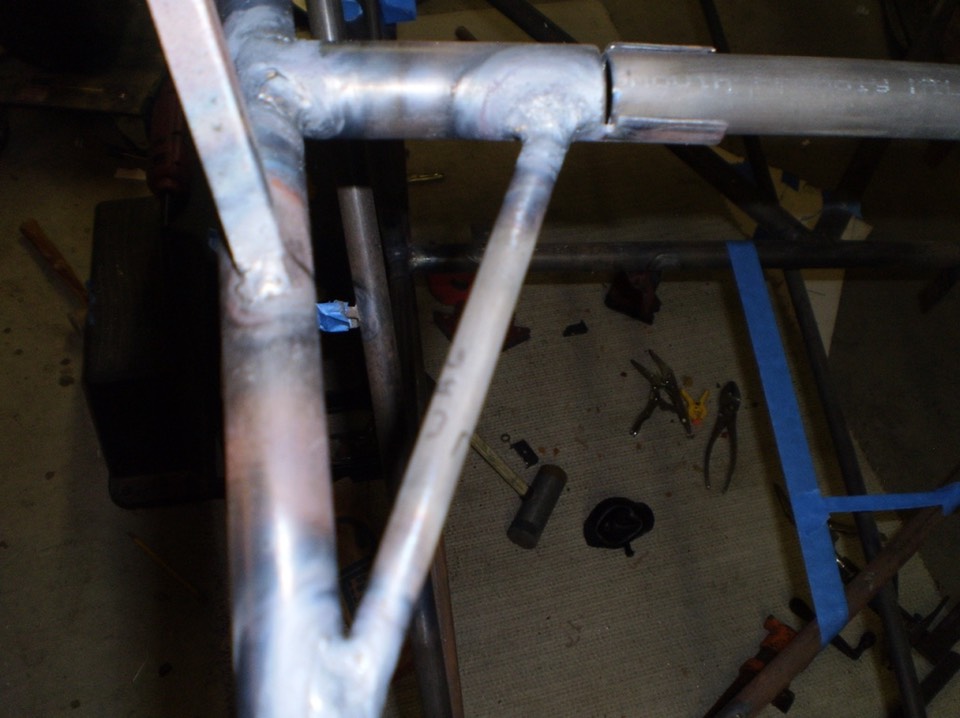
This next two shots shows the upper support tube where it welds to the upper longhorn just below where the window starts to curve up.
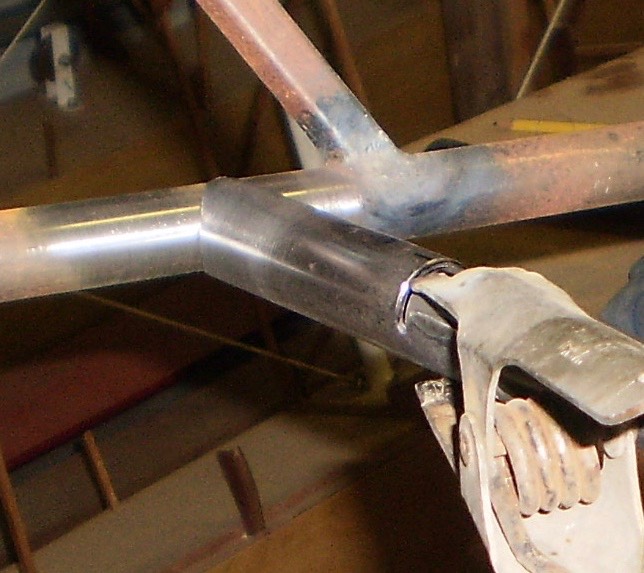
Next, I welded in the upper support. As shown in the video, I added a short angled tube to give the upper support tube more rear strength. This shot shows how the support tube was made.
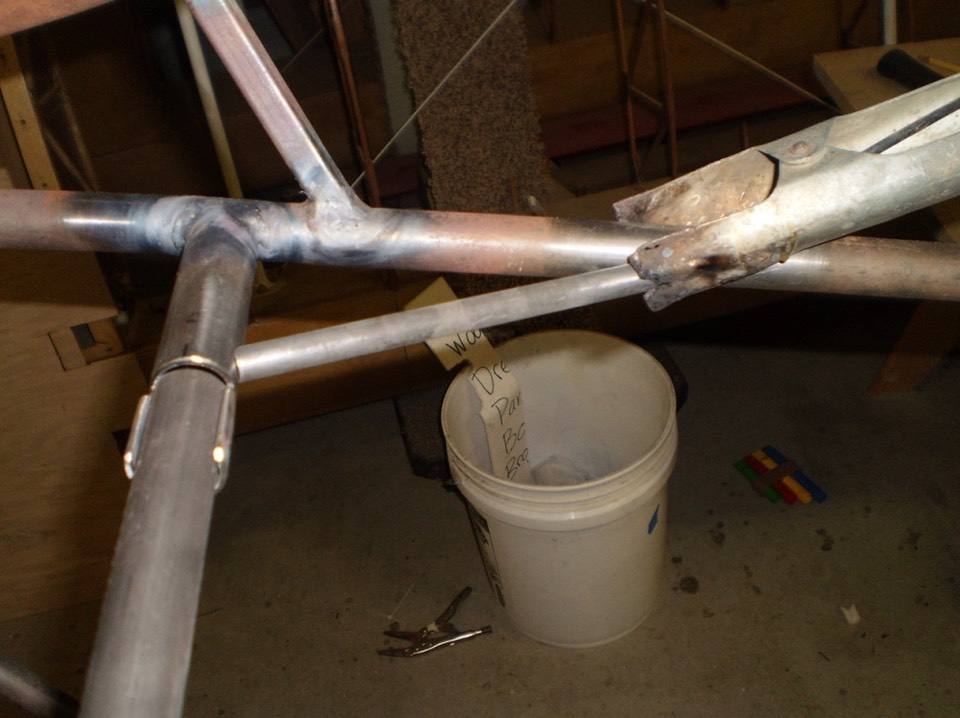
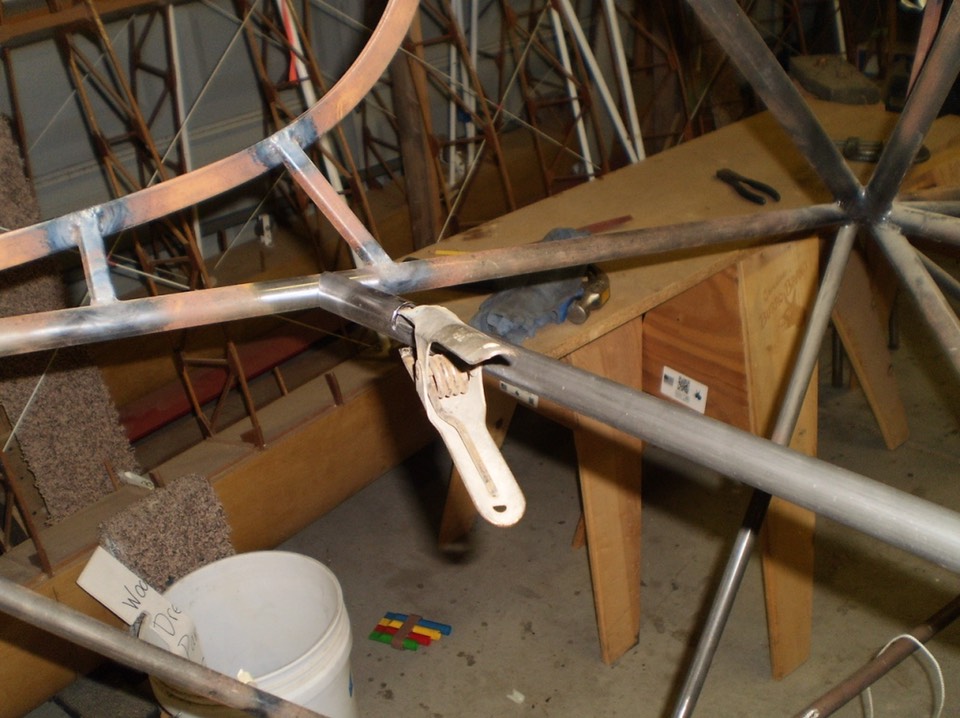
A diagonal tube was needed for the lower seat frame support tube. This will be the rear cross tube for the base of the seat.
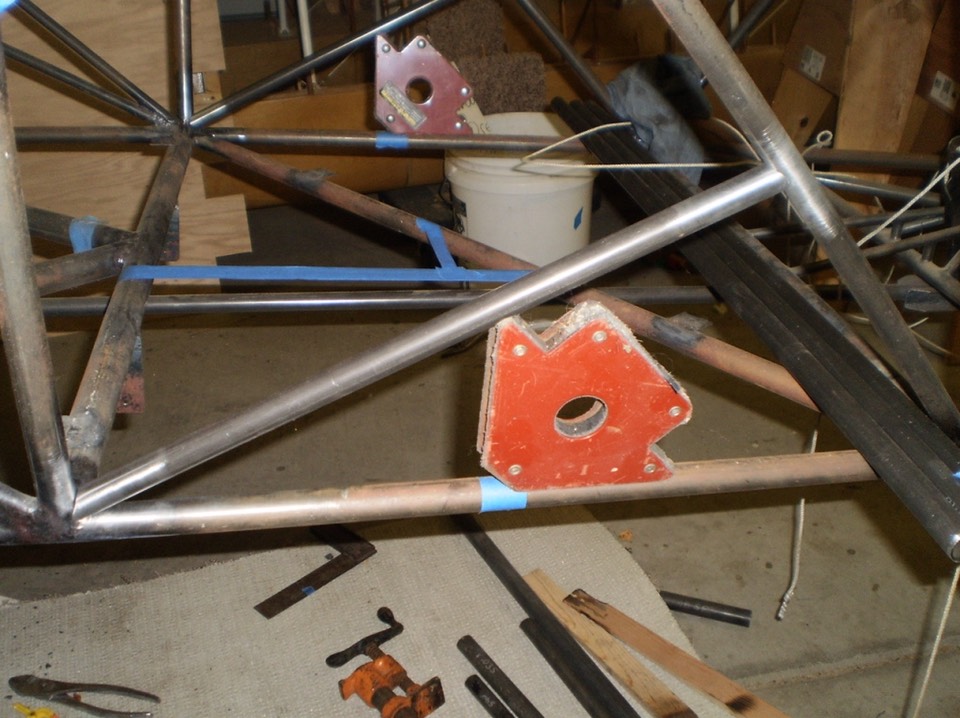
Here’s a shot of the rear support tube welded in place with the removable cross tube for the rear of the lower seat frame set into the tube supports.
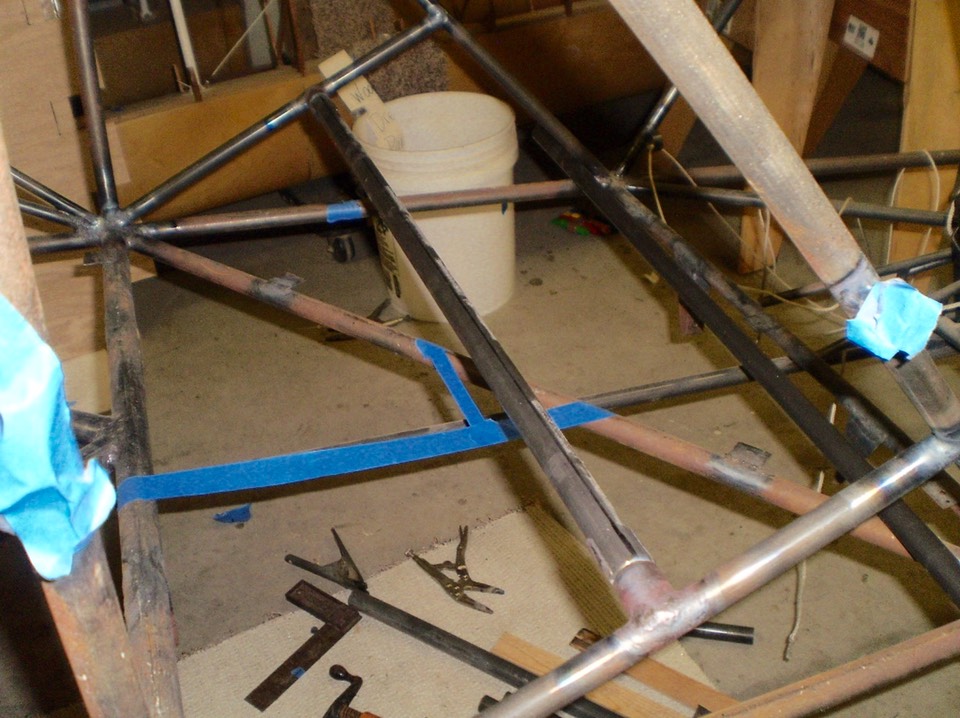
The location of the front cross tube for the seat was giving me some concern. The PA 12 and PA 14 show the front of the seat frame at different heights. The video doesn’t have a weld in cross tube support due to the way the door is framed. I decided to make the front tube level with the floor at the same height as the rear tube.
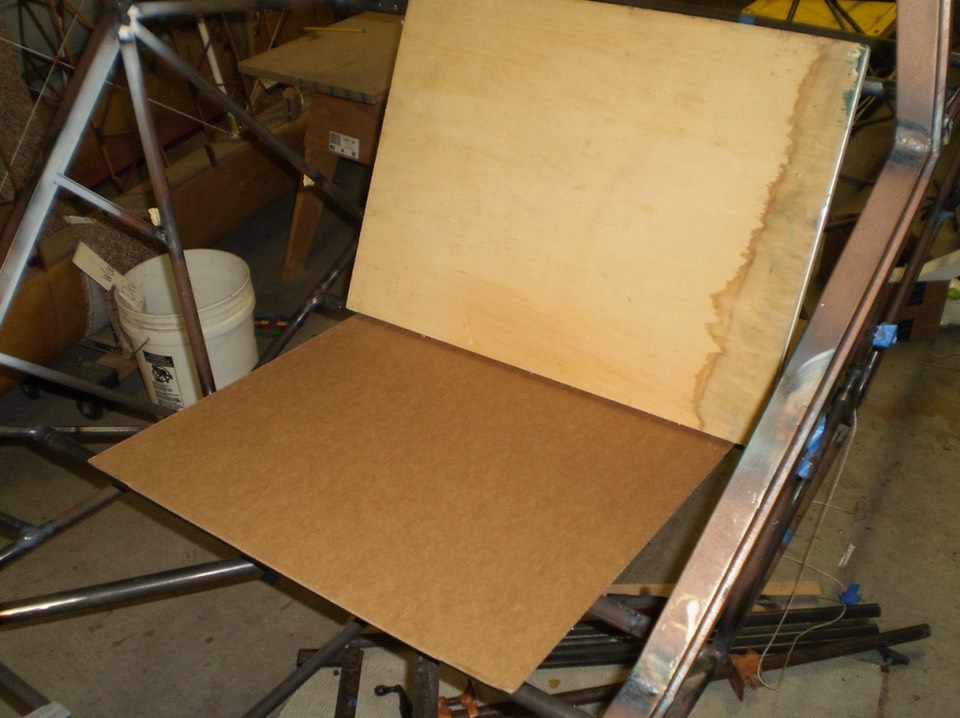
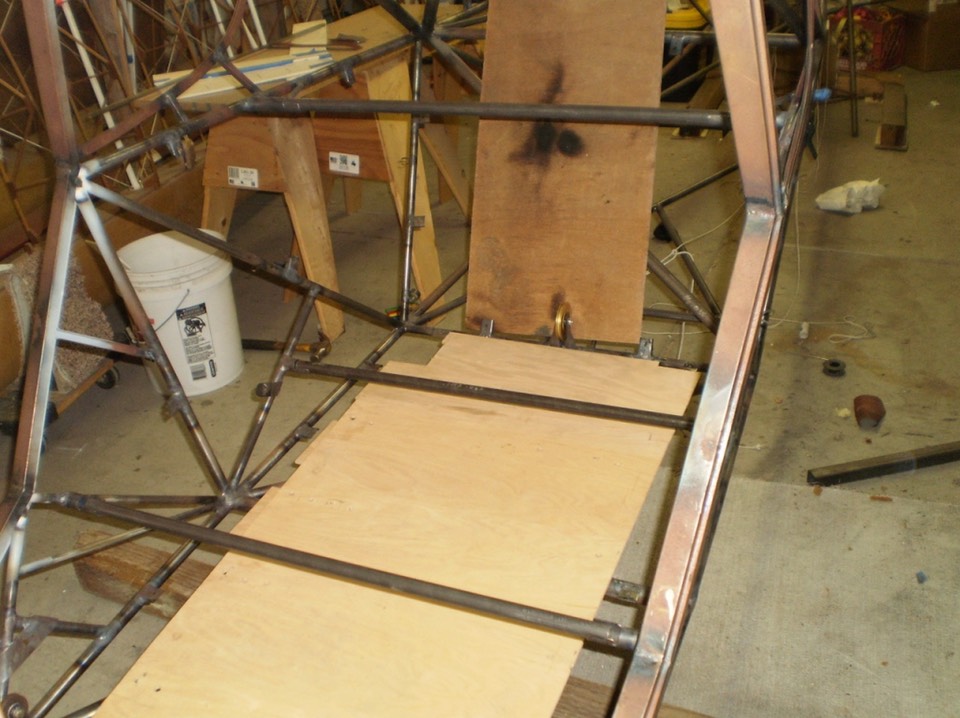
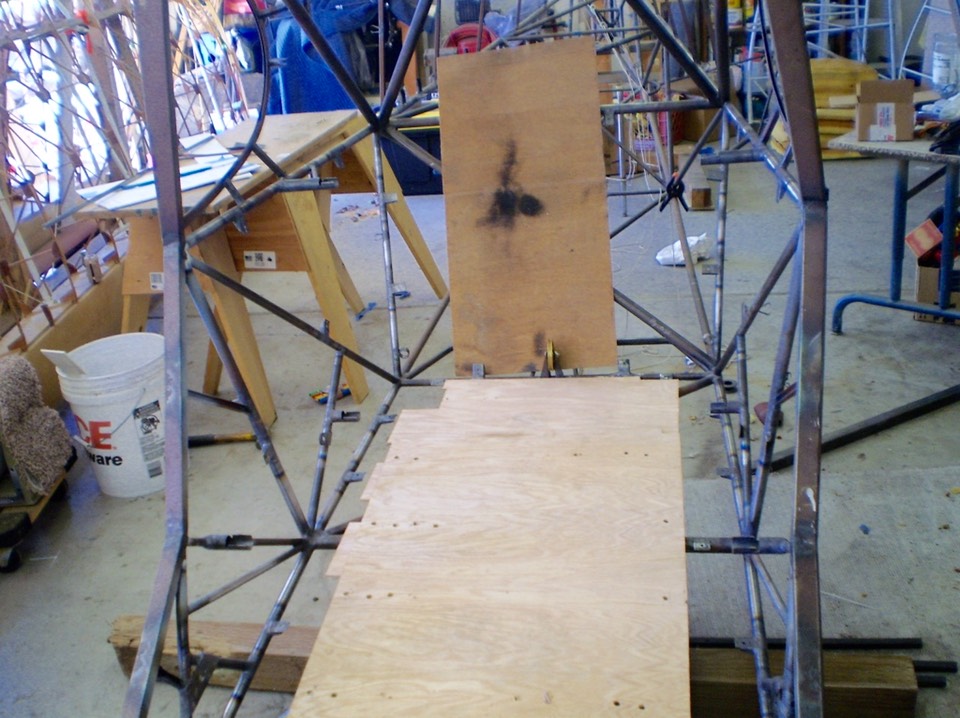
Next, with everything welded in place, I placed some plywood in to see how it all fit.
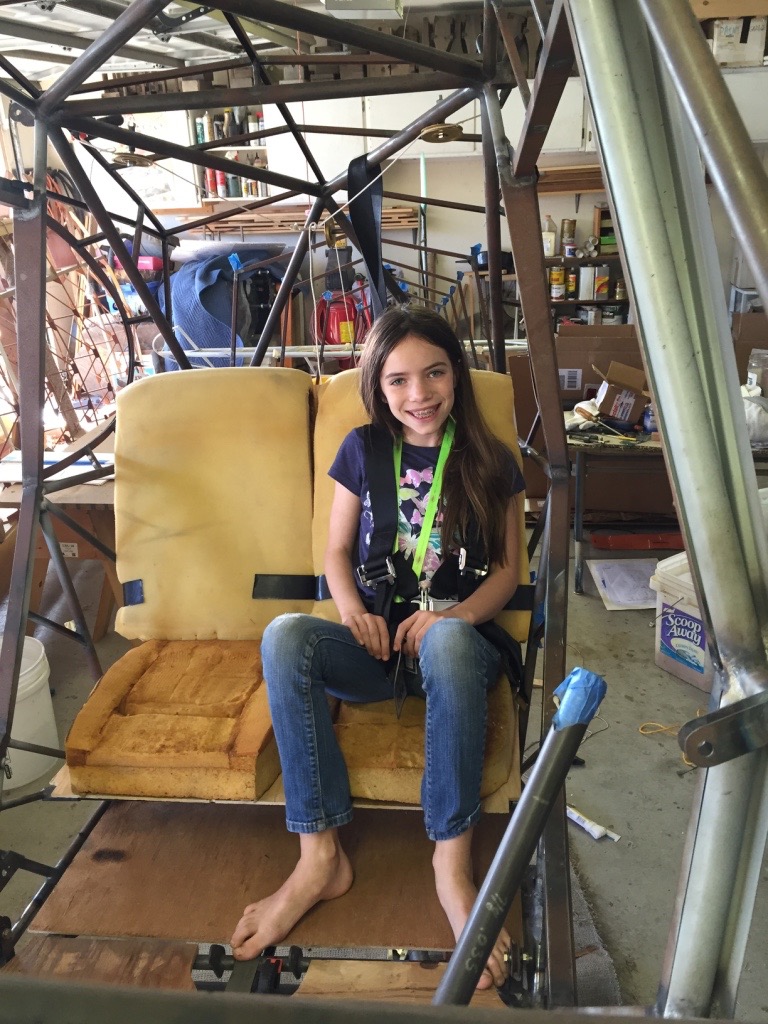
I put in some temporary cushions and up climbed my Granddaughter …….. and I didn’t like the fit at all! Her knees were too high. The front tube needed to be removed and raised up to the location shown in the PA 14 and 2+2 drawings. Live and learn! Never fear cutting something out recently welded and doing it again. Sure nice to have a test crew readily available.
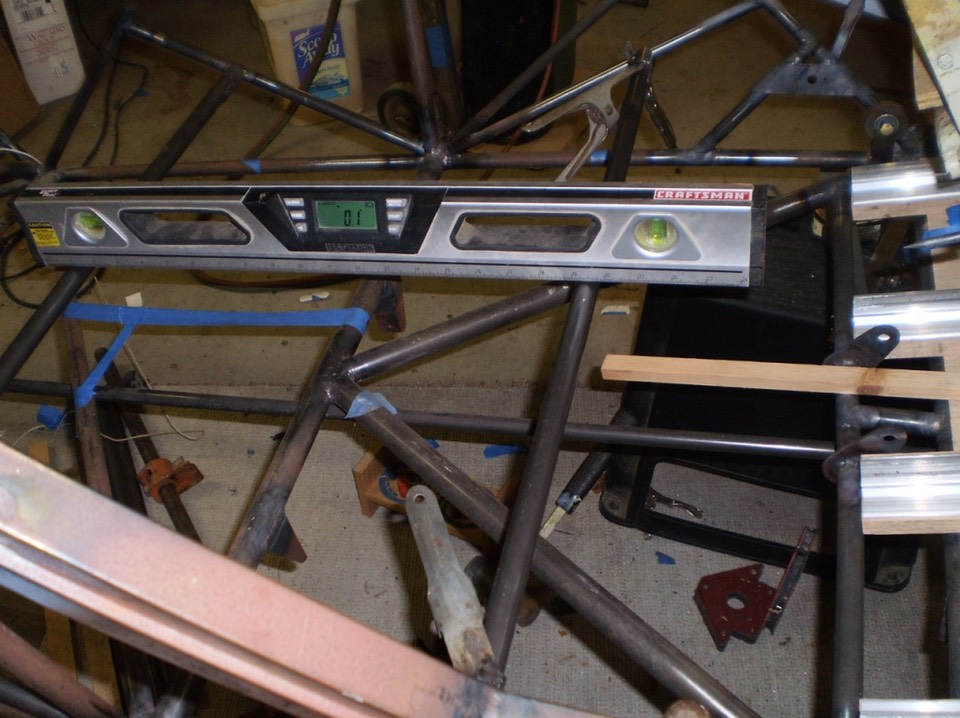
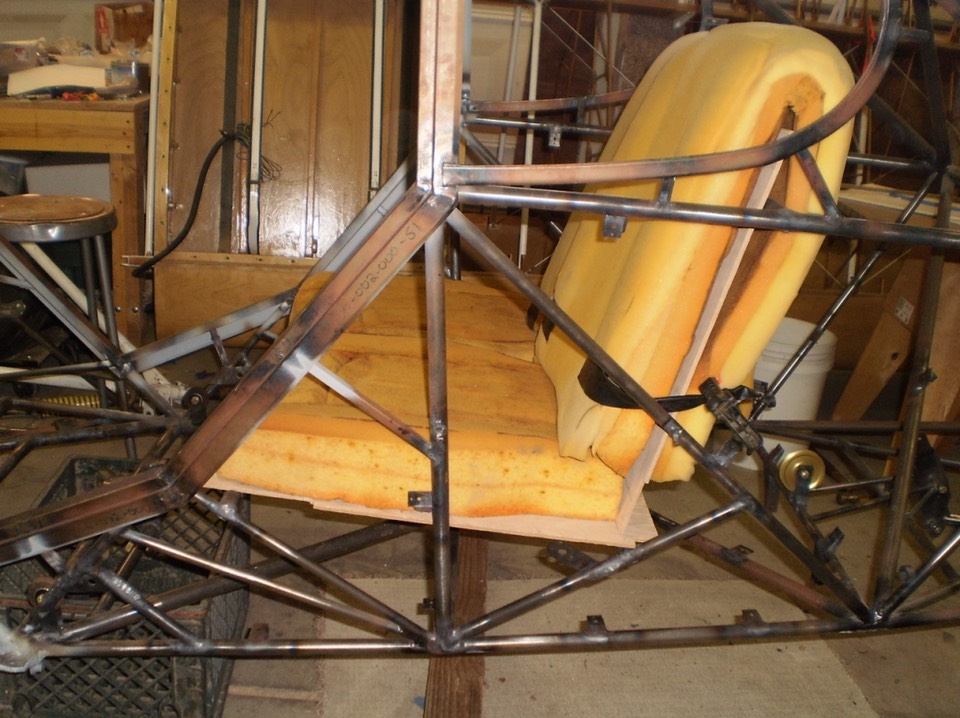
Here’s a shot from the side of the re-welded cross tube with the temporary seat in place. Having the front raised made sitting in the back much more comfortable.
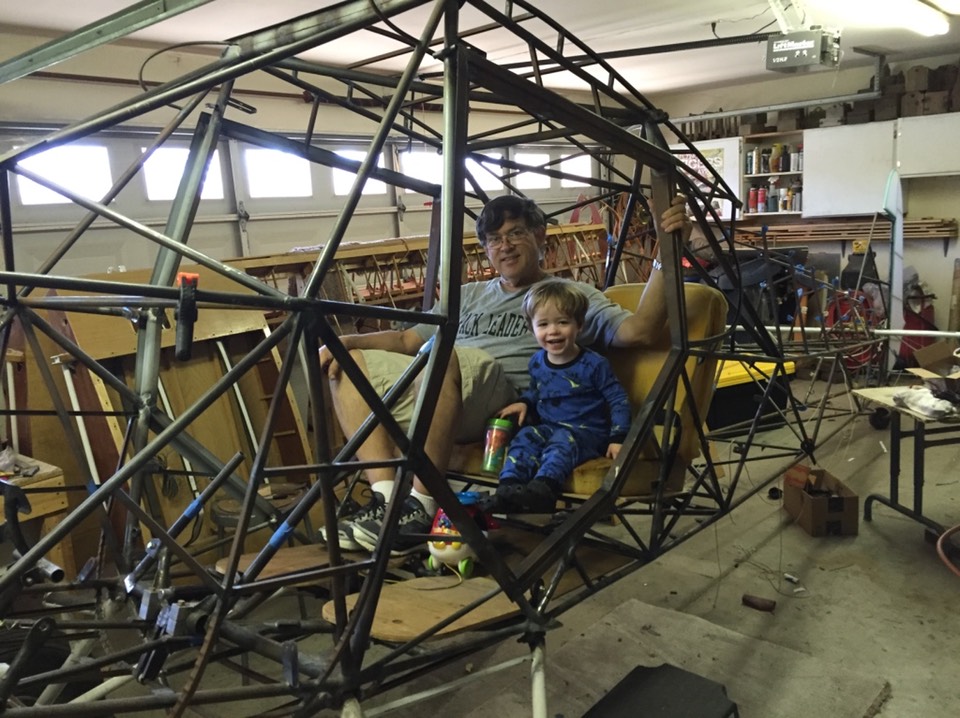
And let’s see how I fit in the back seat with my Grandson ……
The next pictures shows the cross tubes in place with some plywood on the floor for contrast. These pictures were taken after I welded in the pulley for the flaps. That will be covered in the next post.
Cross Tubes in ……….
Tubes out and I have a nice big open area for camping gear.
I’m real happy with the rear seat. Next will be the flap handle and the seat belt tabs for the rear lap belt.