The tail is finished! Well, it has been done since Thanksgiving but I haven’t gotten around to updating my log; so her we go. As you can see, I finished the elevators and have them installed. The alignment of the two sides came out great and the hinge pins slip right into place. How long did it take me to scratch build? Well, I started back in May figuring out how to make the ribs and finished just after Thanksgiving. There was a lot of tooling to make for the various parts and that did take a bunch of time. All told I think about 200 hours was spent on everything. Cost was much lower than any kit options. I think I spent less than $300 on everything (excluding the jack screw and yoke). I did make my own link assembly (included in the $300) for a considerable saving but very time consuming. So, here we go with pictures…………
Bending the trailing edge, very high tech and it worked just fine. Second one came out just as good and a match. This method was shown on one of the EAA “Hints for Home builders” videos.
Trailing edge # two.
Here are the two matching trailing edges. Just take your time, go back and forth from the tree to the table and it won’t take long at all; about an hour for both.
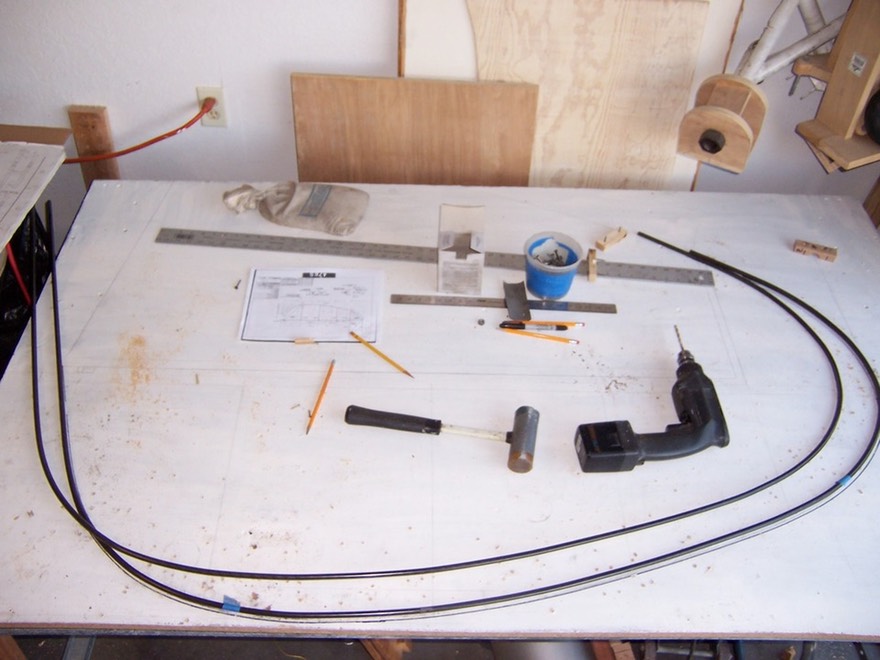
Next, fitting the ribs. I am not showing a lot of pictures here as this is the same as the rudder. Just remember, you need two that match.
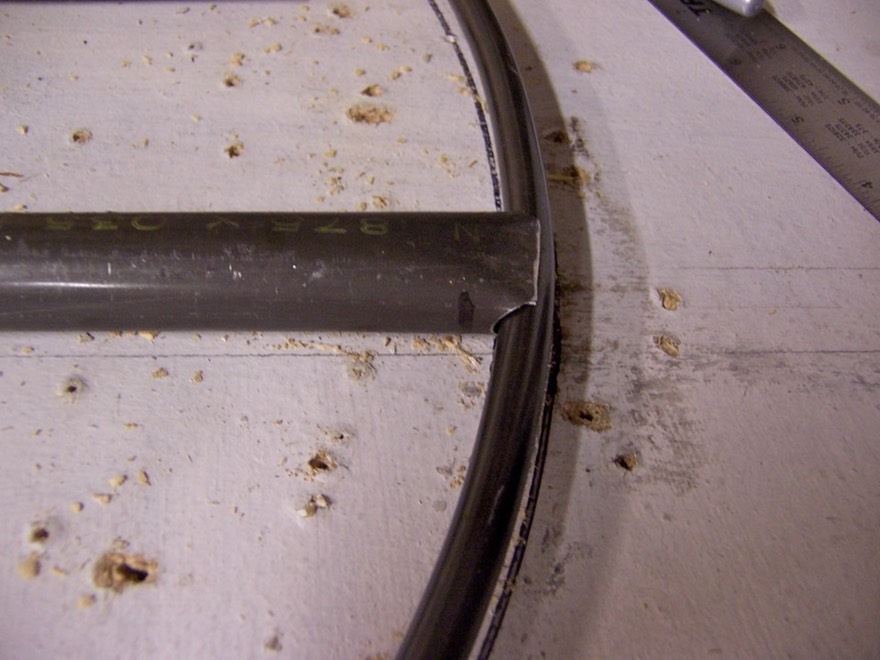
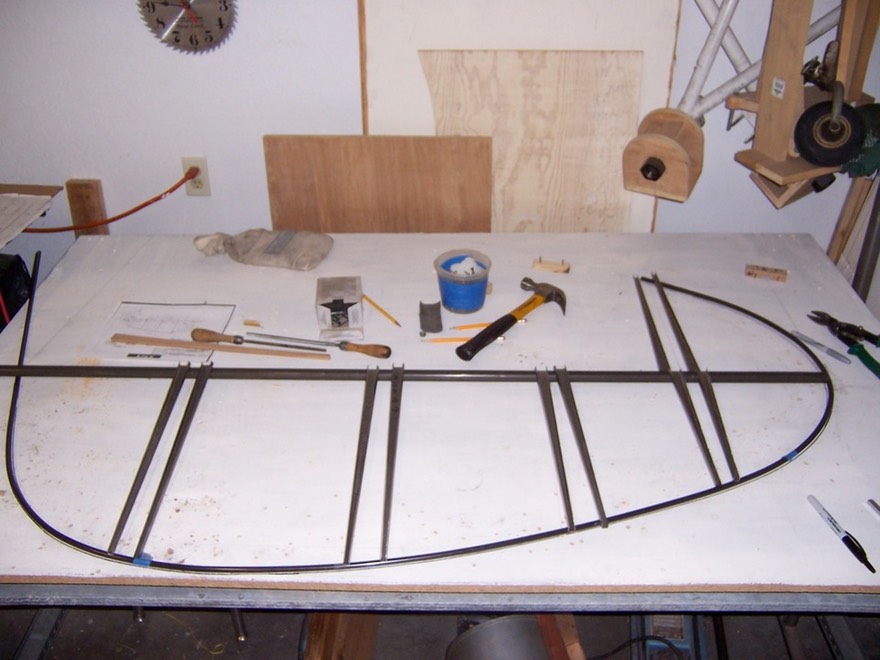
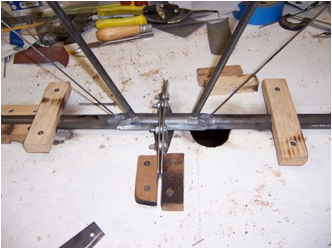
Here the spar is shown fit onto the trailing edge.
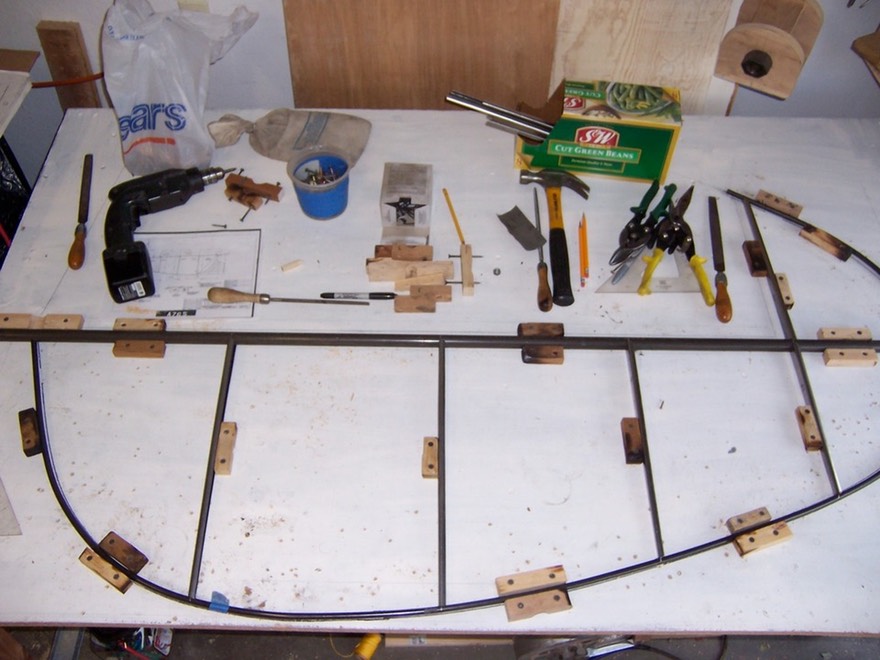
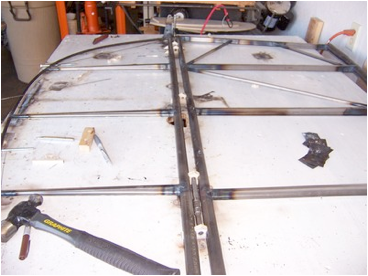
Ready for welding welding…….
Next came the control horns. After trying to hand bend (hammer and heat) I decided to make a “V” block and use a press to make the 90 degree bend. My block is a piece of maple cut with a v down the middle and a piece of angle iron glued in place. I ground the bottom of the angle iron for a deeper v; angle iron is very round at the bottom. The shoe I used is simply a piece of 3/8″ mild steel ground with a radius on the edge with the same hand held grinder I use for all my cutting. The press is from Harbor Freight. I had the press but needed a new jack; 6 ton for about $20. The press worked just great and will be very handy for upcoming parts.
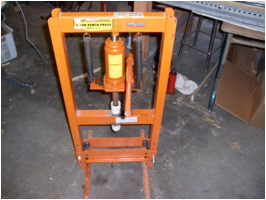
The Press from Harbor Freight
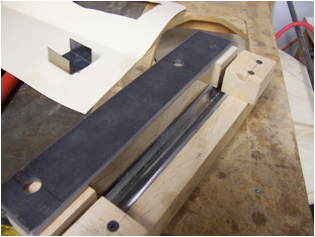
The “V” block and shoe for doing 90 degree or less bends.
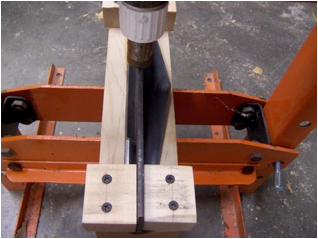
Bending the control horns.
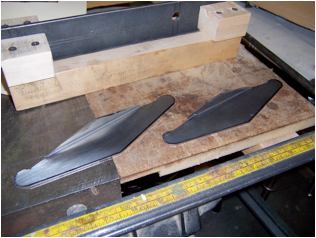
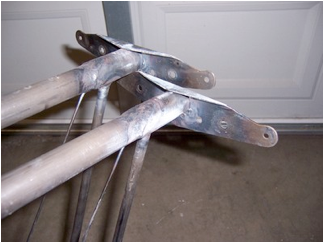
Control horns rough bent and removed from “V” block.
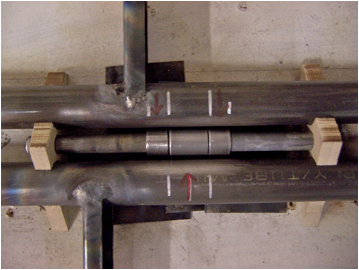
Finished horns in place for welding. The two horns need to be bolted together for alignment and the two horizontal stabs blocked to table at 90 degrees to horns and aligned with each other.
Another view ready for welding.
Control horns welded in place and finished.
Next step is the hinges. I again used the hinge jig drawings shown for the rudder. The only difference was I made them out of wood to make them more accurate. Yes, they burned but I only need them once and they were easy to make.
Jigs in place for welding.
Another view, ready for welding.

After test fitting and adjusting, the hinges were finish welded and the pins fit in place.

Here is the finished horn and hinge close up.
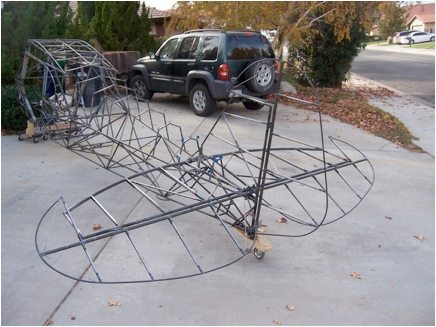
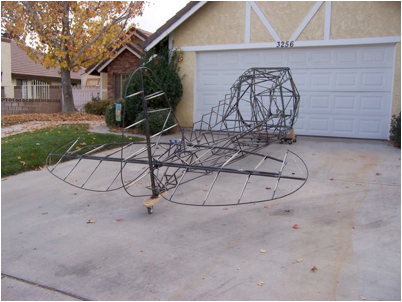
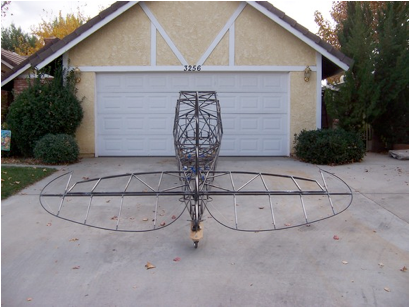
And here is the finished tail group!
So what’s next? I think the over head trim system for the elevator or then the control sticks. I am also thinking about finishing the landing gear ……GOT WHEELS! Stay tuned. I have taken a couple of months off for the holidays and work stuff but hope to be back at it soon.
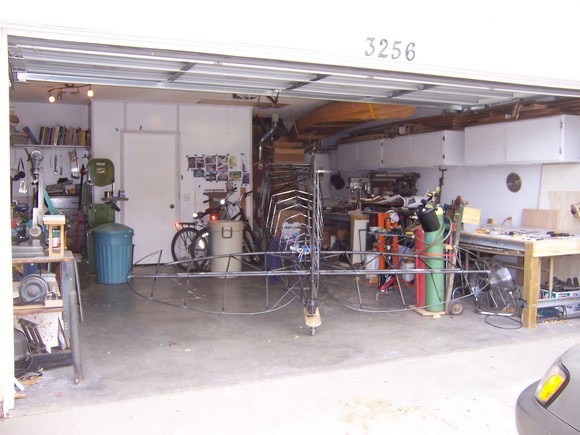
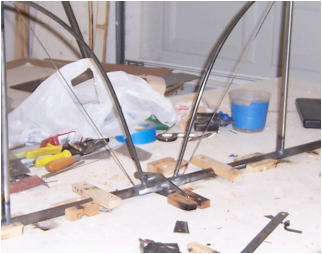
And yes, it still fits in the garage! With the tail removed I can even get my wife’s car in so I don’t have to scrape the windows.