

After a break for some foot surgery and the holidays I was able to get back at the wing. I have finished all the hinges and the hangers for the flaps and ailerons. First test mounting showed some difficulties with alignment that was at first hard to figure out how to fix. After looking at a DVD from the Cub Club on wood spar J3 wing assembly everything fell into place.
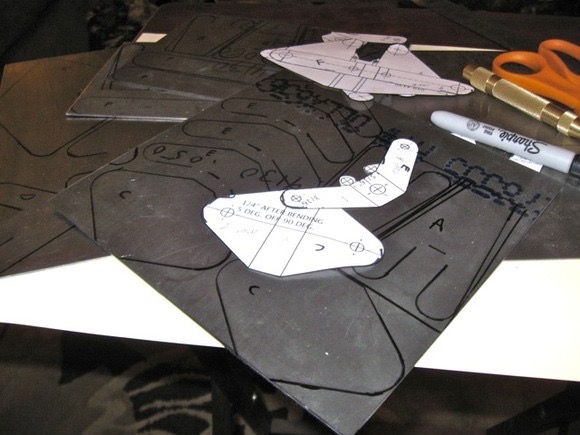 First I made drawings of the fittings needed using CAD then laid out the parts on 4130 steel.
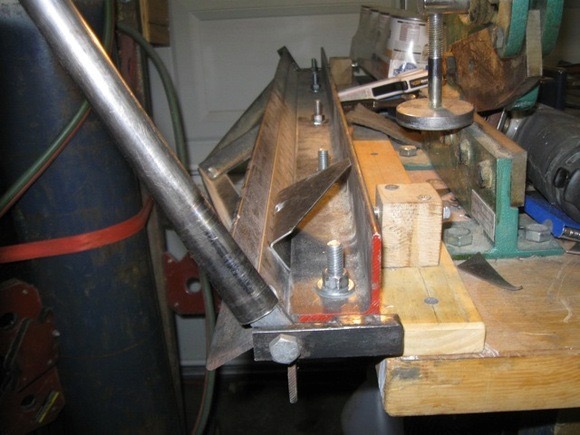 Next, bending the fittings after cutting.
 The flap hinge was too tall for my bender to finish. I needed to finish using an oak block to finish the 90 degree bend.
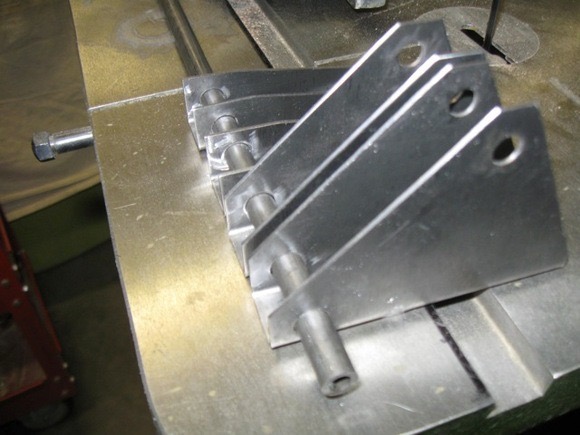 Bends finished, I next drilled holes and welded in the necessary bushings. I pre-drilled the bushings .246 so I would be able to final drill without drilling off center.
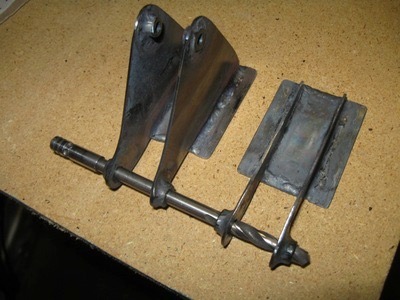
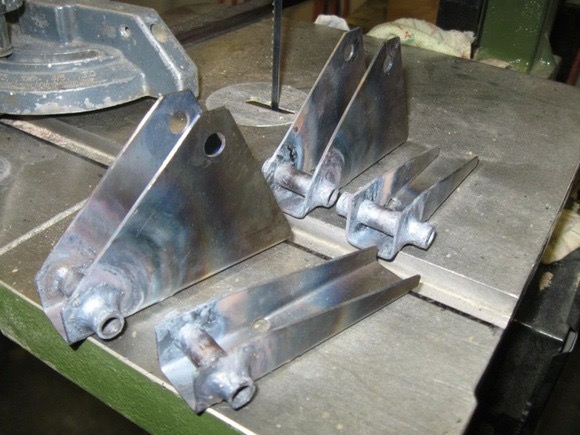 After welding the bushings the hinges were cut and ground to final size and shape.
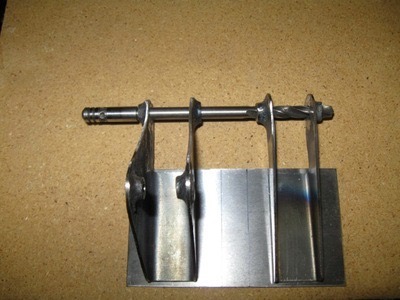 Backing plates were then welded onto the hinges and they were ready for test fitting on the aileron and flap hangers.
 Alignments of the bushings before welding was done using a long drill bit.
 Test fitting the hinges with a piece of molding showed some binding and misalignment of the hinges. I needed to make sure the bushings were level with each other and that they were aligned before welding.
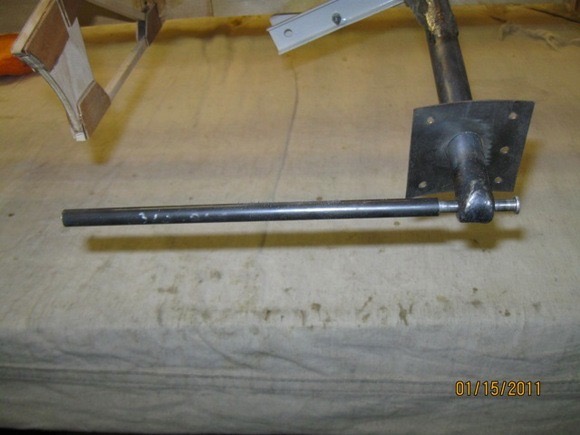 To check for level I drilled out a piece of tubing to fit the clevis pin for the hinge. The tube was inserted to allow the bushings angle to be checked and compared to the other hangers. I first used a simple bubble level then used the smart level.
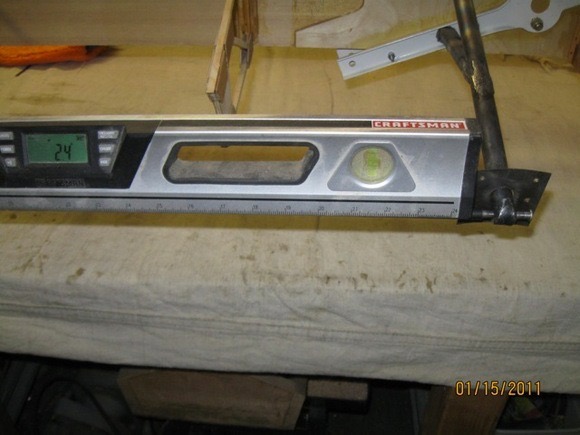 I used the smart lever showing the angle of the bushing. Comparing the angles of each hanger showed some were off. I was able to heat the tube of the worst and twist for alignment. The other fitting simply needed a little twisting on the spar and tightening the hold down nuts.
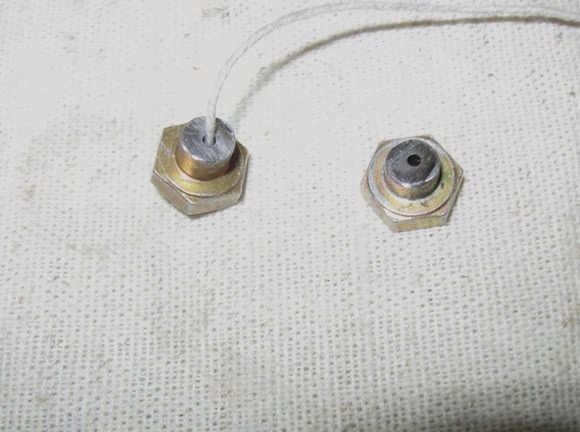 Making sure the bushings were lined up was more difficult. After watching the Cub Club DVD on wing assembly I used the string method shown. First, I drilled a 1/16″ hole in the center of a AN4 bolt then cut off the shank, de-burred and inserted a string into one bolt head and tied a knot on the head side.
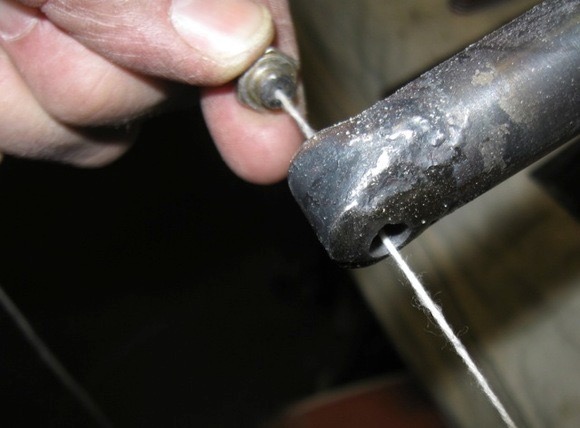
 To check the alignment, insert the string into the first hanger, passing the string toward and through the middle hanger bushing. Pass the string through the third hanger’s bushing then into the second bolt head.
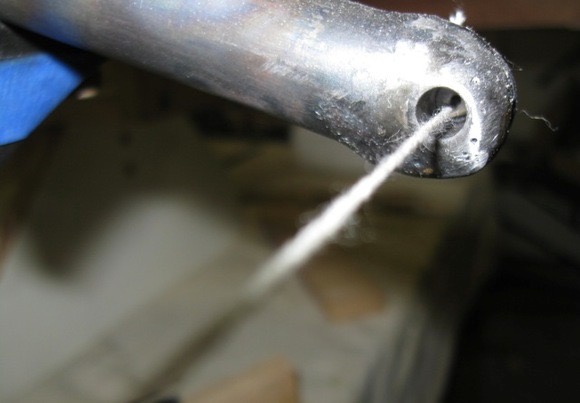
 The string is pulled through the last bushing with the drilled head on the outside. Slip the drilled head into the bushing and pull the string tight; holding the bolt head in the bushing to keep the string centered in the bushing.
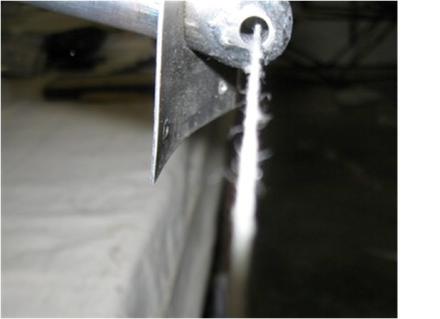 Pulling the string tight through the center drilled holes shows how the string flows through the bushings. In my case, I needed to add a second washer to the first hanger lower bracket to center the bushing on the string. The picture below was taken after the hanger was shimmed out.
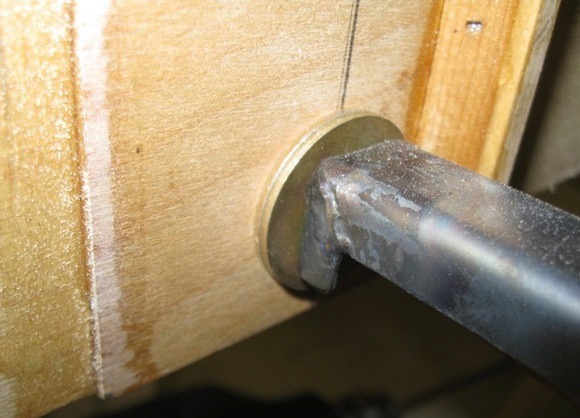 Below shows the extra washer added to bring the businigs into alignment.
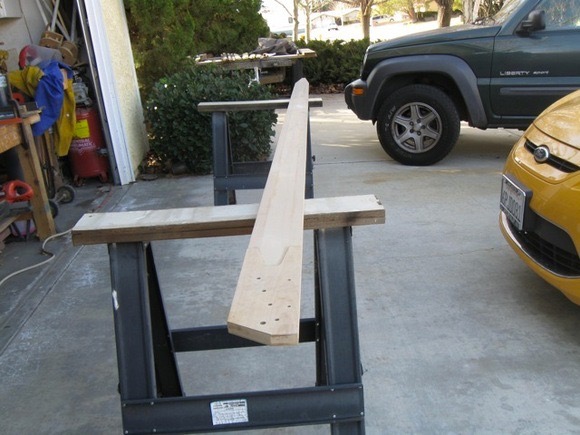 Next, cutting and milling an extra wing spar that I have for the flap and aileron spars.
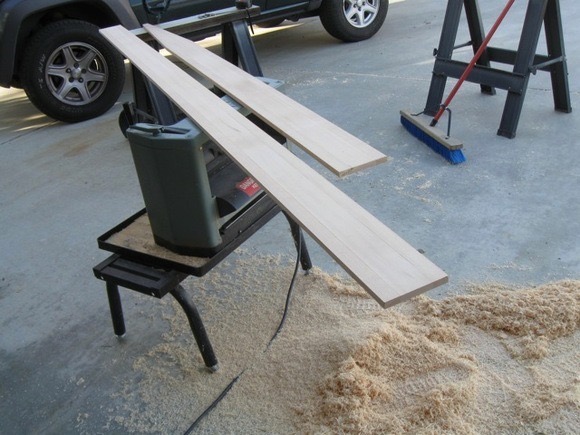 Planning the wood to 1/2″…….
 Ripping the wood to the proper width with the angles to match the ribs for the flaps and ailerons.
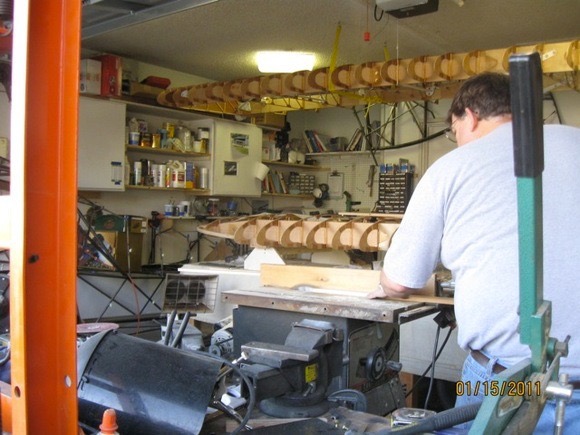
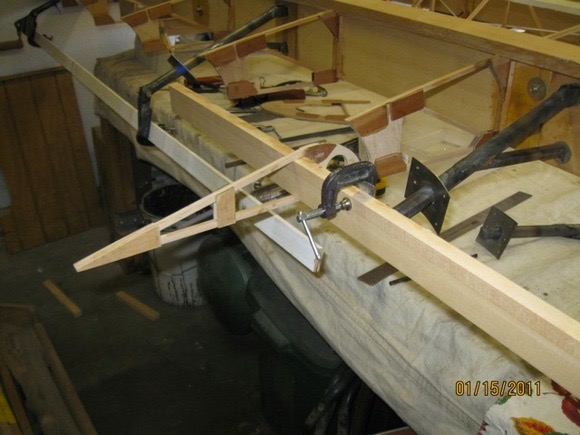
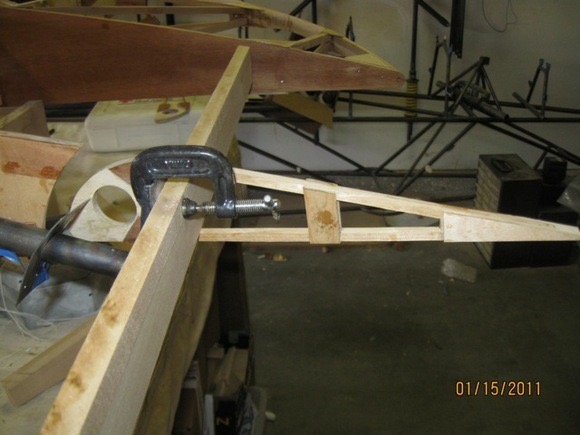 Fitting the ribs onto the spar and attaching the hinges with small “C” clamps finds everything turns without any binding.
 Ready to build the flaps and ailerons……
Return to Past Posts and Pictures by Date