

This post will detail the installation of the electric trim and jack screw and associated wiring. Final wiring will be done when panel is installed.
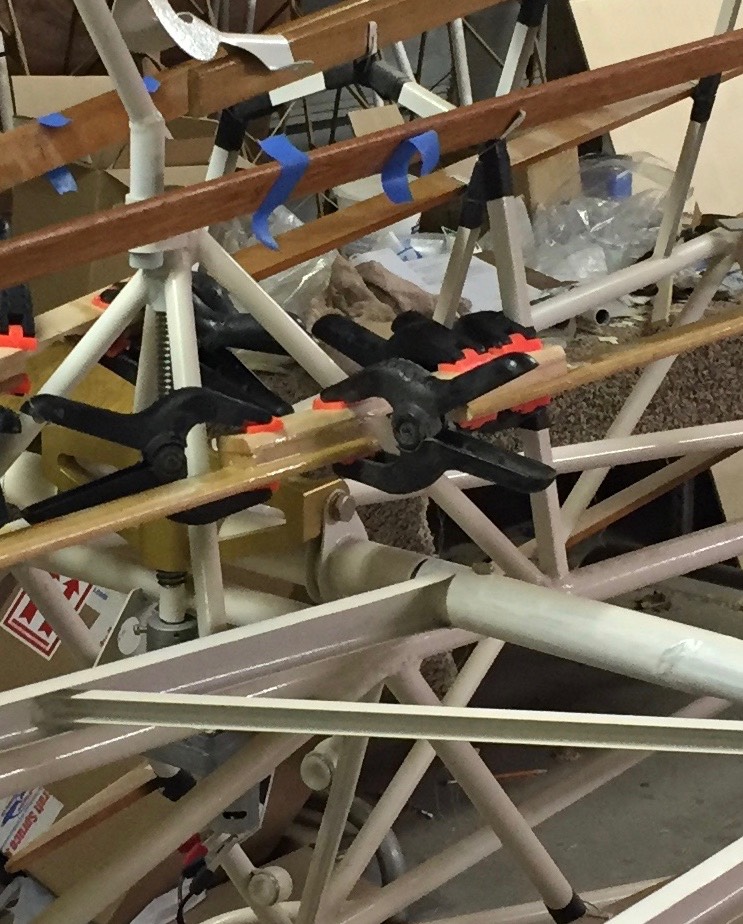
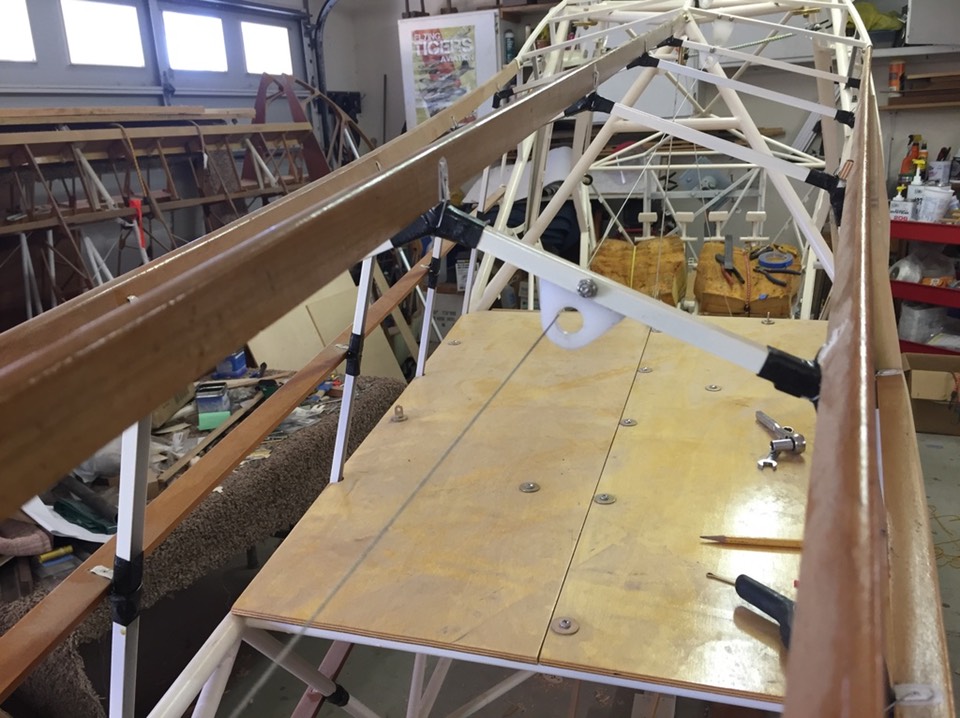
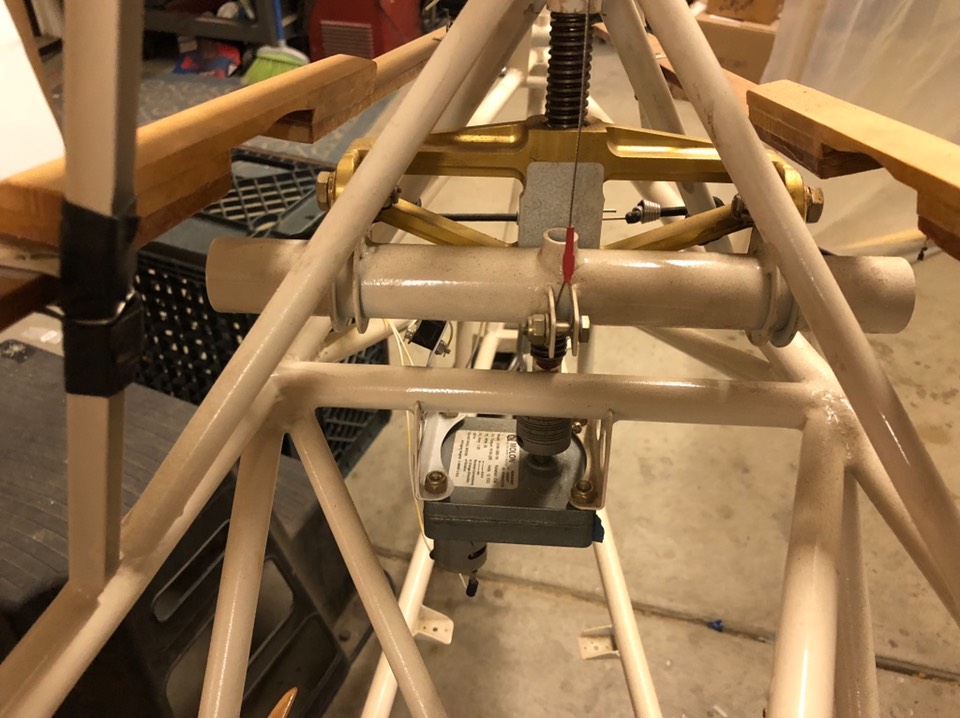
First step was to hang the trim motor and install the horizontal stabilizer. The stab was needed to check for clearance and movement with out binding. I used a 12V power supply to test the motor.
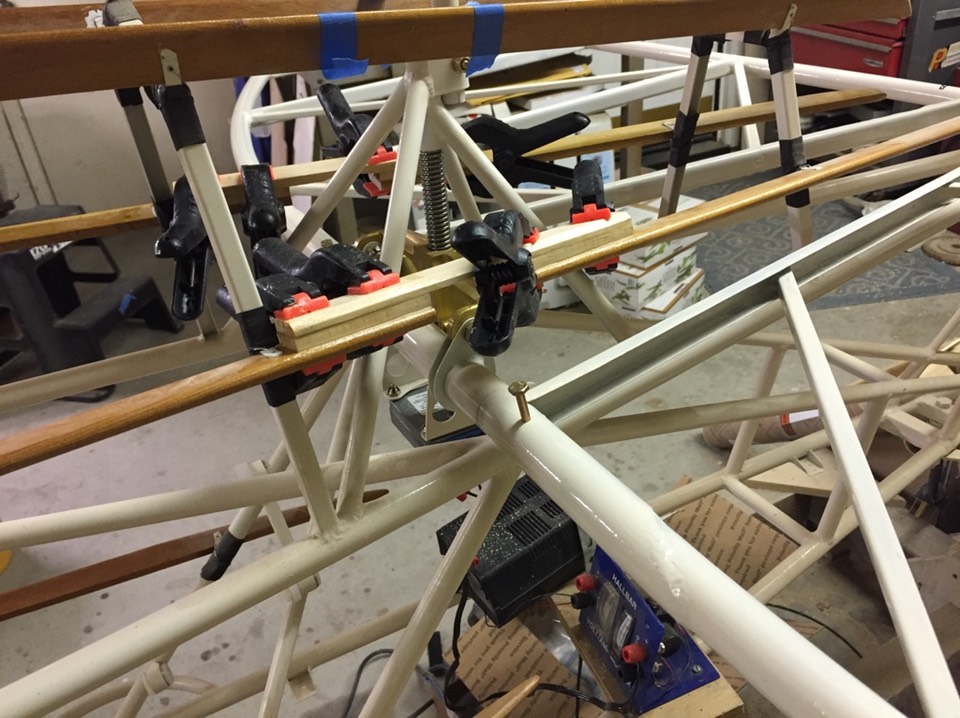
I needed to modify the side stringer for clearance of the stab tube.
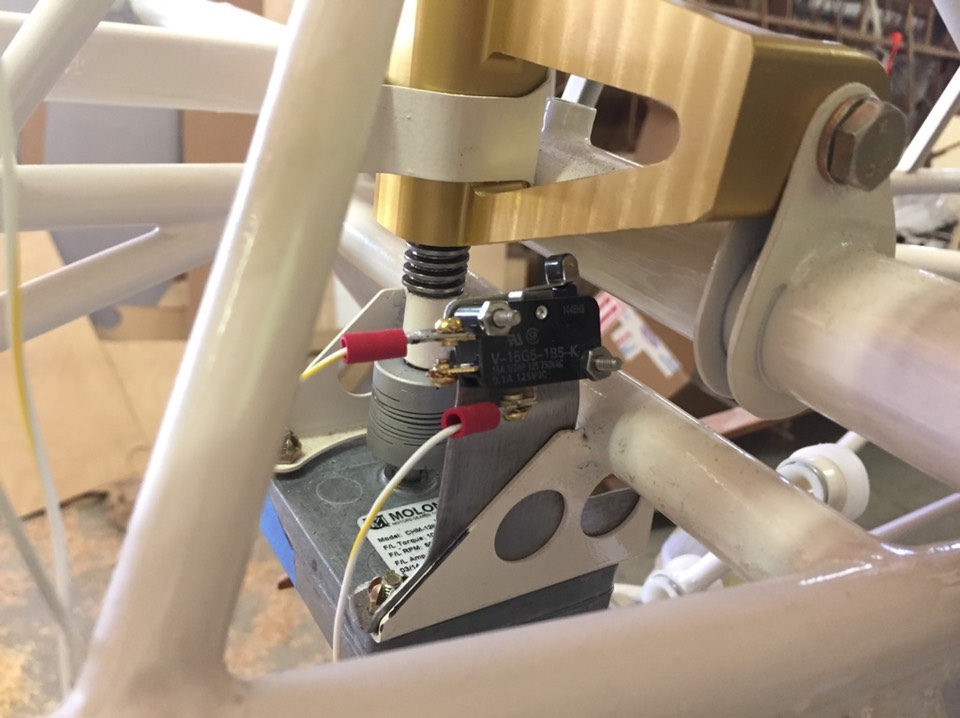
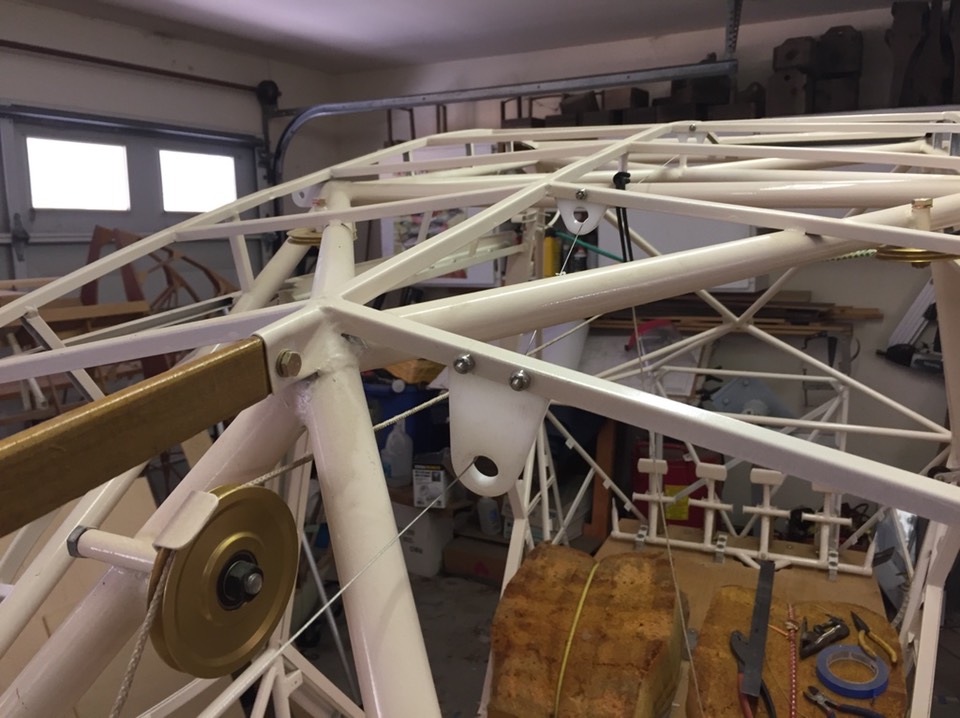
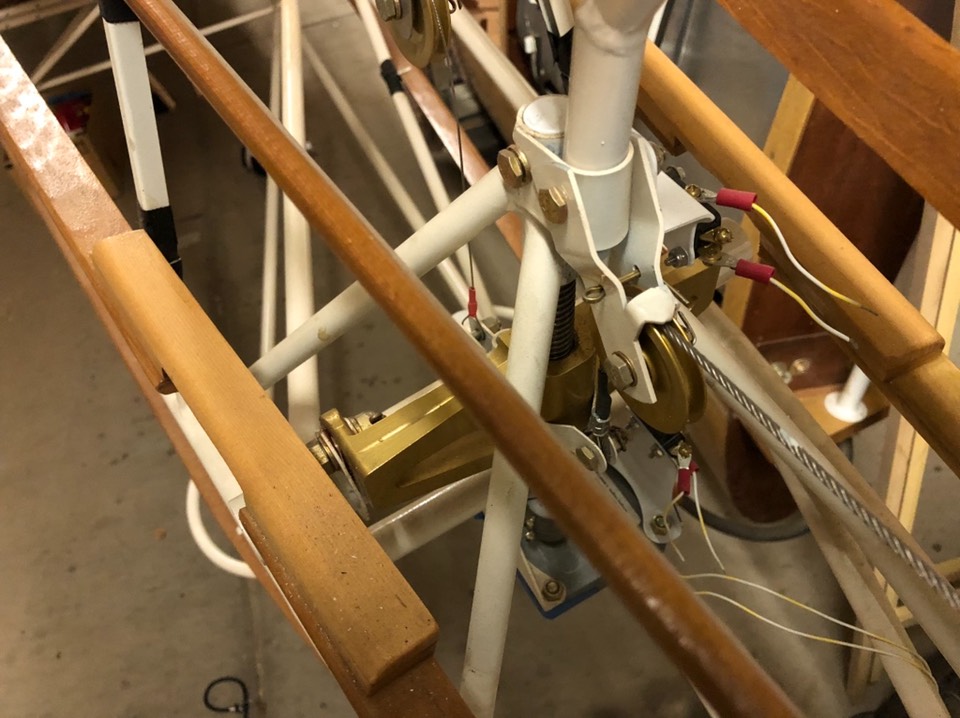
Next, brackets were fabricated to hold limit switches for up and down travel. Switches came from Javron Aviation.
The upper switch …..
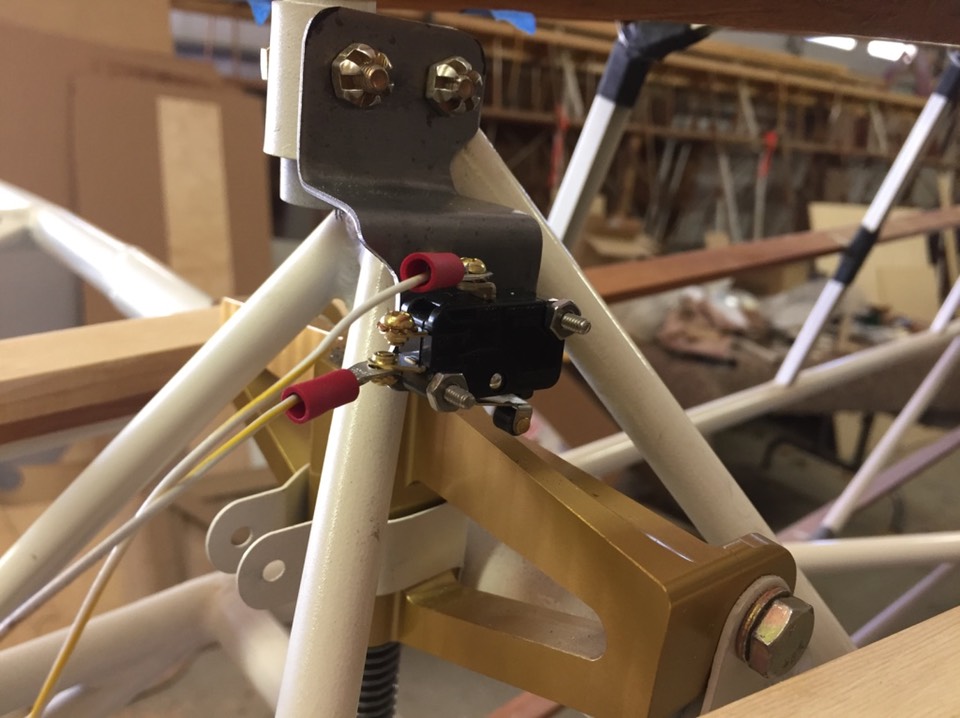
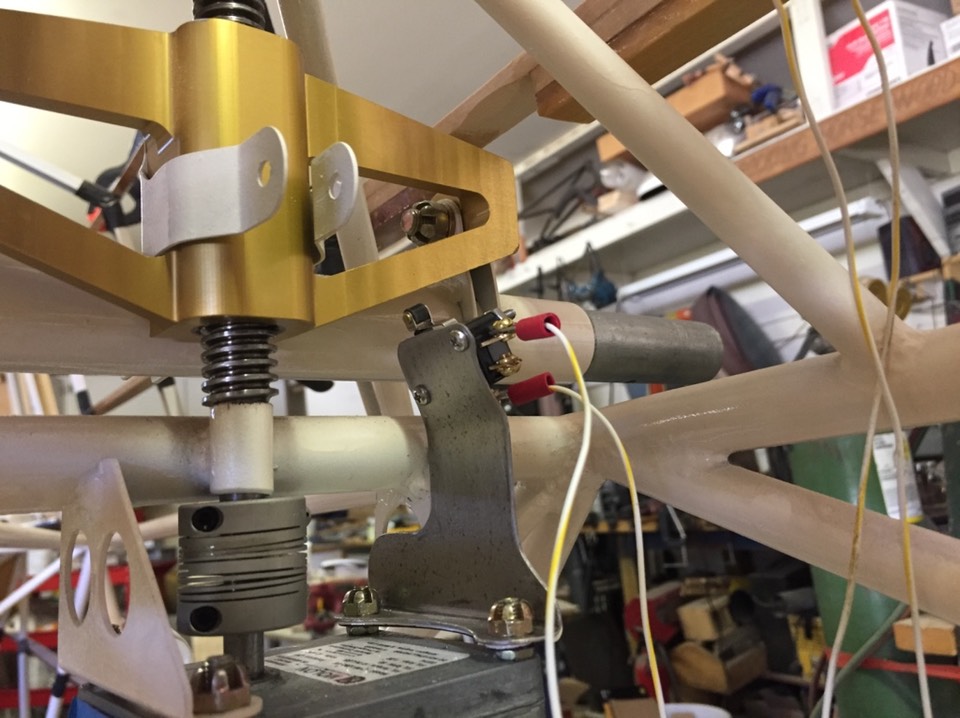
The lower switch …..
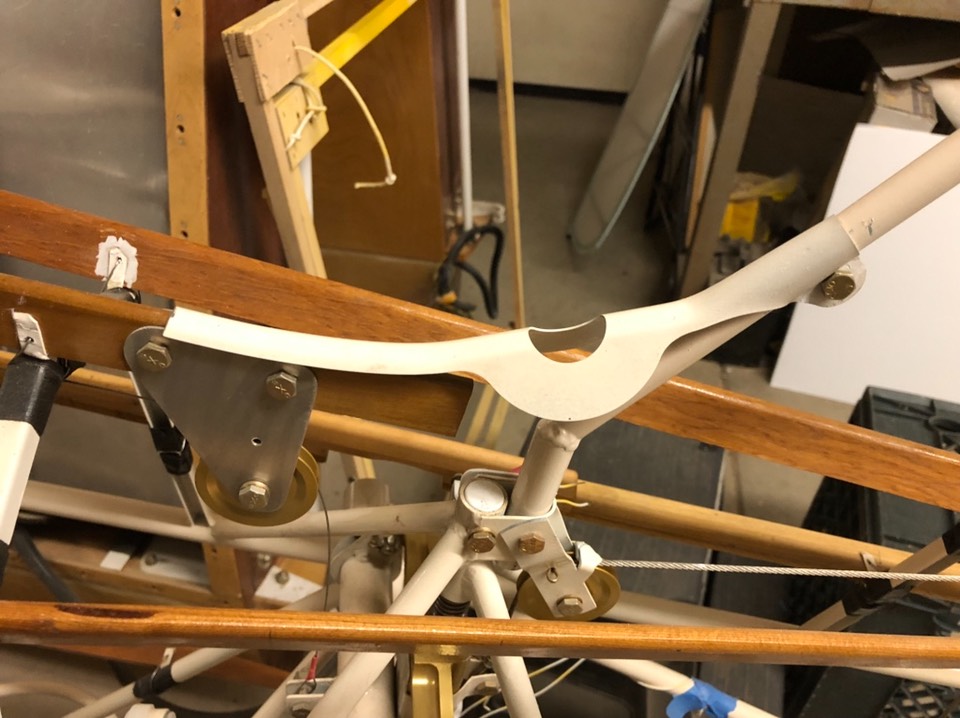
Another view of the lower bracket ……
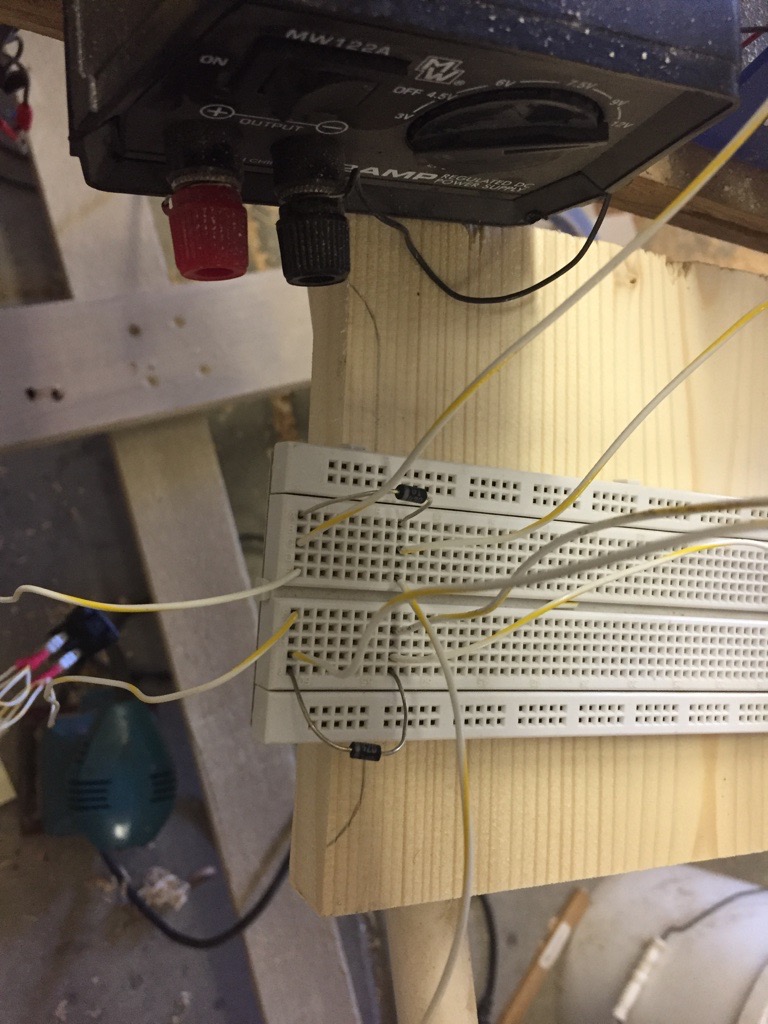
I did some circuit work using a bread board. I came up with a wiring plan that stops the motor at full travel up or down and is controlled by one switch. I haven’t decided if I will have the switch stick mounted or panel mounted. Having the switch in both sticks makes for very difficult wiring, I’m leaning toward one panel mounted switch. That decision doesn’t effect this installation.
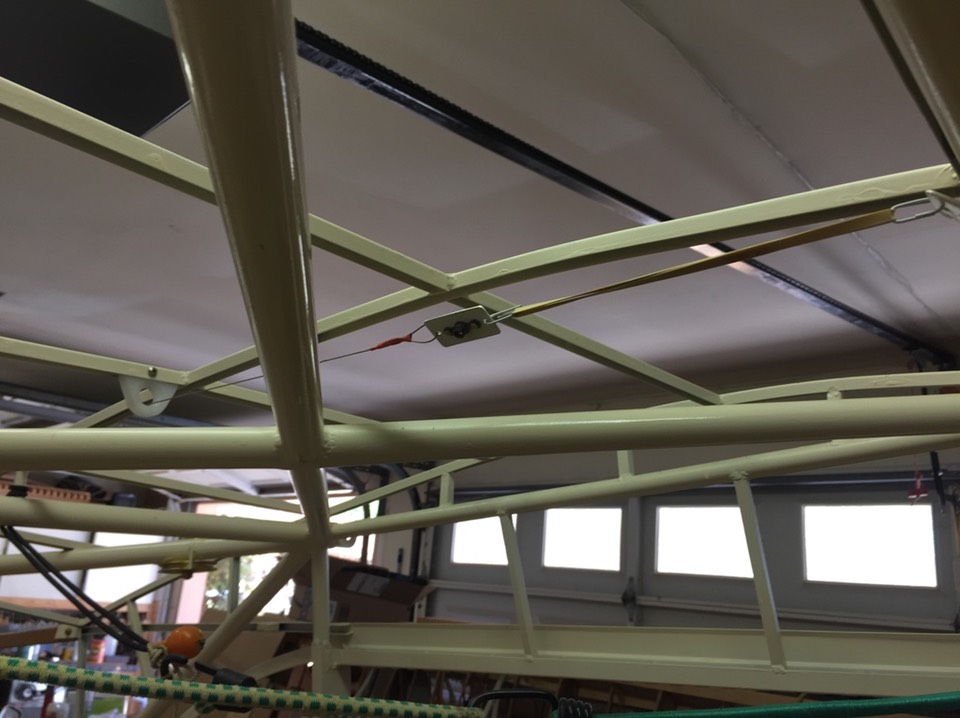
Trim indicator wire was installed after testing the motor. This came in the electric trim kit from Javron. I had to make the bracket for the pulley. This is a very simple design. It’s just a wire that connects to a tab above the windshield. The end to the wire will have a spring and a pointer. When the trim moves down, the wire pulls the pointer back. When the trim moves up, the spring pulls the pointer forward. Very simple. I currently have the wire installed with a rubber band to test the system.
Here’s a link to a video of the trim in motion.
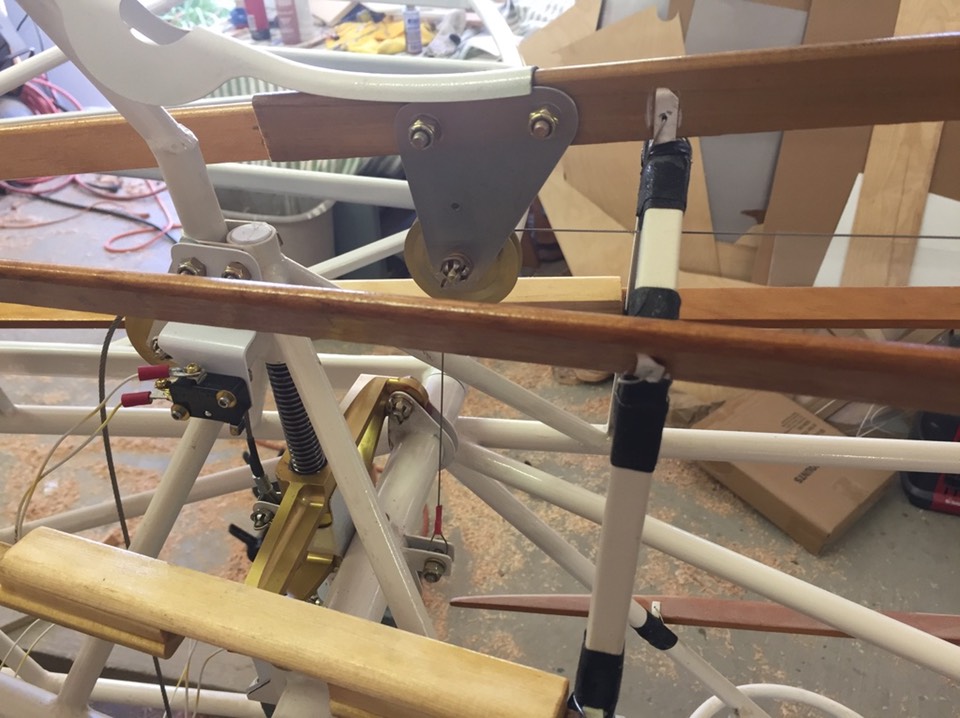
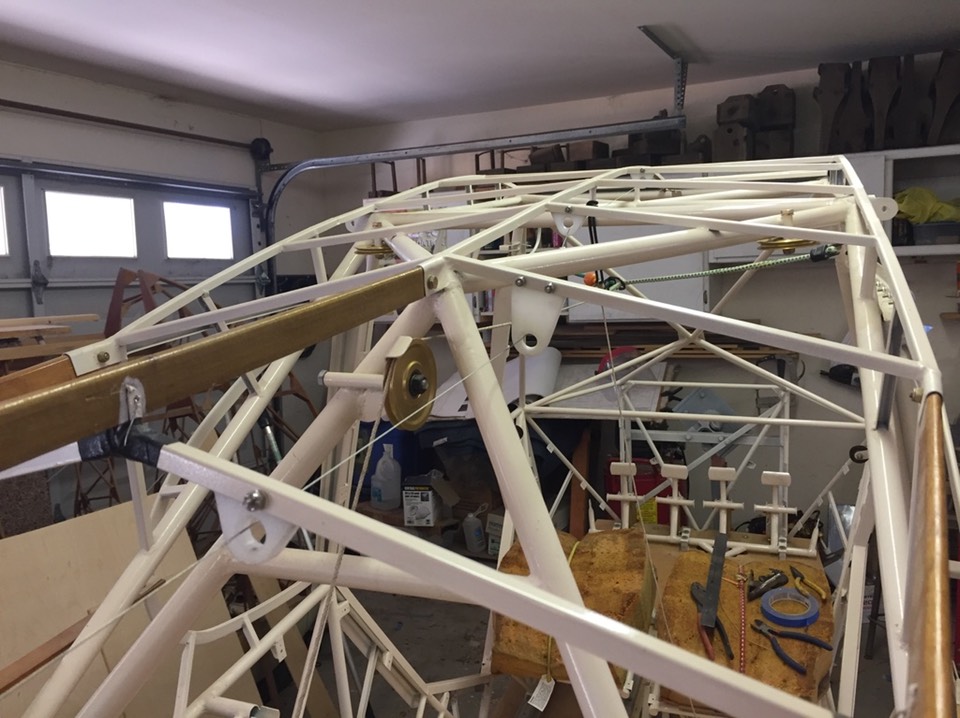
I made the guides for the wire from a cutting board. No issues with the angle change as this is not a control cable, just an indicator wire.
The pointer will be attached to the nut plate at the end of the wire. The rubber band will be replaced by a spring. The pointer will run in a panel yet to be designed.
Everything was painted and installed. The rear pulley was installed for the bungee spring that adjusts the horizontal stab. Below are a bunch of pictures of the current status of the trim. Final wiring will be completed before fabric covering.


This completes the update of my blog. Since July, I have focused on developing my resources needed to present seminars for Stewart Systems. I also did workshops at Copperstate Fly-In in Arizona this past October followed by a three day seminar in December. Next stop is Sebring Florida for the US Sport Aviation Expo Jan 24-27. After Sebring, it’s back to work on my 2+2.
Here’s a link to the work I have been doing for Stewart Systems since Airventure, 2017. July 2017-January 2018