Since getting back to work in early December I have been modifying the tank bay. I am removing the cross brace that keeps that section of the wing square. I am modeling the changes after the Rerwin Skyranger; a certified high wing tube and fabric aircraft. The Rerwin has an all wood wing and the fuel tank is a drop in without any braces. I have a picture below.
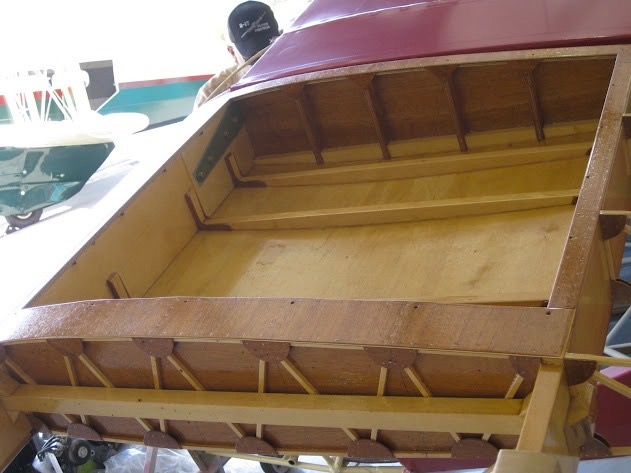 Rerwin Skyranger tank bay. 1/8" bottom ply is used as sheer plate to keep the bay square.
The changes to my wing first required removing the existing brace and than sheeting the ribs inside the existing bay.
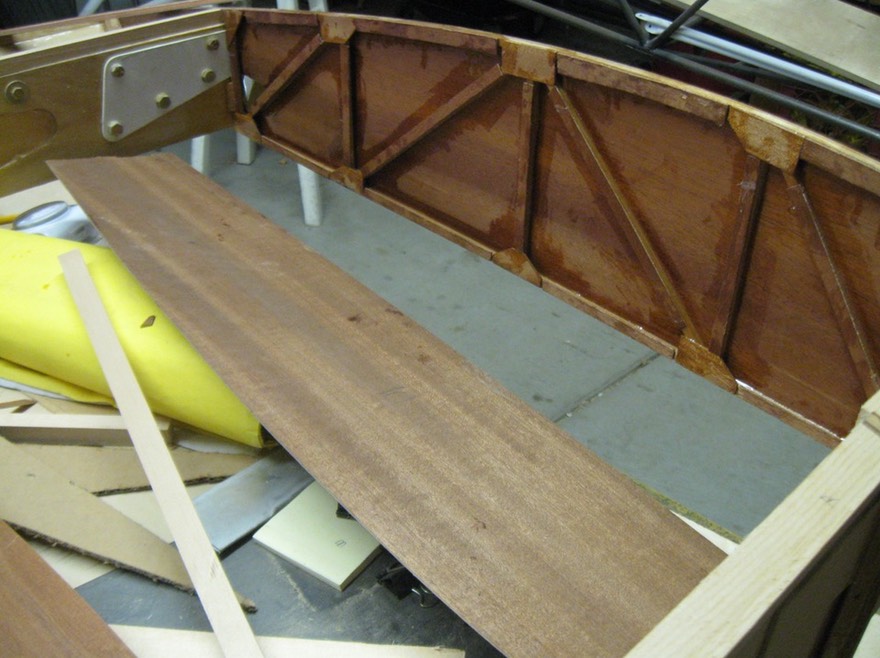
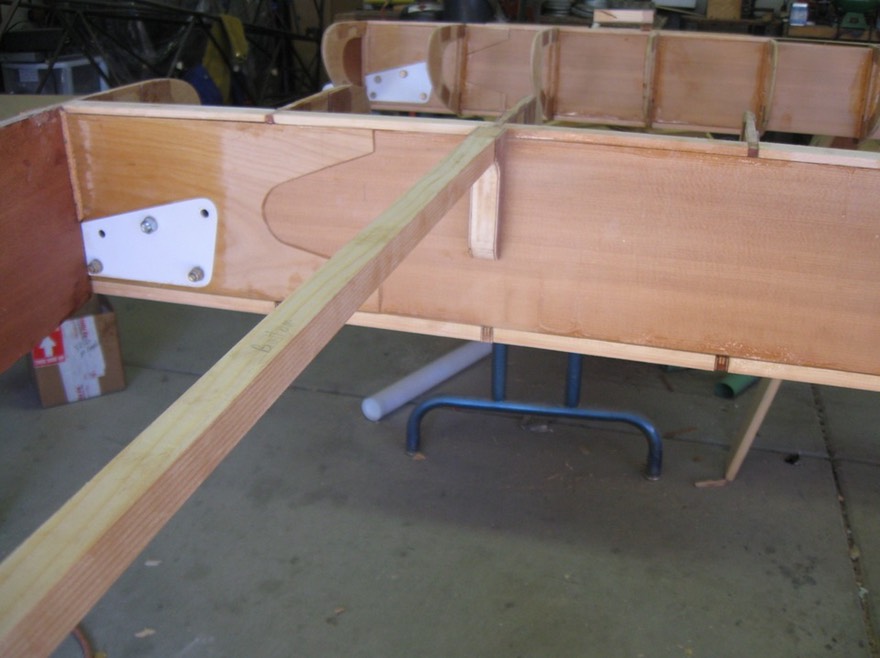
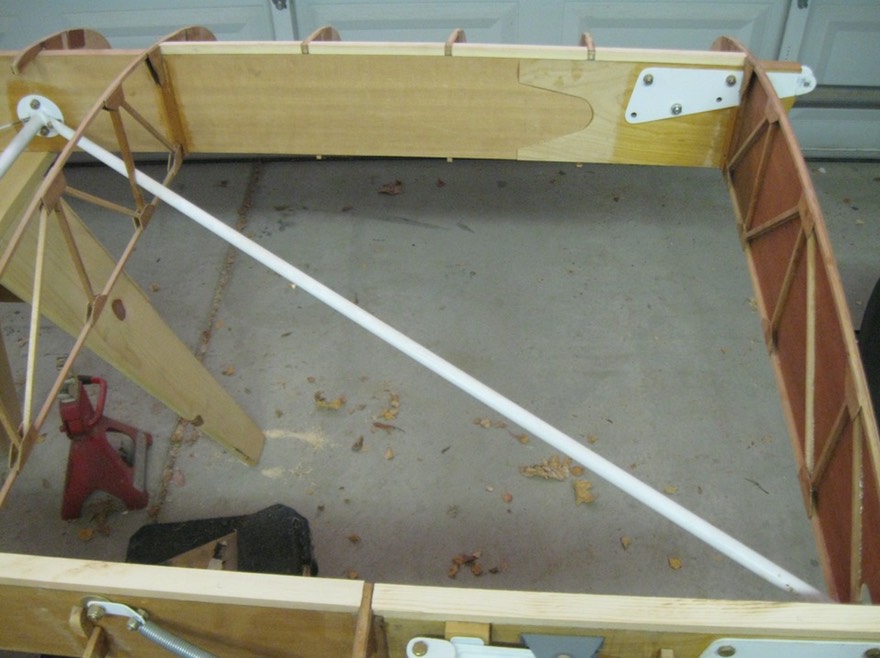 This is the existing bay.
After removing the brace, the ribs need to be sheeted in 1/16" ply. If doing this from the start of the wing it would have been easier. I first had to glue strips of ply to the spruce sticks in the rib to bring the level to that created by the gussets.
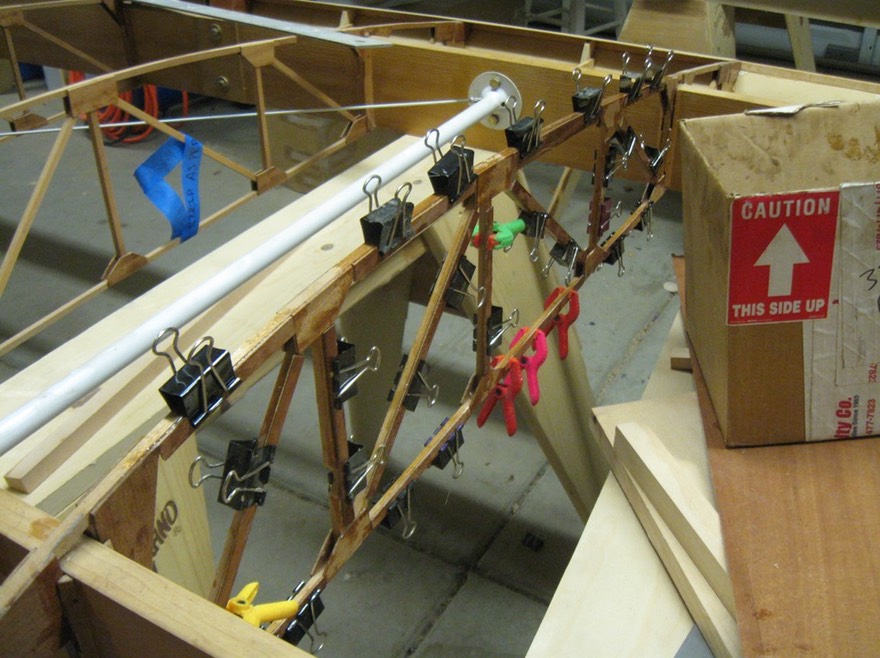 Strips glued to spruce for leveling of rib surface prior to sheeting.
 Root rib also sheeted inside.
Next, I sheeted the inside of both ribs with the 1/16" Mahogany ply. I used an extra rib and a pattern router to cut the ply to fit inside. I needed to do some trimming to fit around corner braces added to rib at spar junction.
 Sheeting inside rib. Same is done to root rib.
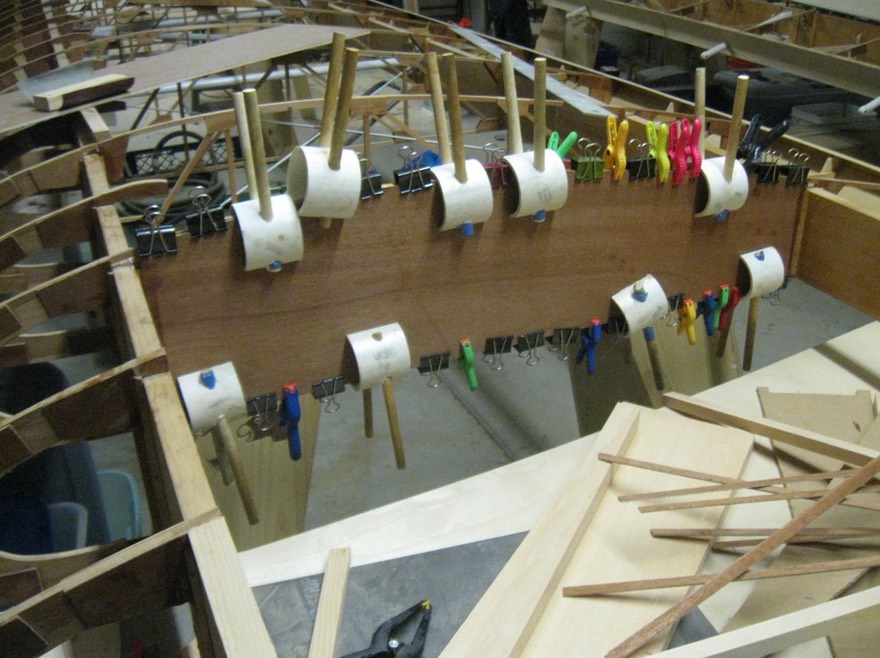
Next, the spars need to be capped to bring the height up to the level of the ribs. I used sone cap strip material and cut it to match the angle and height of the spar.
 Capping the spars
After the top of the spars were capped I flipped the wings over to cap the bottom and make a center brace to support the 1/8" ply to be glued on the bottom of the tank bay.
 Capping the bottom of the spars
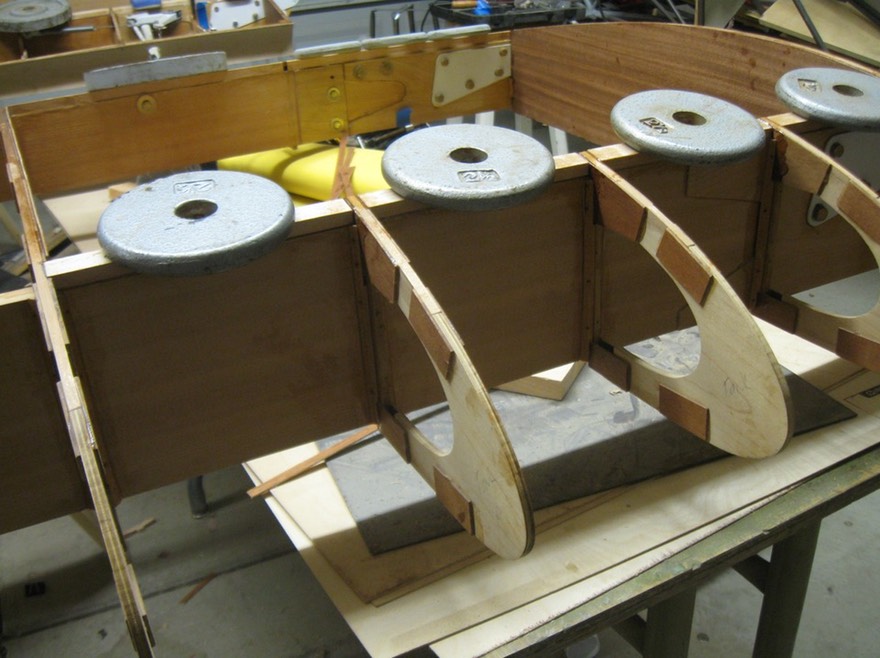
Next I made a center support. I routed it to match the slight curvature of the bottom of the rib. The end feet are reinforced with ply to strengthen the end grain glue joint. The support was than glued in the middle of the bay. I then glued a cap strip inside the edges of the ribs to give them a thickness of about 5/8" for gluing the bottom ply to securely.
 Center brace test fit in place
 The center support and cap strips added to inside edges of rib for larger gluing surface.
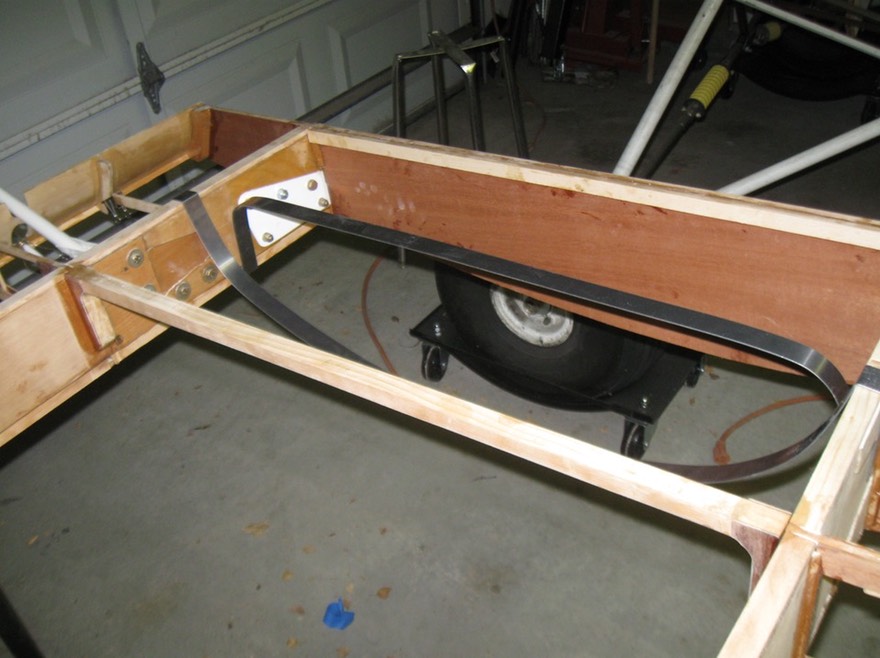
Next is the fuel tank supports. I currently have the straps cut and bent and need to do some welding for the tension bolt. I made them as per the plans (4130 rather than mild steel) as I am using an old stock fuel tank as a pattern.
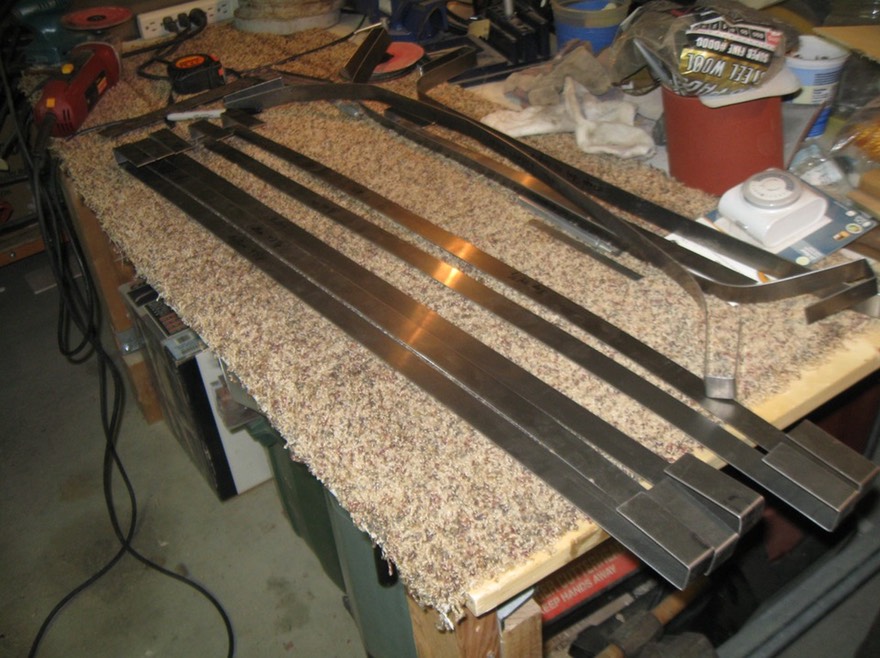 Tank straps bend and ready for welding tube for tension bolt.
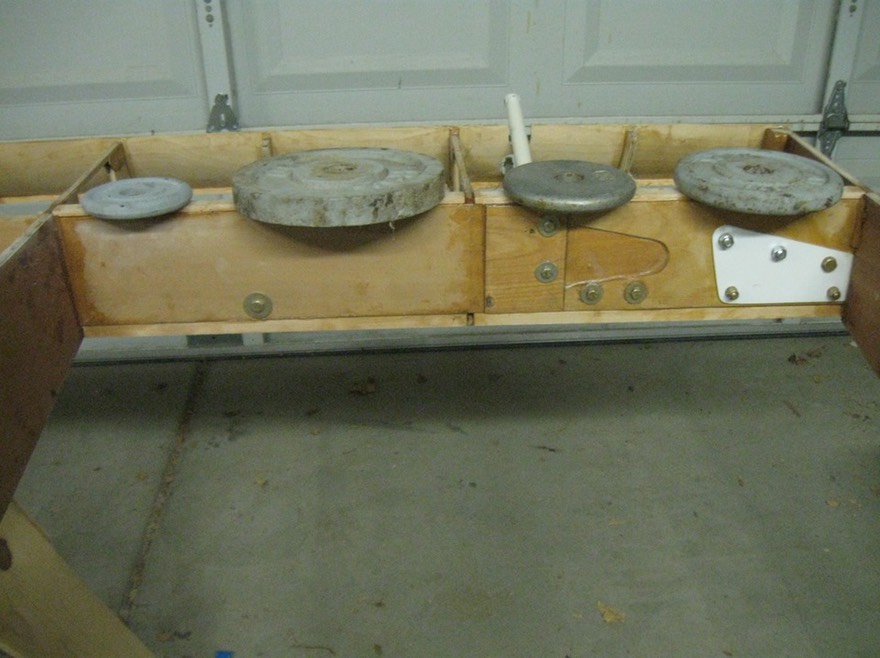
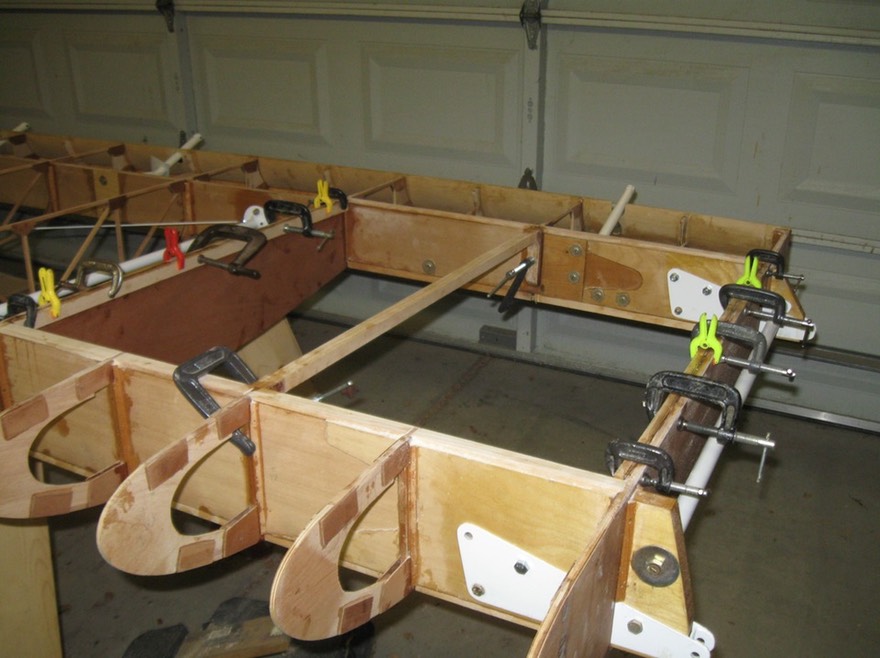
Test fitting the straps. The plans don't show any bolts attaching it to the spar. The Super Cub uses bolts to attach it to the spar; not sure what I am going to do to secure it in place.