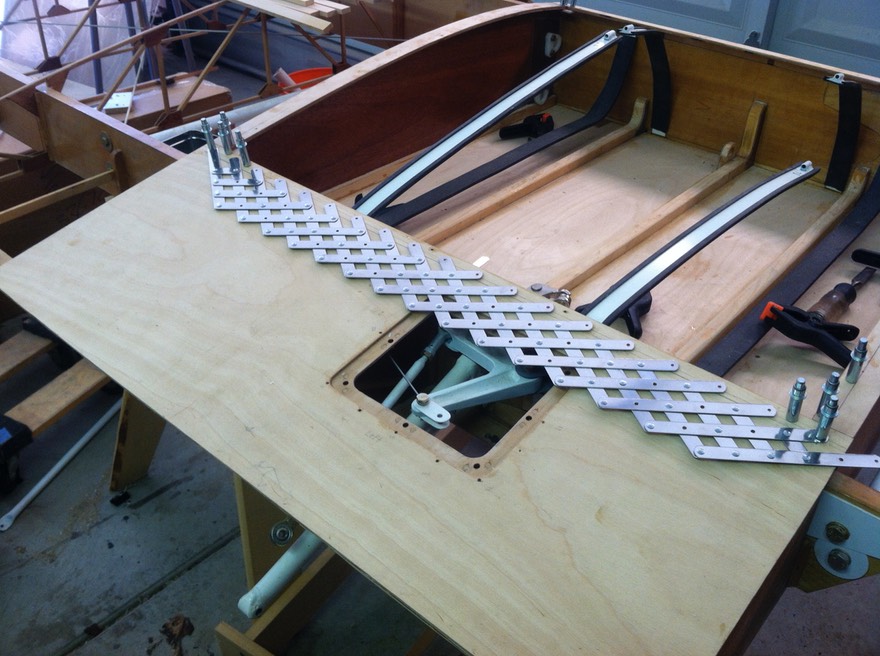
Time for an update on the tank bay modifications. I am close to finishing the bay modification and will try to bring this up to date. After completing the tank straps and pulleys I built the bottom sheer plate with inspection opening for access to the flap hardware and spring.
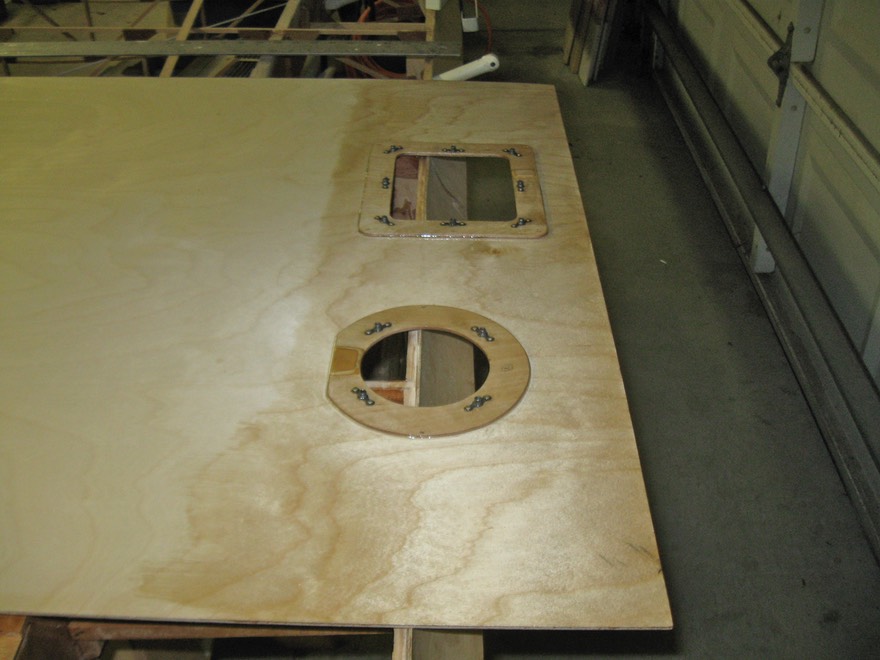
This first picture shows the inspection holes with the rings epoxied inside the panel. Nut plates were installed first to the rings before securing them to the panel.
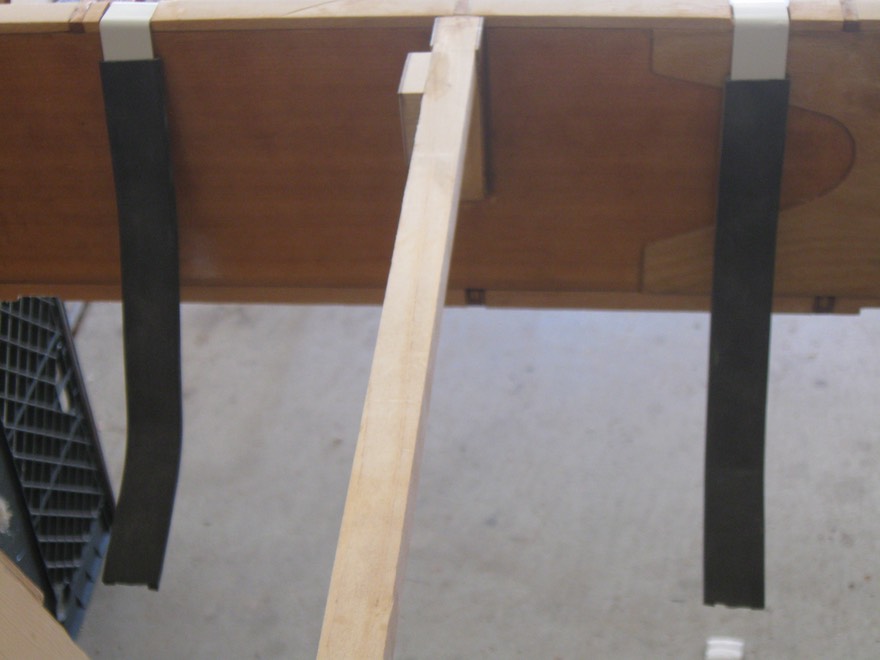
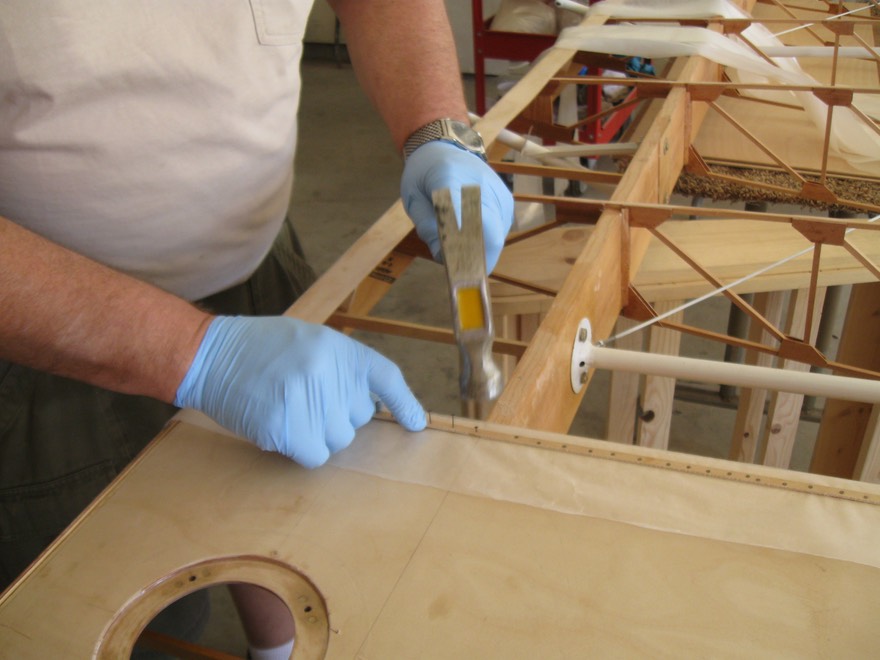
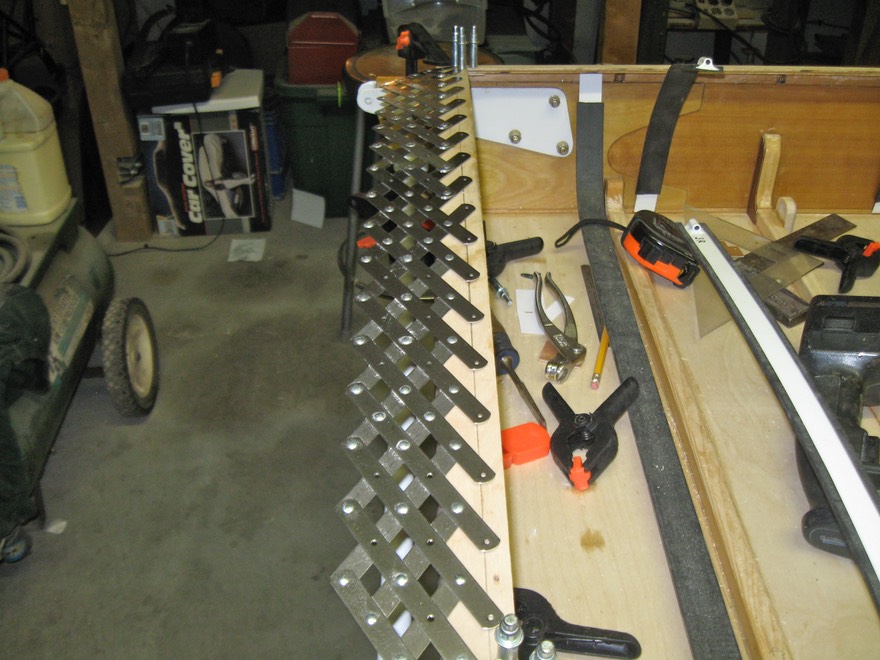
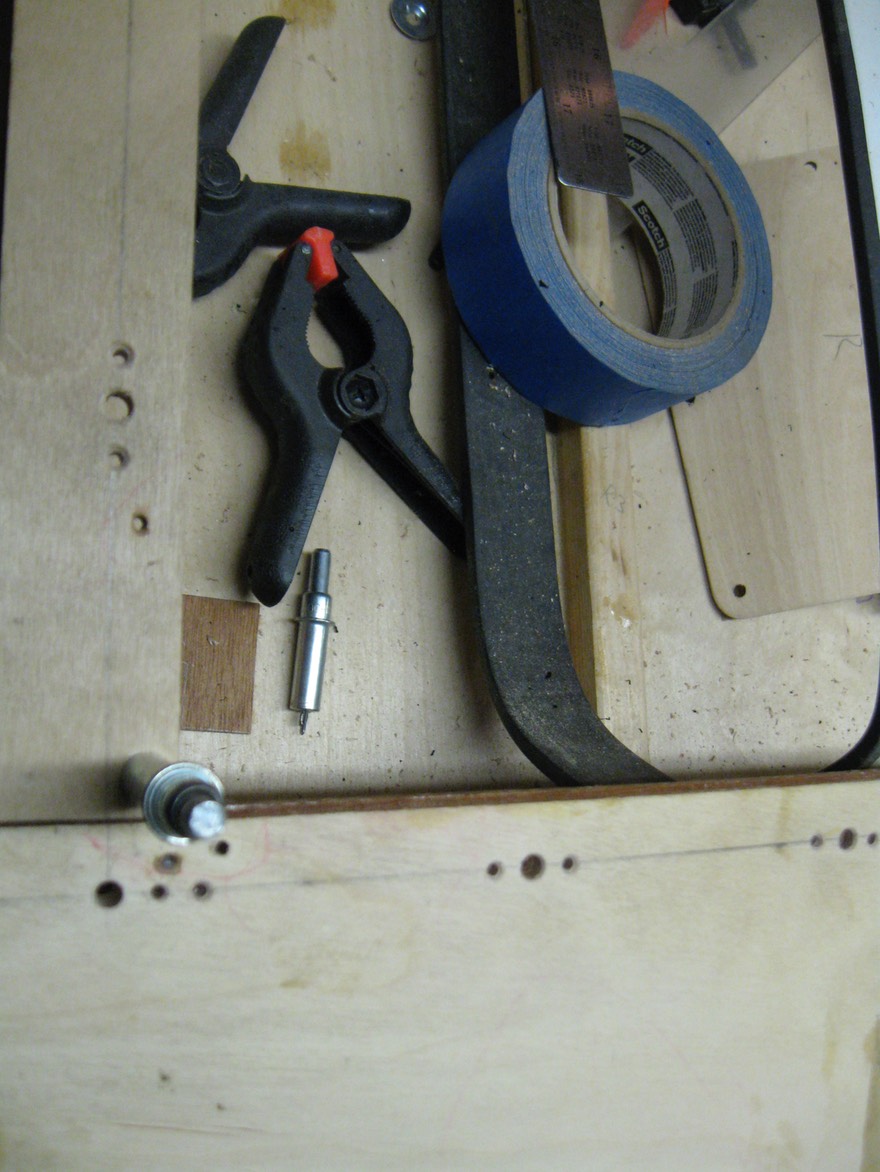
To glue the sheer plate to the underside of the wing I use nail strips that I made using small brass nails used in rib building. The idea is to use the strips to secure the plate and than when the wood strip is broken away the nails heads will be above the wood surface for easy pulling and removal. This was in one of the EAA books and I used it on my flaps and ailerons.

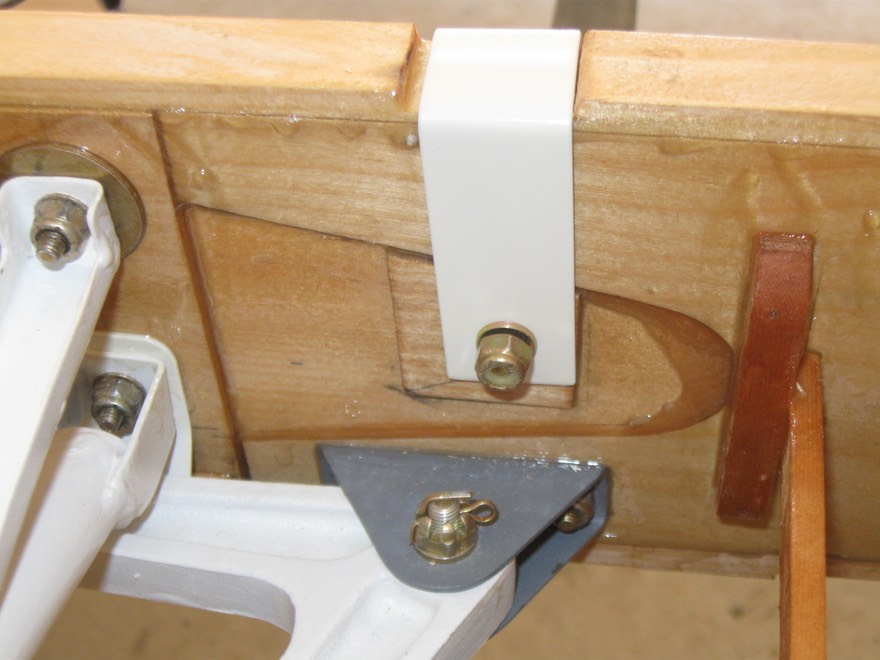
Before gluing on the sheer plate the tank straps had to be secured in place. Although the plans did not show any bolts I chose to use a couple of AN3 bolts for the straps that hang from the underside of the spar.
This next picture shows the bolts in place. A shim was needed to keep everything level.
Next, the plate is glued in place and the nail strips are used to clamp everything in place.
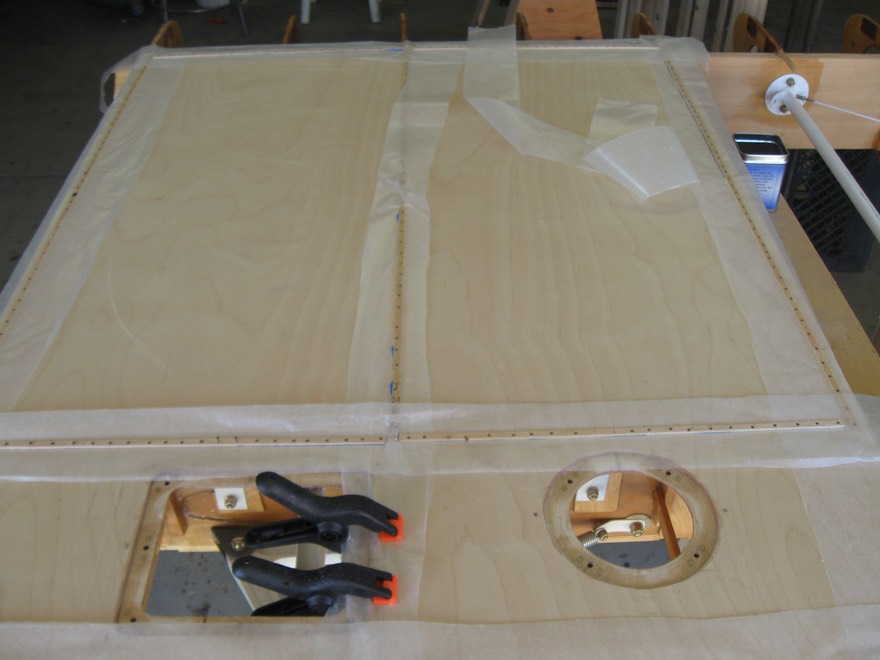
The next picture shows everything secured and the glue drying over night.
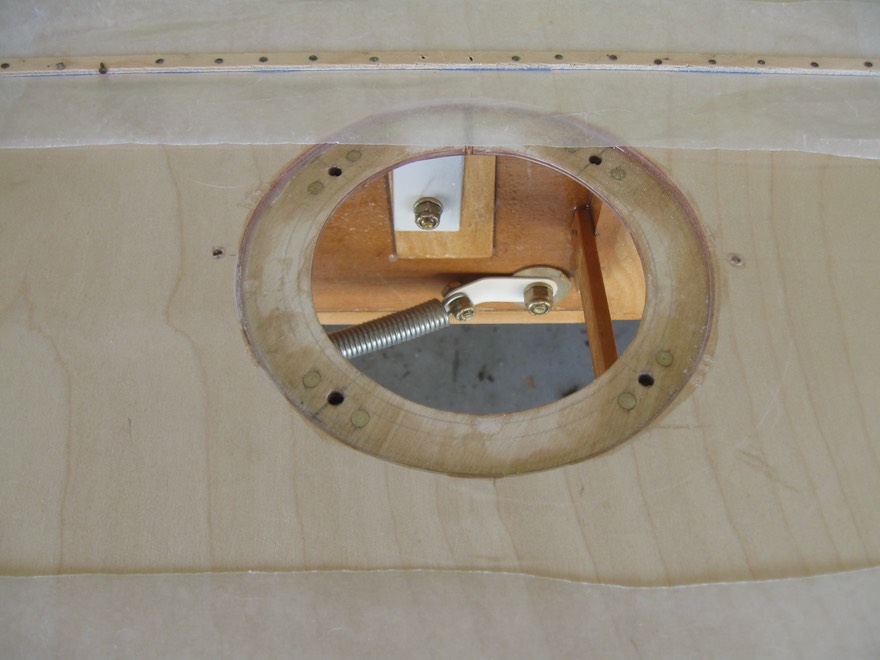
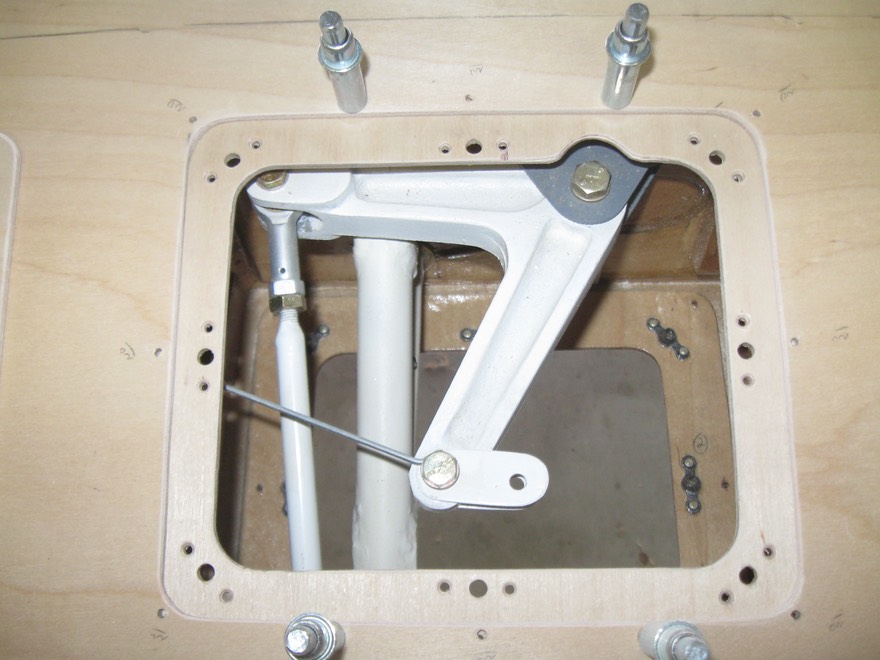
This is a close up of one of the inspection openings; this one for the flap spring access.
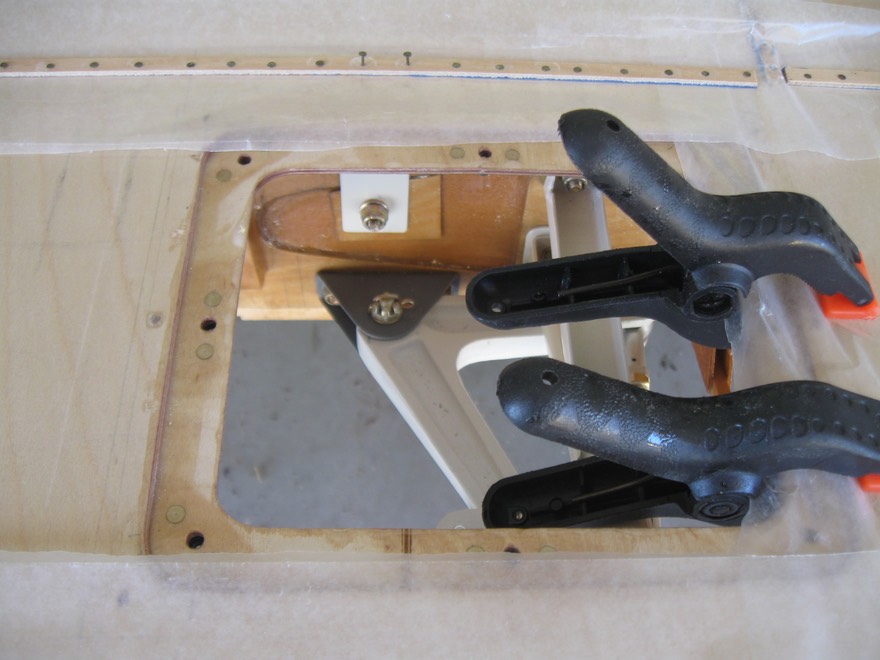
This opening is for flap bellcrank maintenance.
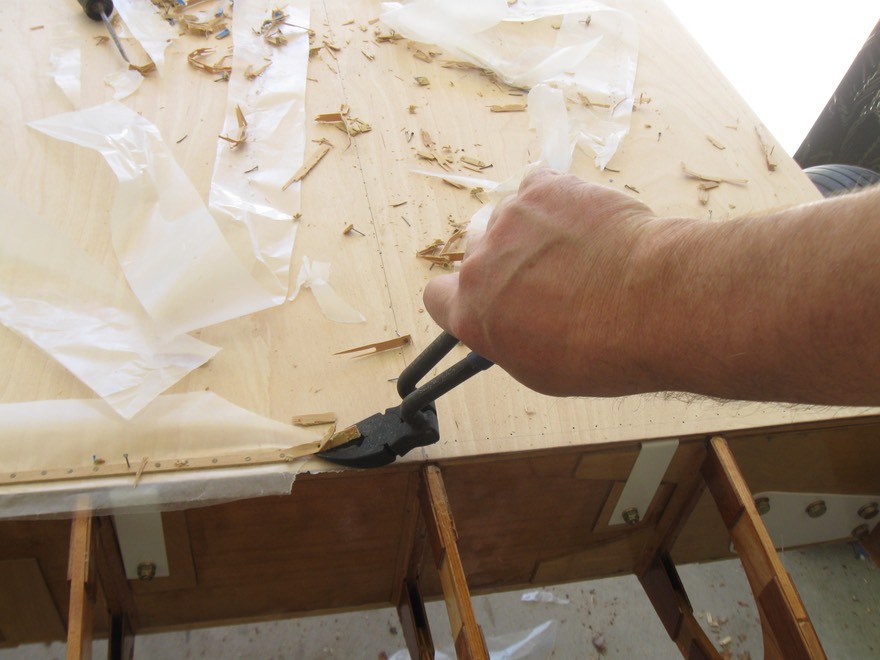
After drying overnight the nail strips are broken away and the nails are easily pulled as their heads now stick above the surface of the wood ...... neat trick !
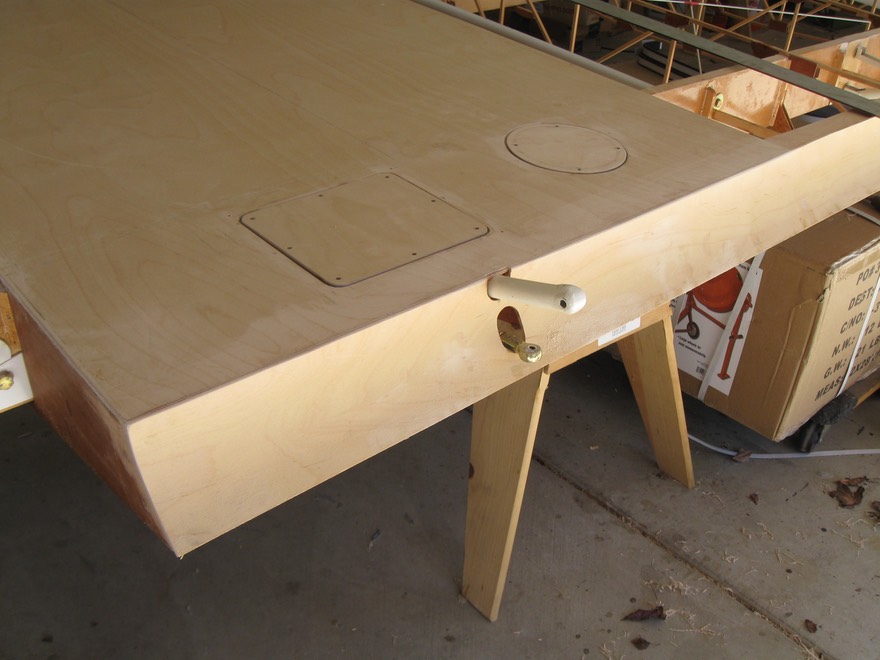
All cleaned up and the inspection plates are set in place. This is a pretty clean surface and will be easy to cover with fabric.
Next is to build the top edges of the tank bay for the aluminum fuel tank cover to be secured. The cover will be structural along with the bottom sheer plate so nut plates will be used with 1/8" ply and reinforcing blocks.
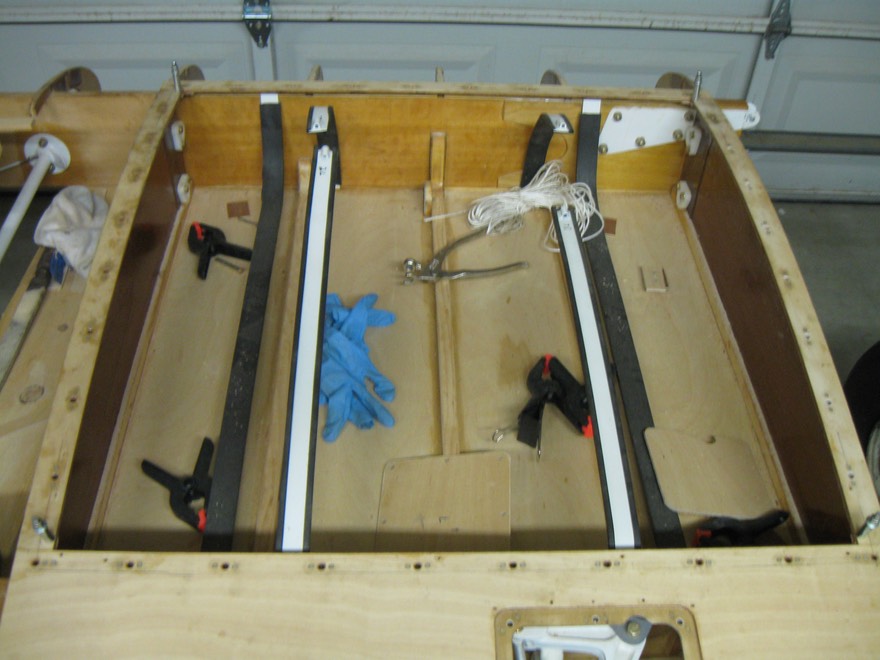
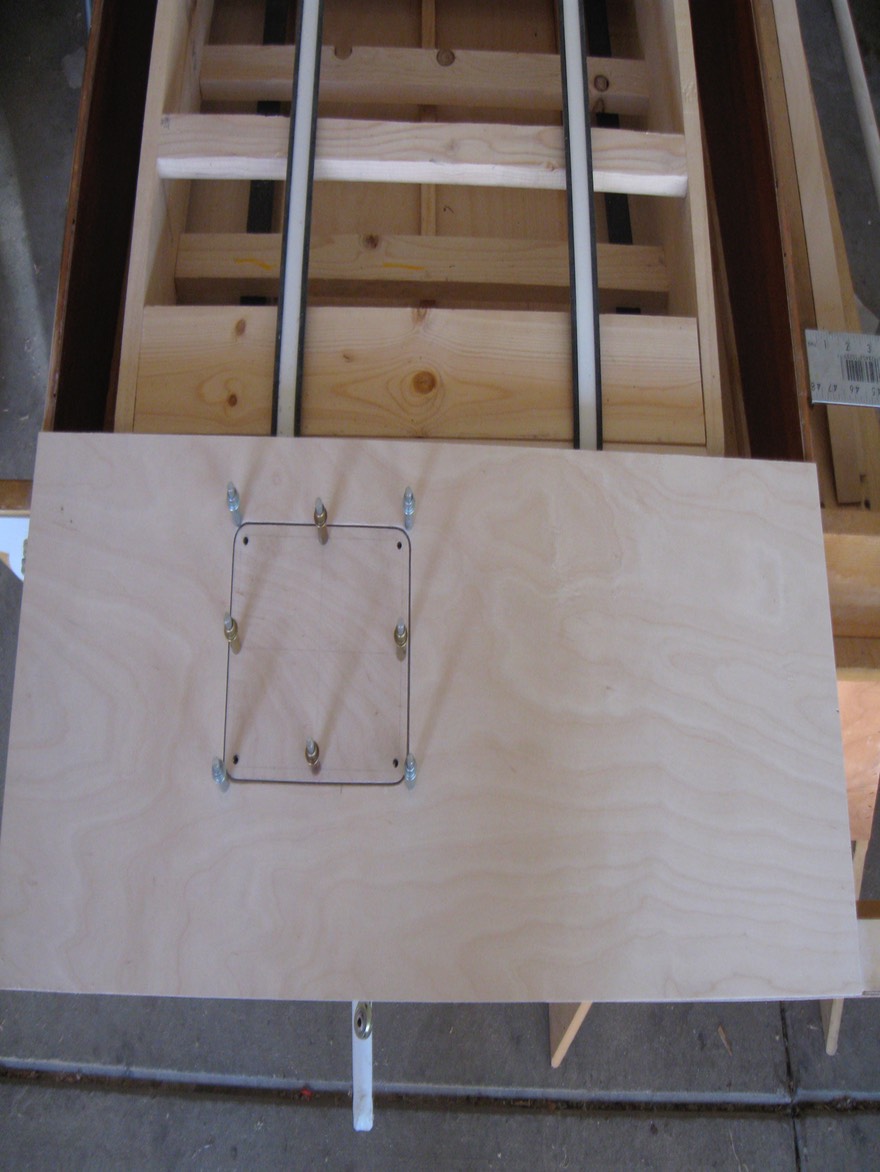
Here is a shot of the prototype tank in the bay with the bottom plate in place.
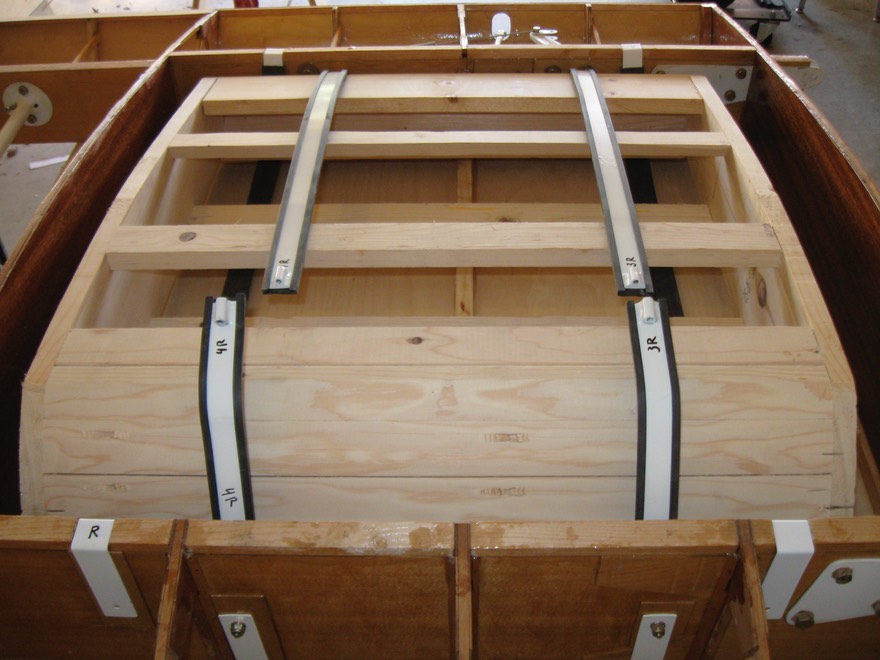
I cut 1-1/4" x 1/8" birch ply strips for around the edges and an additional 1/8" thick ply plate for aft of the rear spar. This will make this section of the wing very strong and square.
I decided to make an inspection opening in the top also for better access to the flap hardware.
Here's the finished ring ready to glue in place. The clecos make great alignment tools for gluing alignment along with mini clamps.
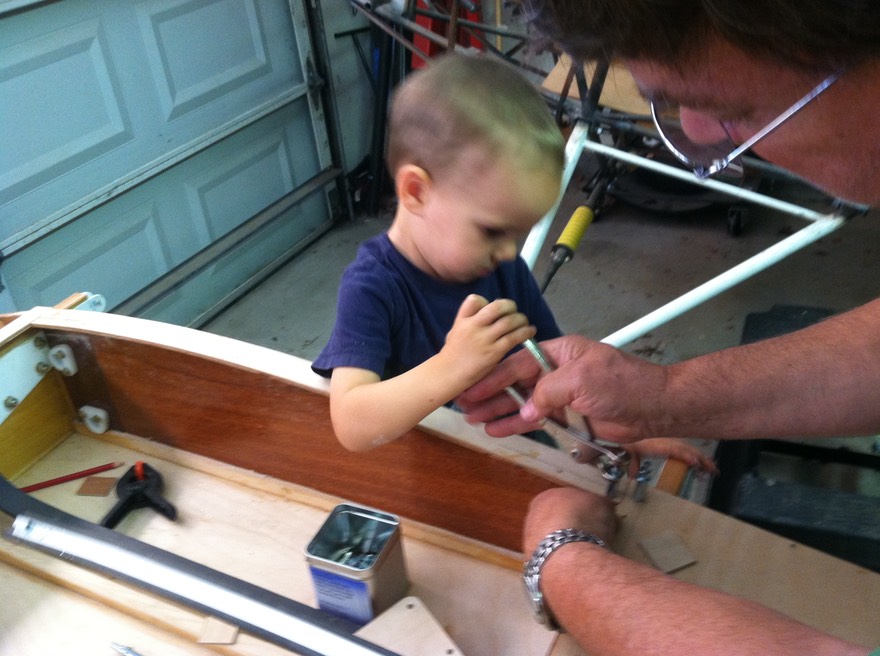
I do occasionally get some expert help from my grandson when it comes time to use the mini clamps.

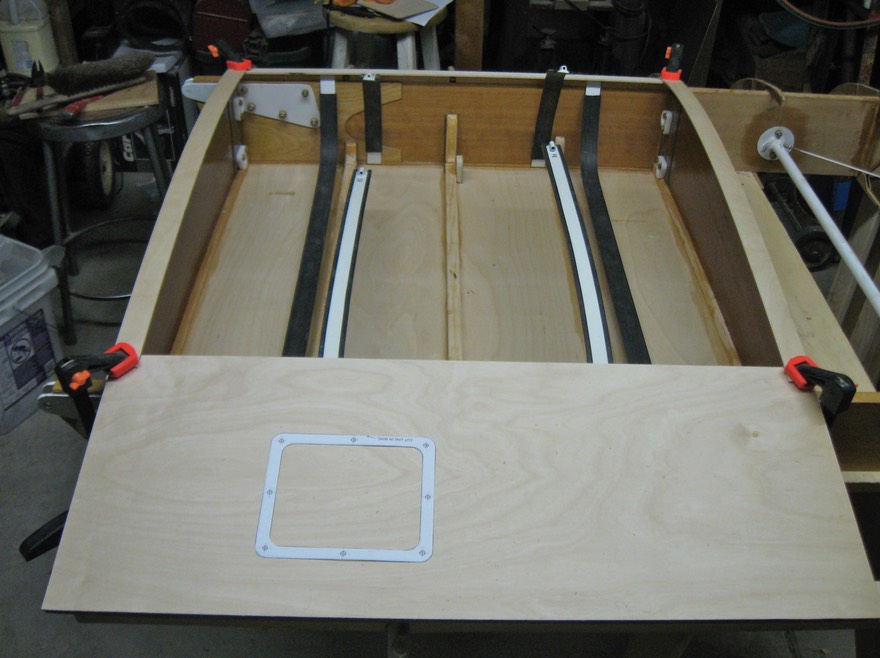
The holes for the nut plates needed to be about three inches apart as the cover will be structural. I used a rivet fan for spacing; what a great tool! The nut plates are 1/2" from the inside edge of the strips.
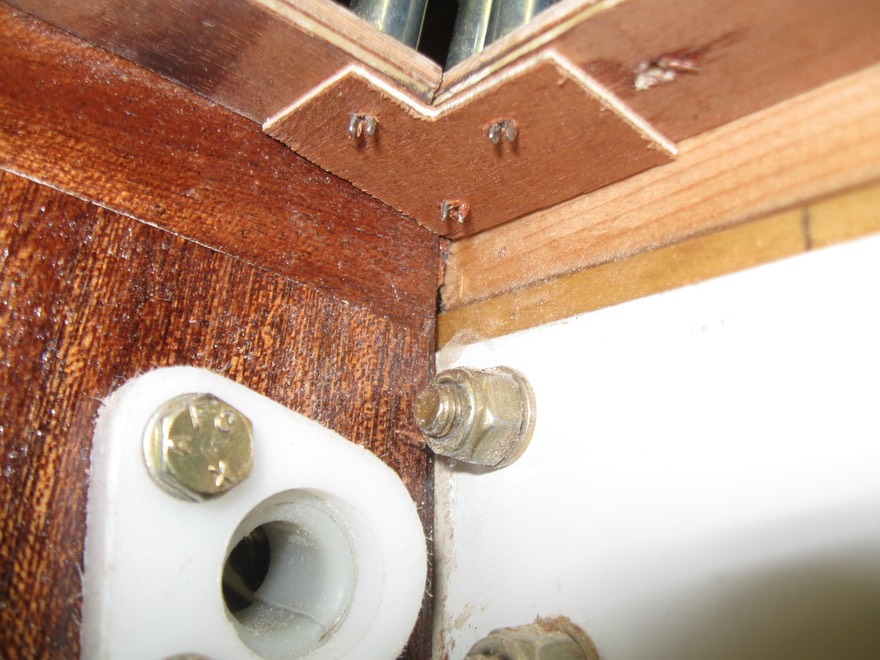
Each corner had a small plat underneath to help keep everything aligned. This picture shows the plate from inside the tank bay. I wound up using a piece of birch 1/8" instead of the thinner piece shown.
Again, I got some great help clecoing the corners. Believe it or not, this two year old little guy worked on every corner on both wings. I would drill the holes and hold everything together and he would stick in the cleco for me to squeeze. This was actually very helpful as I needed an extra set of hands to make this easier.
With the corners clecoed in place I was able to use the rivet fan to drill the first holes for each nut plate.
The holes were than drilled with a nut plate drilling jig. I wound up drilling the through hole larger before riveting in the nut plates so alignment would be easier and the screw would not hang up on the wood. Clearance will also be needed for the fabric so I slightly counter sunk the holes (shown latter)
Both wings now have all the nut plates installed and the strips and aft plate are now ready to be glued in place. I will take some detailed pictures of each piece before I glue in place.