

I haven’t posted in about 6 weeks. It wasn’t that I had not been working; I wanted to finish before posting. This has been one of the most difficult tasks to date. But, I am finally (almost) finished welding the gear attach and cabane attach fittings. Every thing fits just great. My sequence was to weld the lift strut complete first. Then, I welded the bushings after establishing correct alignment with a piece of 1/2″ tube that went from front to rear fittings. Next, I welded in the bushings in the remaining rear attach piece and the front attach fitting and cut out the center section. Some where in this process, I heated the longeron and flattened it to accept the front fittings. Next step, I made a jig to ensure proper alignment of the landing gear. I bolted the landing gear in place with the jig, and checked for fit of the cabane strut. The cabane fittings required a lot of bending to get them just right. I wound up discarding the ones I got from Wag because I made the mistake of welding the washer on before I made the necessary bends. With everything clamped in place, I tack welded the front and rear fittings in place, then removed the gear and cabane attach fittings. On to final welding. This was much easier than welding the lift strut fittings! After the gear attach fittings were completely welded in place, I reattached the cabane fittings, making the necessary final bends to get the correct opening for the cabane. Now, it was back to welding on the washers on the cabane fittings. With the washers welded on, I slipped the cabane attach fittings on the bushings, attached the cabane, and made some final adjustments. With everything clean, I began welding. I have about an hour of final welding left to do on the cabane attach fittings and then they will be finished. I will need to heat and bend the cabane attach fitting just a bit to get the two sides parallel and the correct 1 1/4″ distance but that will be easy. My last step will be to final ream the bushings to 3/8″. Although the bolts fit now, they are a bit tight and reaming will correct the fit. The last step on the gear for me will be to make the shock strut. I saved this for last because any issues with alignment, length, etc can be corrected with the shock strut as it is a separate part requiring no welding to the fuselage. The following pictures show the process up to the final welding needed.
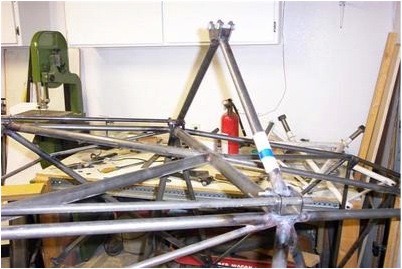
Alignment of fittings with cabane.
Alignment of fittings……………………………….
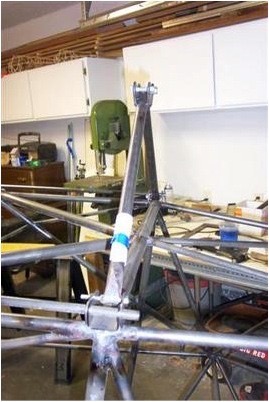
Additional alignment of the attach fittings.
Welding in bushing for front fitting
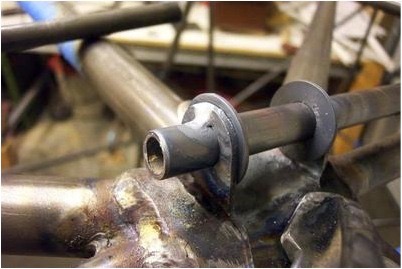
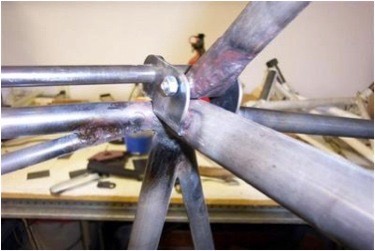
Tack welding in bushing for rear fitting. Bushing extended to front fitting for proper alignment.
Rear bushing welded in place, center yet to be cut out.
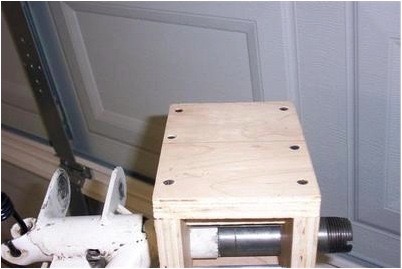
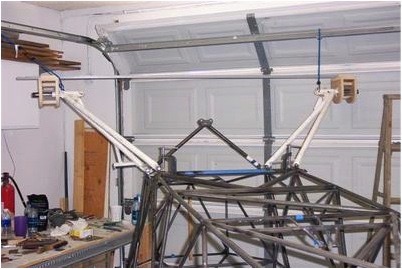
Box jig built to establish alignment of gear before welding.

Another view. Box was attached to plate on gear according to the Piper drawings.
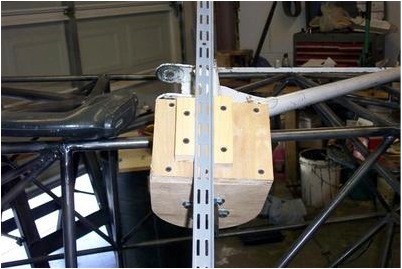
Blocks attached and centering bar attached to establish straight line between gear for alignment. The bar is a heavy duty shelf bracket from Home Depot.
Gear and fittings in place before tack welding.

Rear fitting tack welded
Front fitting tack welded
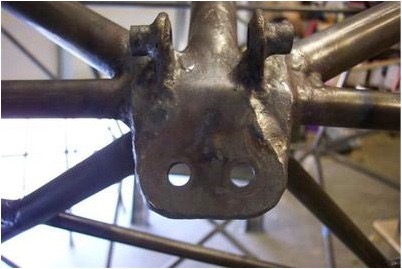
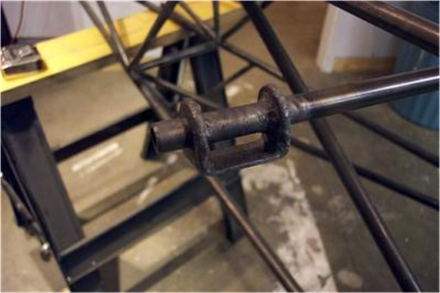
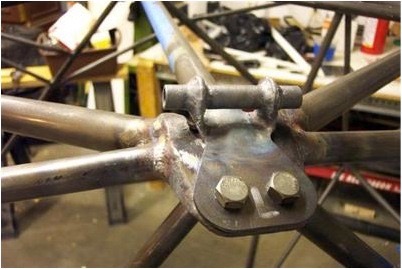
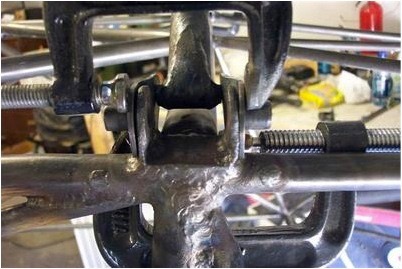
Rear fitting finished!
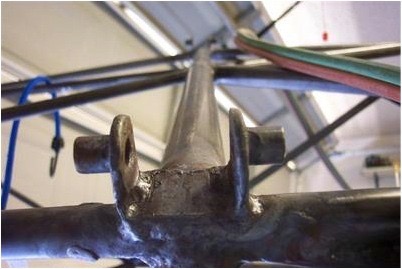
Front fitting finished, awaiting cabane attach fittings.
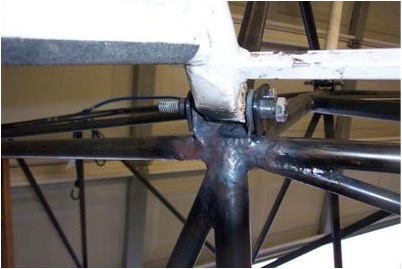
Cabane fittings ready to weld in place. Note Cabane strut in background.

Another view, ready to weld.
Return to Past Posts and Pictures by Date