

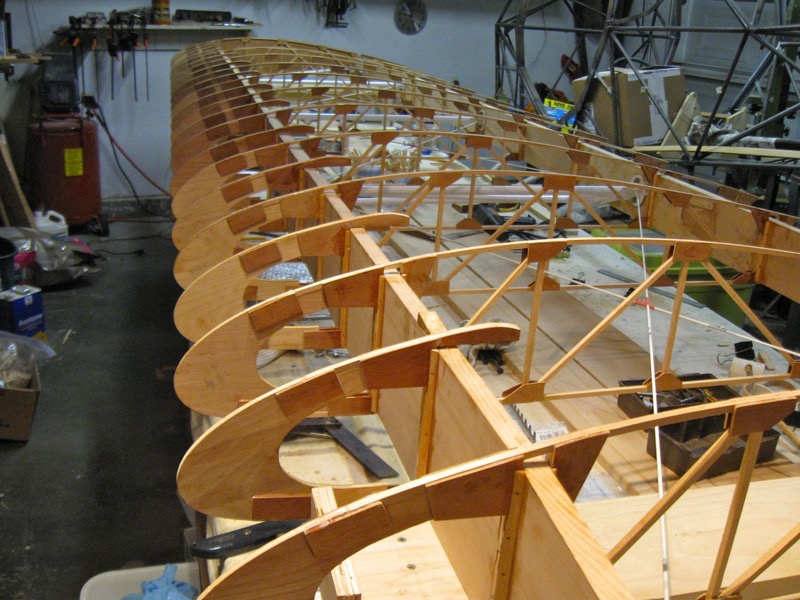
I finished gluing all the ribs in place and glued the false “D” ribs in place also. I first had to make small corner molding pieces for each rib and false rig. So, after making a few hundred corner pieces for both wings, I started gluing. I used my air nailer to set the ribs in place and to hold the corner mold in place. The corner mold increased the surface area glued for each rib from 1/2″ (the two 1/4″ spruce uprights at each spar) to 1-1/2″ per spar. I was advised to add the corner molding by a engineer and builder friend. Some wings I have looked at have the corner molding, some don’t. It sure made the ribs and “D” ribs secure when the epoxy dried.
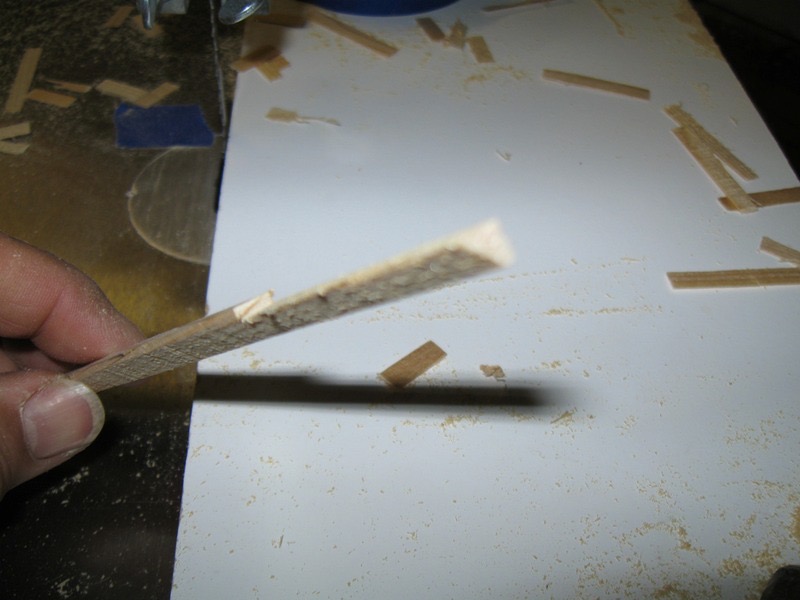
So first I had to make the couple hundred 1/4″ corner
molding pieces. I first cut strips and planed them down to 1/4″ square.
Then, I tilted the table on my band saw and cut them into triangle shaped
molding. Last, I cut a notch in each one so the piece would fit over the
gusset and fit against the spruce upright. I had to alternate each piece
so I would have left and right pieces. This took a lot of time; about 6
hours or more to make them all. A lot of time but well worth it when I
saw how secure the ribs were after the glue dried. The pictures below
show the pieces as I made them.
 Corner braces for each rib, lots of them are needed.
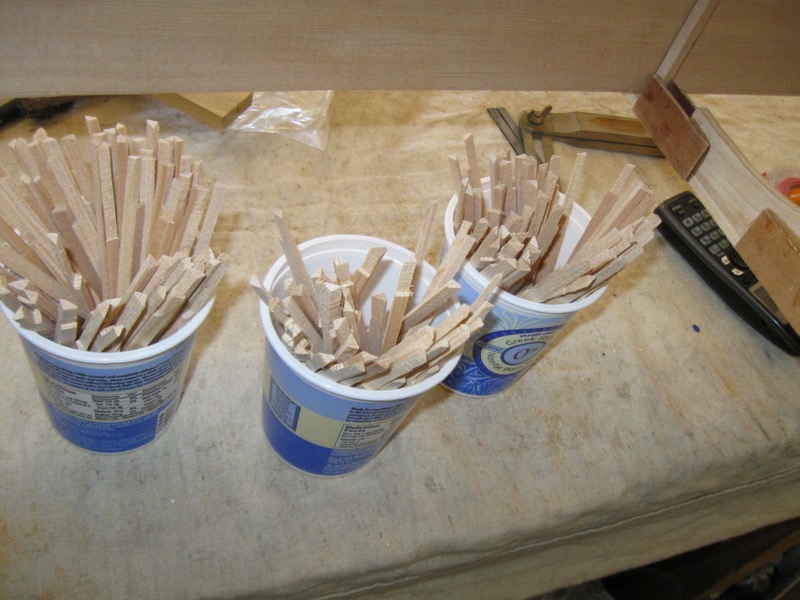
Lots an lots of corner braces.
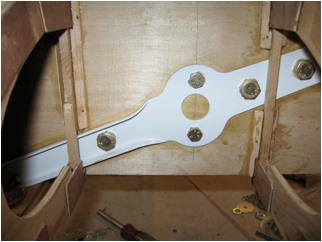
 After all the pieces were made and sorted by correct length and position, I started gluing at the root end of the wing at the attach fittings. At first, I used small brads and very quickly realized that my small air nailer would be a lot faster.
 Typical rear spar rib in next photo.
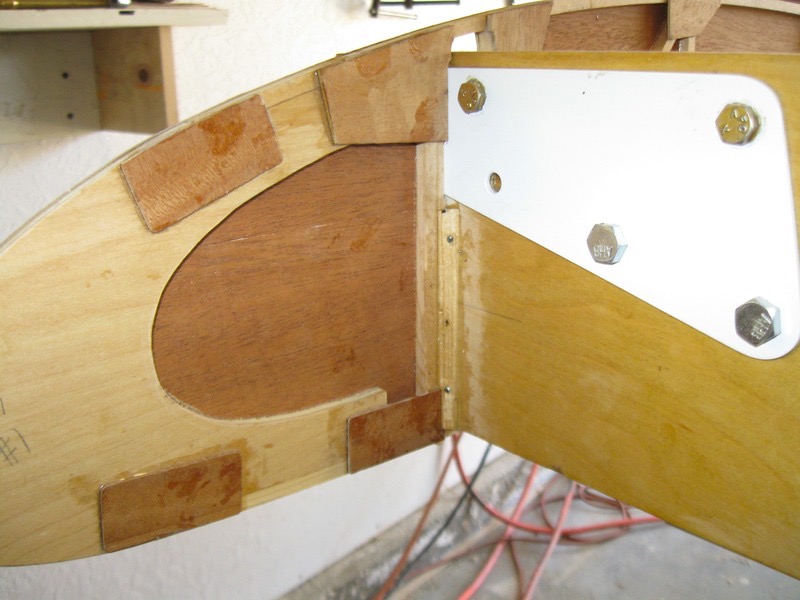
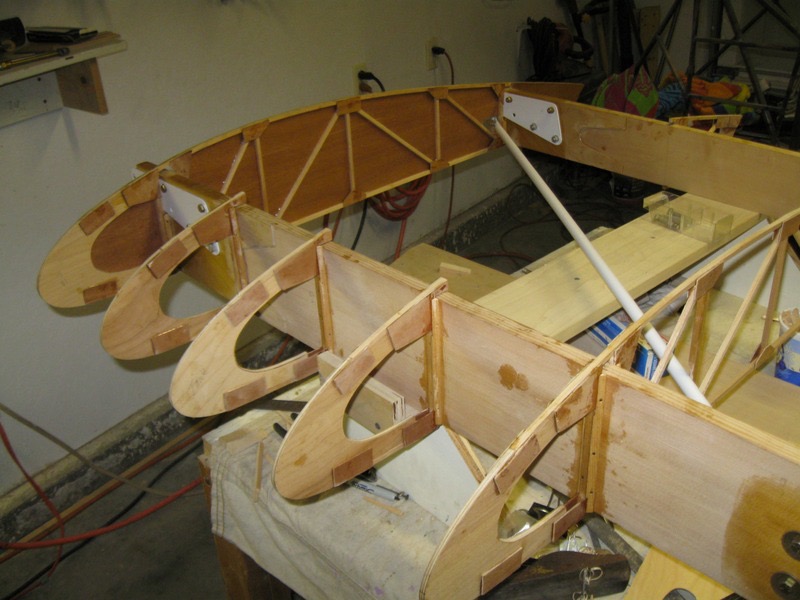 Finished tank area. Note second rib is omited in the middle for tank.
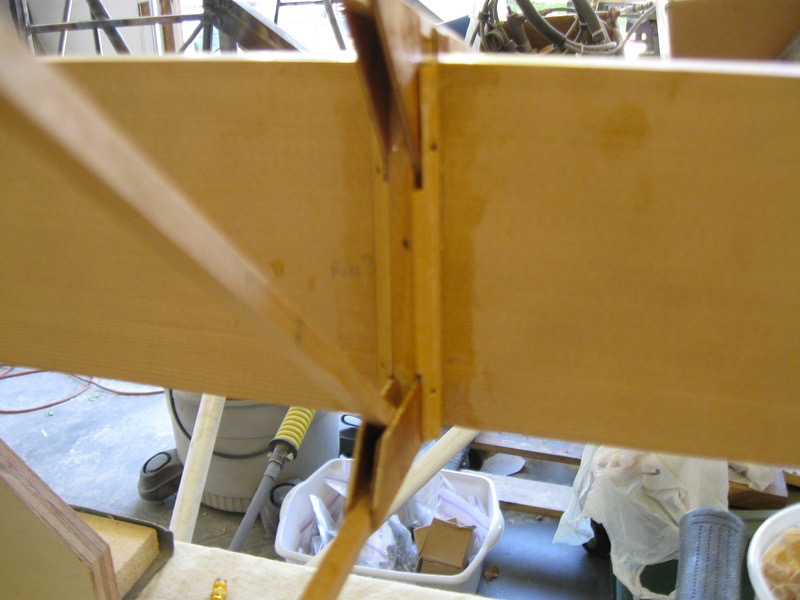
 I did have to notch one upright and add a doubler where the diagonal goes through the tank.
False rib and full rib at front lift strut.
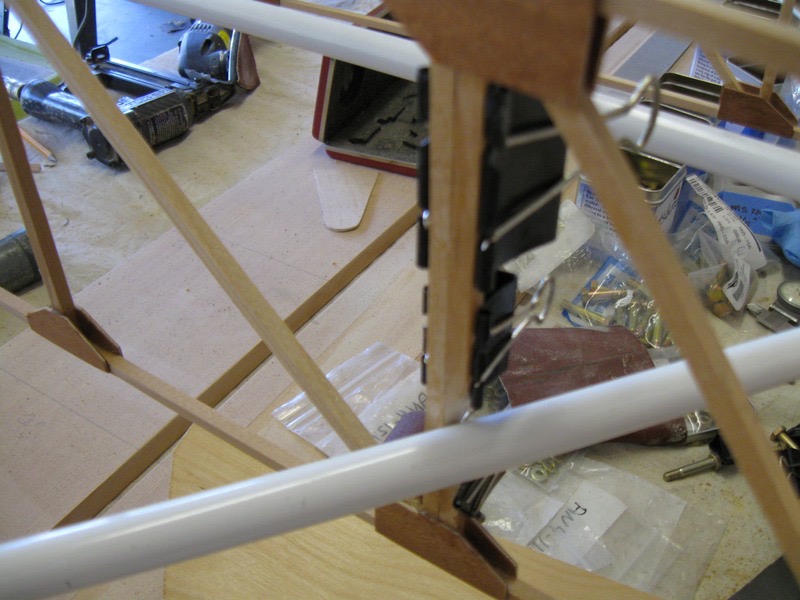
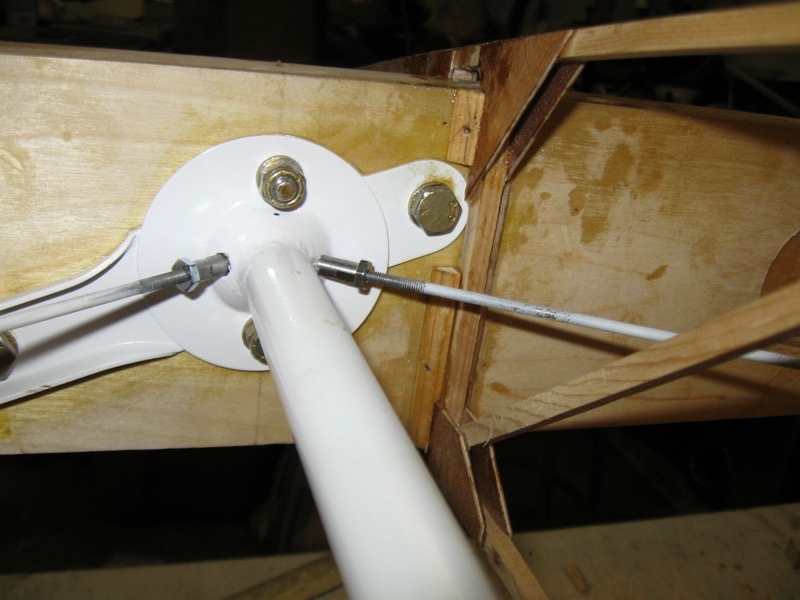 Last, the rear lift strut with corner molding in place.
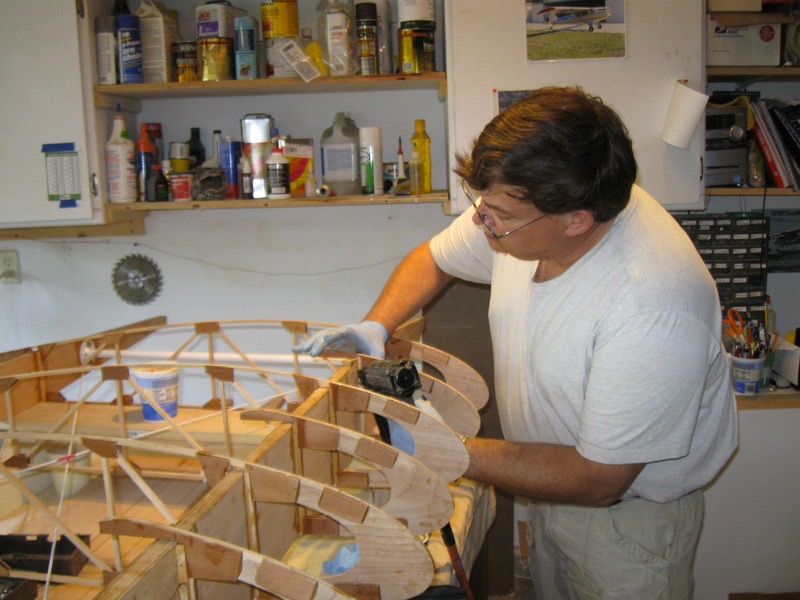
Here I am using the air nailer to finish up the last rib and false rib.
 Close up of last corner molding.
Next step will be to make the wood wing tip bow. I like the look of the traditional wing tip over a glass wing tip. It helps that I can make the wood bow for a few bucks vs about $600 for glass tips. More on that soon.