

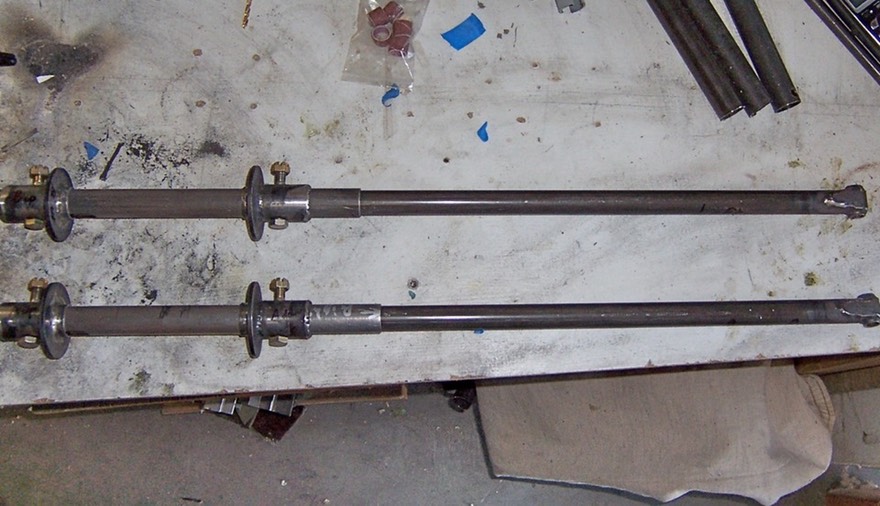
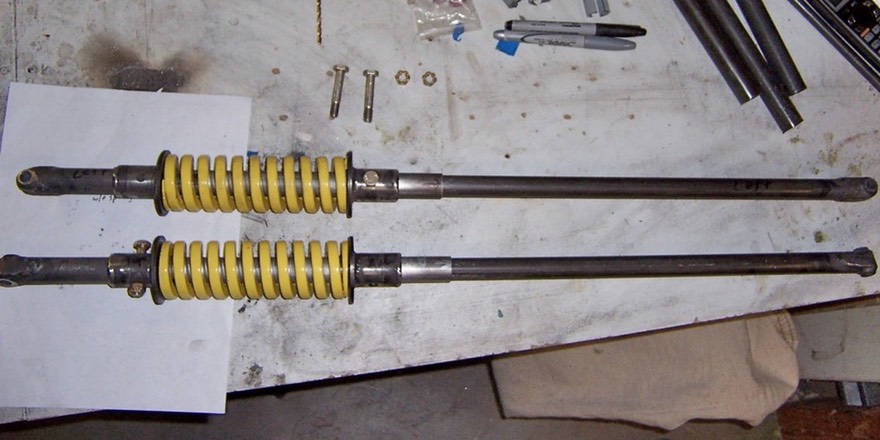
I have included some photos of spring strut and fitting. I have also included the final drawings for the struts. I had a few changes like …….. well I had the slot on the inner tube going the wrong way (pointed out to me very kindly, thank you) and some minor dimension changes along with the actual length for my 2+2.
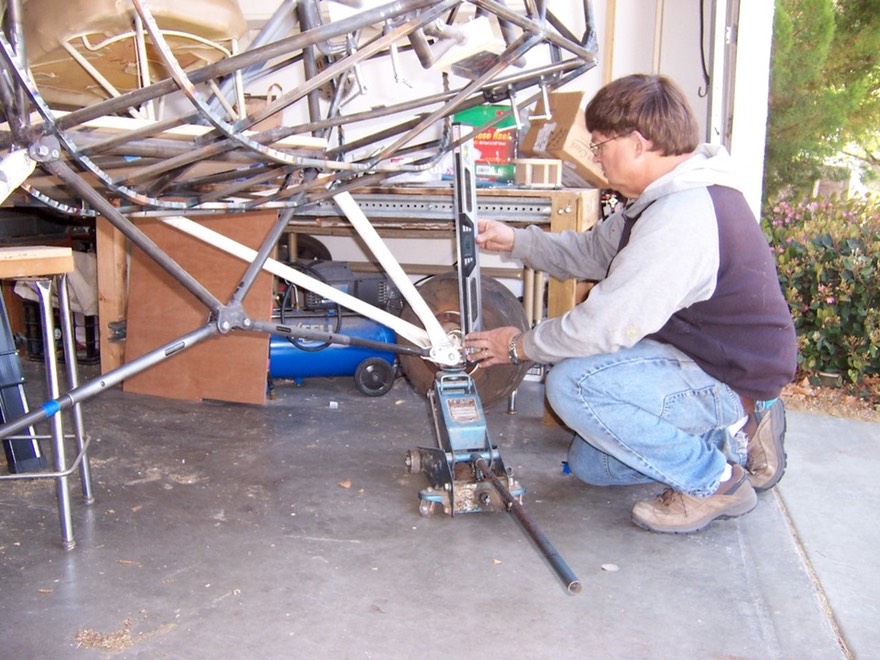
This is the first fit of the struts. I raised up the wheels to get them 90 degrees to the floor to establish the strut length. 1/2″ was latter subtracted to allow for load on the gear with the finished aircraft.
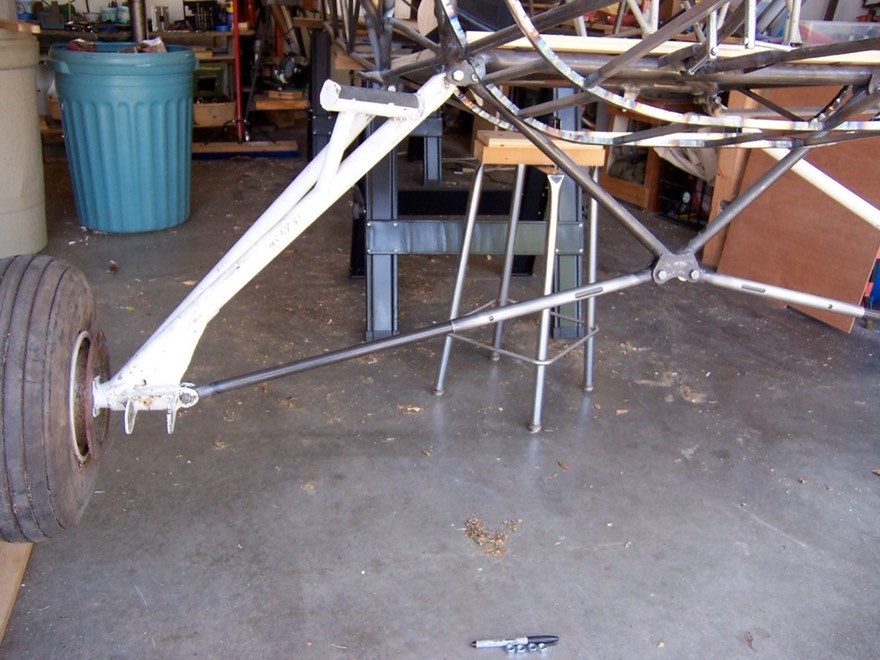
Next I cut the struts to the correct length and
reinstalled. I marked the inner hole location using the outer slot for a
guide. Then. driller hole and re assembled. I then marked the inner
slot and to took everything apart and cut the slot with a dremel.
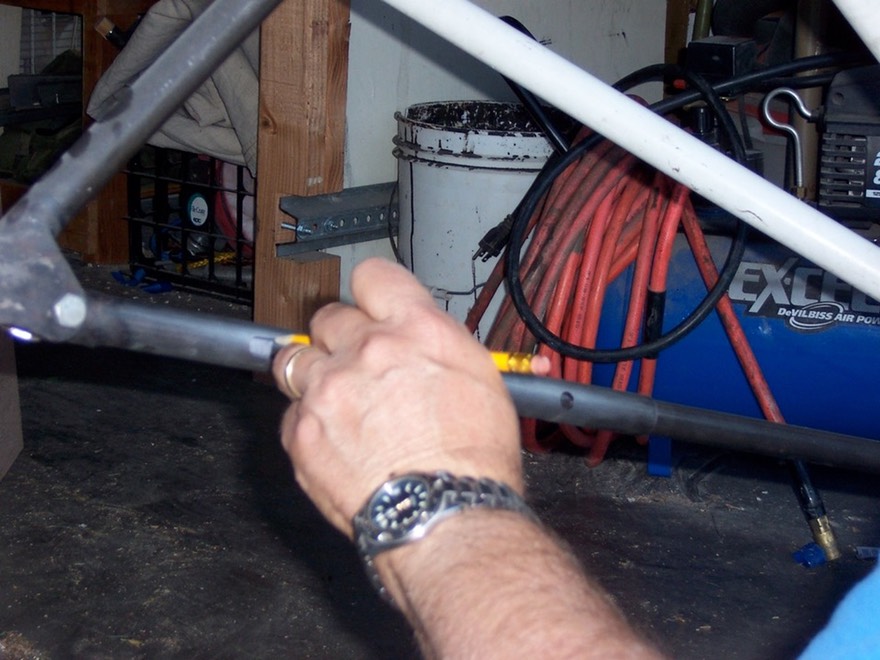
Marking holes
Ready to install the springs after all holes complete.
With springs and collars installed the bolts will not line up until the spring is slightly compressed. This will also properly pre-lode the strut.
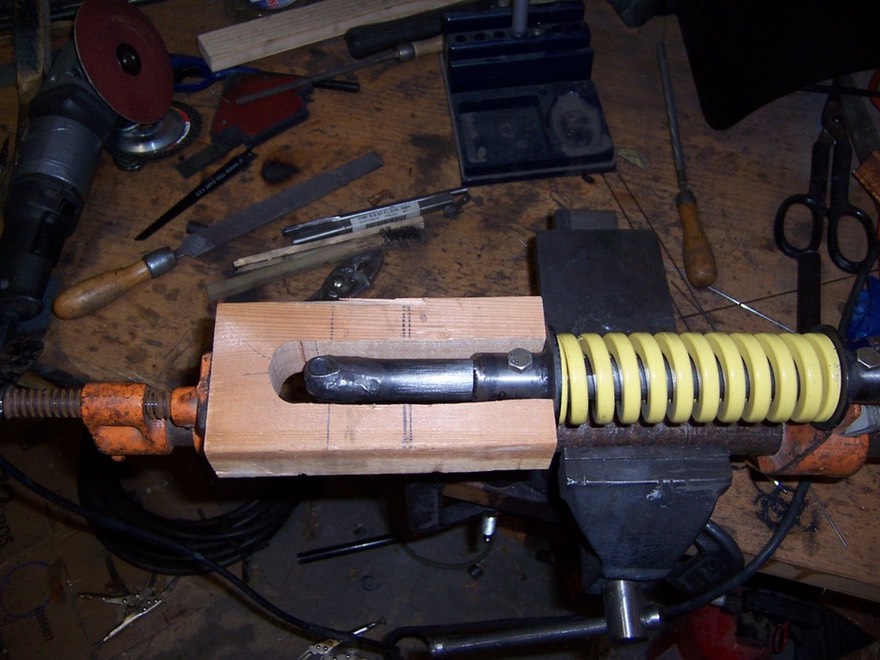
Compressing the spring with a bar clamp in a vice.
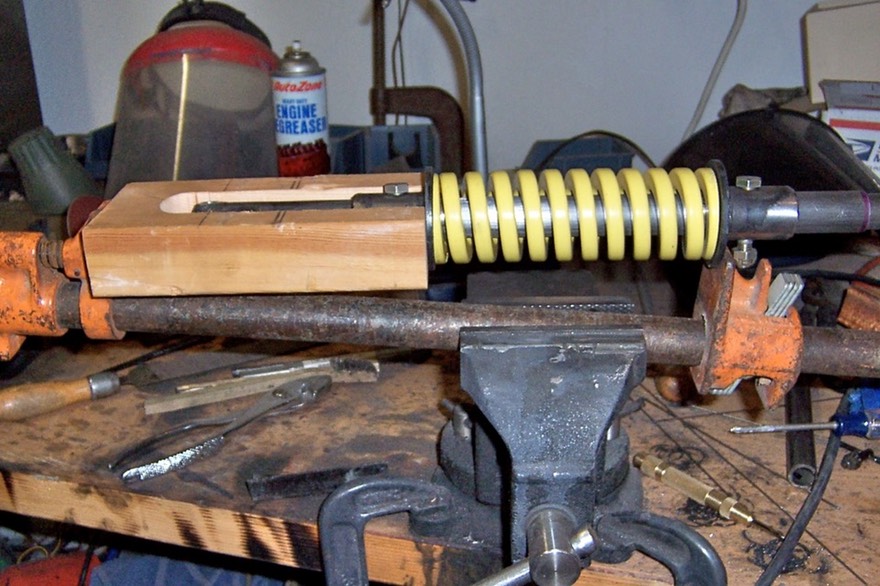
Another view og the compression of the spring to allow the bolts to be installed.
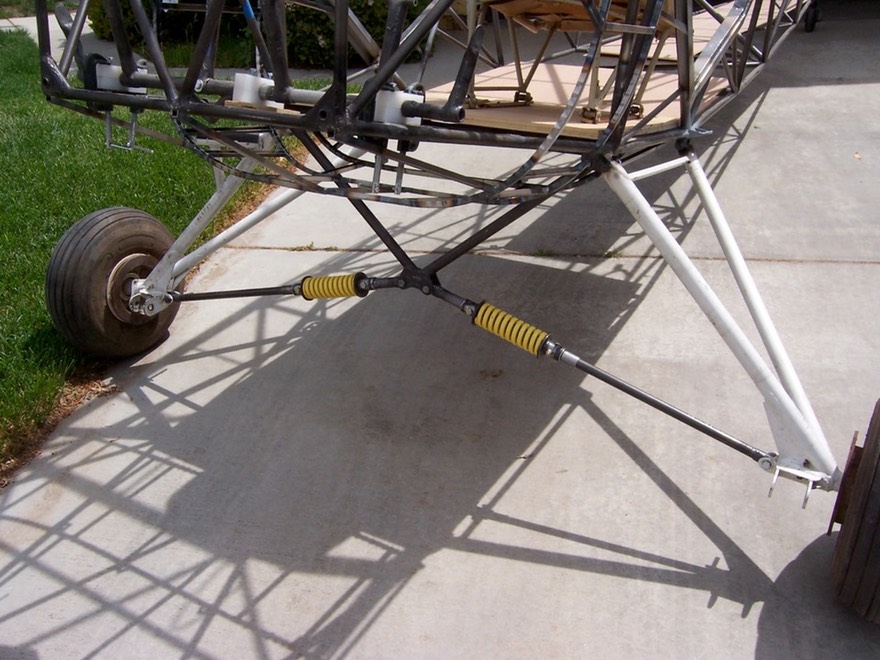
......... and then put everything together and it all fits!!!
know this is a bit brief but their are lots of ways to put this together and if you understand the plans than you will be able to build this using ways you are used to doing things. After drilling a few holes in the tail feathers that I had forgotten it’s on to the wings!
Return to Past Posts and Pictures by Date