

Ok, four months and no excuses. Well, I did take a break of about six weeks from middle of August. The start of a new school year always takes time. My wife also had foot surgery so, not much time for the shop. I did get back at it last week and was reminded that I hadn’t updated in way too long. So, here we go.
Last update, I had finished the structural welding and it was time for the birdcage. Needless to say, just getting started was a bit confusing. I agonized over where to start; bird cage?…..door sheet metal?……fabric formers?…..channel near fire wall? I made a couple of formers and decided to do the birdcage first. The following series of pictures took place from July 5th till about August 15. Not sure of the hours, but about 50 would be a good guess. So here we go.
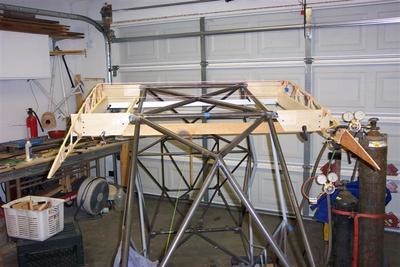
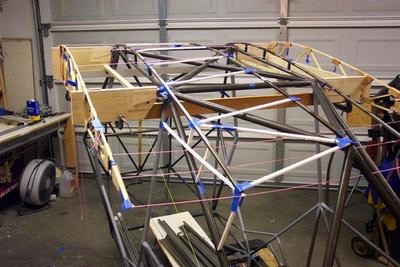
First, the jig set up to figure out where to build the birdcage. The plans seemed to just be “suggestions” on how this might work.
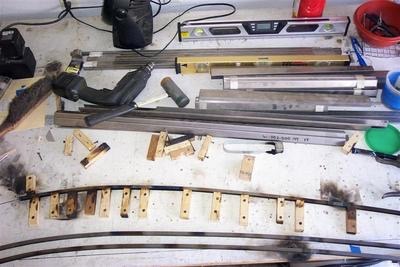
I drew the wing rib on my table and bent and welded channel to make the three roof formers.
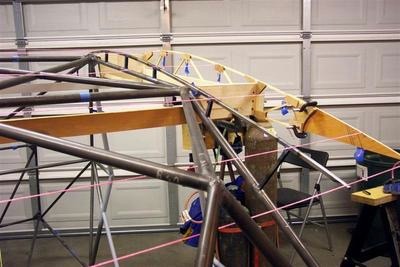
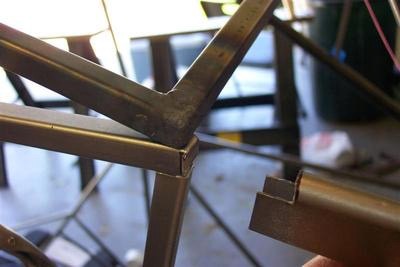
Next, with the two end formers in place, I fitted the D tubes that will be inside the windshield.

I may have goofed here. I decided to weld the D tube to the middle of the front tube. I have seem it both ways, this and surface mounted. Now I think I would rather have had it on top. Time will tell and I can fix it if I need to latter.
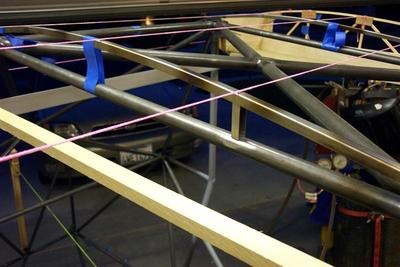
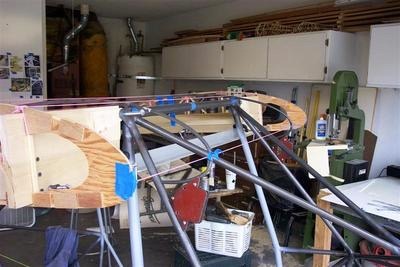
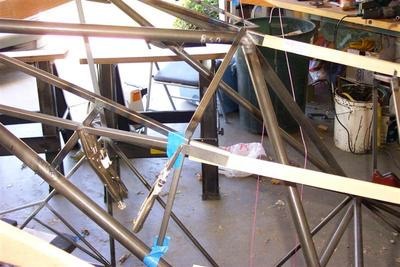
Here are the two outside formers in place with tape. Note the string across the ribs to locate the top of the cockpit.
With the outside formers in place, I cut some foam board into strips to mock up all the channel. After I got it figured out, I took a bunch of pictures and made measurements so I could duplicate it in metal channel.
Starting to fit some of the channel after removing the foam strips.
Next, locating the stringer clips in place. I had to make three of the fabric formers for the stringers. I discovered that they would not fit the way I wanted. I liked the lines formed with the third former in place, so I used that as my reference to fit the stringer clips in place. I will make the rest to fit.
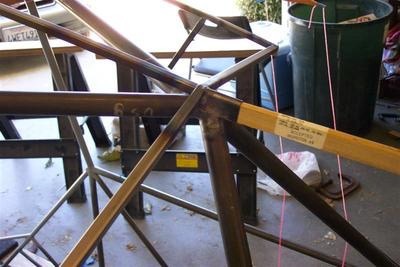
First, the middle clip. This was very difficult to establish the location. The plans are very vague here. I took a look at a bunch of pictures from other builders, each was different. So, I found a position I liked and went with it.
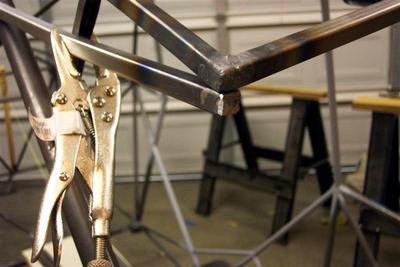
This is detail of the side stringer clip. Turned out to be rather simple but took lots of time to figure out and plan.
Clip just before welding in place.
Ends boxed and ready to weld before clip.
Some more welding before the clip was welded in place.
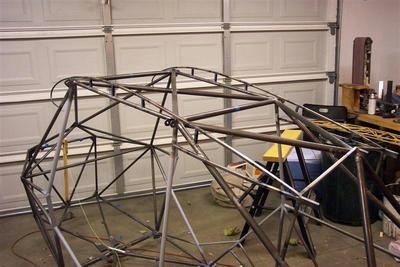
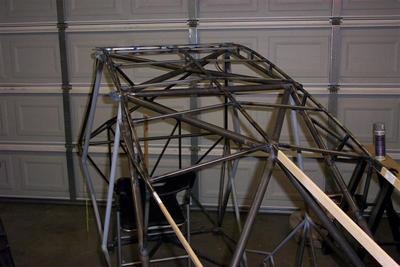
Stringer clips in place; bird cage awaiting sky light supports.
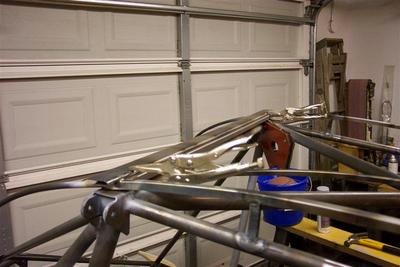
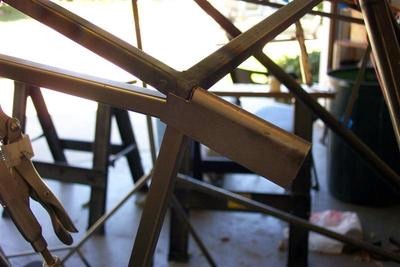
First, the windshield upper support. Not to difficult here. Be careful not to use too much heat. My first weld warped the metal causing some work latter to fix.
Another view of previous picture of the sky light center support inplace following rib pattern.
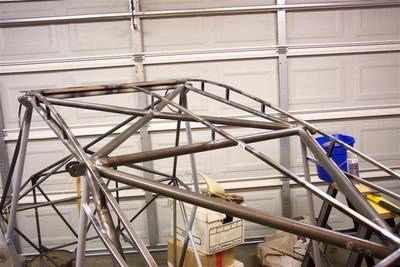
Ok, now ready for the sky light supports.

And still another view………..
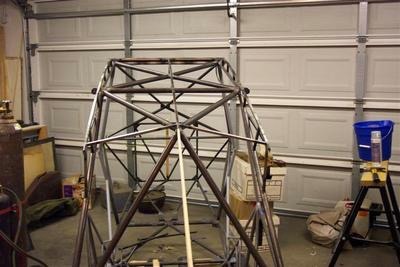
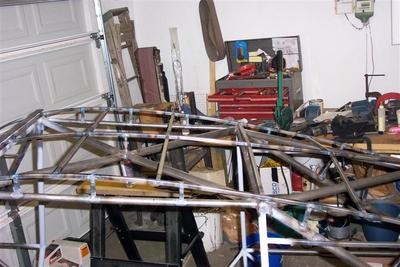
Rear view showing the center stringer in place. My center line is not perfect. The heat really distorts the 3/8″ channel.
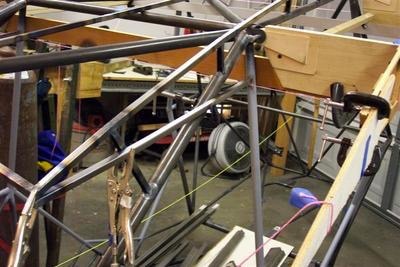
And here are the sky light supports in place.
Side view of finished birdcage.
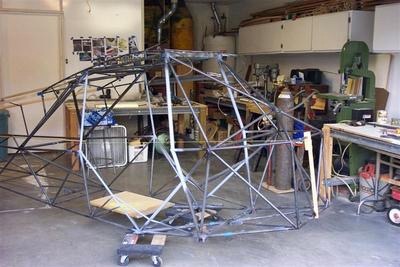
Ready for the fabric formers.