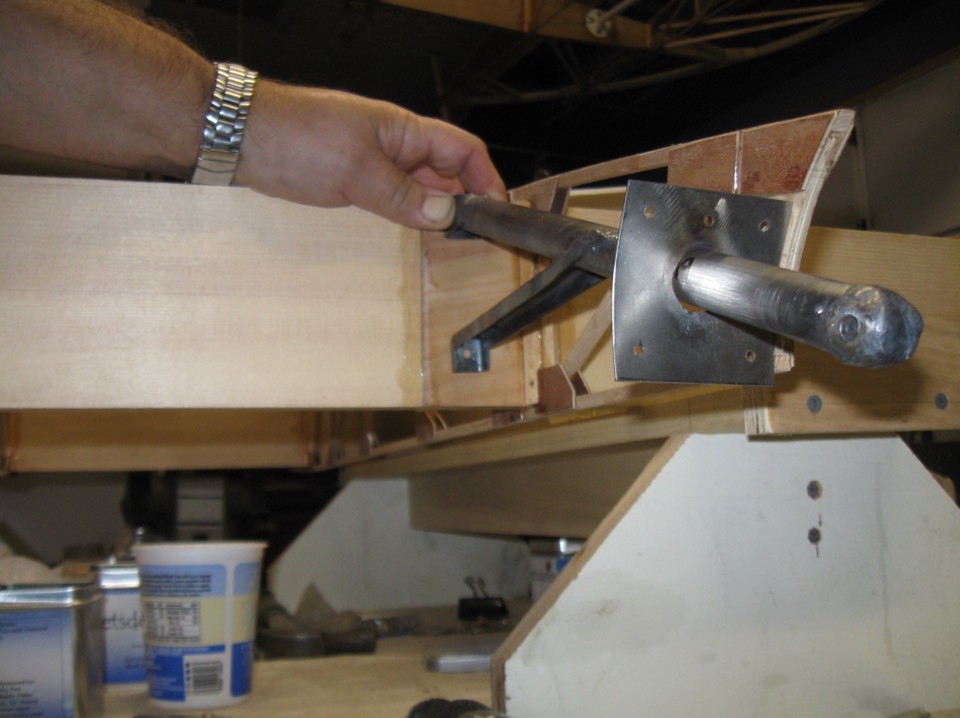
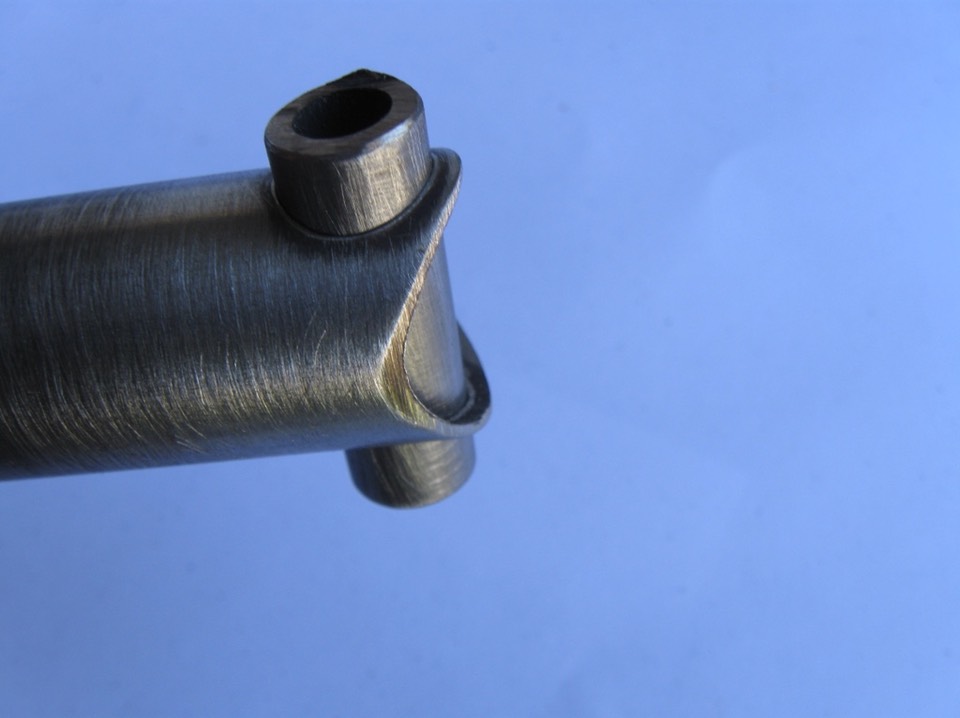
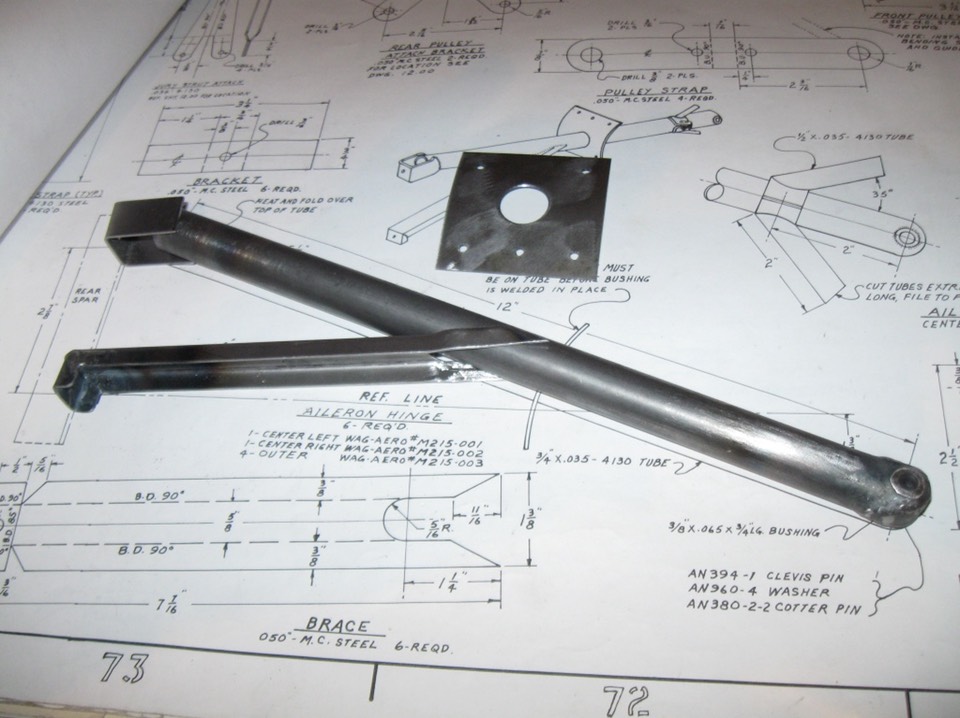
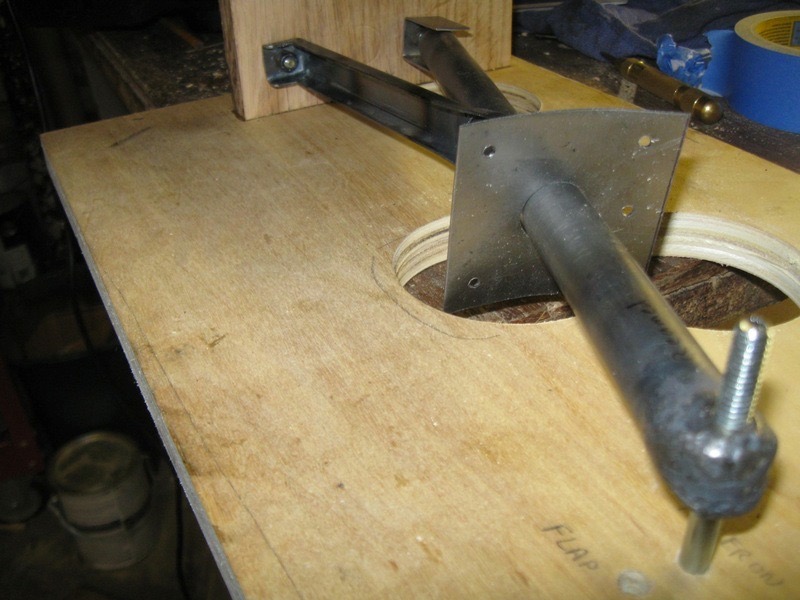
Something new! I haven’t updated since Oshkosh; a long time for sure. After getting back it was time to start another school year and that always takes up a lot of my time. Once I finally got back at it in early September it was time to make the aileron and flap hangers. These proved to be a lot more time consuming than I ever thought. So here we go. The initial concern was figuring the difference between the aileron hangers from the drawings and the flap hangers needed but not part of the plans. Between the flap drawing in the 2+2 plans, the aileron drawings, and looking at a couple of planes up close I was able to generate accurate CAD drawings of the two different hangers. All the parts are the same just the final jigging is different. The flap hinge point is a bit lower and a bit closer to the false spar than the aileron. I have cad drawings that I will post to show the difference latter. I also lost a bunch of time by making the “U” channel that welds at the end of the 3/4″ tube out of mild steel as called for in the plans. I just wasn’t happy with it and made a second set from 4130 and was much happier. Same with the end of the tube with the bushing. The plans do not show a finger strap. I first welded this up with a piece of mild steel capping the end but did not like it. After three ends were welded I cut them off, make new bushings and used 4130 .030 for small finger straps and was much happier. Was this too much work? Possibly. I think it would have been faster if I had used tube rather than making my own channel for the angle brace but I wanted to follow the plans and make them light. If you are only going to have ailerons you might want to buy these from Wag but at something like $185 each, too pricey for me and they do not have flap hinges so I had to make them my self. How much time? Well, more than I have counted but I bet over 50 hours total. So here we go. First, a picture of the finished hanger.
And now, the process:
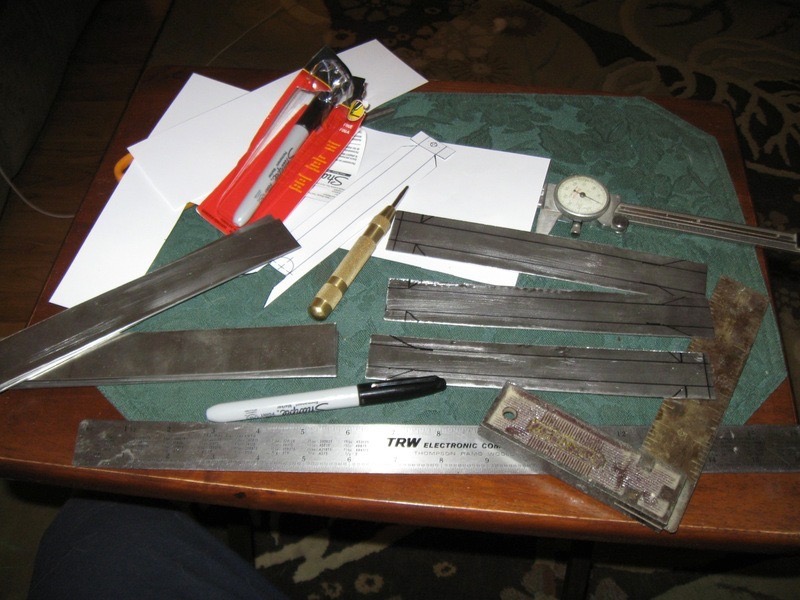
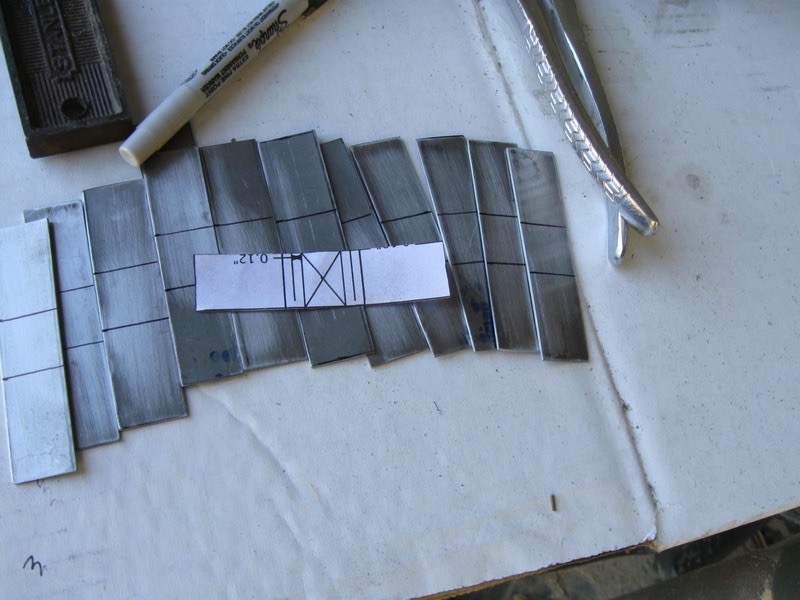
First, layout of sheet metal followed by forming of the channel for the angle brace.
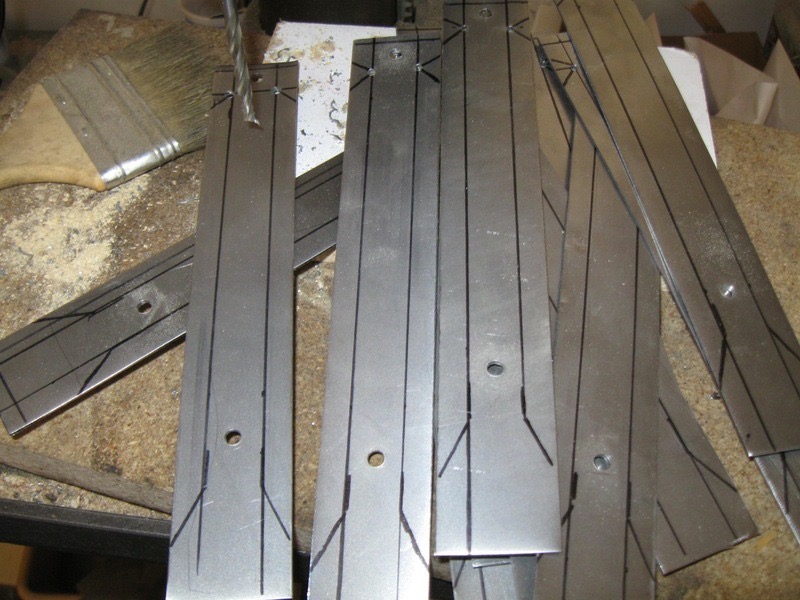
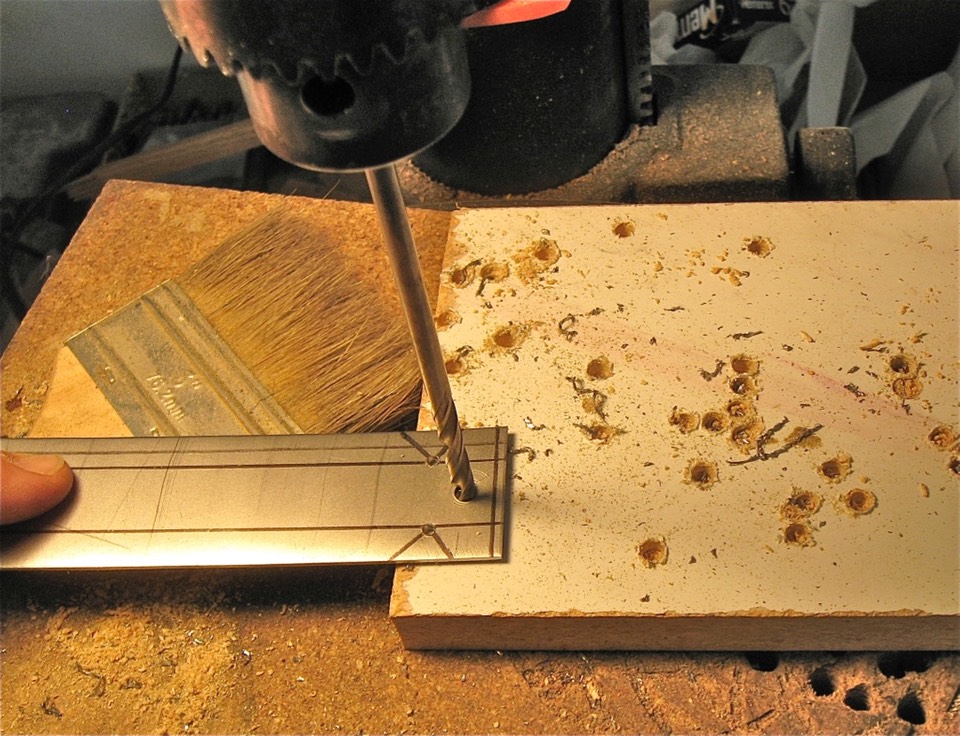


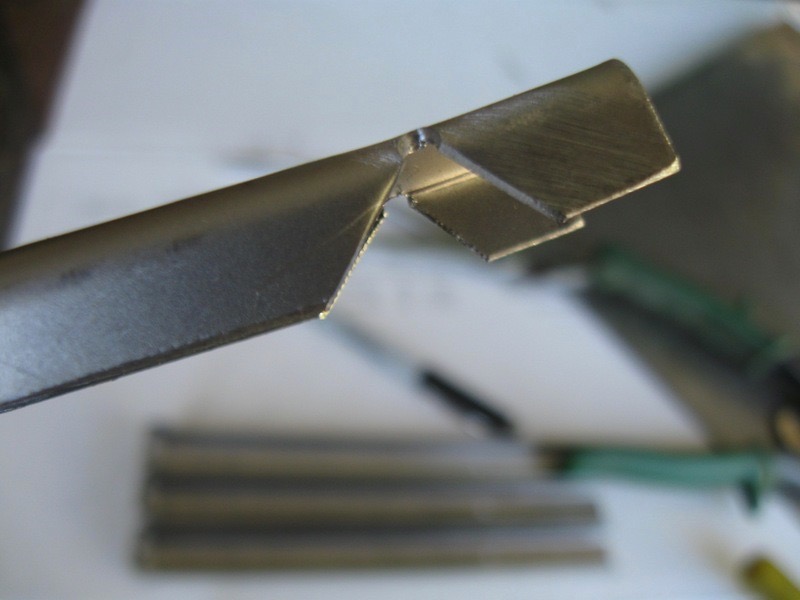
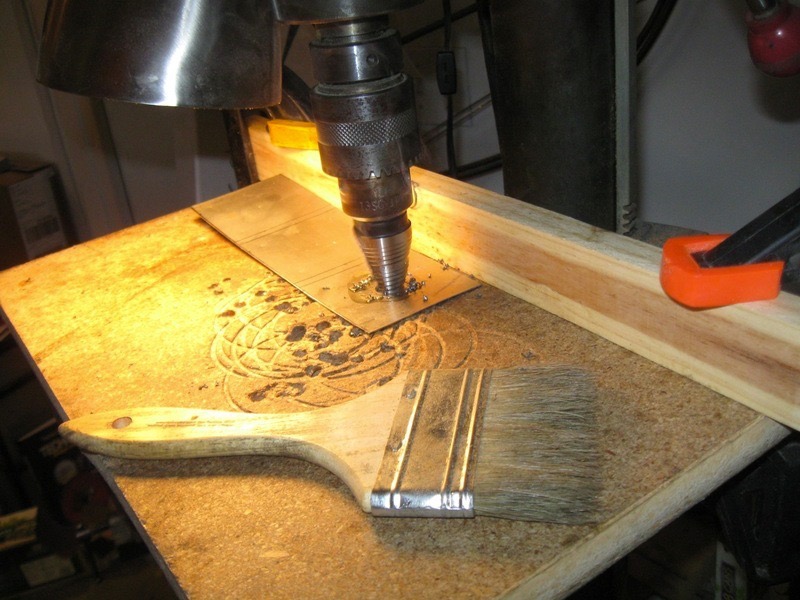
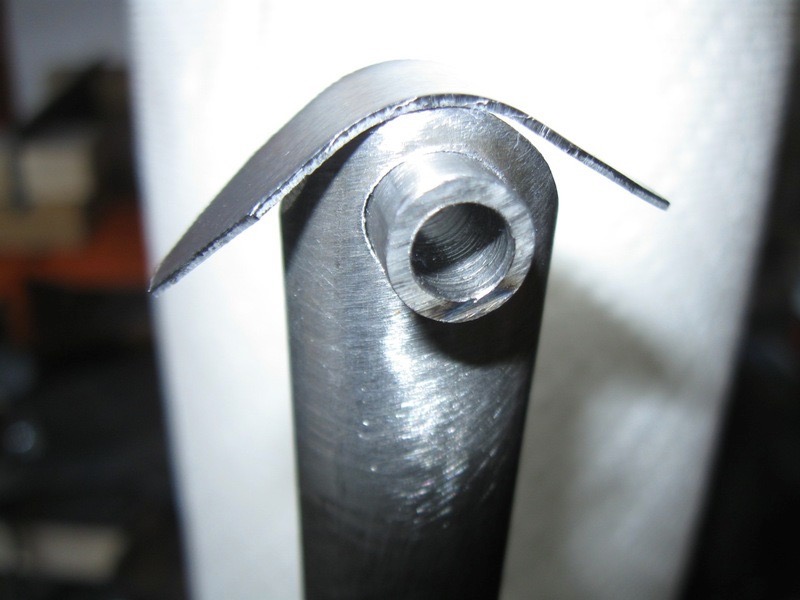
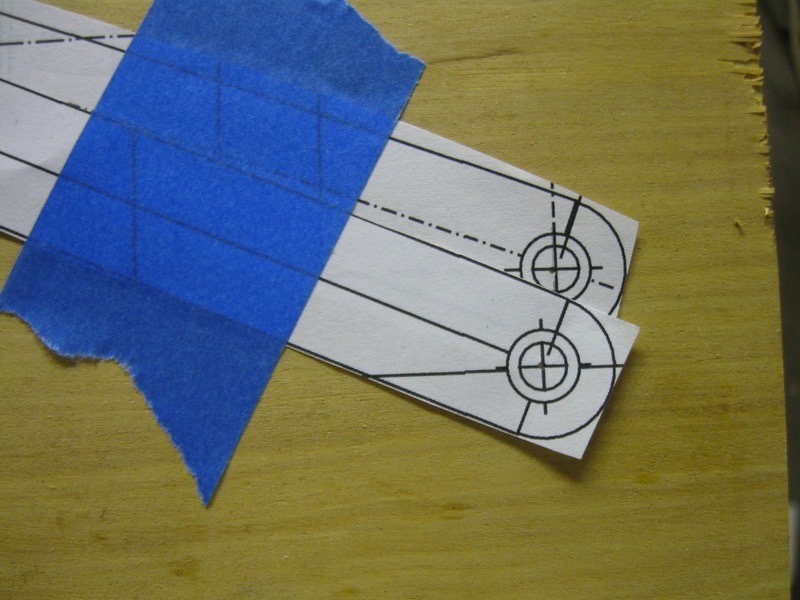
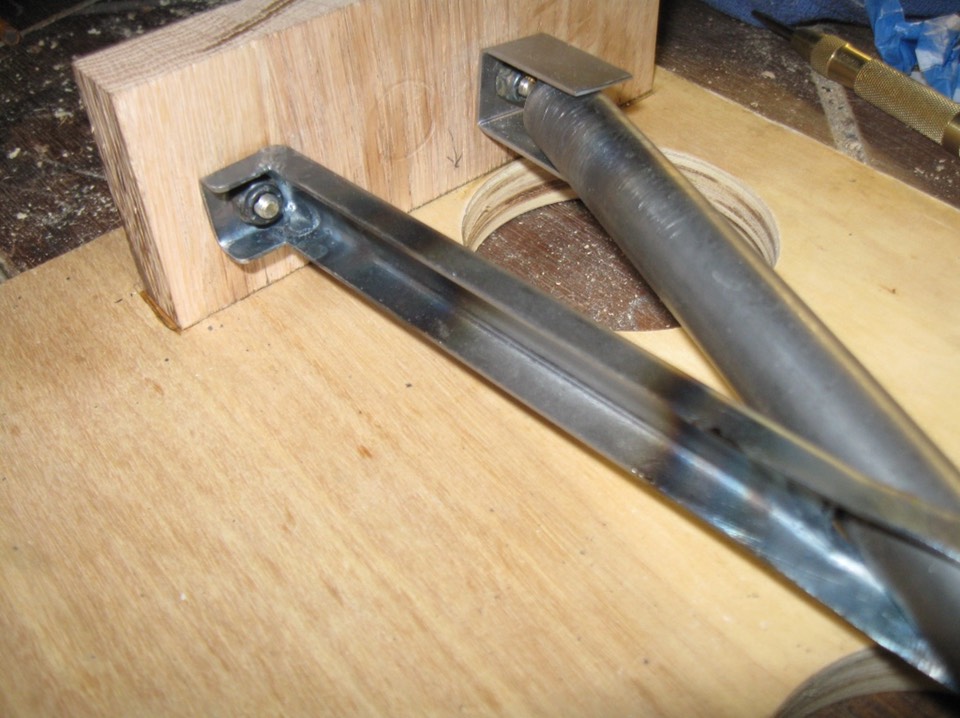
After bending the ends, weld at the proper angle, than drill hole to fabricate end that welds on to the hinge tube.
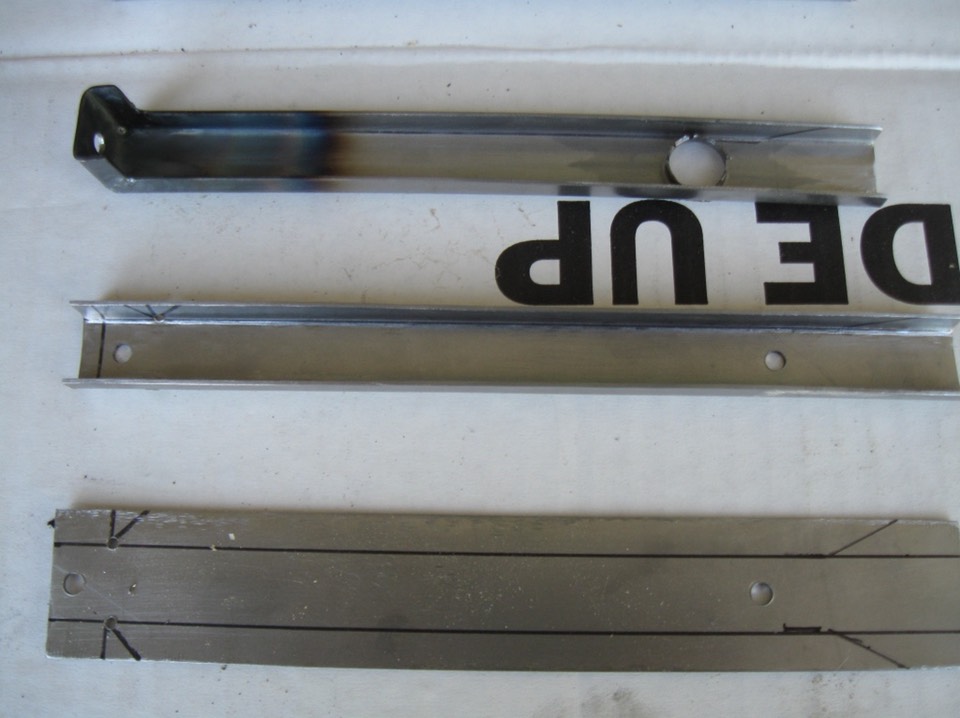
Three steps, side by side.
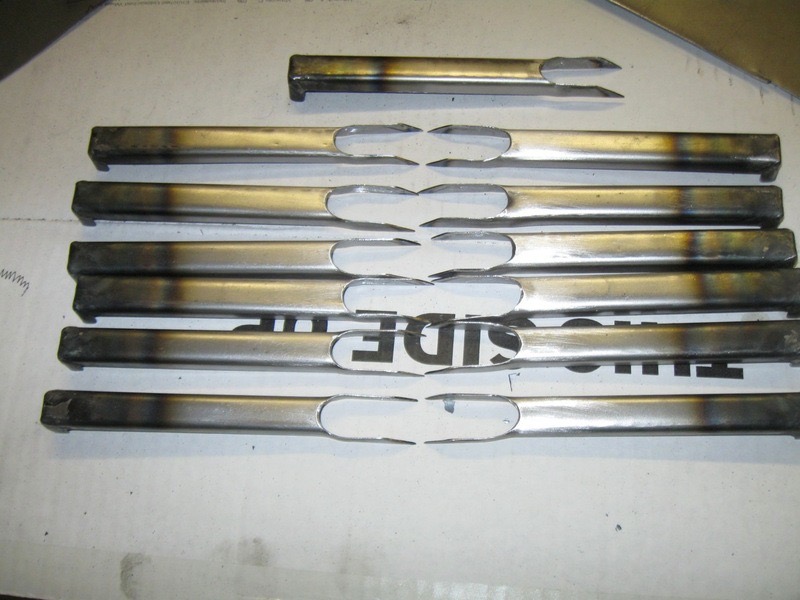
Next, fabricating, drilling, bending, and welding the channel.
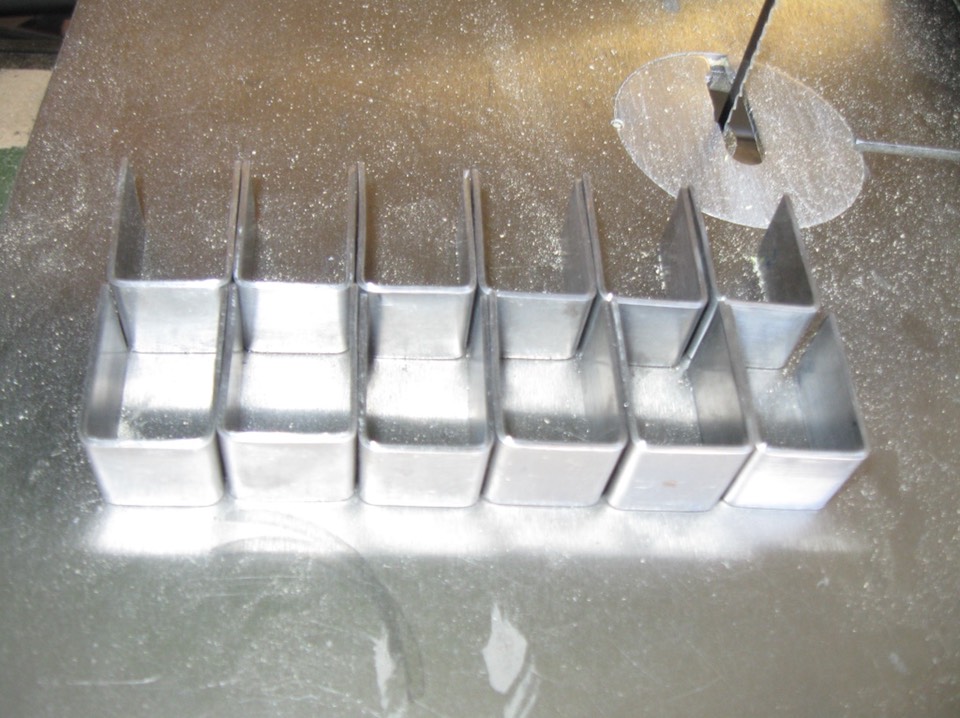
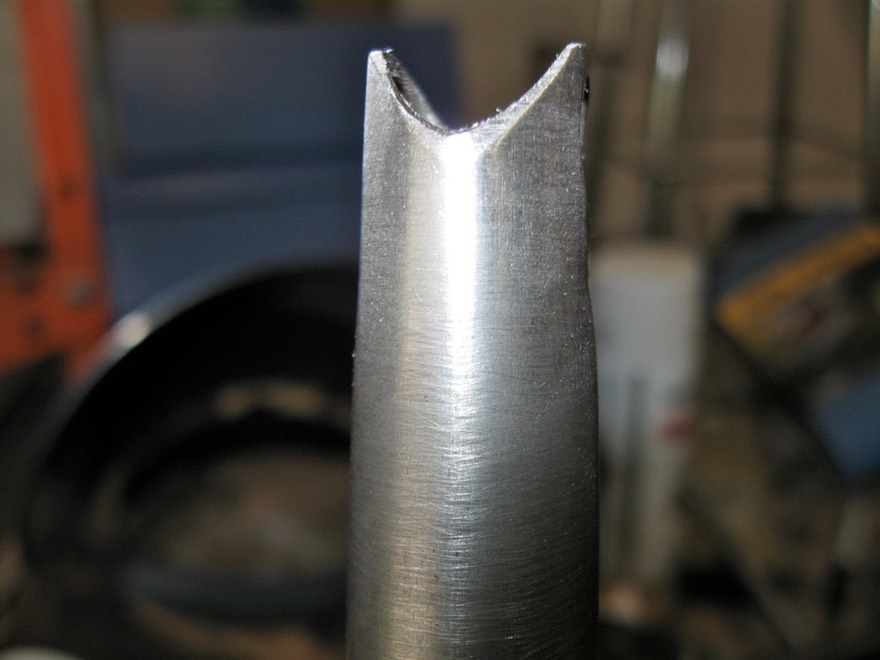
Cutting the notch to bend the channel.
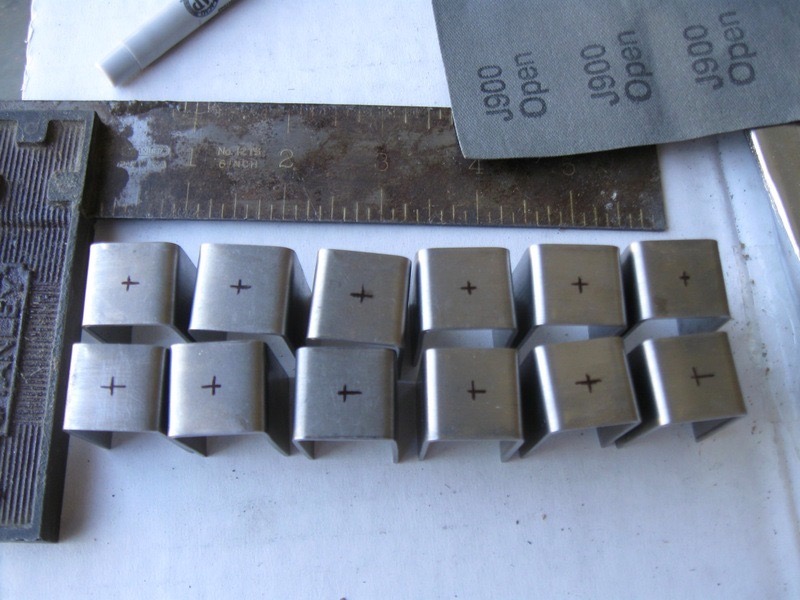
Above, the ends are welded at the required angle, more drilling.
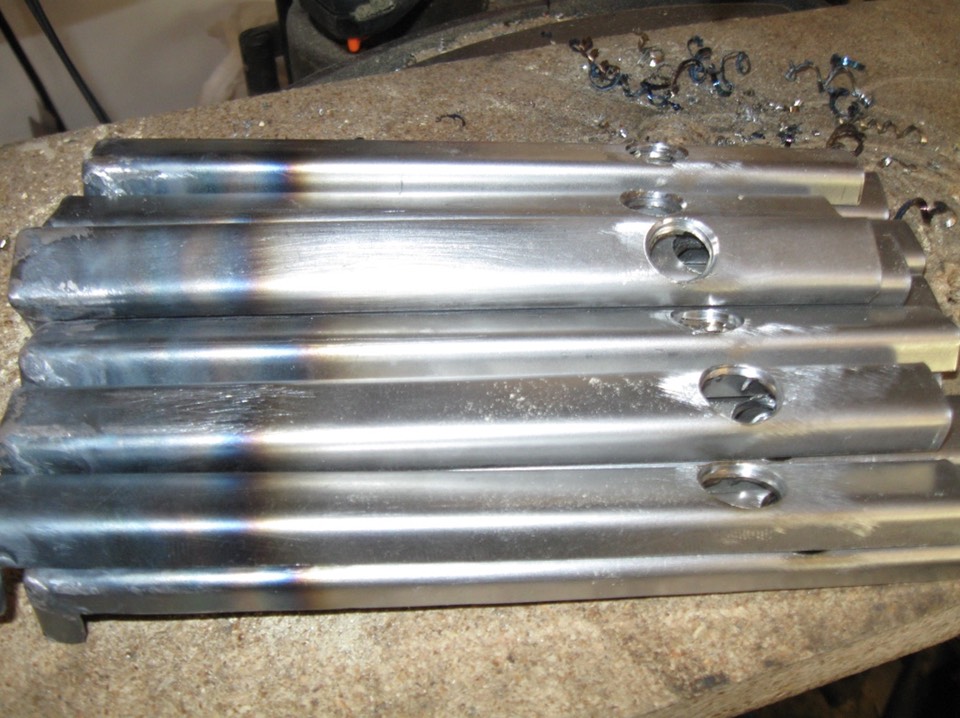
Final shaping to fit the 3/4″ tube. Very time consuming.
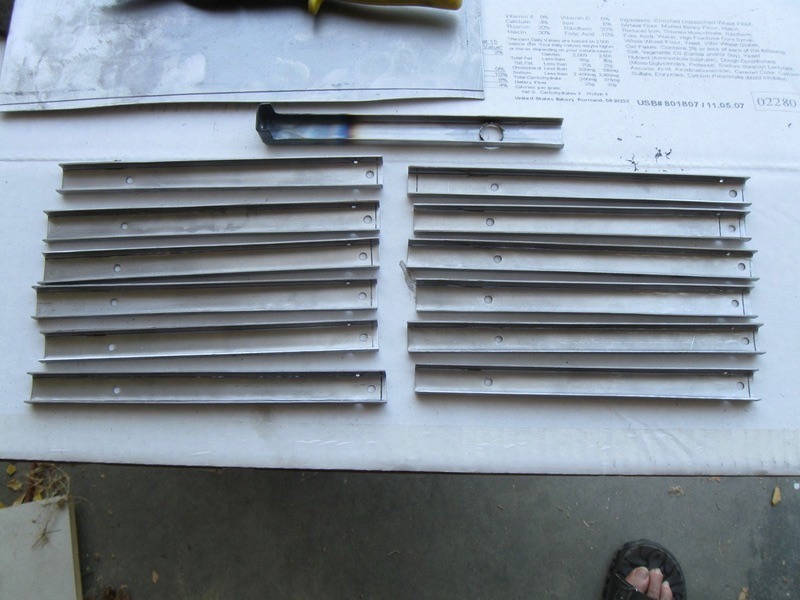
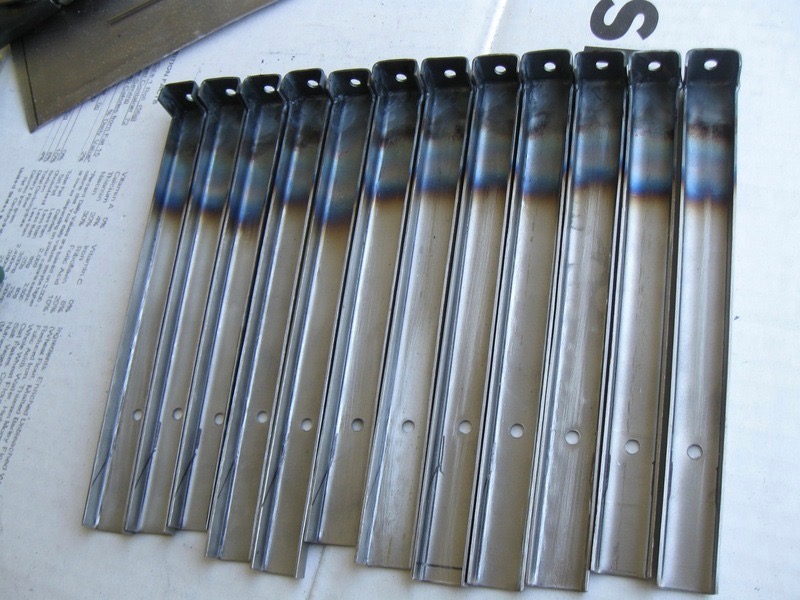
I made extra of everything, 12 or 13 of each. Next, the “U” bracket for the end of the 3/4″ tube.
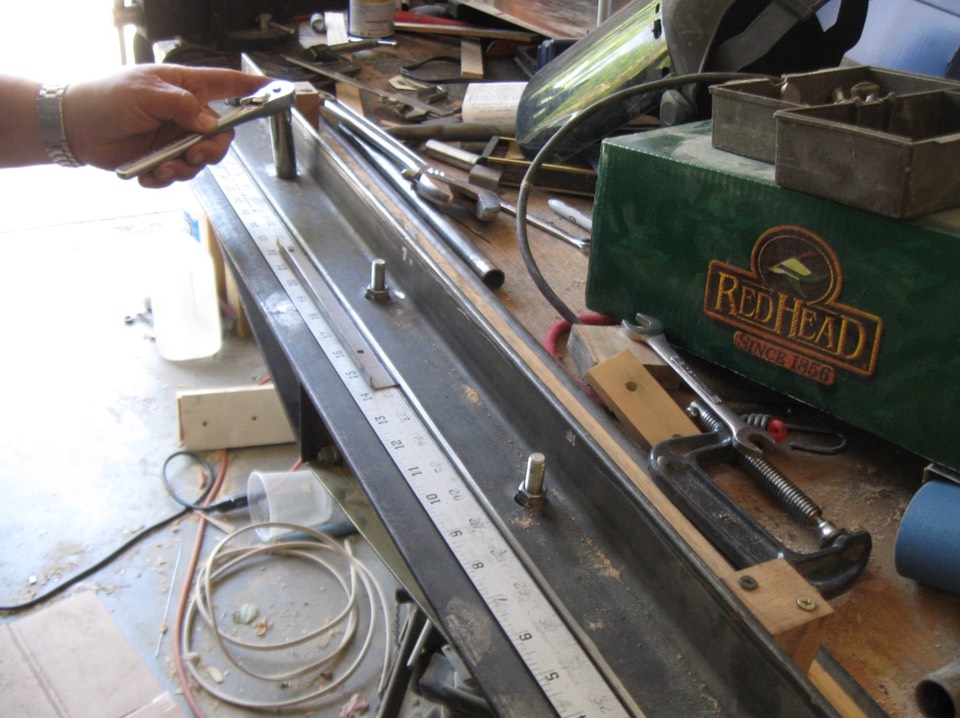
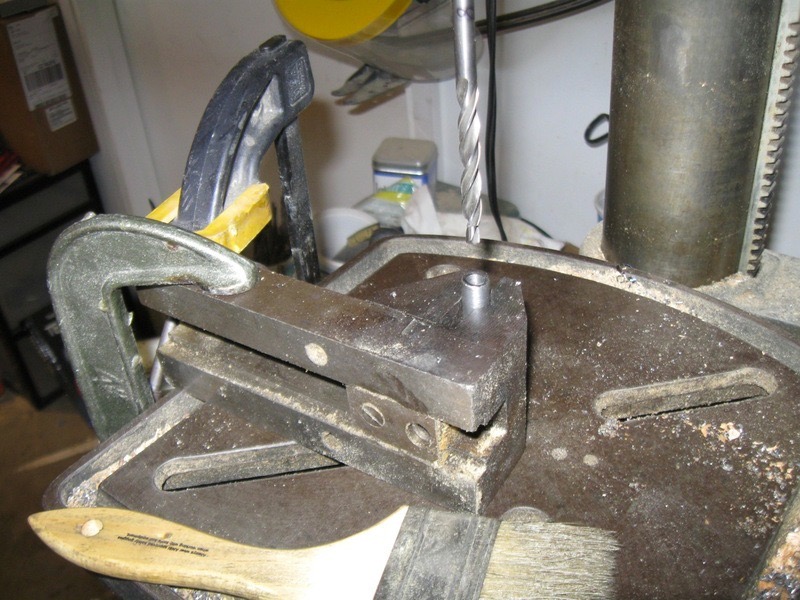
Using my bender to make the attach "U" bracket.
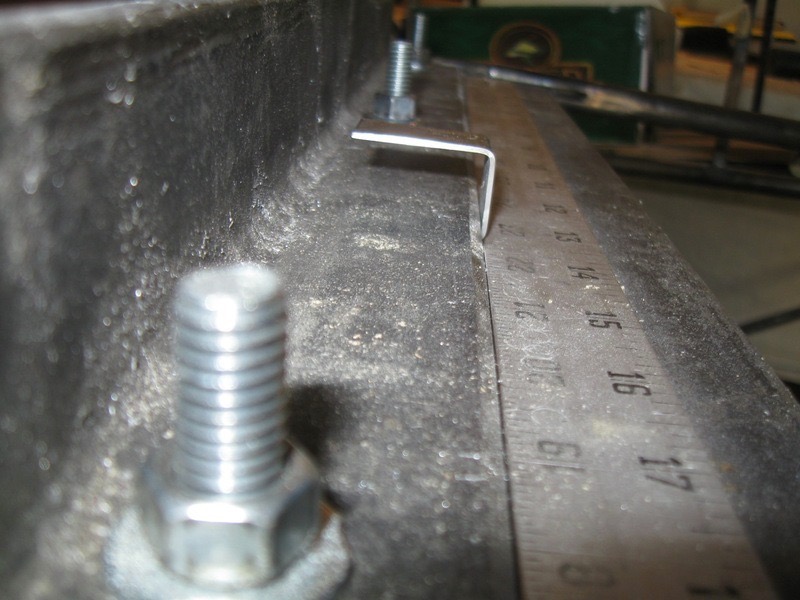
Ready to drill. I drilled the holes after bending by placing the pieces on the edge of a piece of 3/4″ wood.
Next, I made the square sheetmetal piece that will fit onto the false spar.
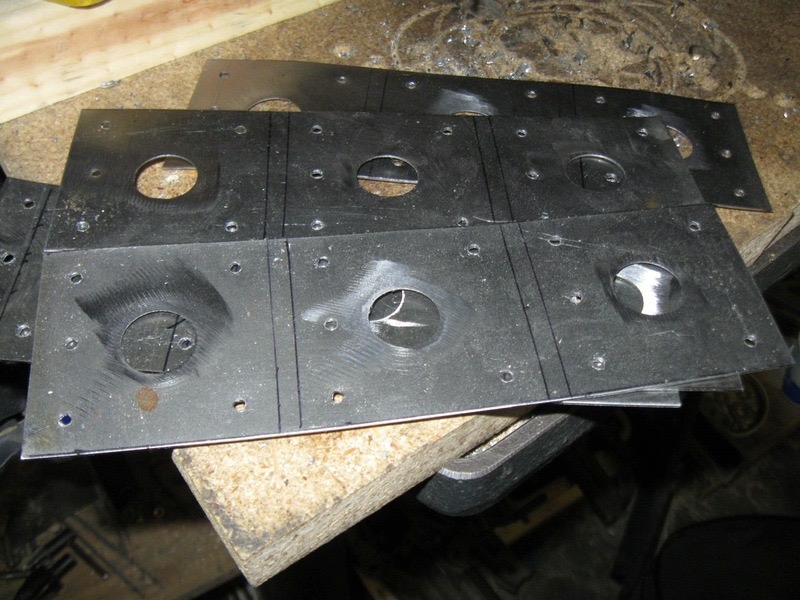
NextReady to cut , all holes drilled.
Next, the 3/4″ tubes were cut, drilled and fitted with the bushings. I pre-drilled the bushings to .246″ and latter drilled to .248 and then final reaming after welding to .250. This was done to keep everything in alignment and square.
Ready to weld with finger straps…..
Finger strap ready to weld.
Not sure if you can see but I squeezed the diameter of the tube after drilling so that when the bushing is welded in I could grind down to finished size of 3/4″ and still have the sholder of the bushing with a good weld for strength.
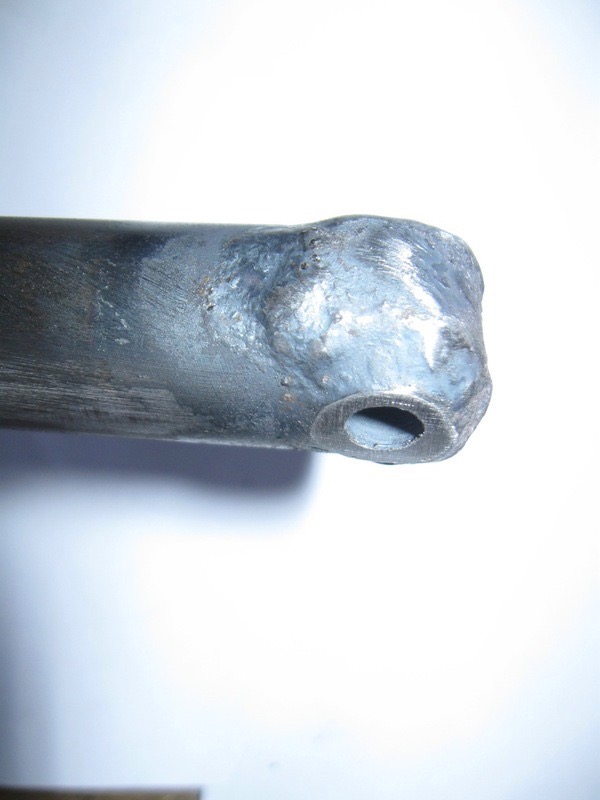
Welded and ground to width. Again, something not in the plans.
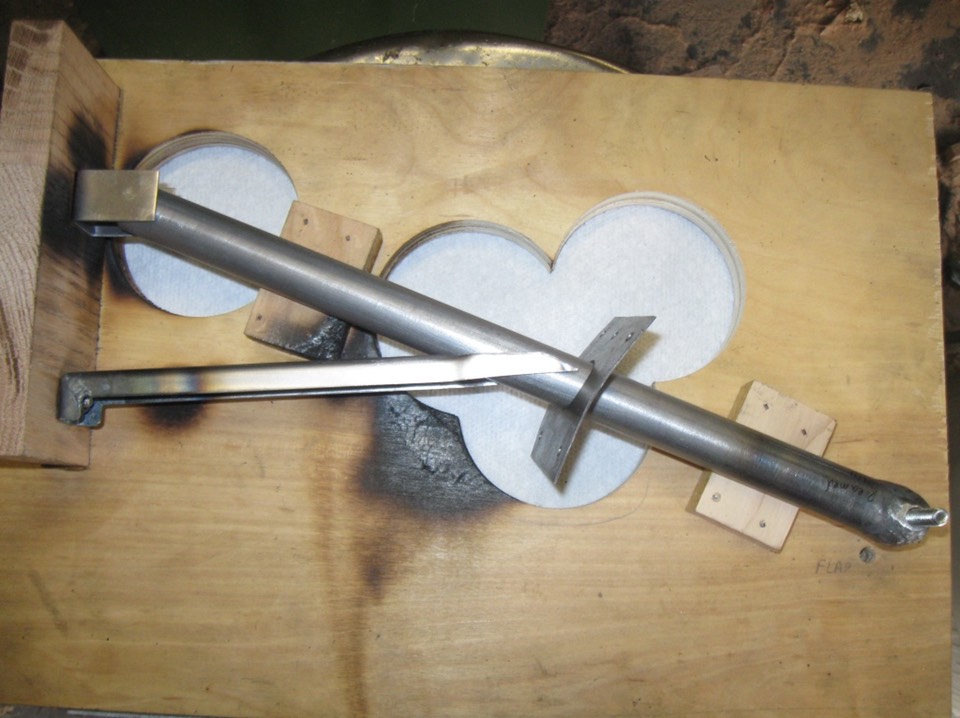
Above are all the parts, ready to weld. the plans were used to generate the jig. the two different patterns represent the flap vs the aileron hinges.
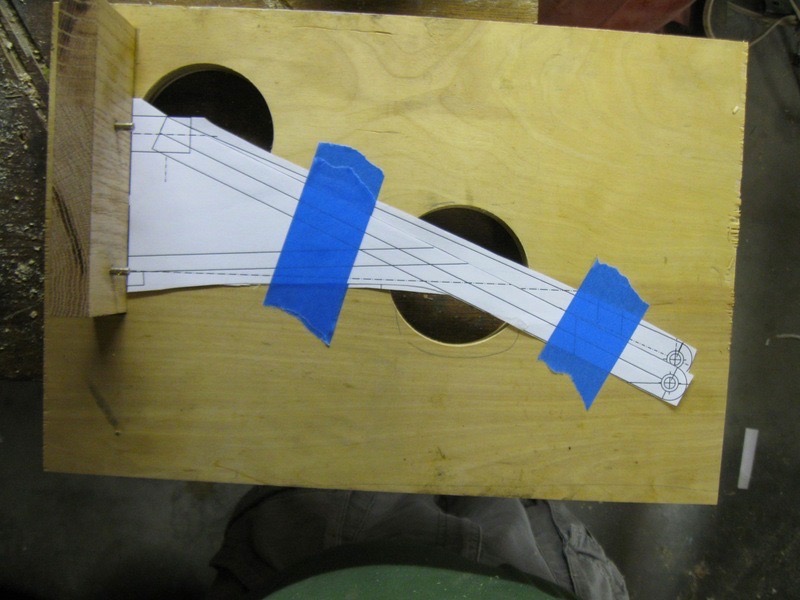
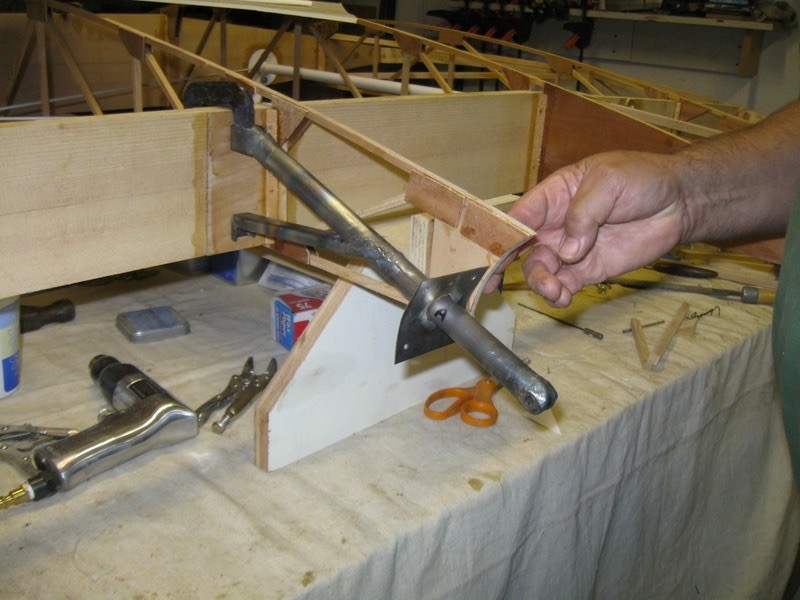
Next, I made a wood jig that would hold both the flap and aileron hangers in place for tack welding.
This pictures shows the CAD drawings of the two aileron and flap hanger and how they compare.
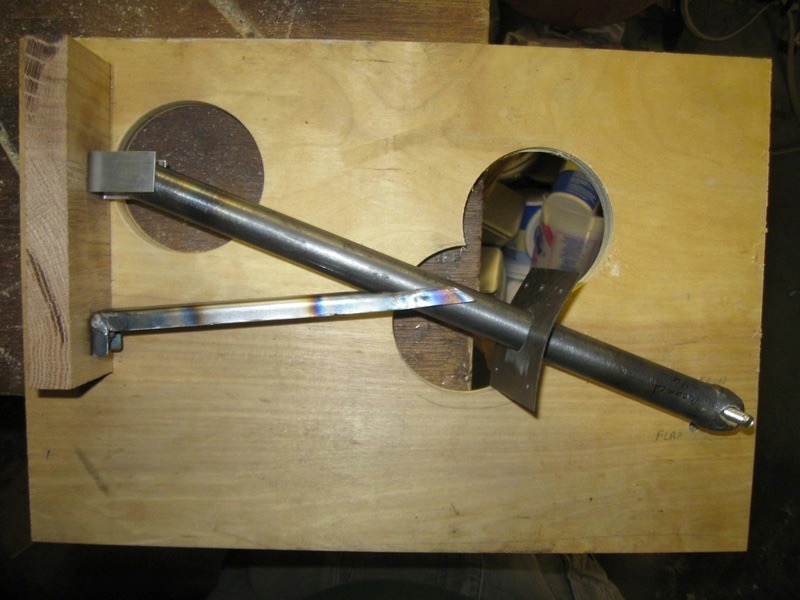
In the jig for welding.
More jig pictures
Another view of the jig.
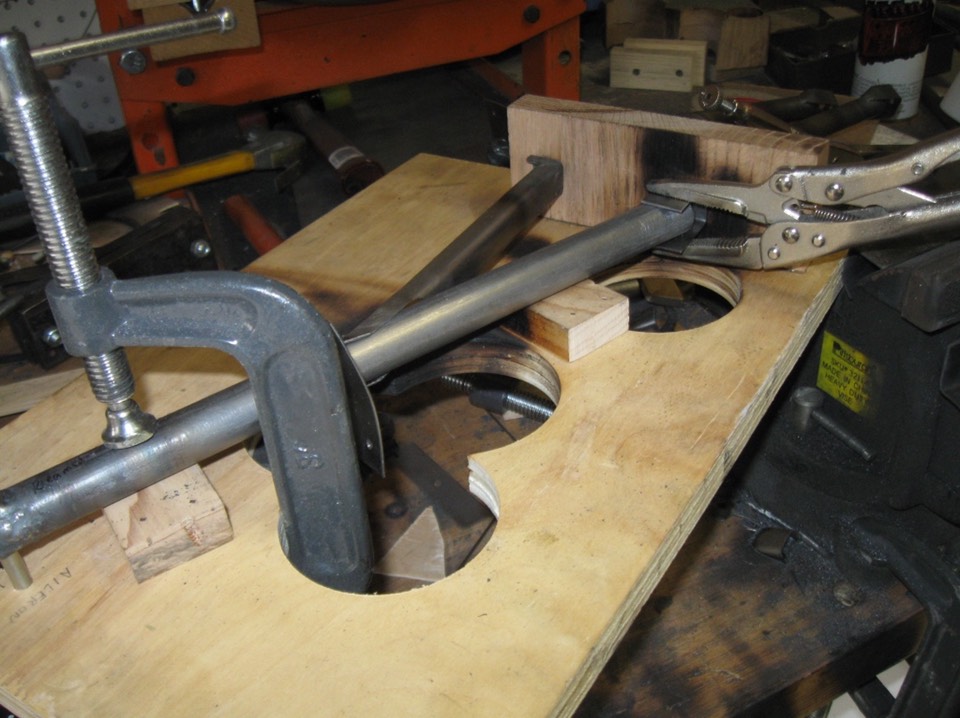
Clamped in the jig, ready to weld
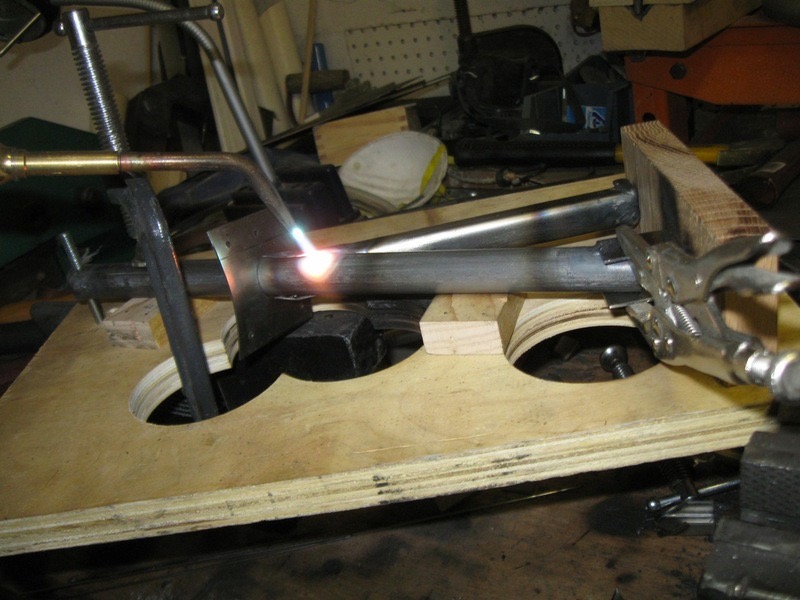
Some tack welding ……. careful not to burn up the jig.
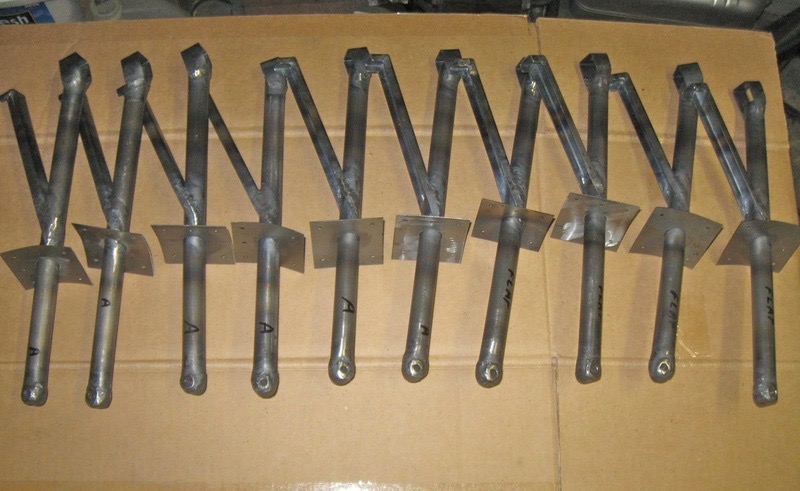
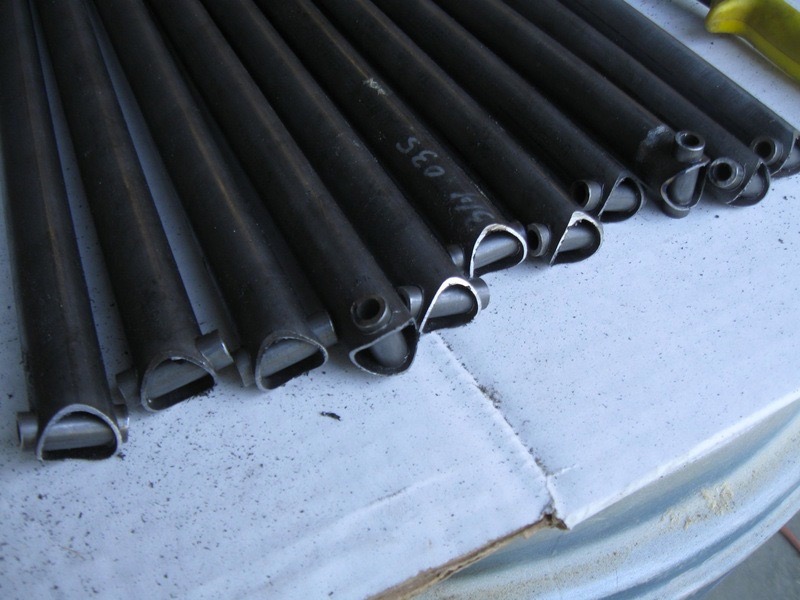
And lots of finished hangers!
Next step will be mounting on the rear spar and the wood for leading edge and false spar. I hope these steps will go much faster.