

I’ll continue updating all the work done over the past year or so. Rather than one big post, I’ve broken it up. At the bottom of this page, there are links to the other parts of today's update.
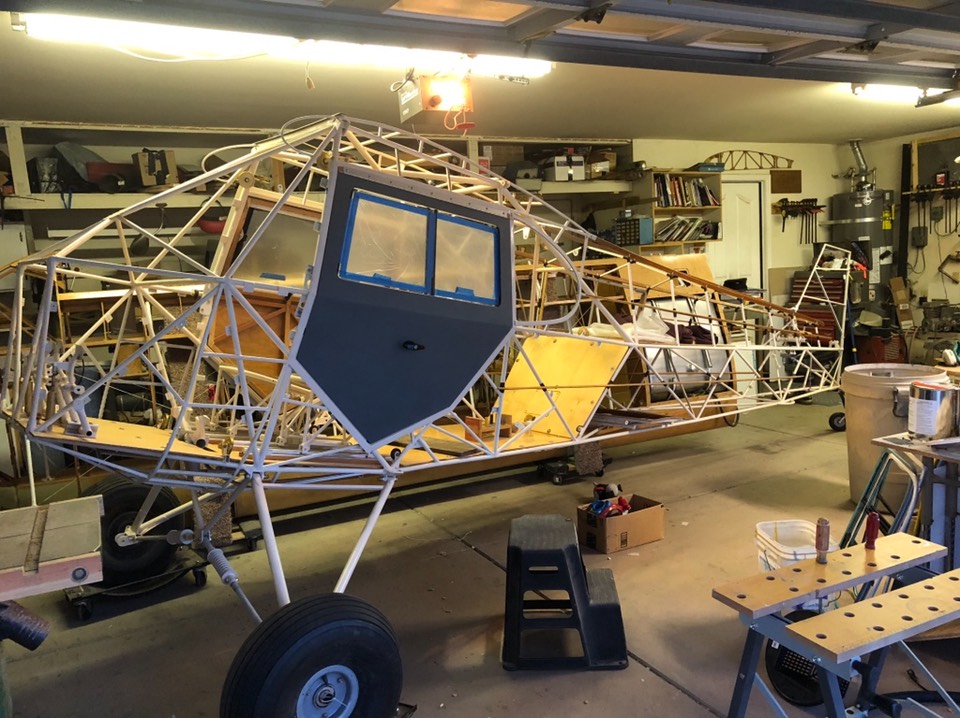
Here’s how things sit in the shop. Lets see what was next after post #6 on January 14th.
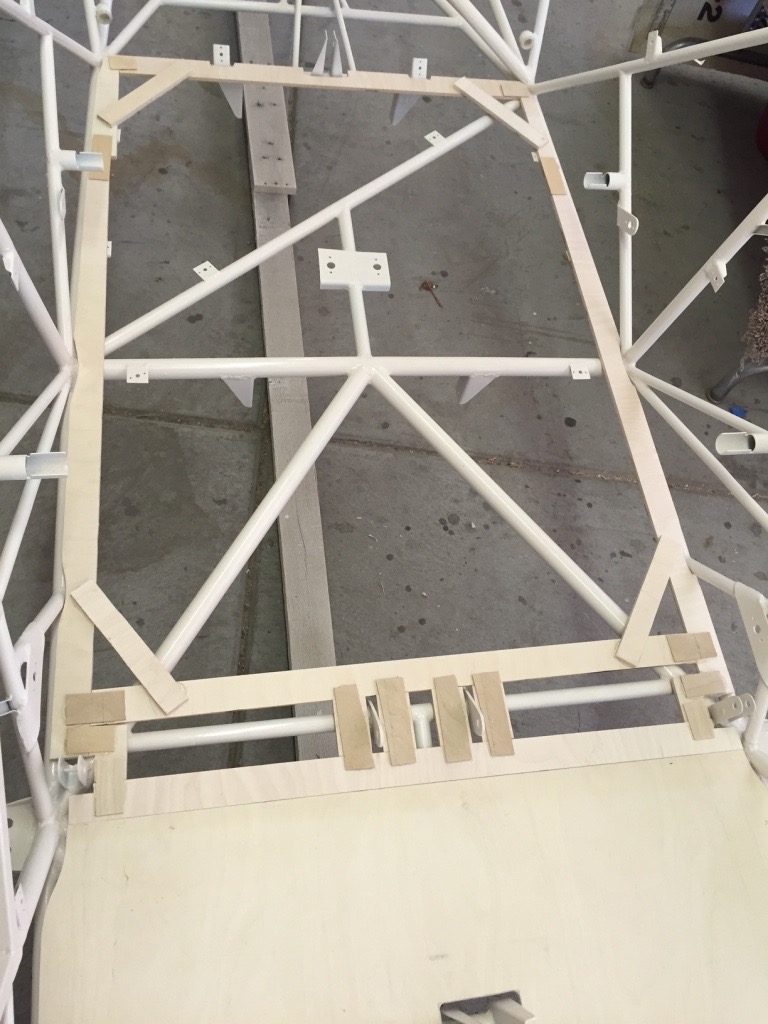
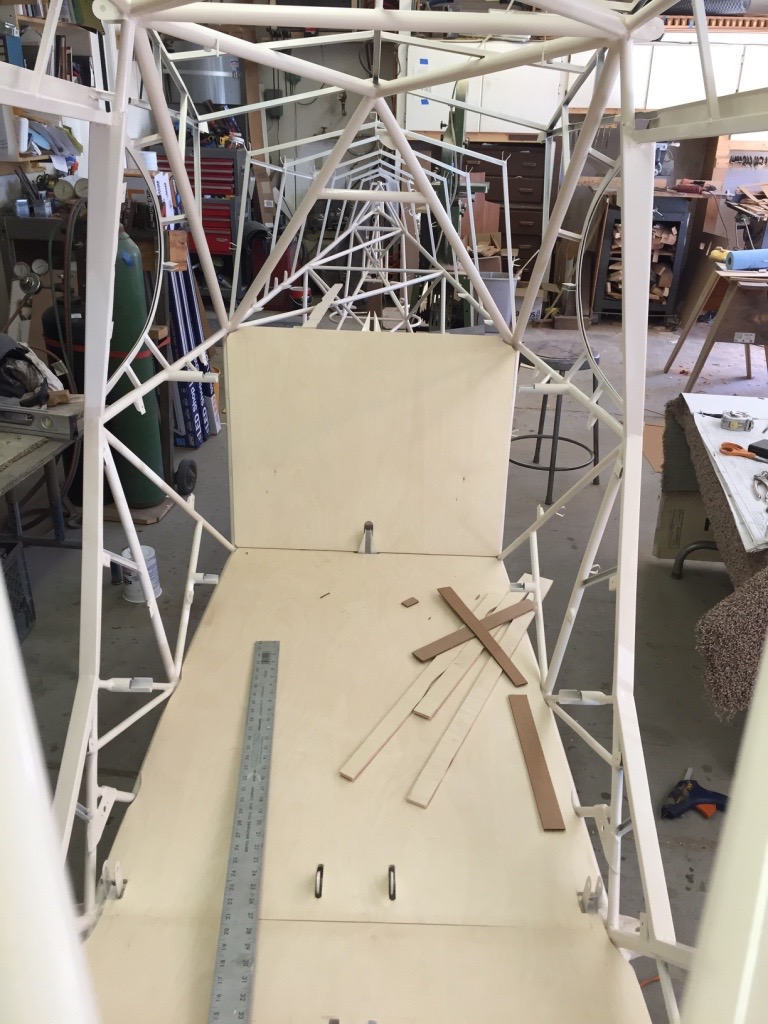
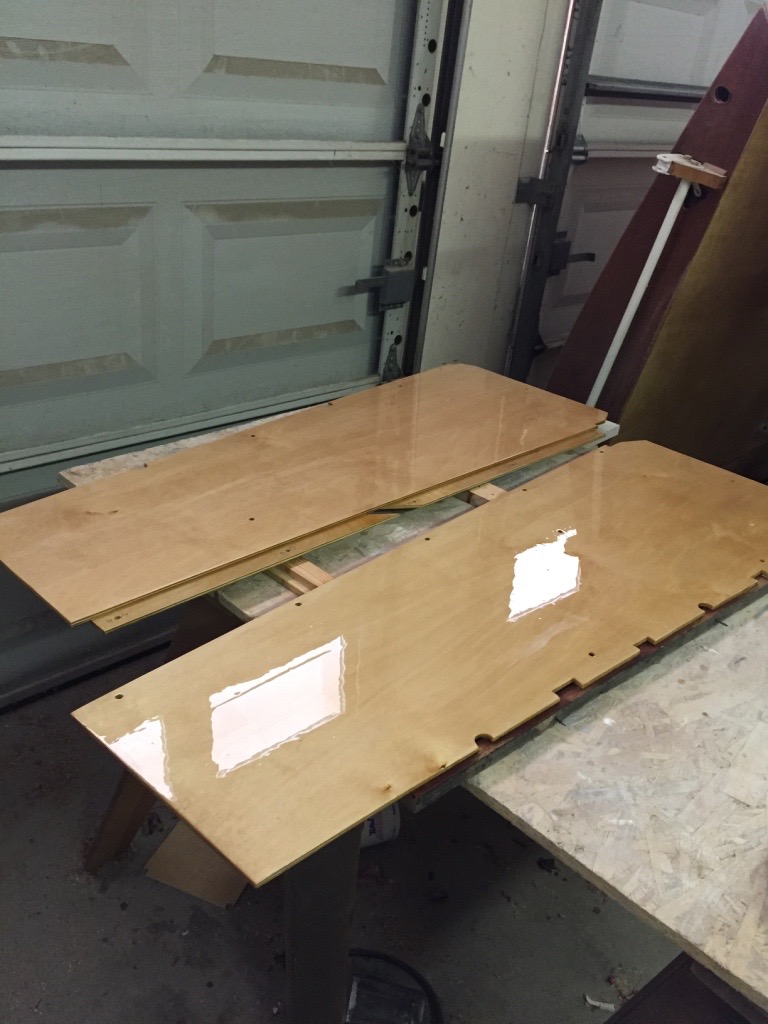
The next missing steps completed were the floorboards and assembly of the fuselage. Lets start with the floorboards. After struggling to make a pattern from poster board, I remembered the process used to make patterns for our granite counter tops. They used strips of luan plywood hot glued around the perimeter of the counter. Each piece was hot glued to the next piece making a perfect pattern, regardless of any angles that were out of square. The picture below shows the first floor board made the traditional way followed by the method using the strips of luan. So much easier! The floor material is 1/4” Baltic Birch.
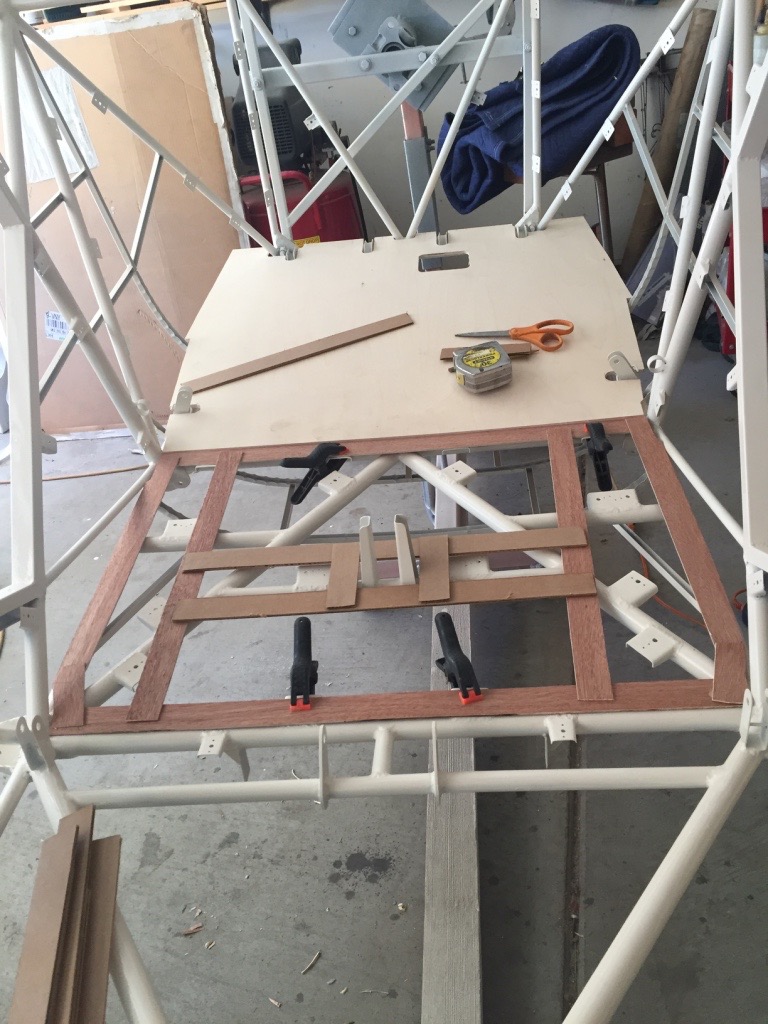
The pattern is simply removed from the floor, traced onto wood, cut on a band saw and test fitted. It’s actually a very easy and quick process to make a floorboard. Very easy.
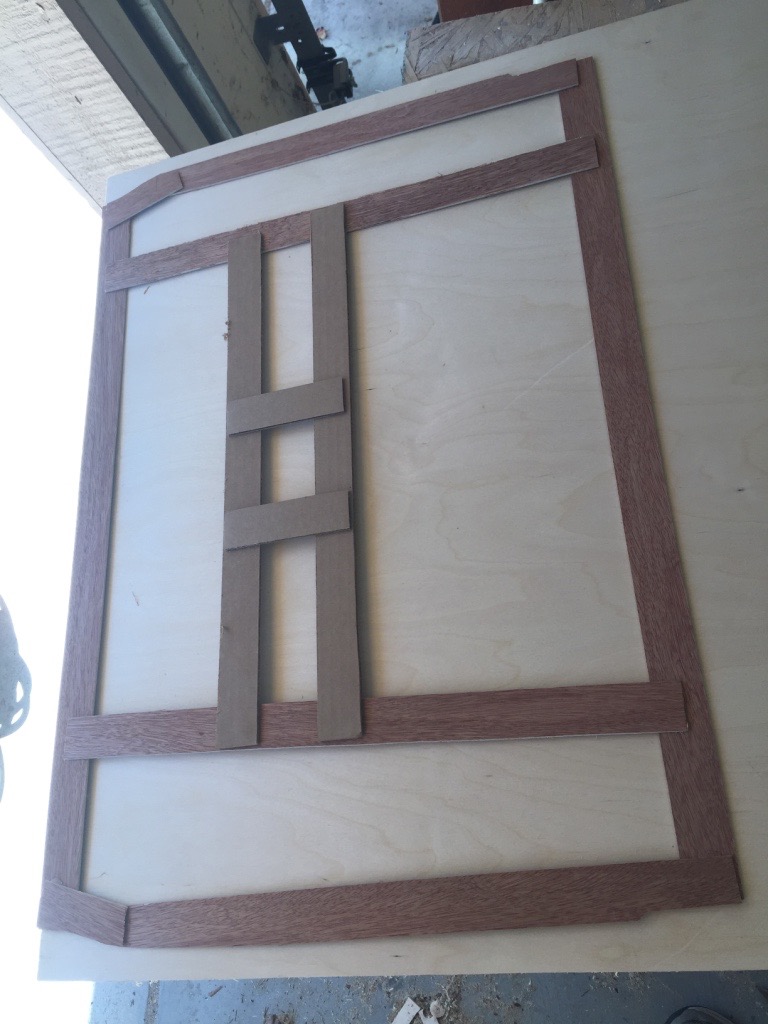
This process was repeated for all the floor board sections. On some of the larger pieces, I used strips of 2”x 1/4” ply wood to form the pattern; a little stronger than 1/8” Luan ply.
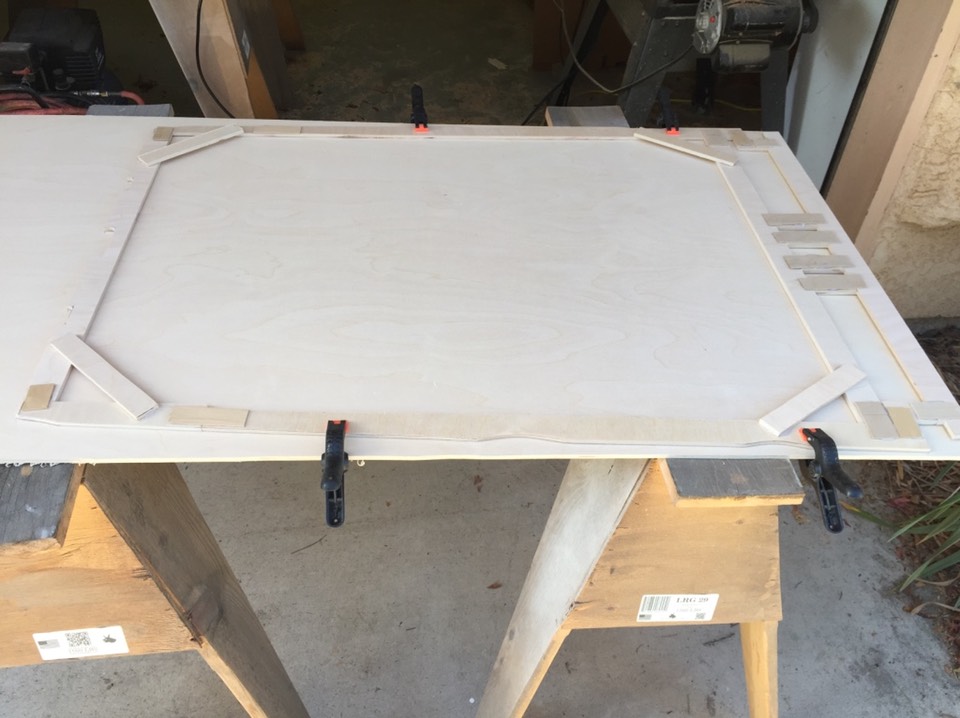
Make pattern, trace, cut ply, sand, fit, ……. repeat till finished. Easy and a relatively quick process.
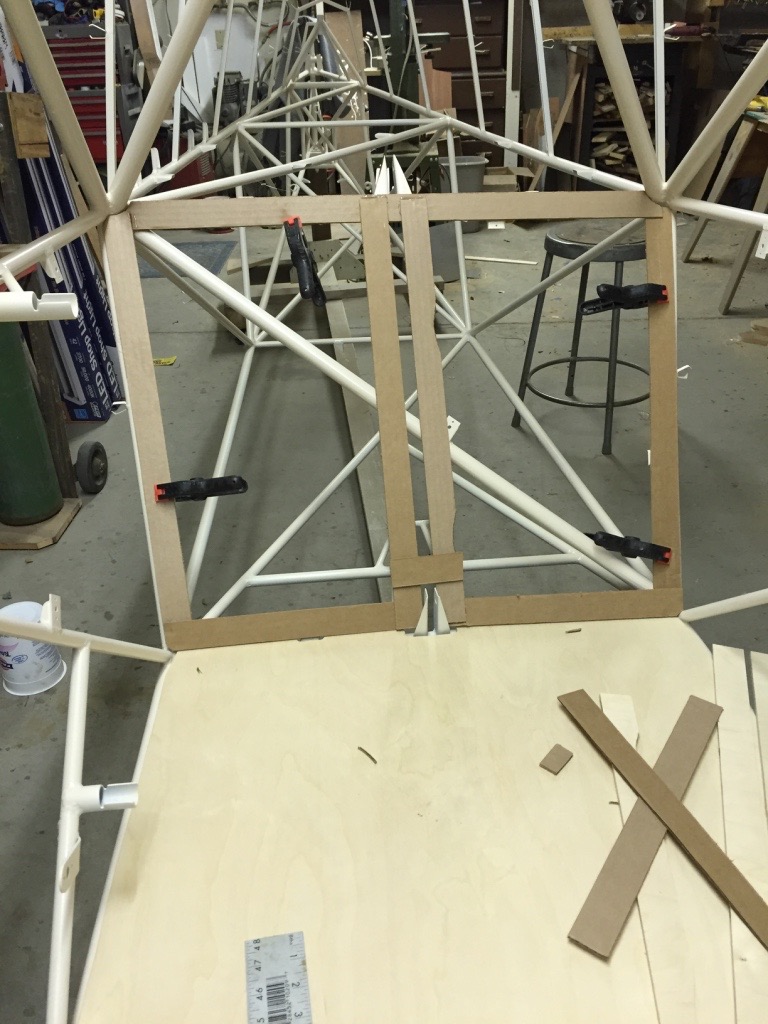
I ran out of cut plywood strips so I resorted to card board cut in pieces and hot glued together; same basic idea.

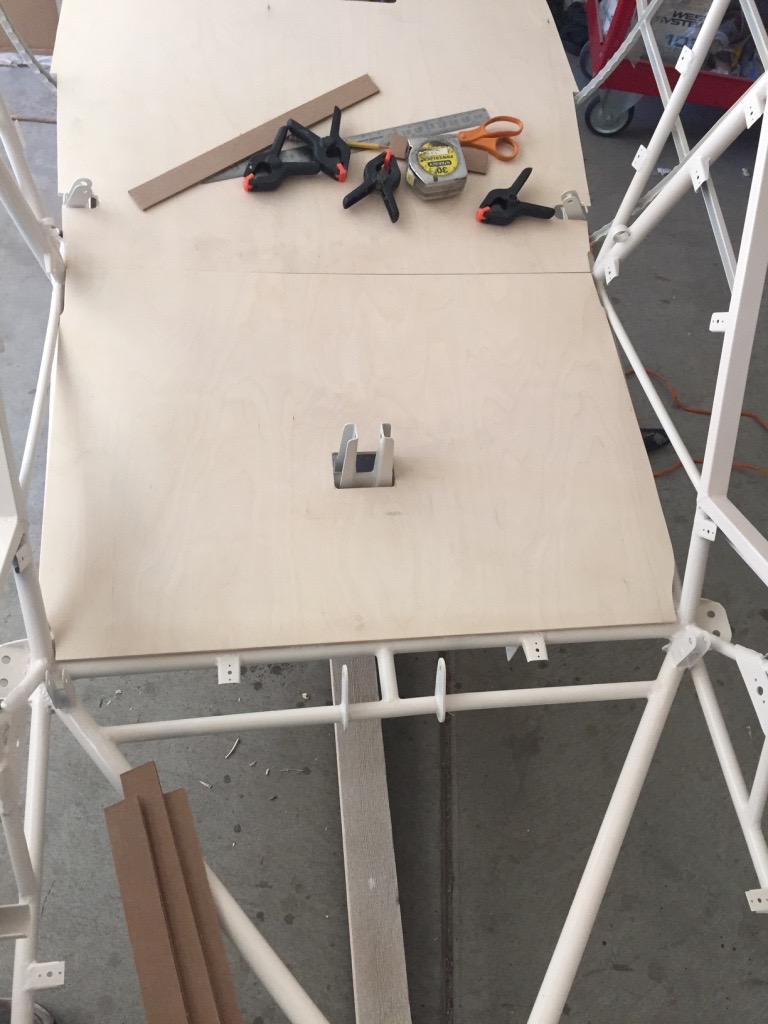
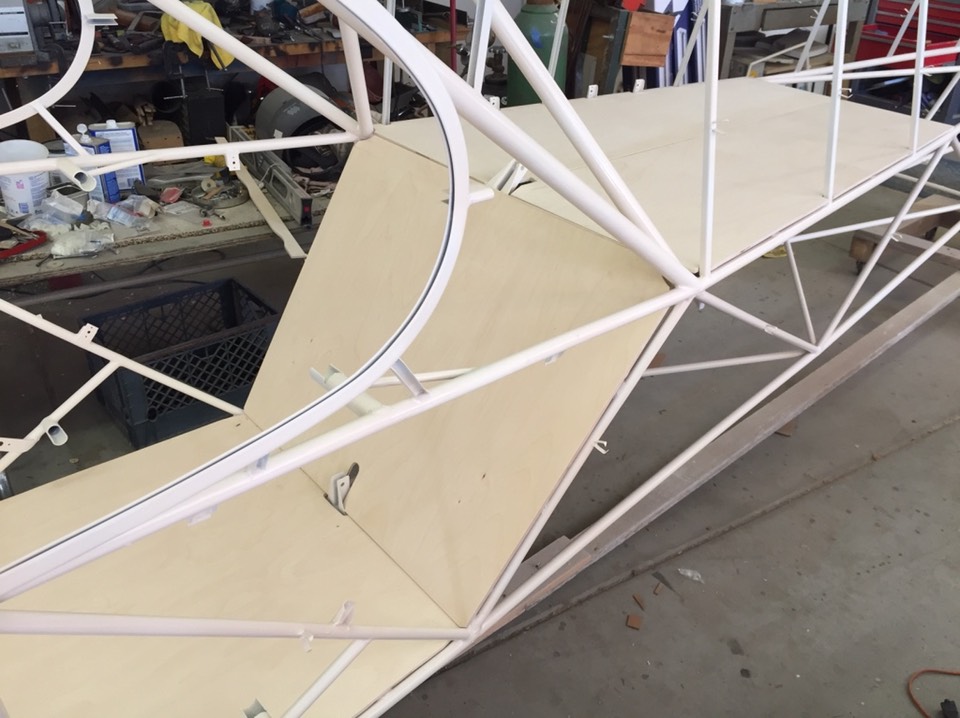
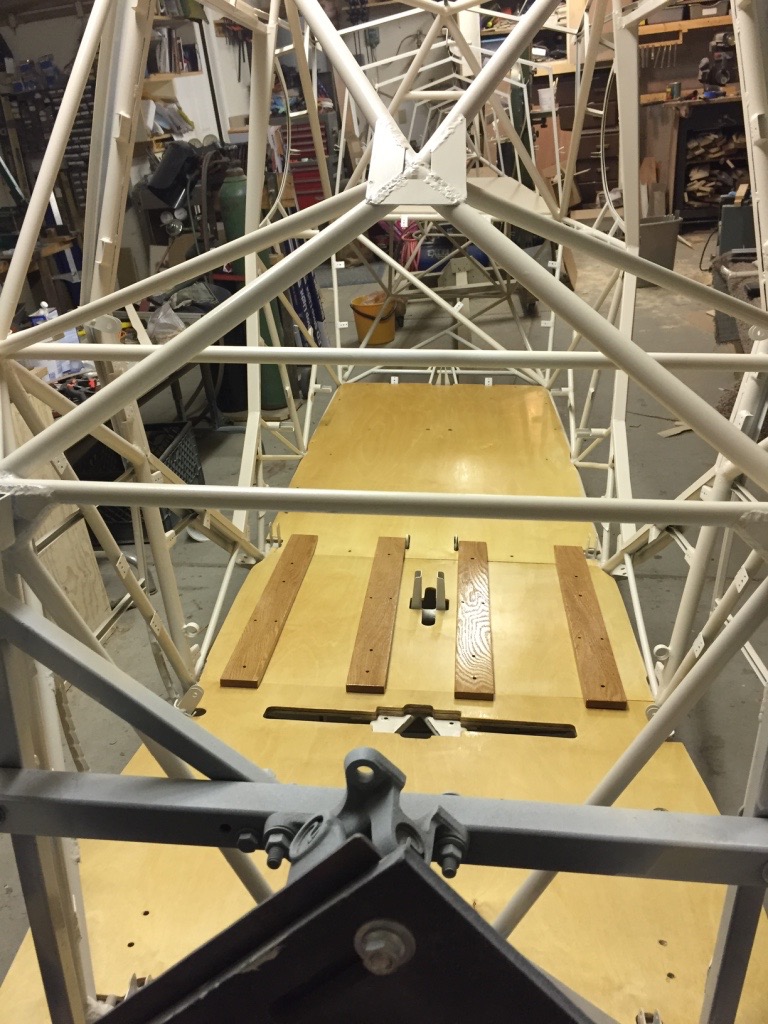
This piece had to be made in two pieces that will be joined down the middle after assembly in fuselage. No way to get it in if made in one piece. There will be a reinforcement strip under the seam. This is in the upper baggage area and will be limited to about a 25-50 lbs. load limit.
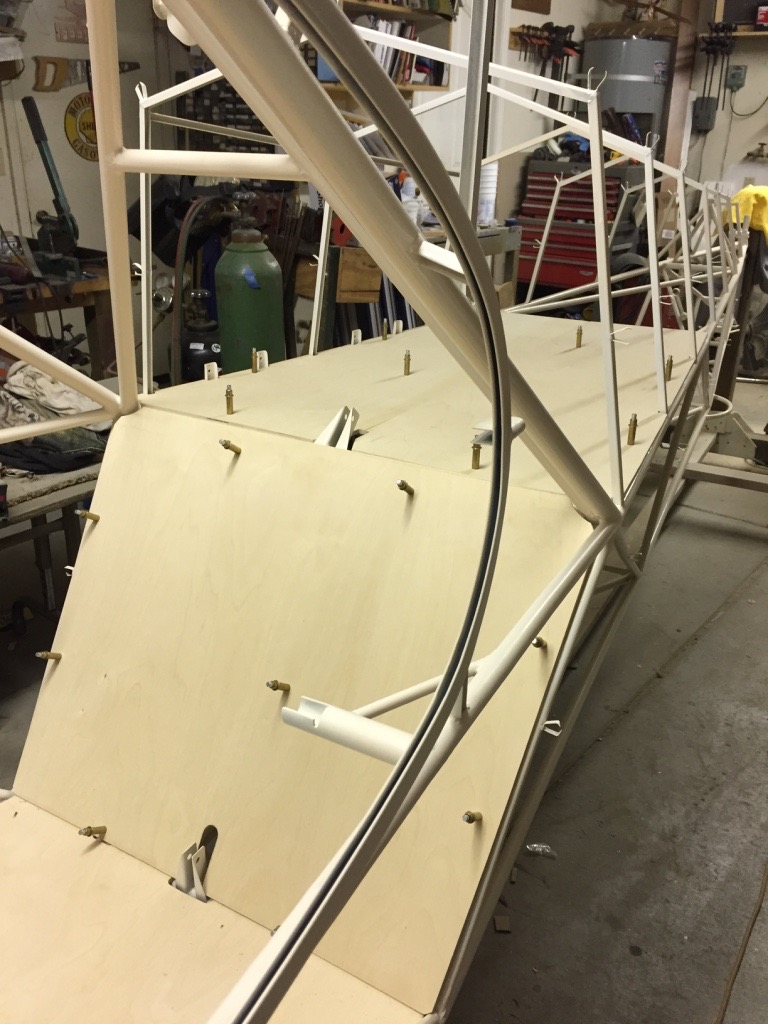
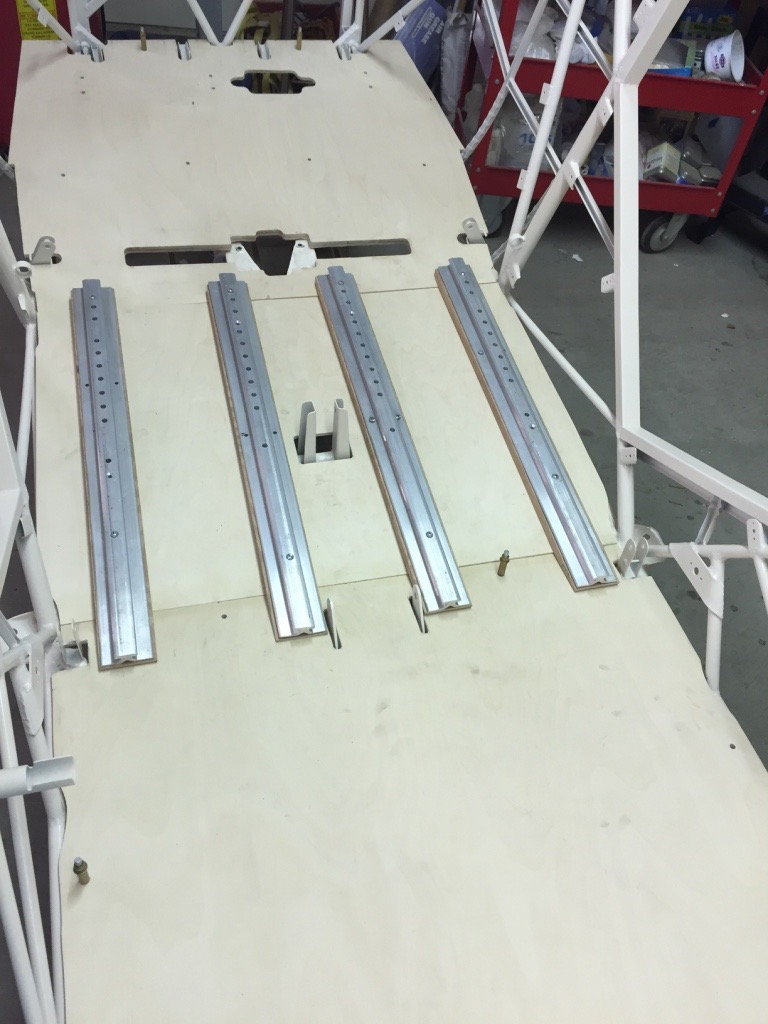
Before applying finish, all floorboards were drilled and Clecoed in place. The floorboard over the seat track tabs needed to be shimmed underneath to ensure that the tracks would be flat and not cause binding of the seat tracks.
The next pictures show all the shims needed to make the floorboards flat. Each shim was specifically cut to thickness for each tab. Not as difficult as it may look. Each piece was glued with T-88 epoxy before finishing.

Wood supports are used under the seat tracks to raise them up a bit; allowing the seats to move back past the angle change. For a woodworker like myself, these steps were easy and pretty fast.
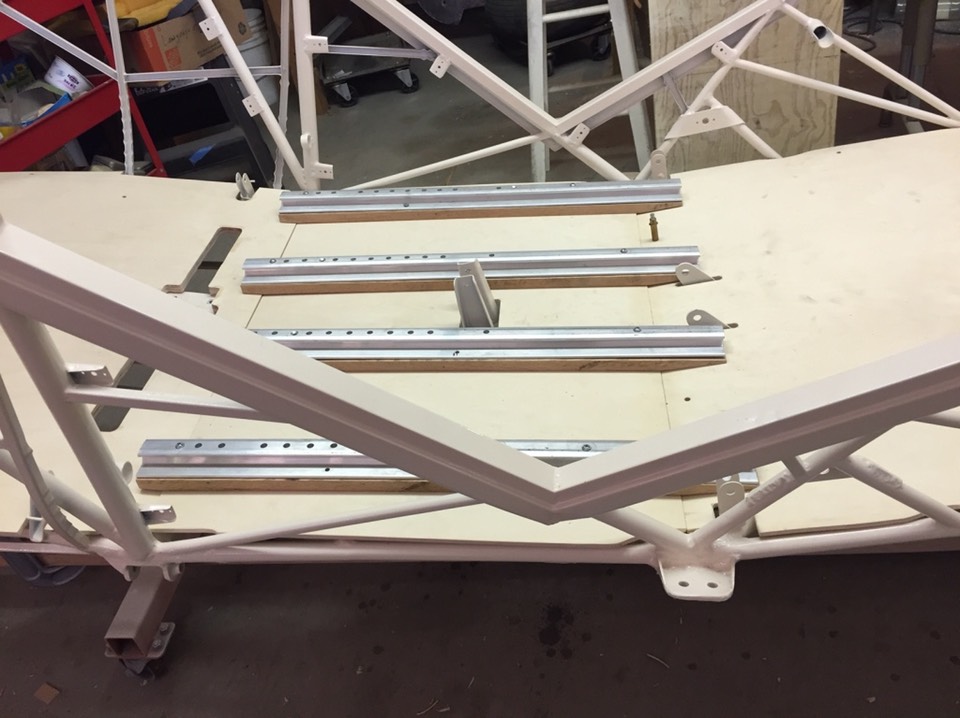
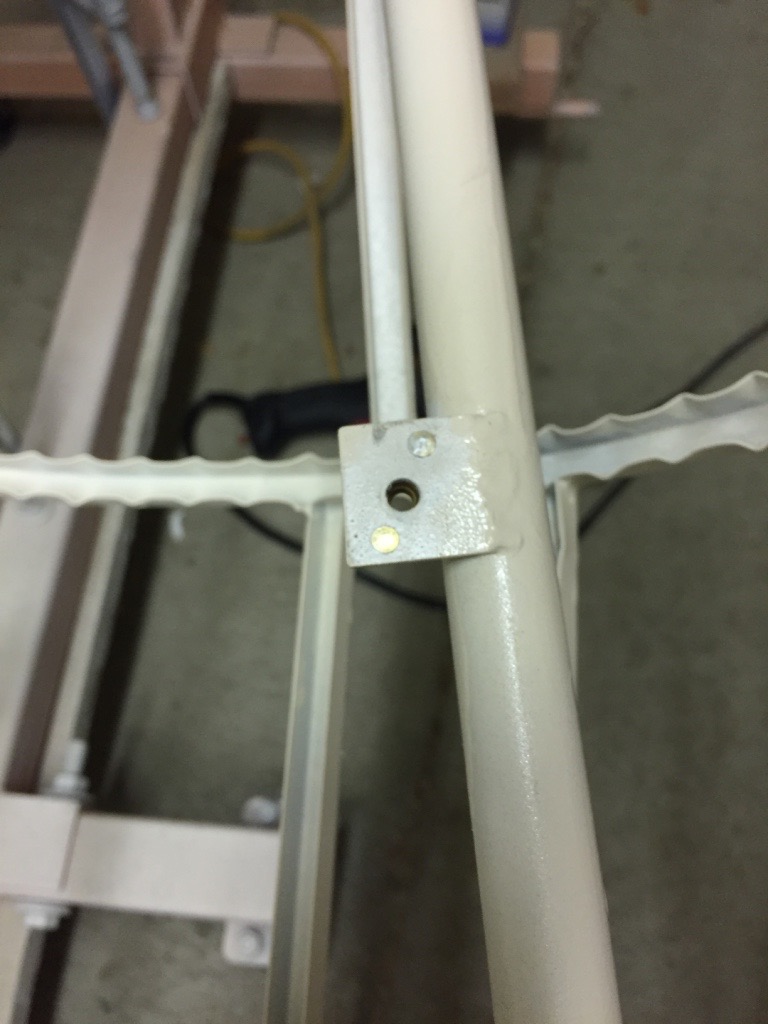
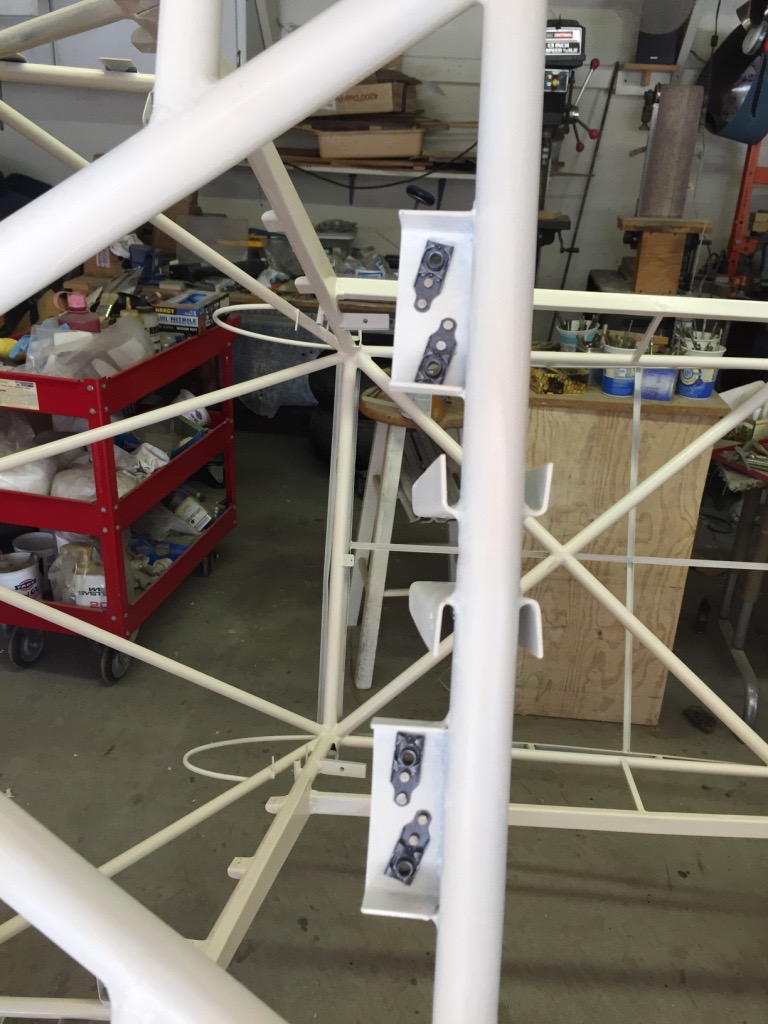
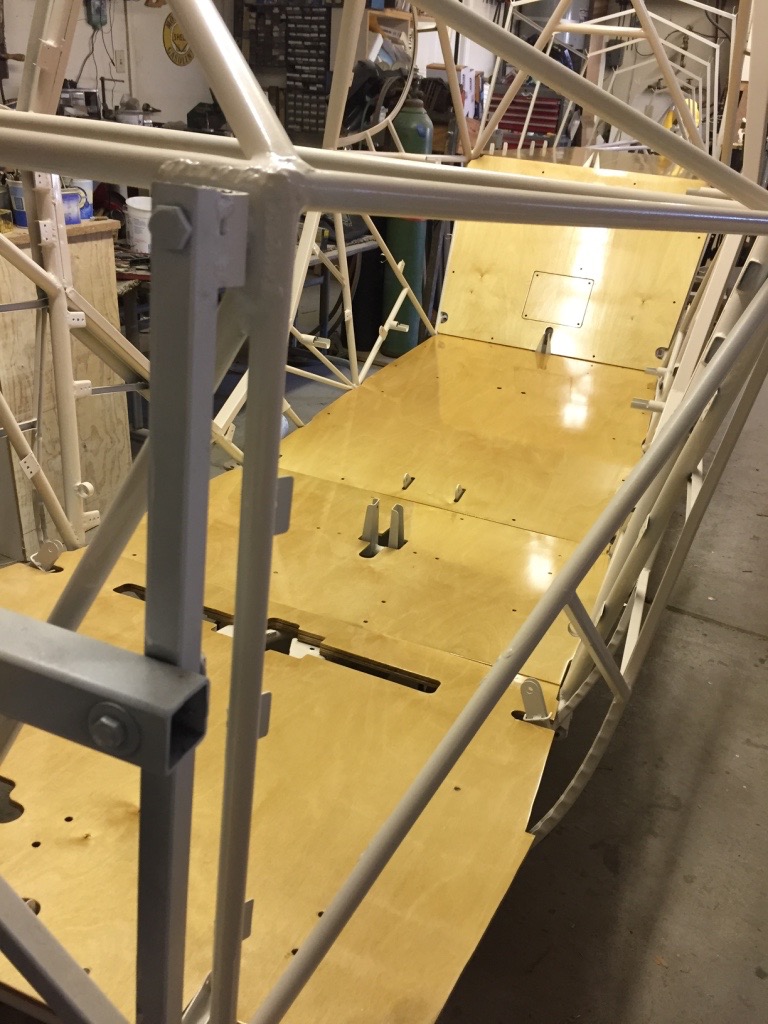
All tabs have nut plates riveted in place. Each hole in the plywood was match drilled to the tab.
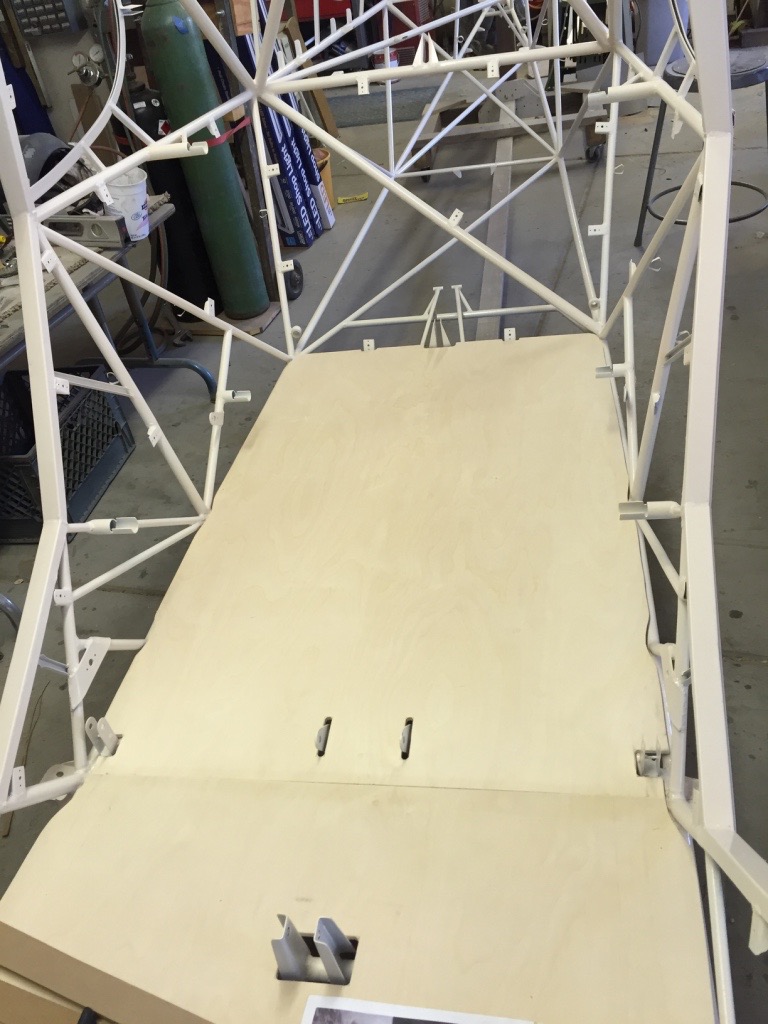
Next, all pieces of floorboard were sanded and finished with three coats of spar varnish. Lots of sanding but a nice finish. The below picture shows the brace between the two pieces of the upper baggage area.
In the next shot, you can see the inspection panel I made to get to the elevator bell crank.
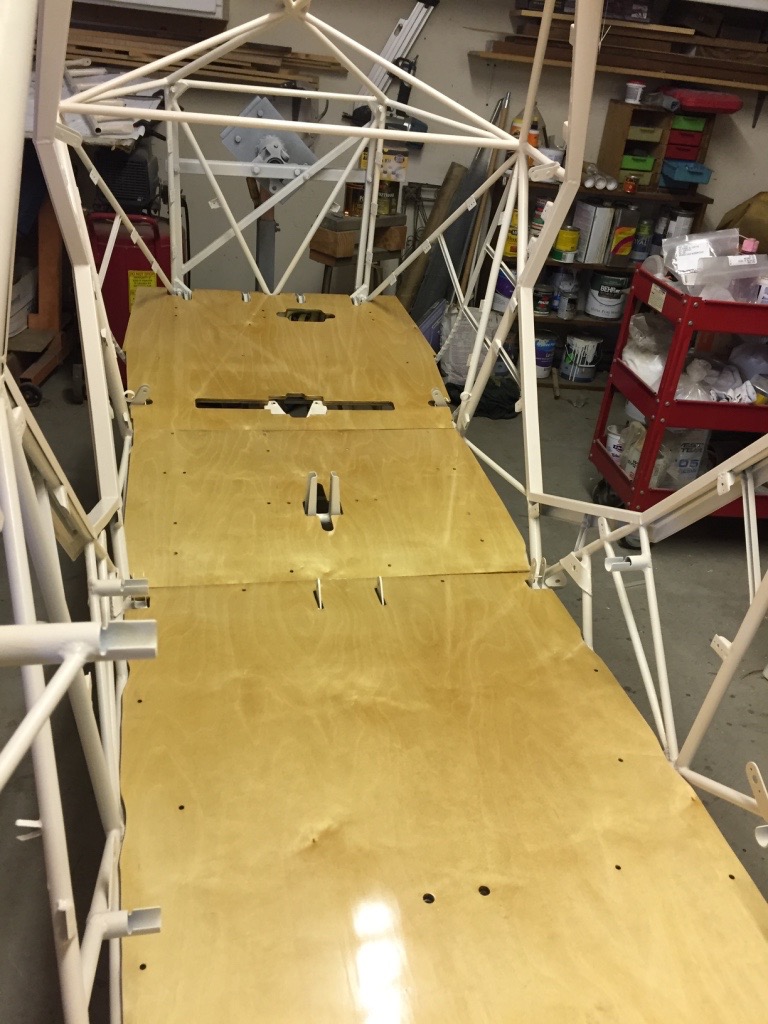
Next step is to install the rudder pedals, control sticks, and bolt all the floor boards in place. This represented the first finished pieces that would not have to be removed any more! Final assembly at last.