

Wow …… almost two years since my last post. I’ll try to bring things up to date in a way that makes sense without too much unnecessary detail. At the bottom of this post are links to other pages I’ve just posted to help get things caught up.
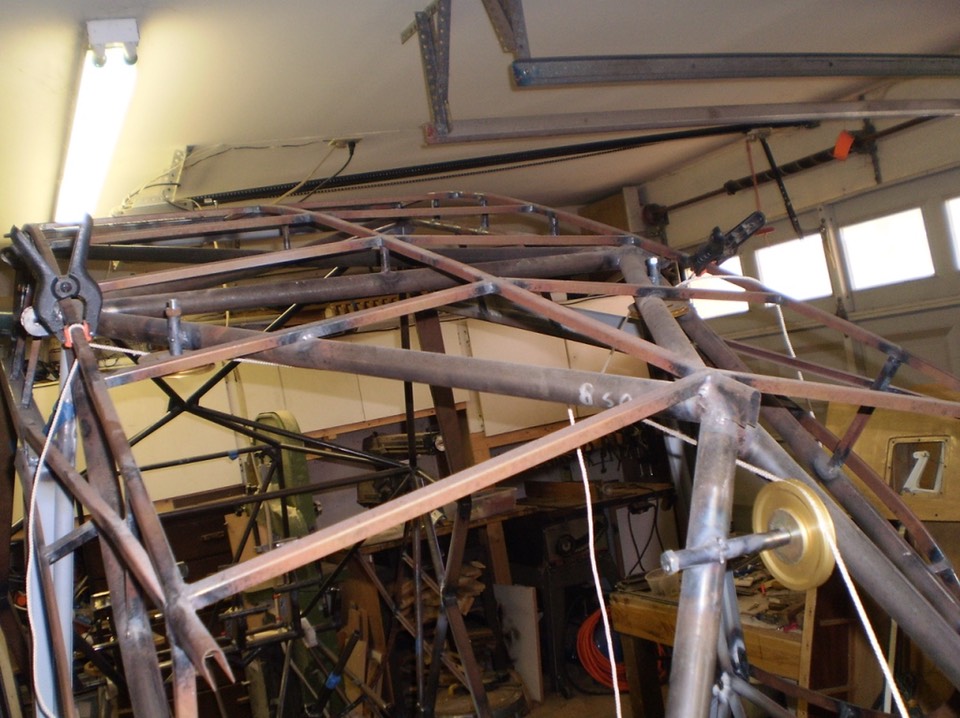
Lets start with some current pictures. In the past two years, I have sandblasted the fuselage, primed and top coated the tubes. I’m using Stewart Systems for all my painting. I’m currently working with Stewart Systems, teaching seminars here in my shop and also at the major airshows around the country. This all started last July when I had the opportunity to work all week co-teaching the covering workshops at Airventure. So, a current picture:
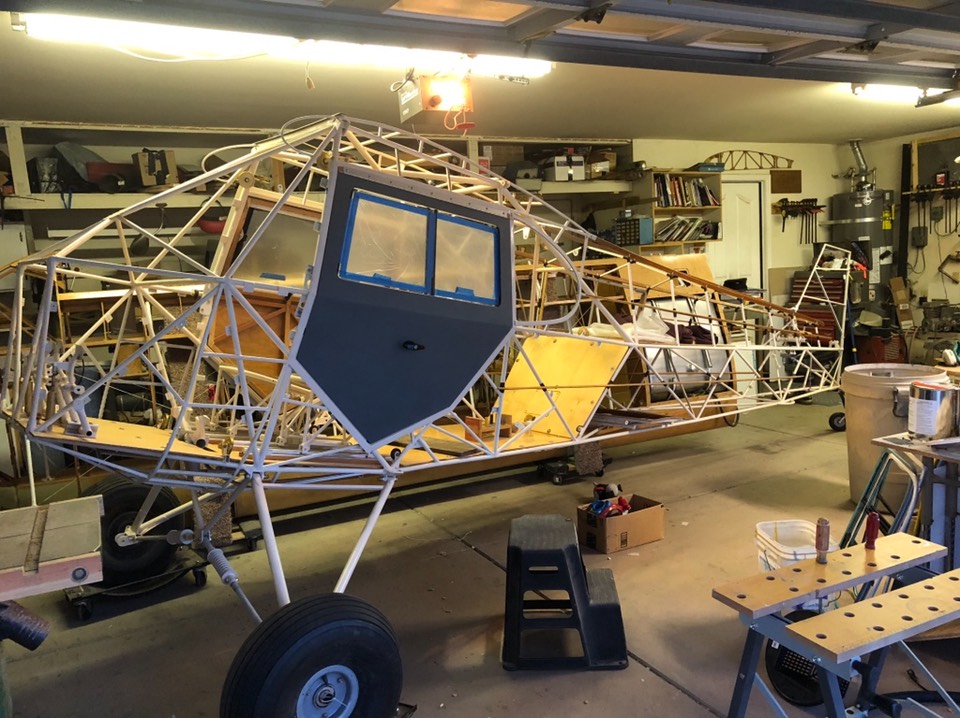
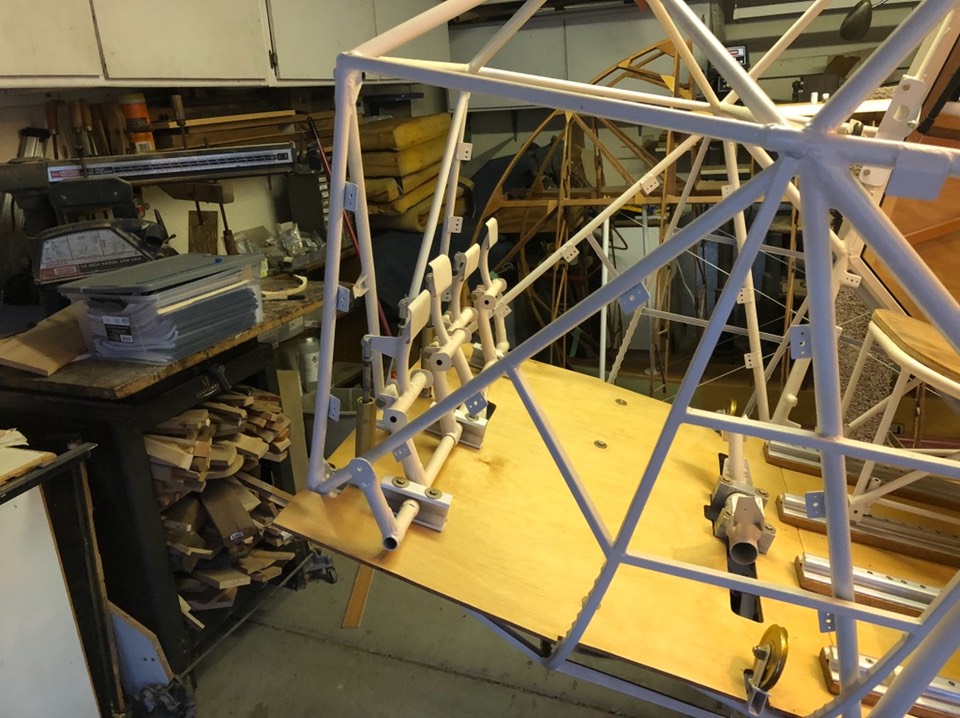
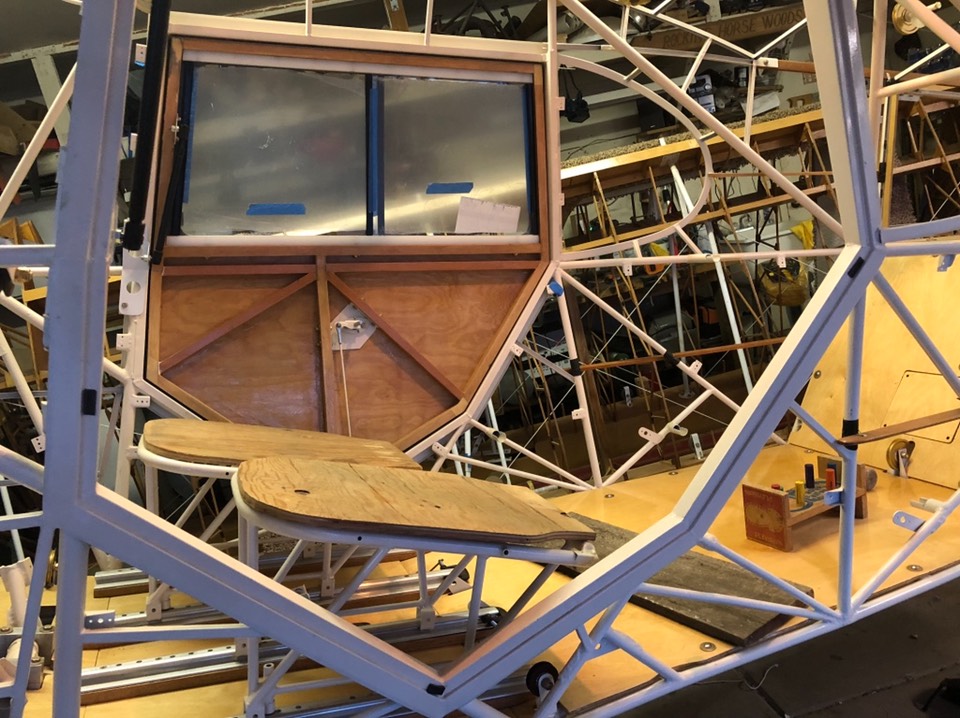
And a few more …….
I’ll work on posting the many steps that I have accomplished since 21the last post. In the last post, I mentioned it was time for seatbelt attach points.
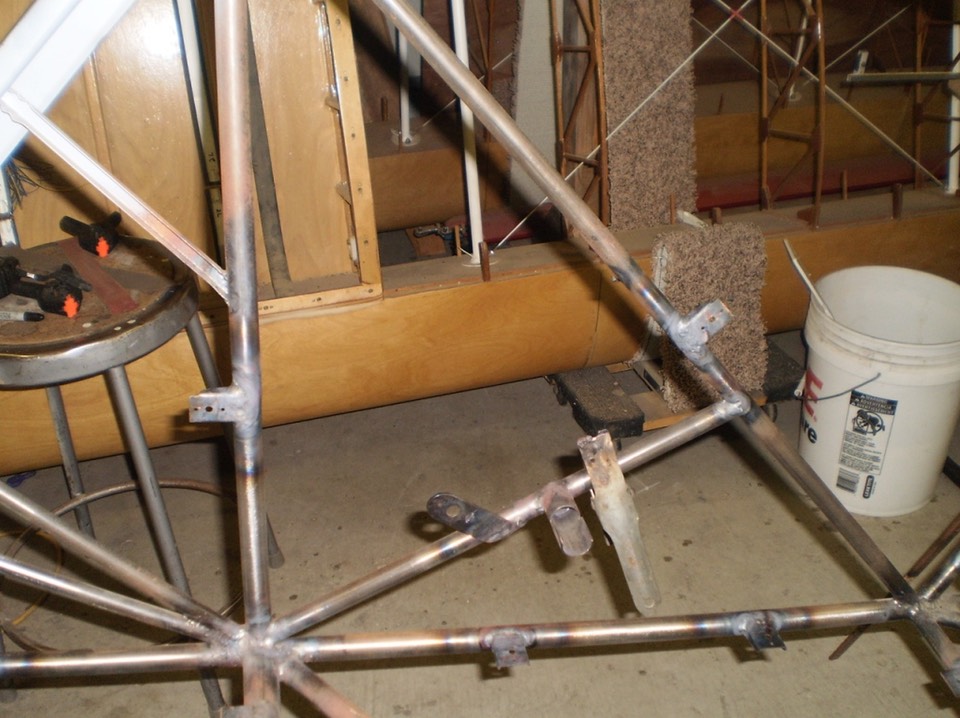
Flap pulleys were the next items welded in place. The flap handle is from a Pacer, modified for length. It is mounted between the seats.
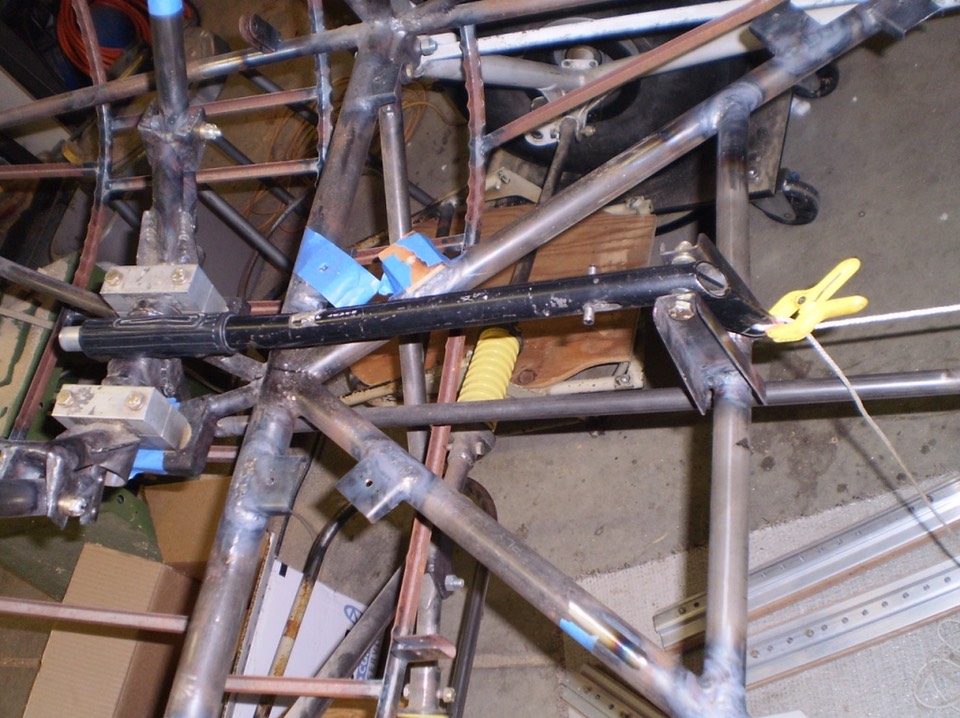
Pulleys were added to bring the cables back and up into the wings.
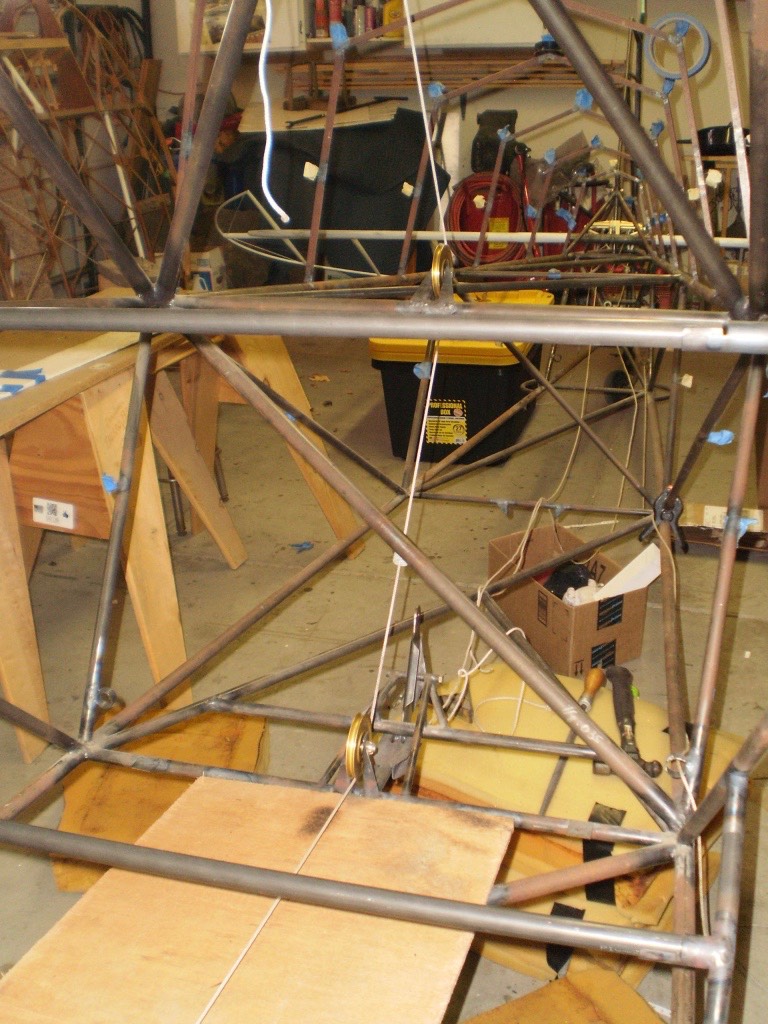
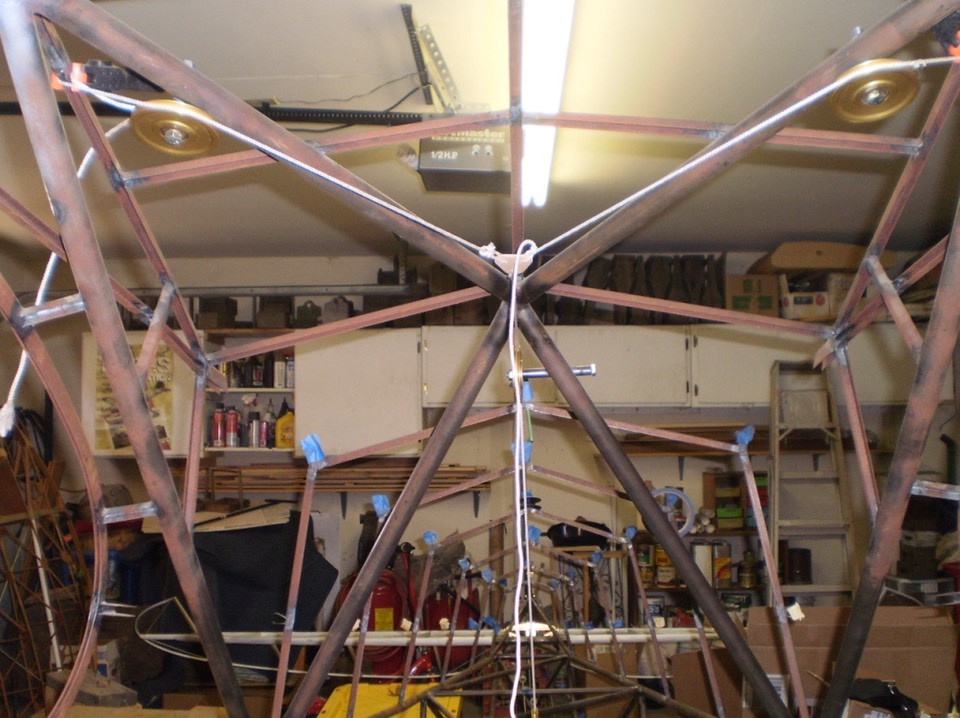
All pulleys will have guides welded to keep cables from being able to come off the pulley.
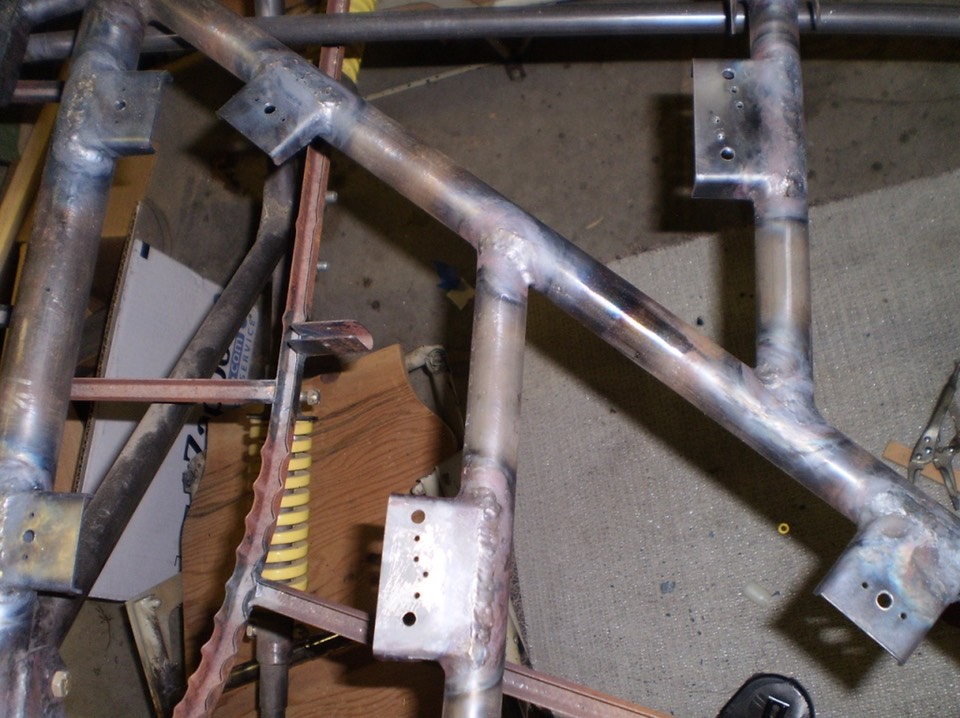
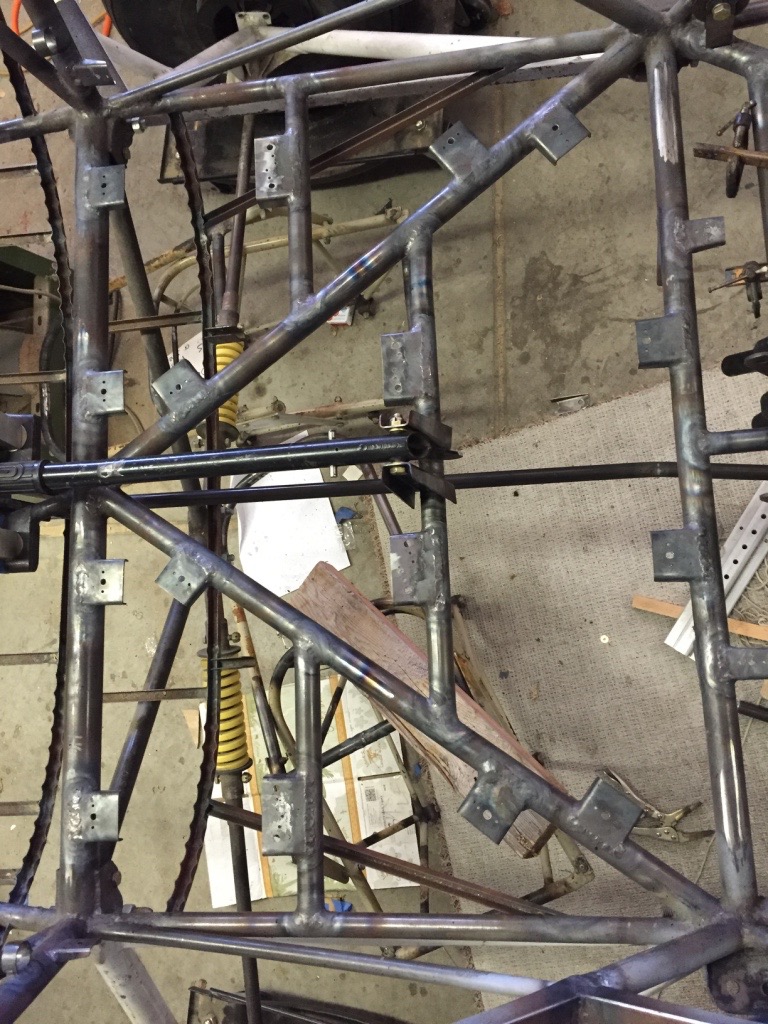
Next, I welded attach points for the front seat belts. These were similar to other tabs but were much heavier, .065”
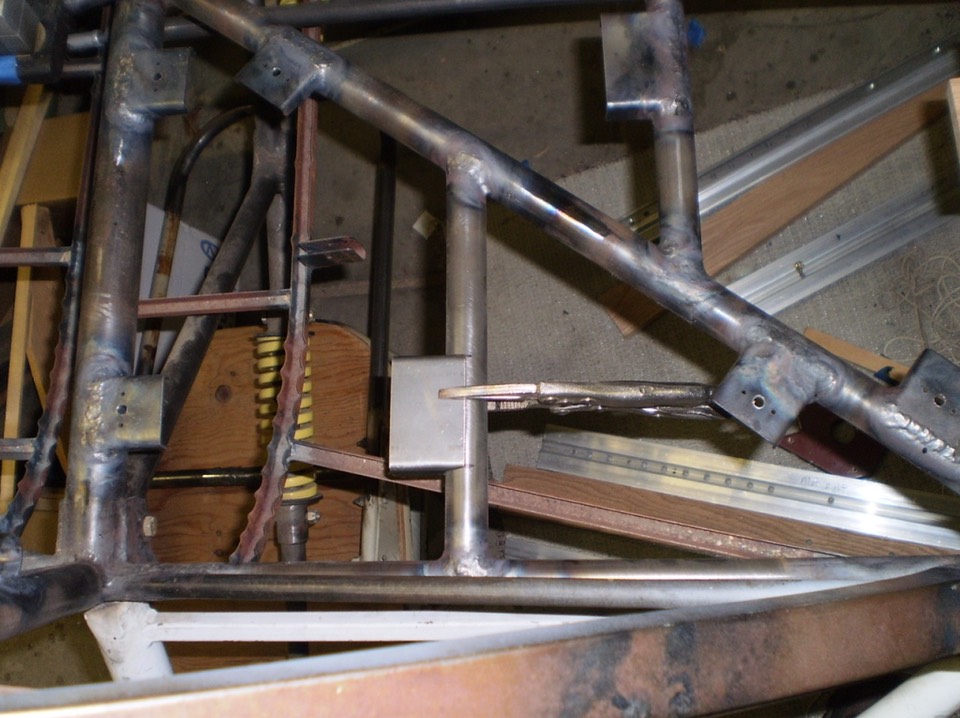
All tabs are drilled for nut plates to attach the belts. Belts were purchased from Wag Aero.
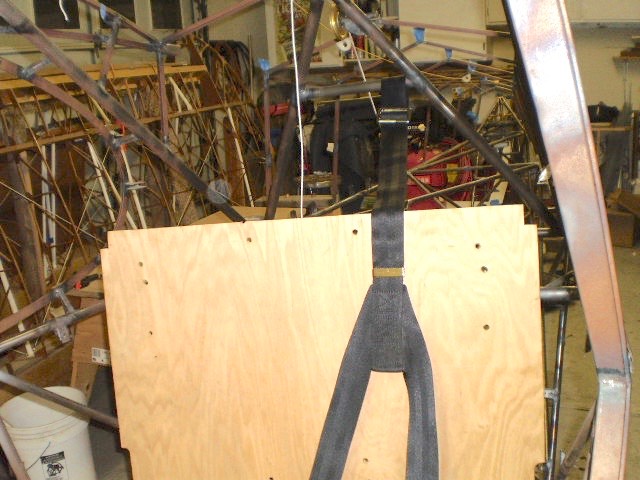
Upper attachment for the shoulder straps in back required welding in a tube. Easy to do before painting.
A little help test fitting the belts ……
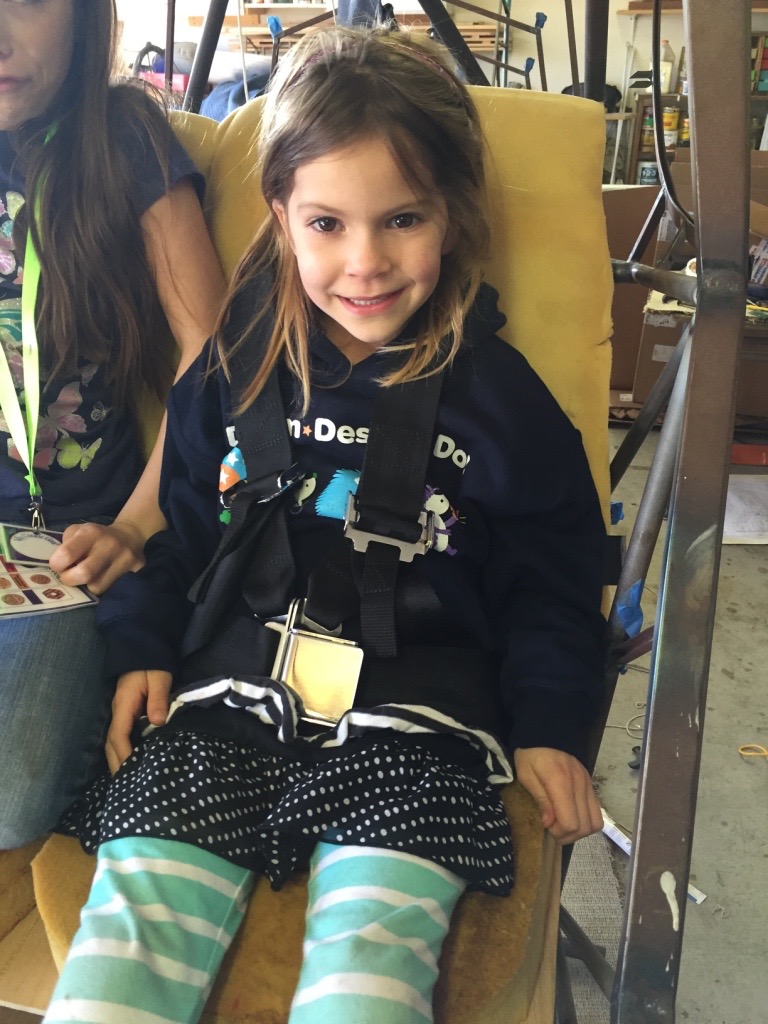
Side attach points for the seat belts were from Javron Inc. They provide parts for Cub kits.
Final shot of all the tabs. These are for the seat belt tabs, floor tabs, etc.
Next step is building rotisserie for the fuselage for final welding of tabs and for sandblasting. I’ll make that my next post.
January 14, 2018 post # 2