

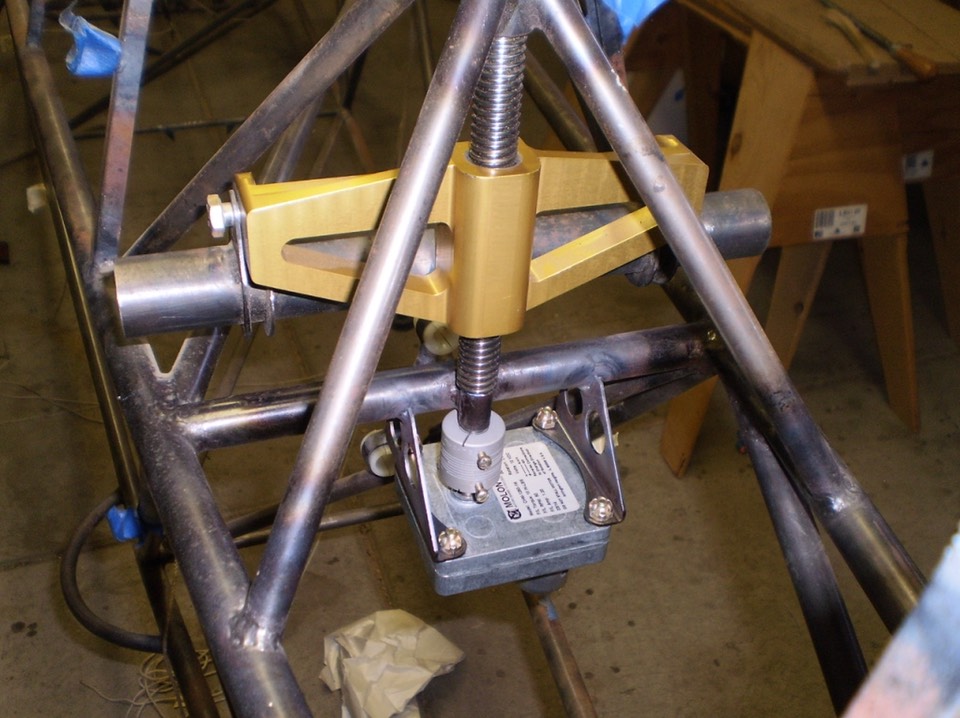
Next fabrication was for the electric trim. The parts I am using come from Javron Aviation. I bought the entire set up from Jay to make install easier. The kit replaced the lead screw and yoke I already had purchased. Jay’s prices are pretty reasonable. I sold my PMA yoke and jack screw and bought his for no additional $$. Everything below was in the kit. Below is a picture of the parts:
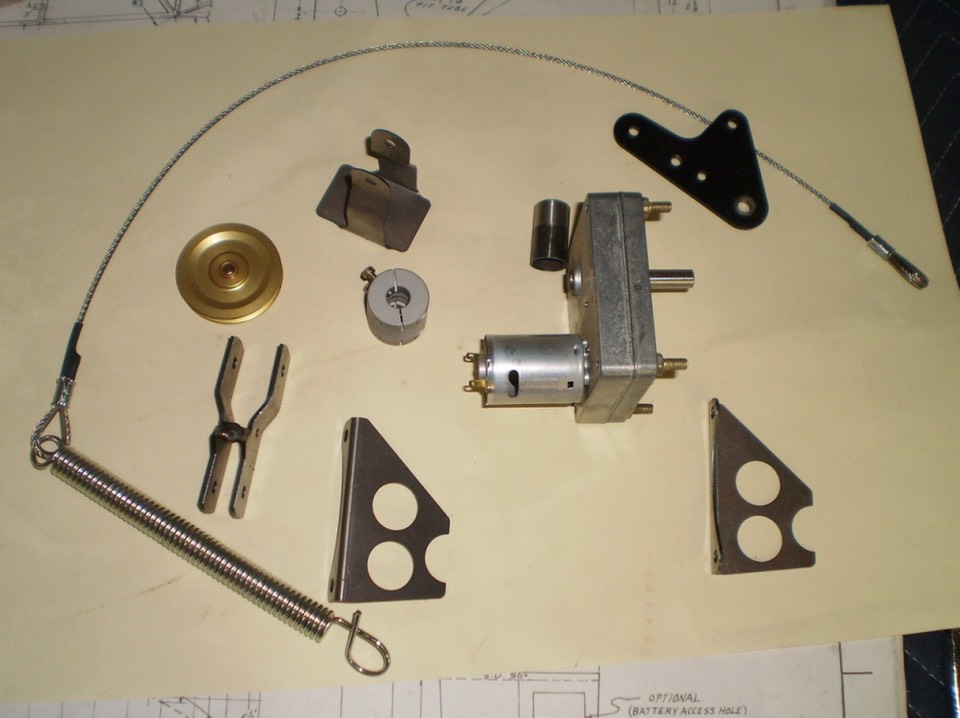
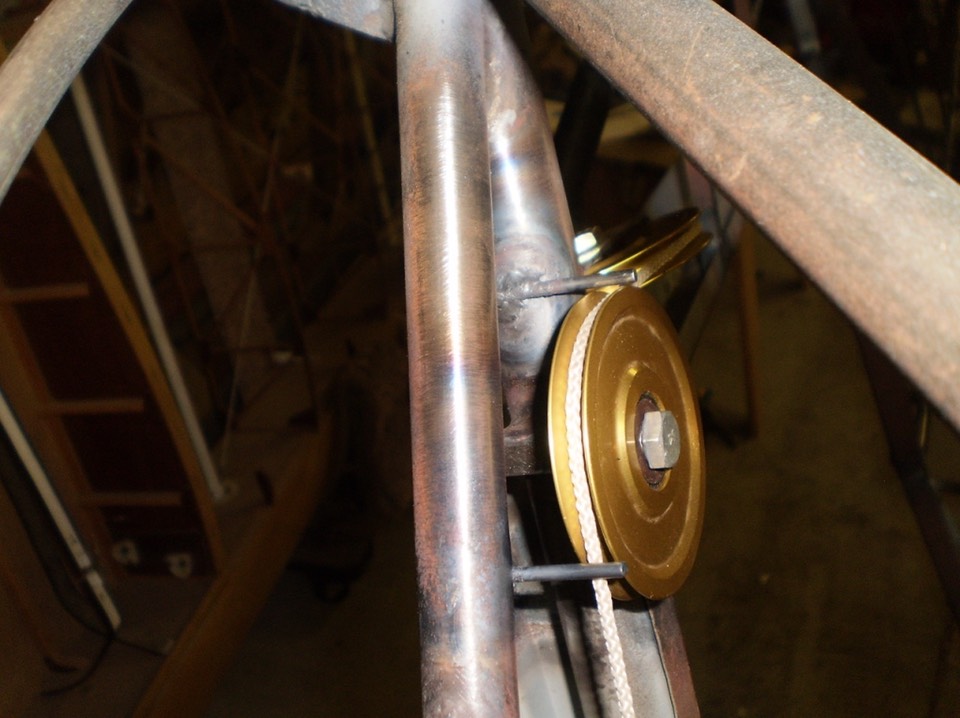
The spring and cable attach to the yoke to adjust the horizontal stab as the trim changes. This is standard Super Cub set up. This kit replaces a bunch of pulleys and a lot of cables along with the trim crank. Big weight savings. First order was welding the brackets to hold the motor assembly.
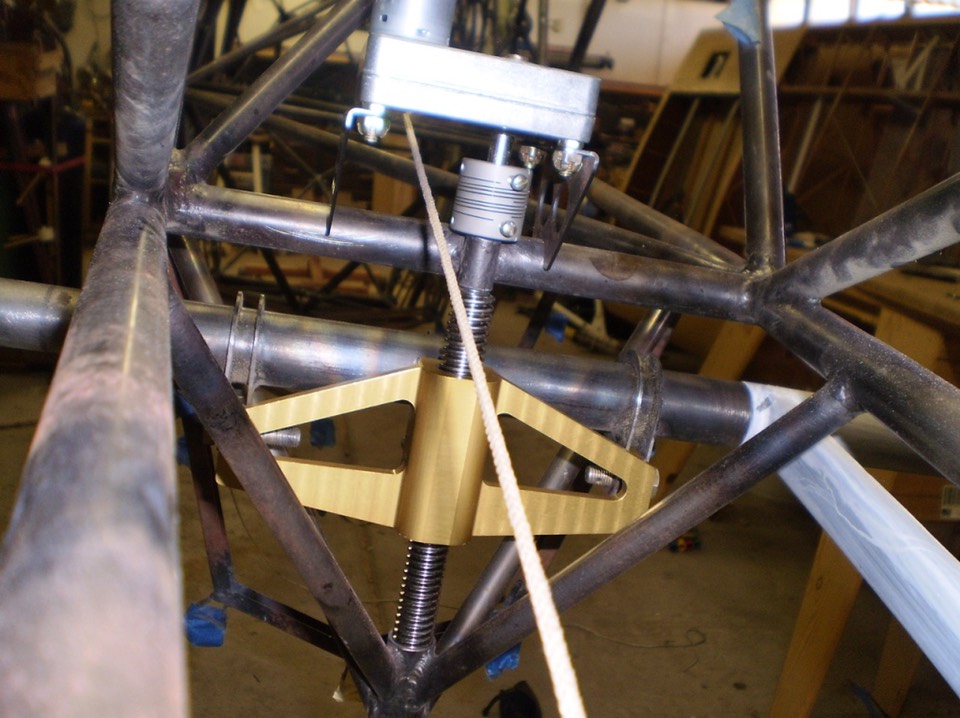
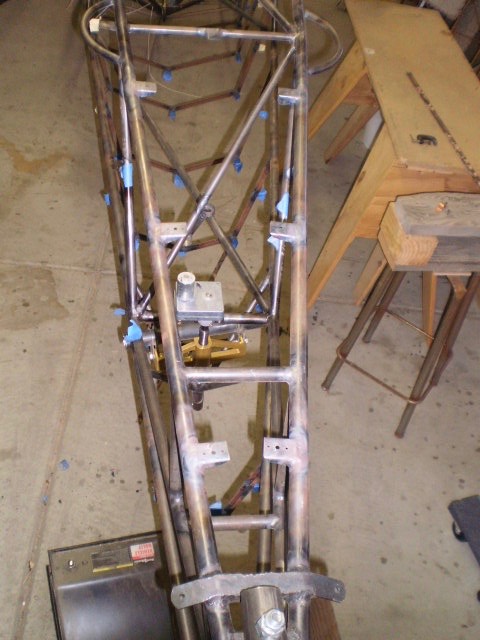
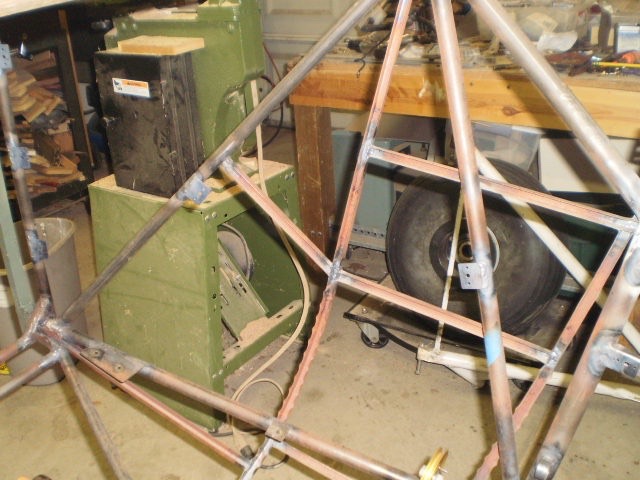
With the fuselage upside down, I assembled the motor, lead screw, and yoke. the white cord is used to see how the elevator cable will pass through the mounting area.
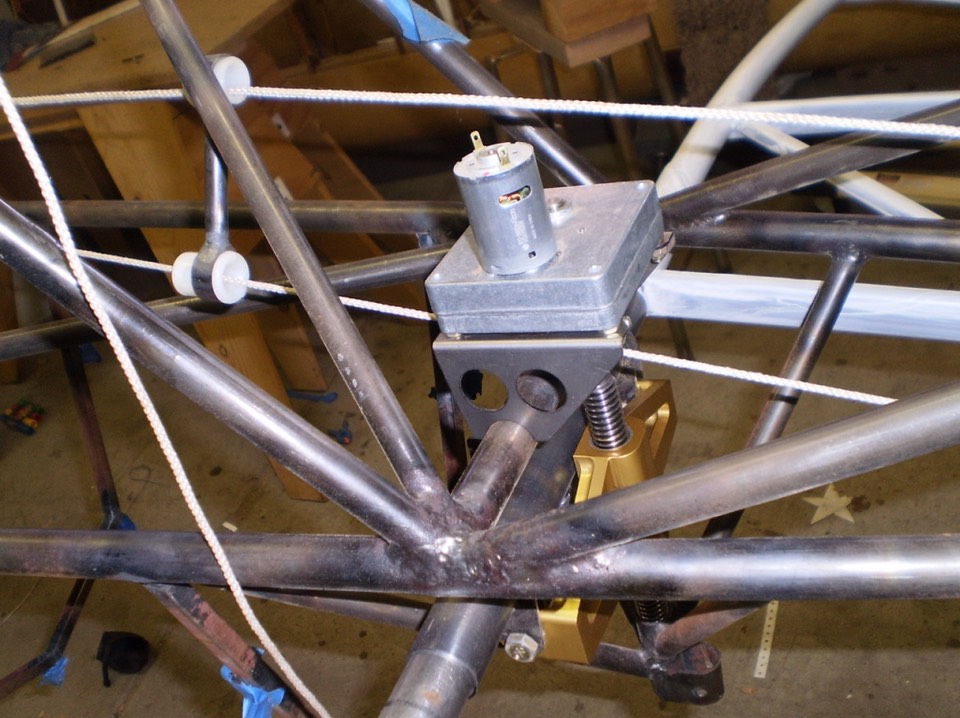
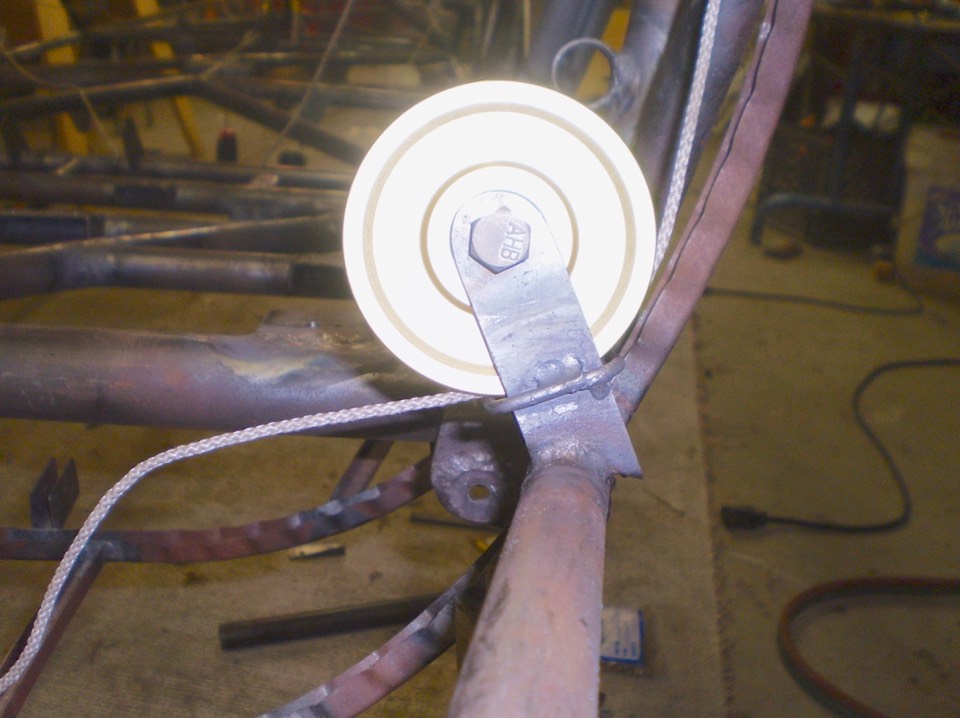
Another view …..
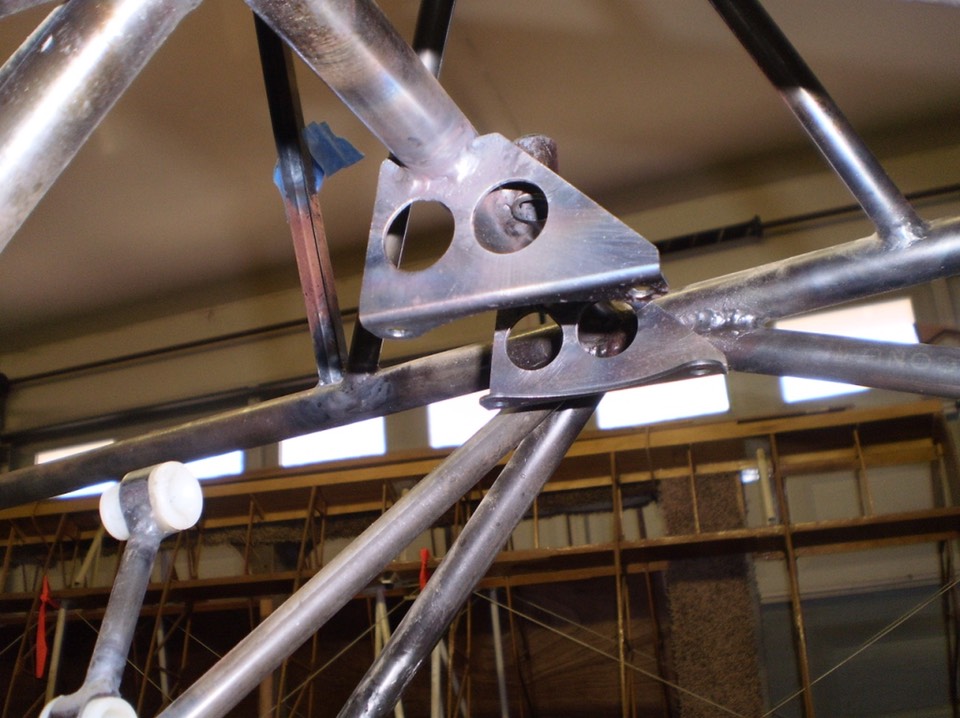
Use some welding magnets to secure the brackets in place and weld; pretty easy. Nice to have the brackets already made and a perfect fit.
With the fuselage turned back right side up, everything was mounted after welding to check alignment. Everything fits and works just fine. I tested the motor with a 12v power source and the movement was very smooth.
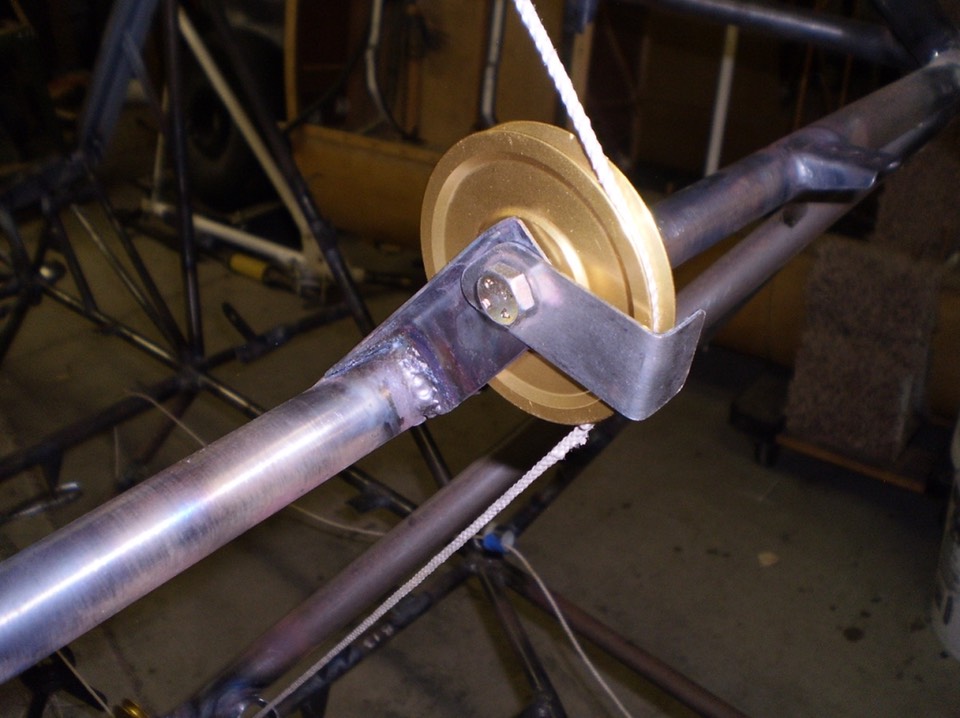
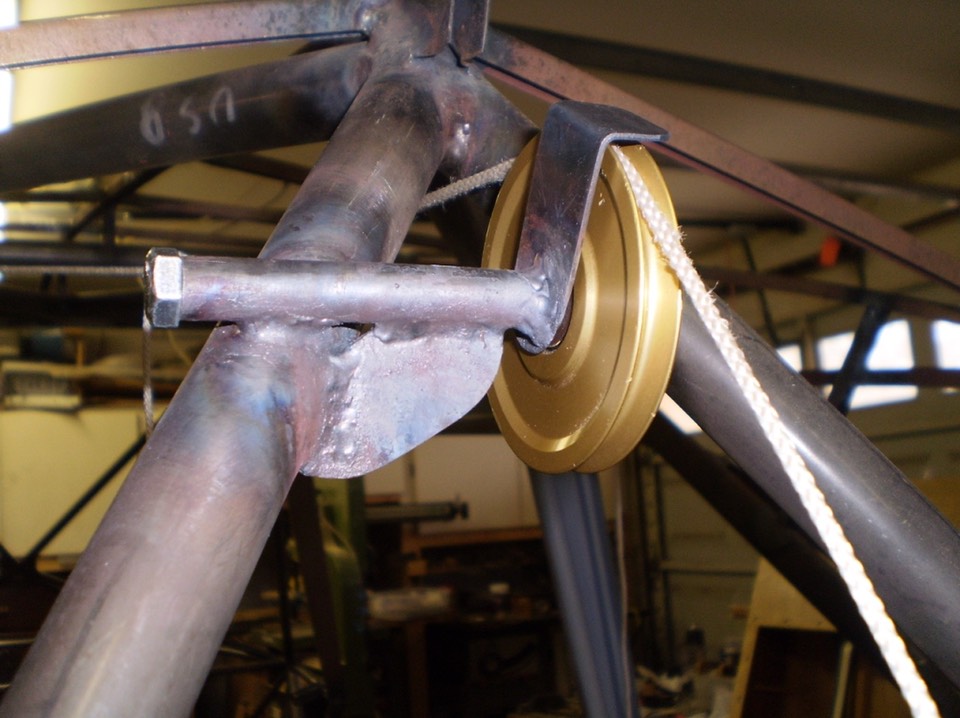
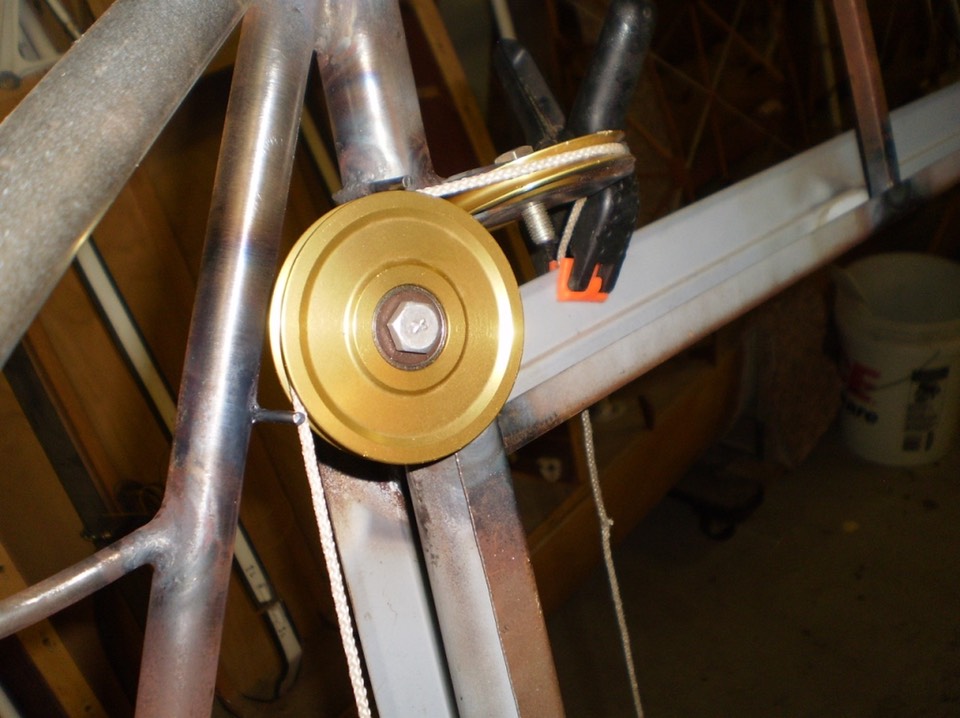
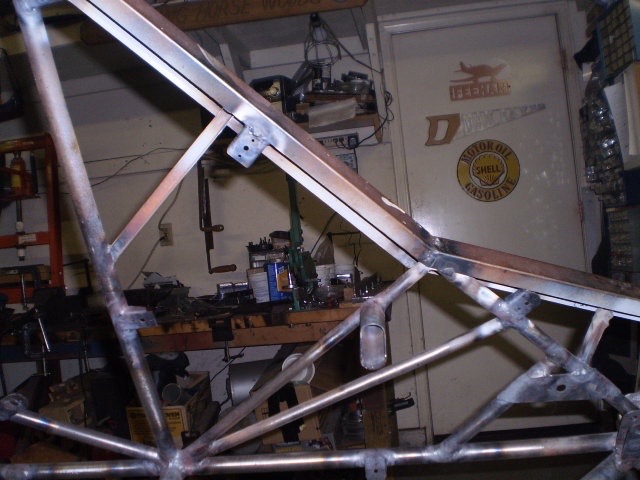
Wiring and switches will be added after fuselage is painted. Next step was to weld up a few guards on some pulleys; easy now that fuselage can be rotated. I’ll post a few pictures of guards below. Some guards just bolt on, others are welded in place.
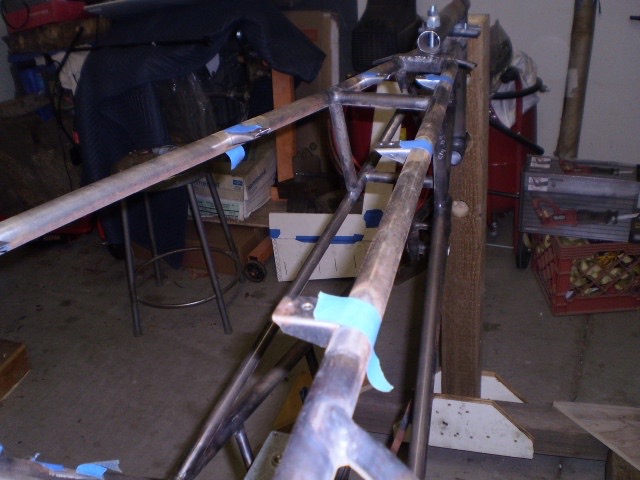
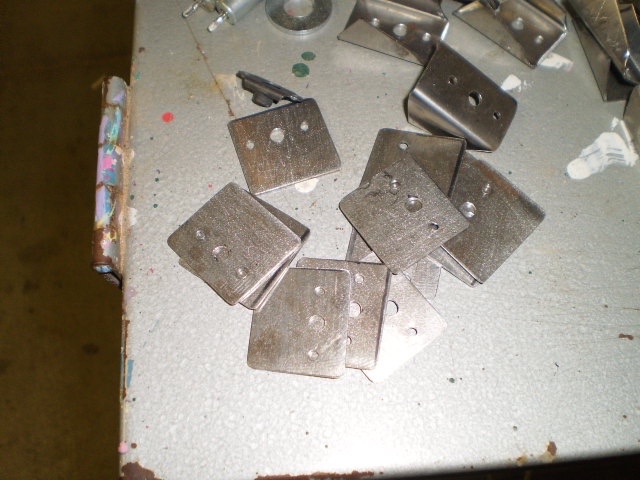
With all the pulley guards in place and the top frame of the door openings fixed, next step was welding in tabs for the metal belly. There are pros and cons to a metal belly. I decided to have a metal belly below the jack screw and electric trim for ease of maintance should there be a problem. First step was fabrication of the tabs followed by welding. Be careful welding the tabs; too much heat will warp the lower longhorns.

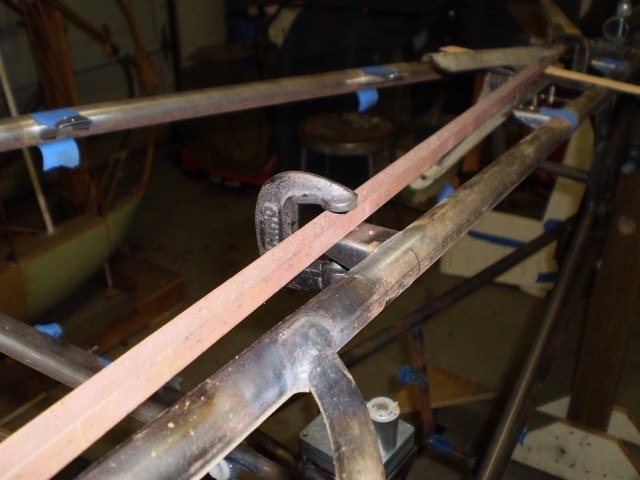
First, I secured the tabs in place with tape. Next, I used a piece of channel and clamps to keep all the tabs in alignment. Than I welded everything in place. The tabs will get nut plates after the fuselage is painted.
Finished welding ….
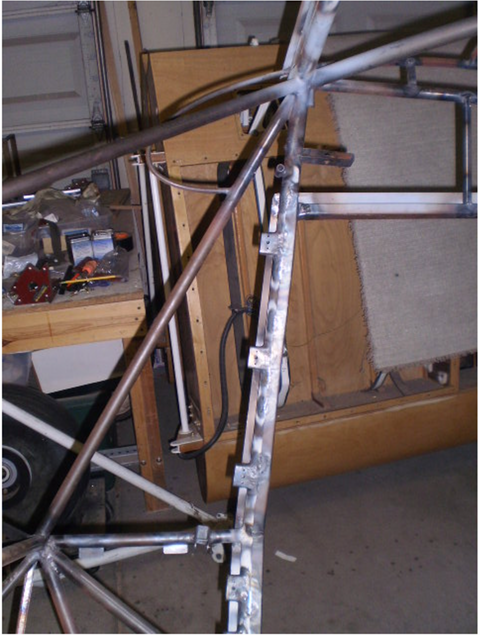
Additional tabs were welded everywhere I thought they would be needed. I made tabs needed to attach interior panels. I think I welded in about 50! My hope is not to need to weld in any tabs after painting. We’ll see how well I planned ahead.
Lots of tabs ……… all over the place. First, forward of the door than all over so you get the idea. Trying to finish up all welding so I can move on to sandblasting.
Everything is done! Fuselage is complete and ready to sandblast. This represents about 1800 hours of work over ten years. Ready to sand blast!