

Well, it’s been a long while since the last update. That is because the most recent steps took a lot of time. I thought the firewall would take a couple of days or a week at most. WRONG!!!! It took me about a month to get it right. I made the corner gussets twice, had to remove and re-weld a couple of the tubes at the fire wall. My measurements were about 1/16” off in width and I was afraid the engine mount would not fit. Then, I found out the bolt through the mount tube would not accept a nut on the back because a tube was in the way. So, another tube was removed and a new one re-welded. I was very unsure of how the final mounting corner should look until I received a picture from Wag Aero showing the corner in detail. You will see that I used a tube longer than the plans called for. I have it sticking out both front and back of the gusset. The front will need to be trimmed later. Once the fire wall was complete, I began welding the clusters. This was very time consuming. I started the process with the fuselage mounted on an engine stand so I could rotate it. I quickly decided that using two saw horses was much easier. It took me about 40 hours to complete the welding of the lower structure, fire wall to tail post. With the welding finished, I started on the upper structure. I had a miss start as I first cut the tubes for the upper structure at 45 degree angles. Test fitting the spar attach fittings showed me this would not work. So, I asked some questions of other builders and with their help, I understood the proper method for joining the tubes. I currently have the upper structure tack welded, and two of the corners are finish welded. It sure is easy welding with the tubes in the vise. Now for new pictures…………….
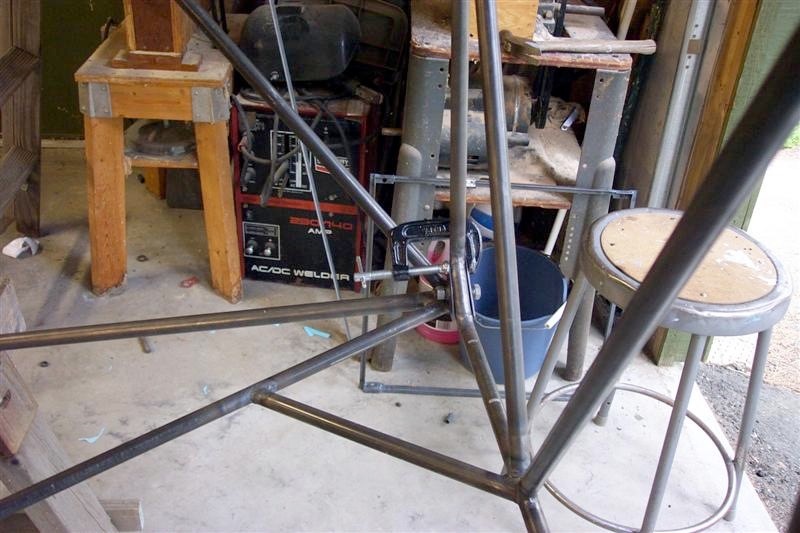
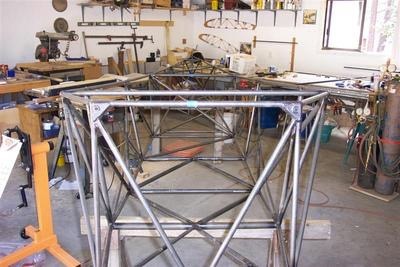
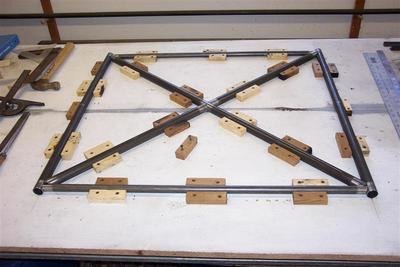
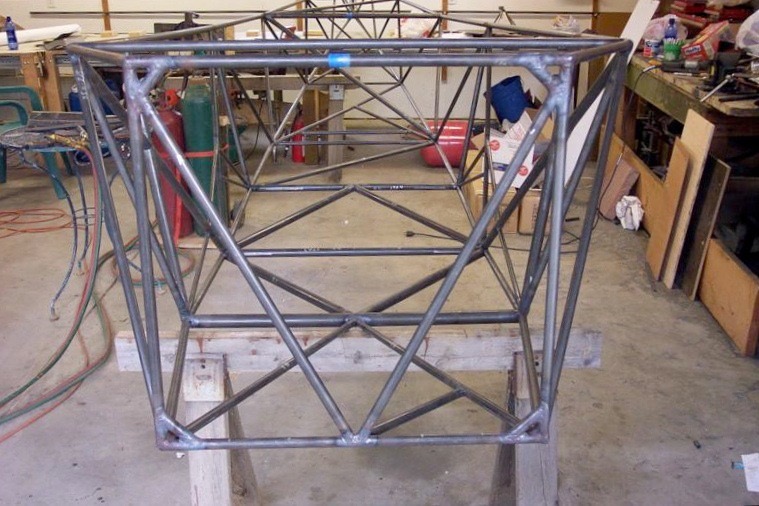 Firewall tubes welded in place
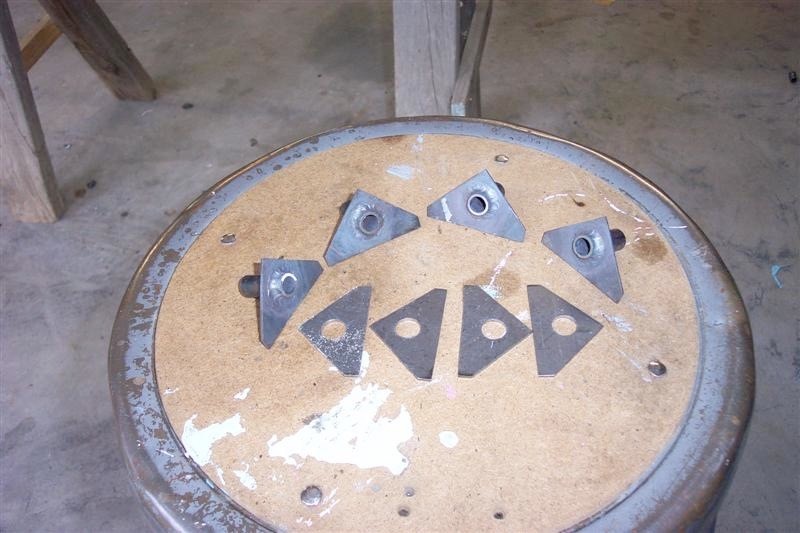
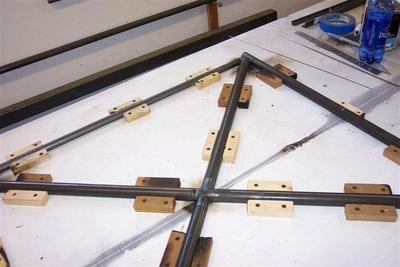
Engine mount gussets ready to install.
Test fit of corner gussets
WARNING WARNING ……. fast forward to my Nov. 25th, 2018 post. I tried to fit an engine mount to my fuselage and it did not fit!!!! DO NOT weld up the lugs for the engine mount with out first buying the mount you are going to use!!!! Use the mount as a jig for this step or you may run into trouble like I did.
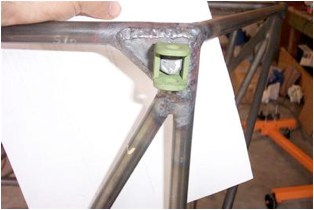
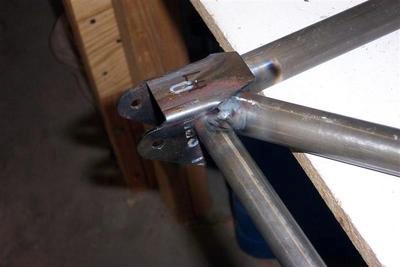
Engine Inside corner clamped with bolt to hold prior to welding.
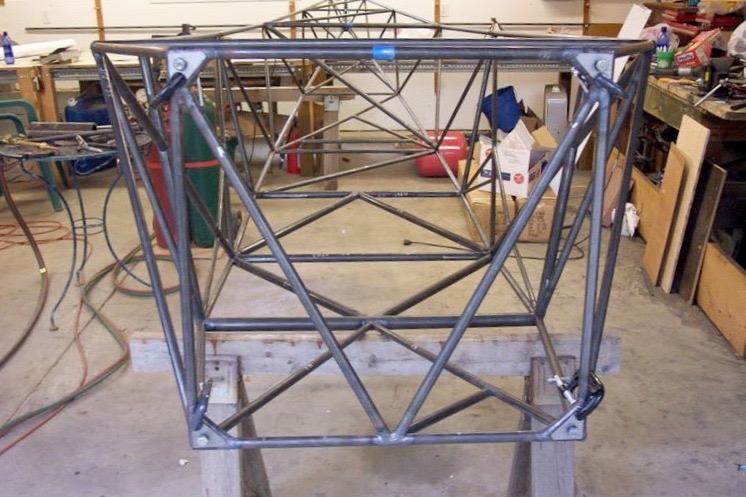
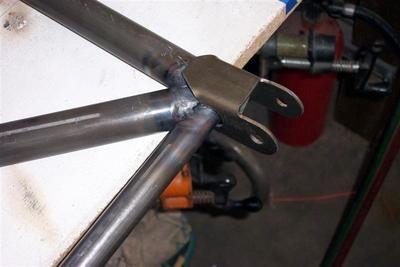
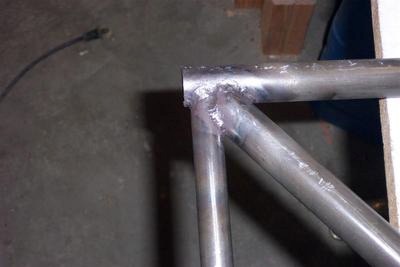
Engine mount gussets welded in place
 Installation bracket for engine mount
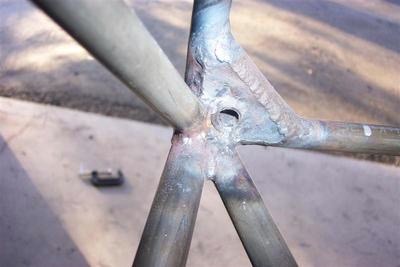 Lower inside corner
 Finish welding of lower structure complete
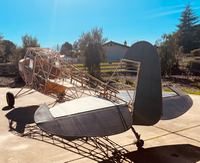
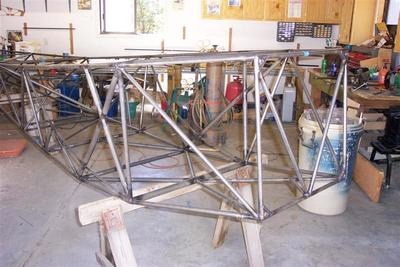 Side view, welding complete
 Side from rear
 Tail post, welding complete
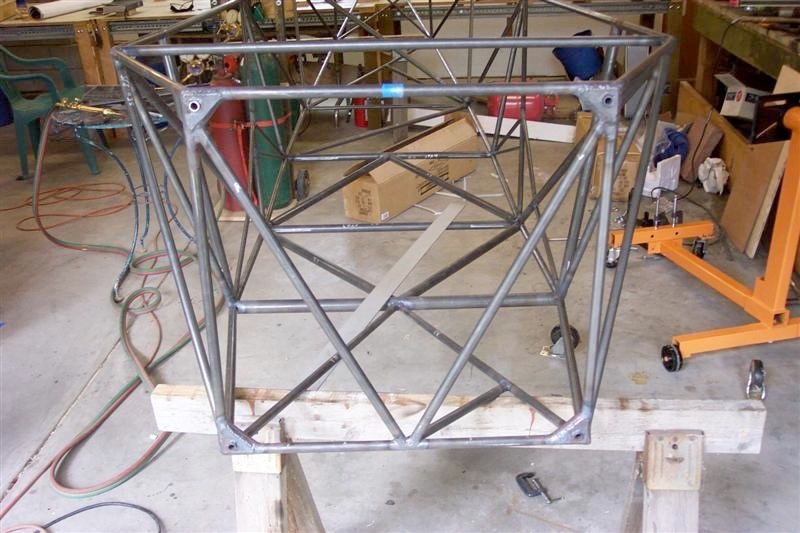
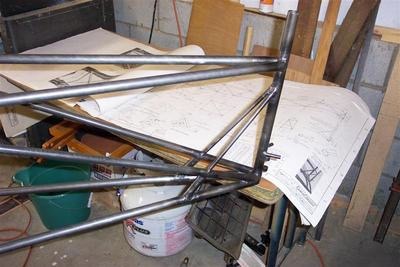
 Upper structure cut and fitted, ready for tack welding
 Ready for tack welding
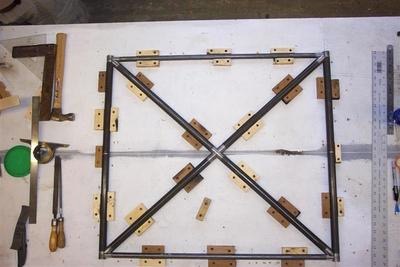
 Tack welding complete
 Test fit of front spar fitting
 Test fit of rear spar fitting
 Corner weld of upper structure complete