

I’m continue the process of updating all the work done over the past year. I’ve broken this up into smaller posts by subject. At the bottom of this page, there are links to the other parts of today's update.
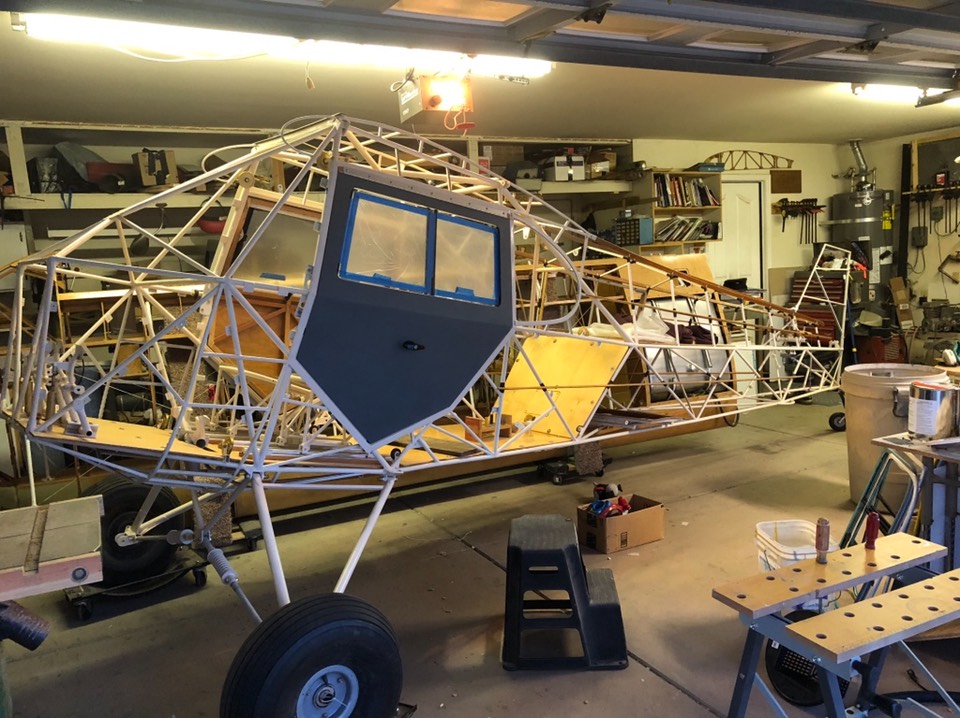
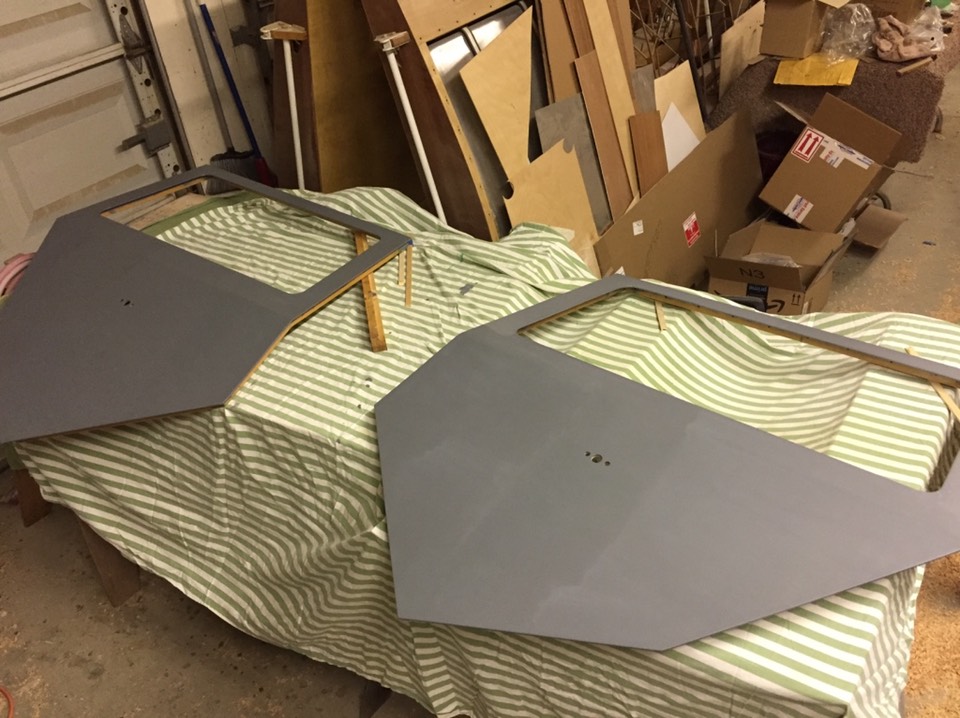
Here’s how things sit in the shop. Lets see what was next after post #4 on January 15th.
After completing the main cabin door frames, it was time to design the door latches and handles. I discovered that PA12 and PA14 doors have a bullet type latch that penetrates the door frame of the fuselage, sliding into a pocket created by welding a bushing into the fuselage tube under the door opening frame. Yeah, a bit late to discover that jewel; nothing in the plans. No way to add that at this point so I had to design a latch that could be mounted and used without any welding. I’m very happy with what I came up with. Most of the doors on PA12 and PA14’s have plexiglass over the lower half; making the doors pretty flexible. My doors will have 1/8” plywood and are very rigid so I have decided that I can use just one latch vs the two on other doors.
Jumping ahead just a bit, this picture shows the handles I’m using. They are standard handles used on truck camper shells. Turns out, Piper used similar truck handles on many of their doors.
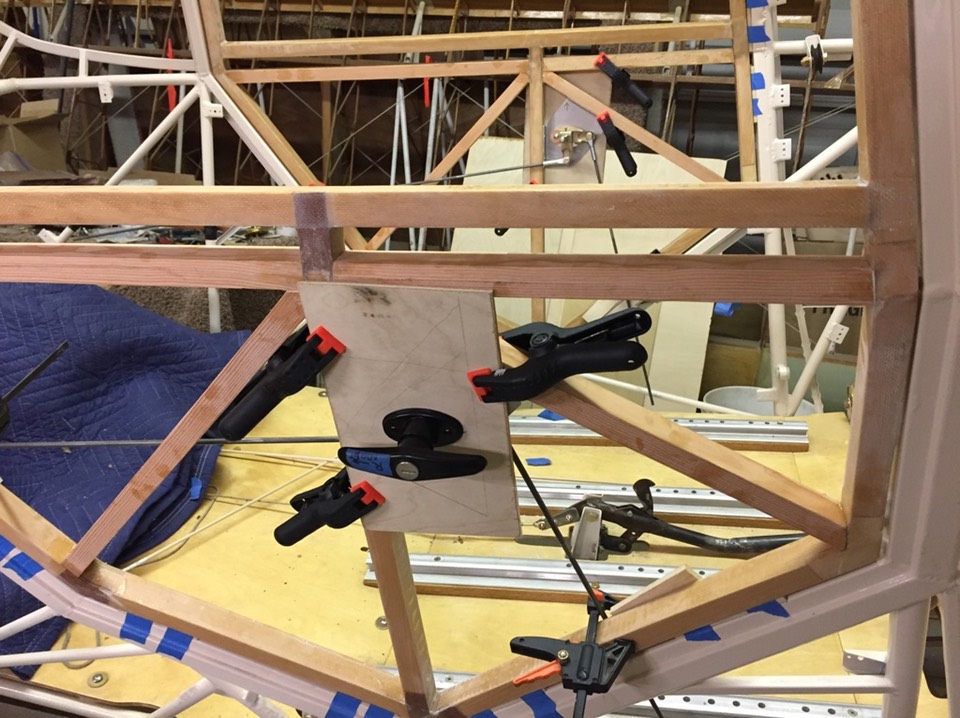
I first did a lot of prototype work to figure out latches. I tried two latches but decided I could use just one due to how strong my doors were.
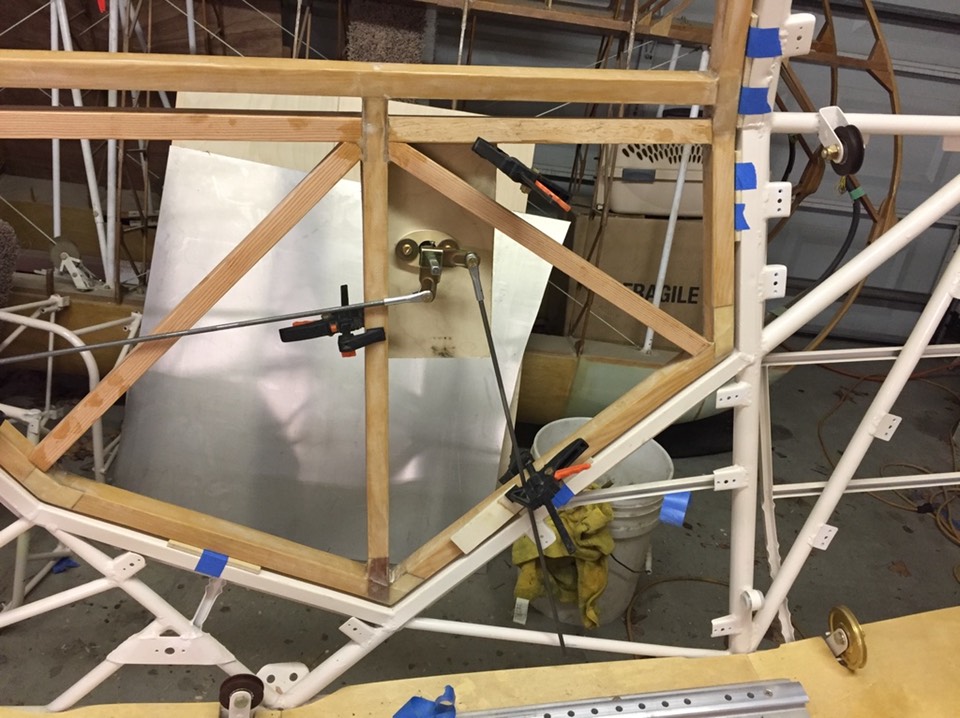
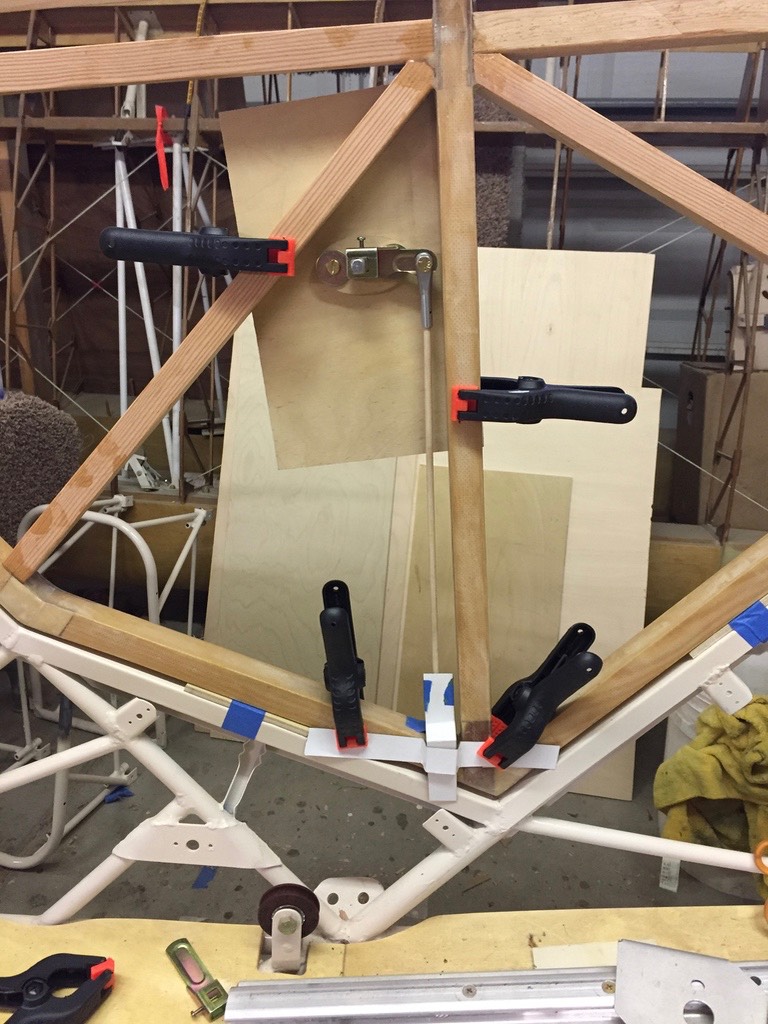
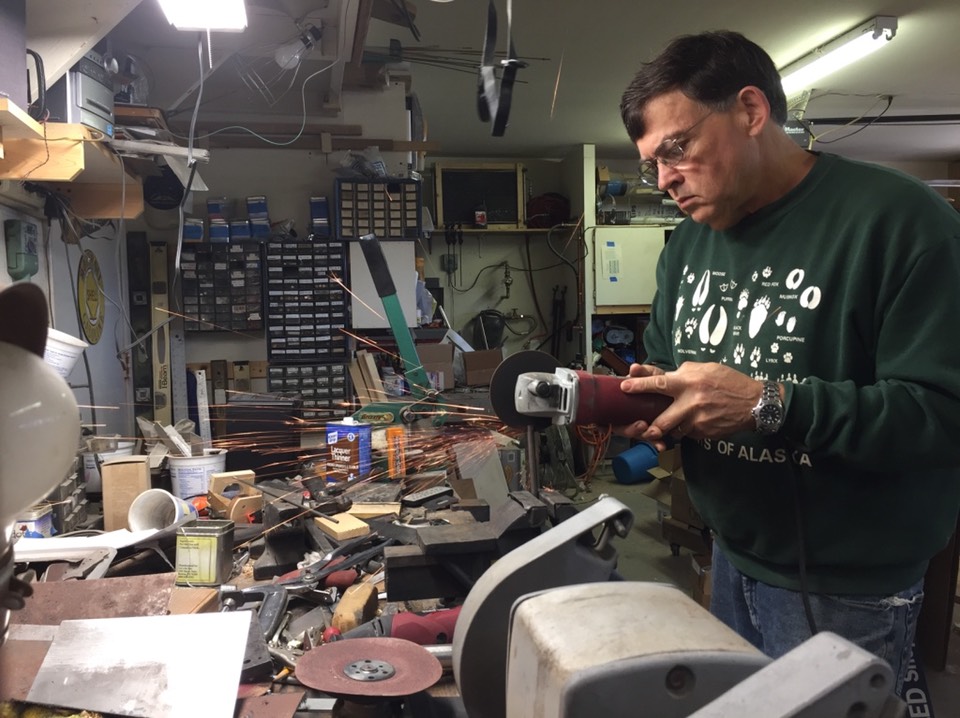
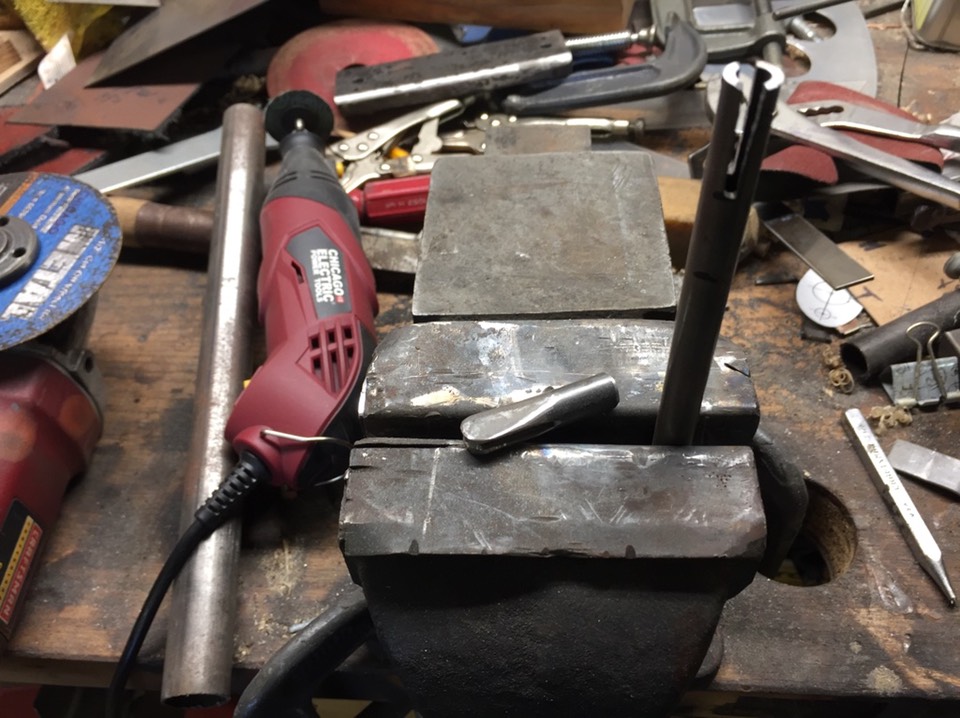
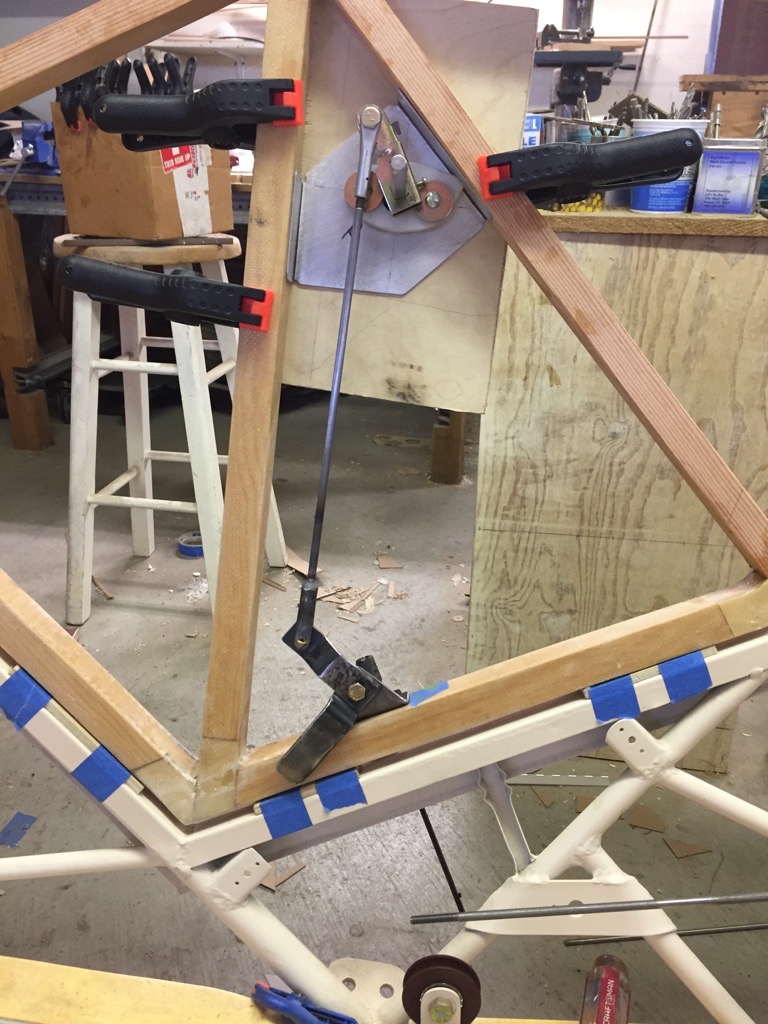
Some of the prototype work in progress ……
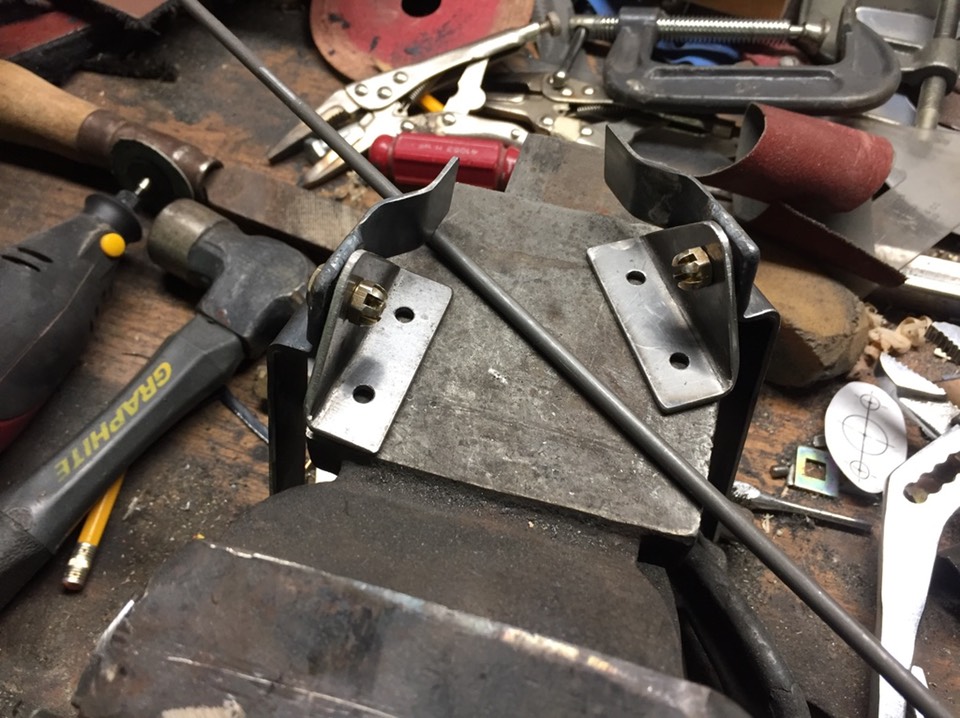
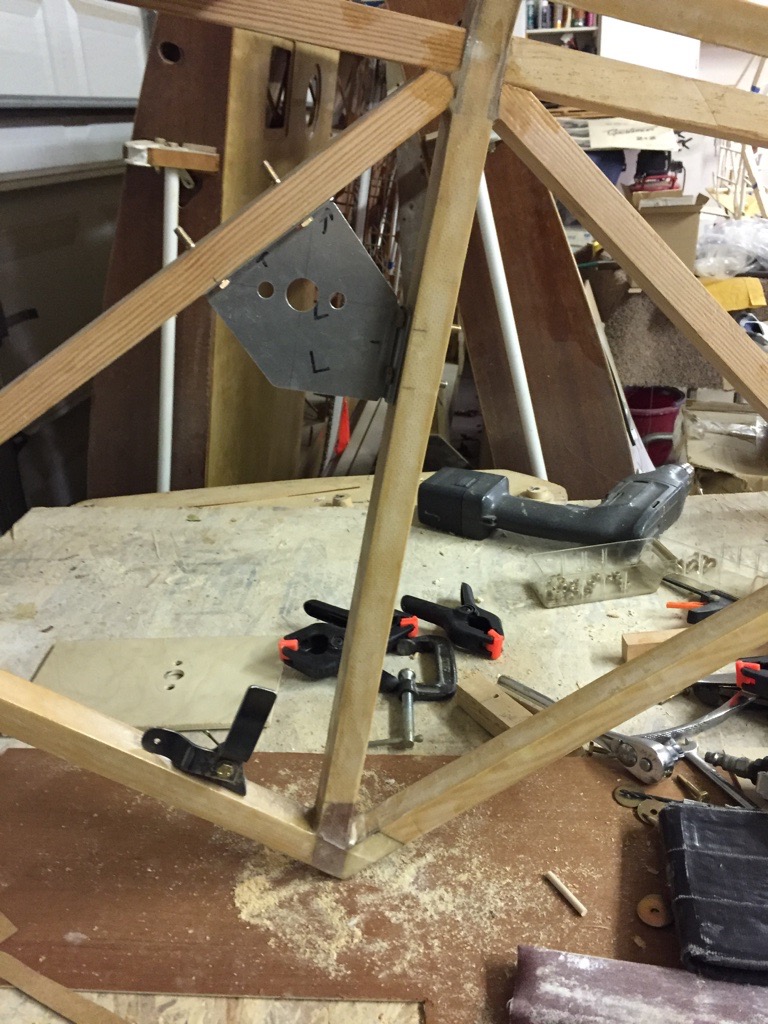
Each builder’s choice of handles will vary so not sure how much detail is needed here. I’ll move along so you can get ideas that you may carry over to your design. I made a couple aluminum plates to mount the handles to. I didn’t want to chance the wood wearing and the handles becoming sloppy and loose. I also needed a plastic shim to get everything in correct position to clear the door frame.
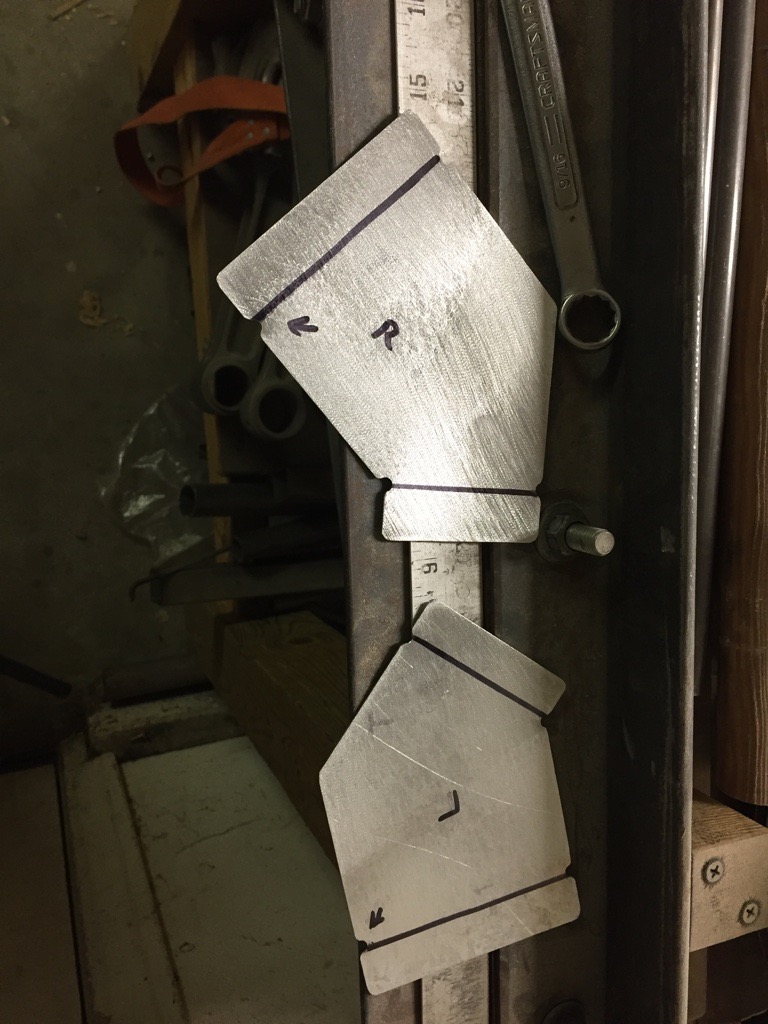
I came up with this design for the lower latch. You can see that the arm has a doubler welded in place to provide proper clearance. None of this would be necessary if I had known about the needed bushing when I welded the fuselage. I have added a reference to this issue to my post on February 16, 2008
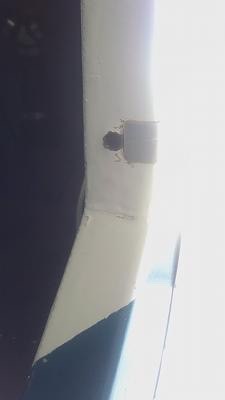
Here’s a couple shots from a PA 12. First picture is the pocket welded into the fuselage. It’s a bushing welded into the fuselage tube. This has to be done before the door frame is welded to the fuselage. DO NOT just drill a hole in the tube for the latch to go through; that would compromise the strength of that tube. The bushing needs to be welded on both sides of the tube it goes through.
First, the bushing ….
Next, the door and the pushrods that make up the latch.
I found this way too late in the process; my fuselage was already painted. next, Fabricating pushrods ….

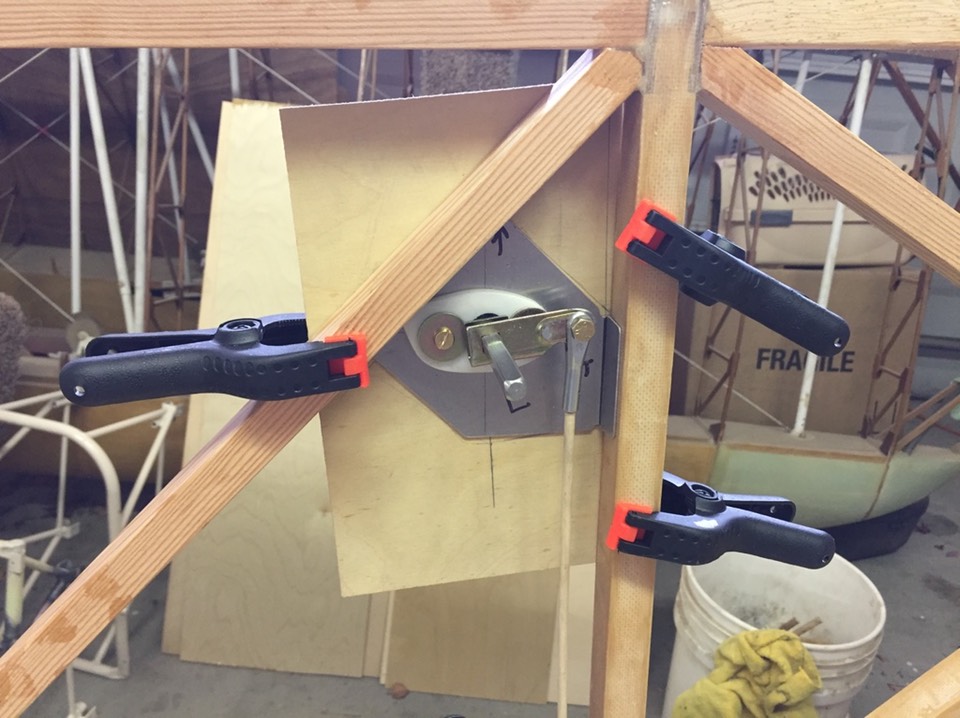
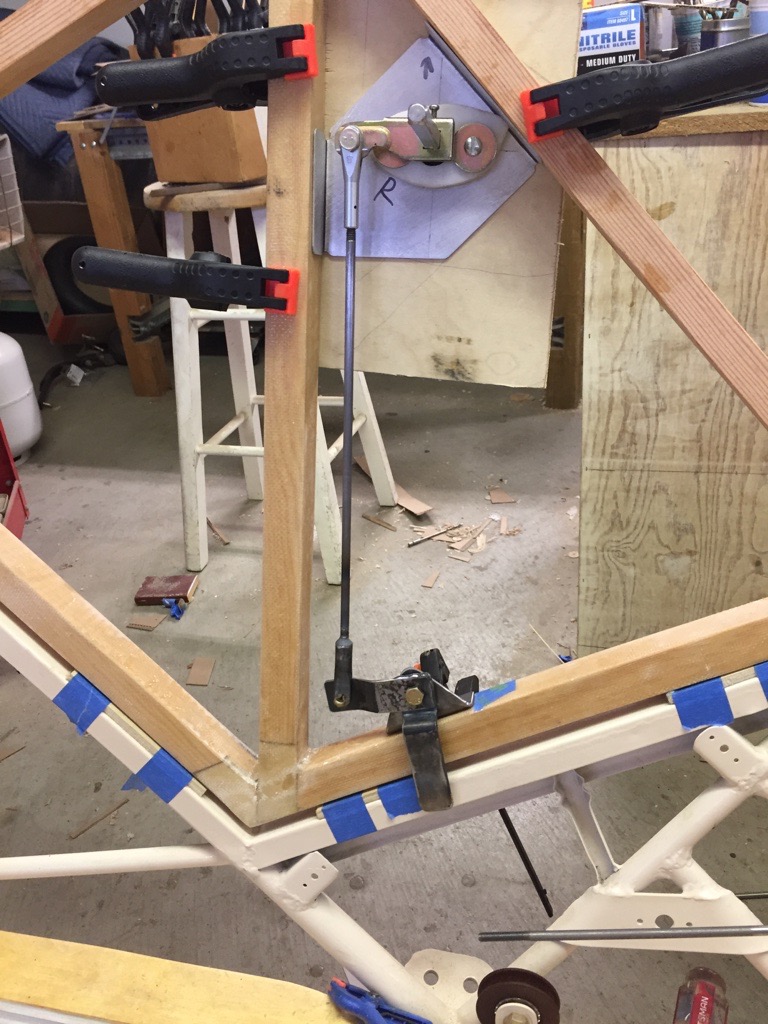
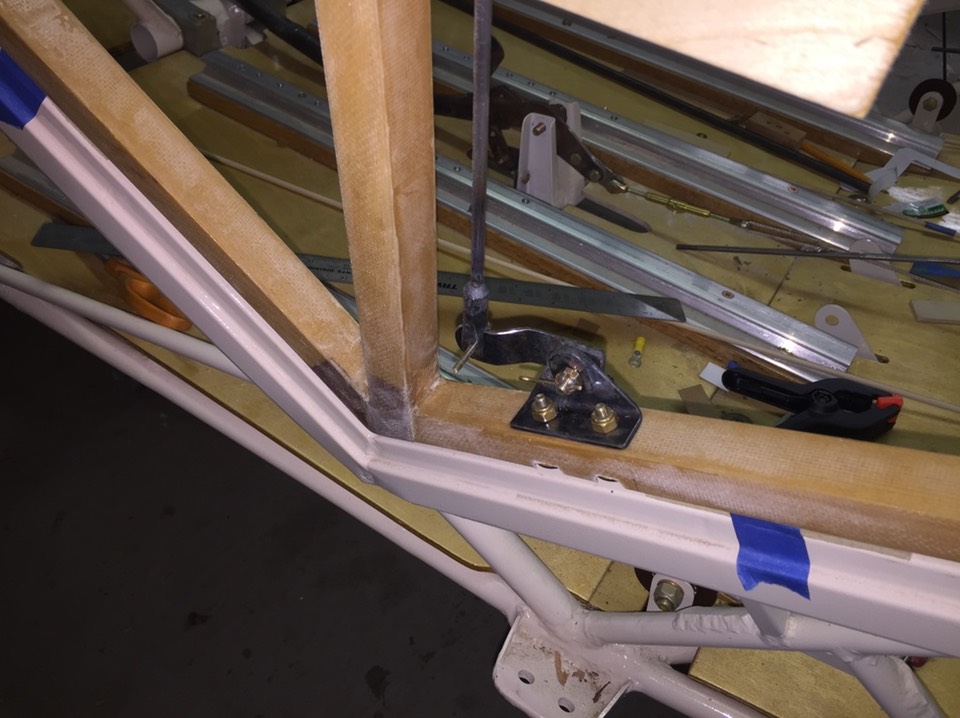
It really turned out pretty simple. The arm that routes over the fuselage frame has a washer between the arm and the mounting bracket. the thickness or combination of washers determine how tight the door locks. I’ll have something on the frame for the arm to rotate against to prevent the paint from being worn through.
Closed …….
Open …….
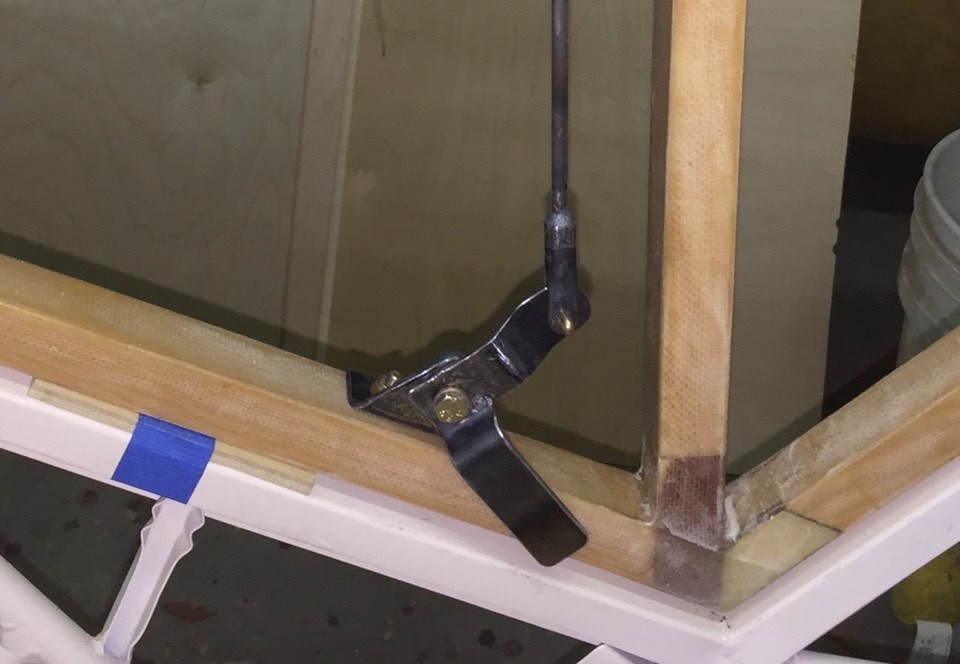
Detail of the latching arm on the fuselage frame.
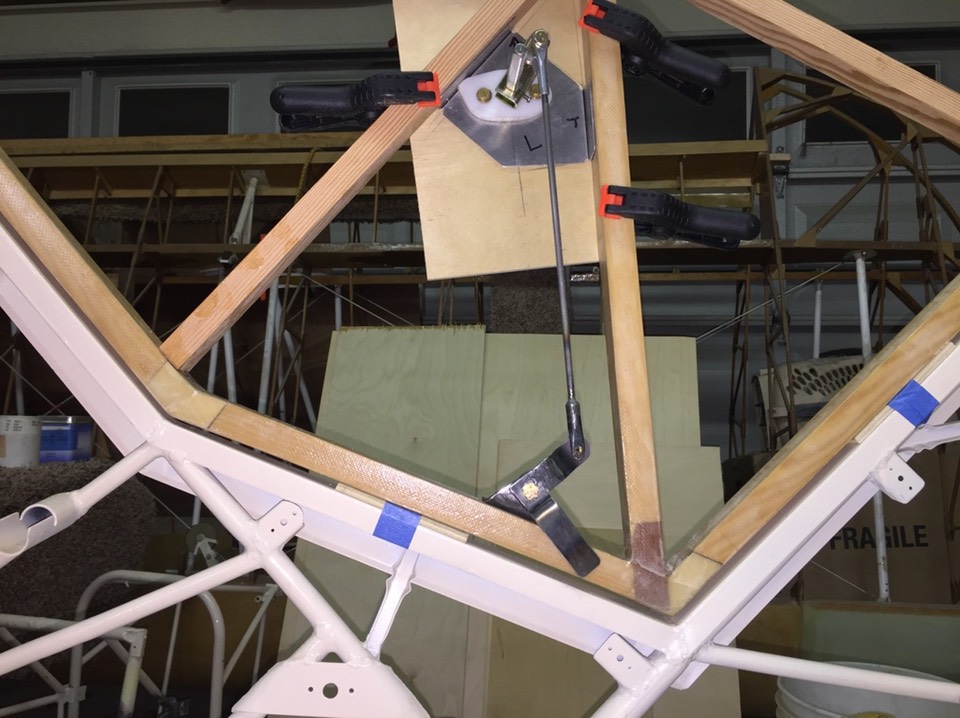
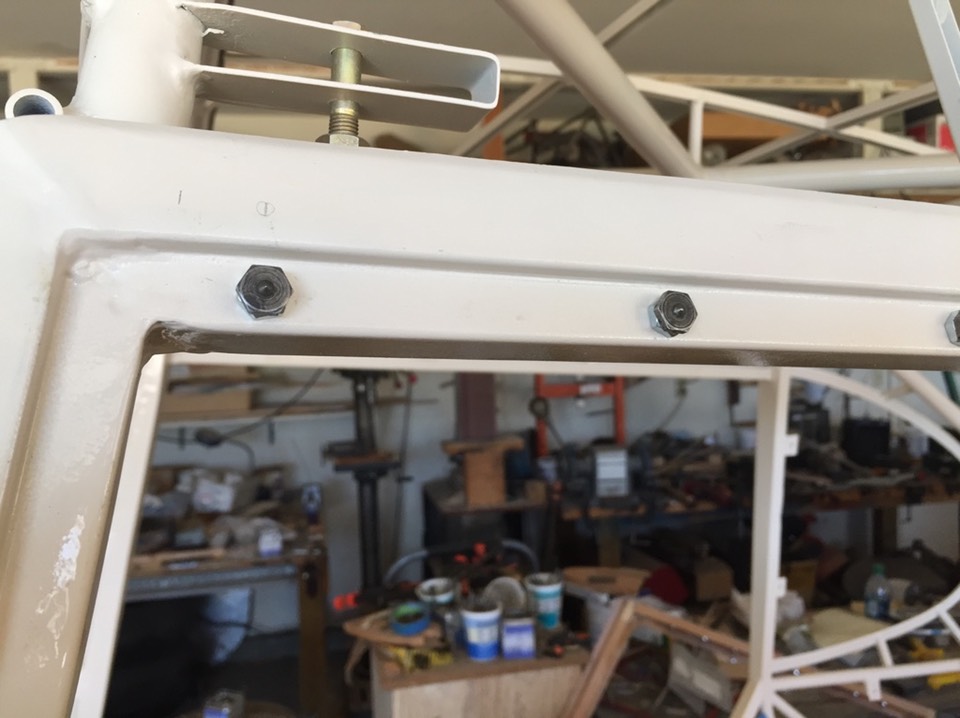
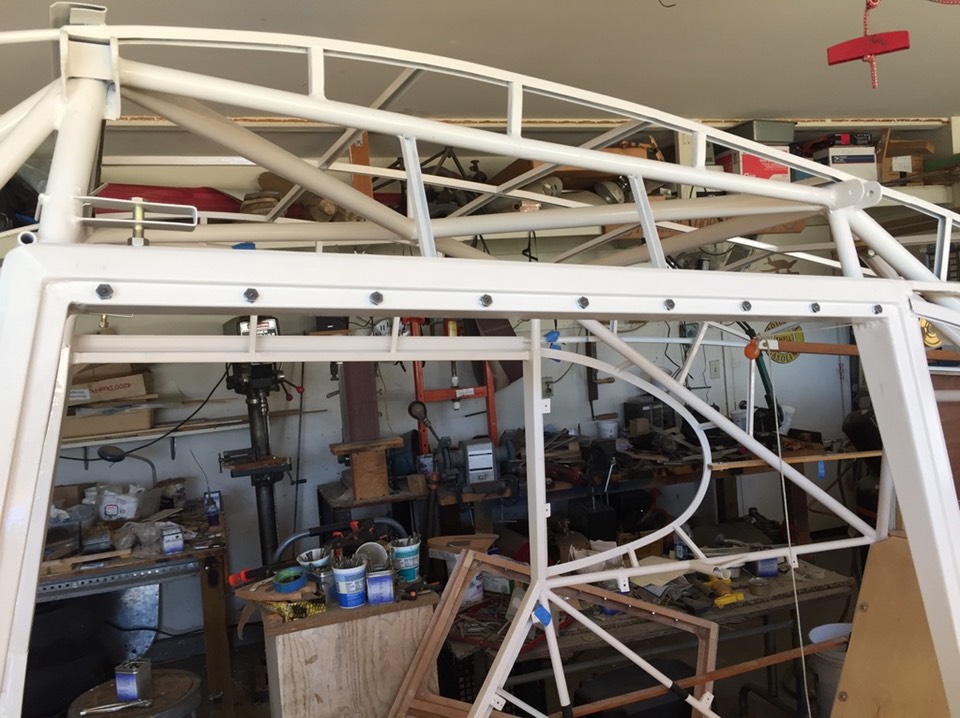
Very happy with the end result. With everything fitting nicely, I took it all apart for painting. The aluminum plate need to be bolted in place before door skins could be glued to the frame.
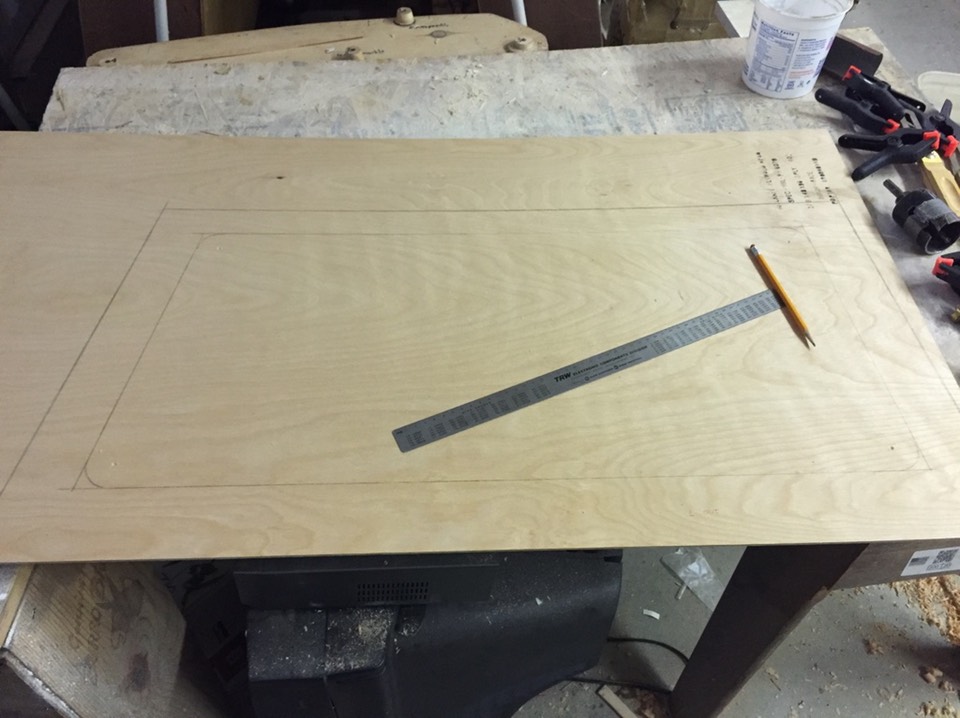
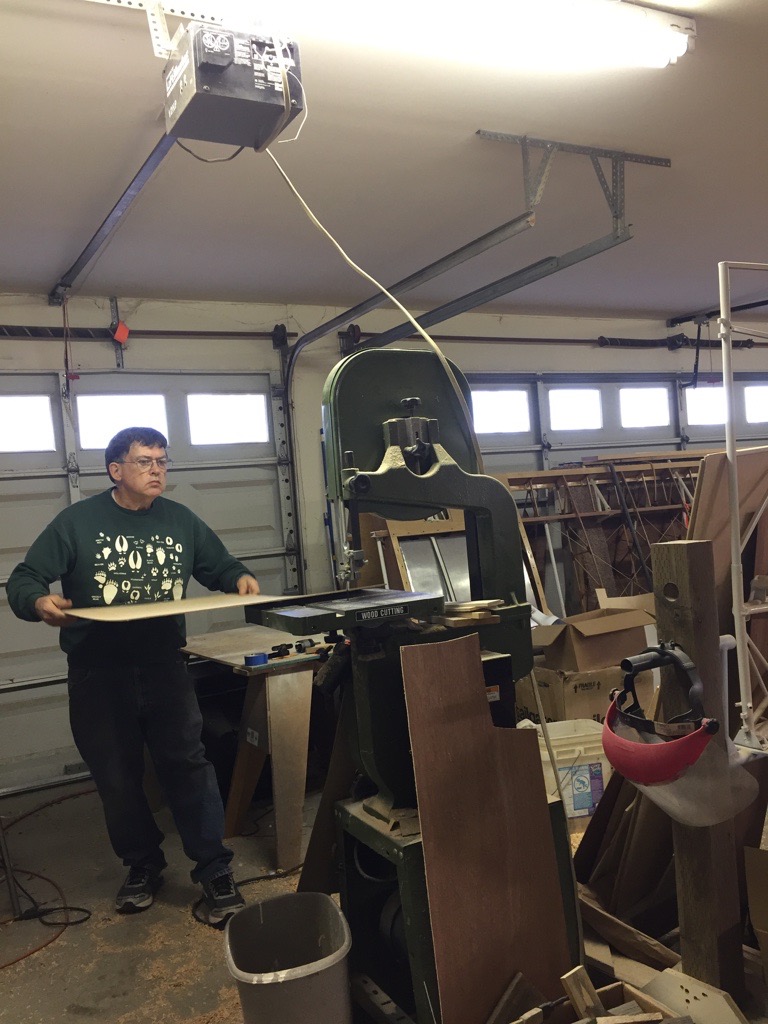
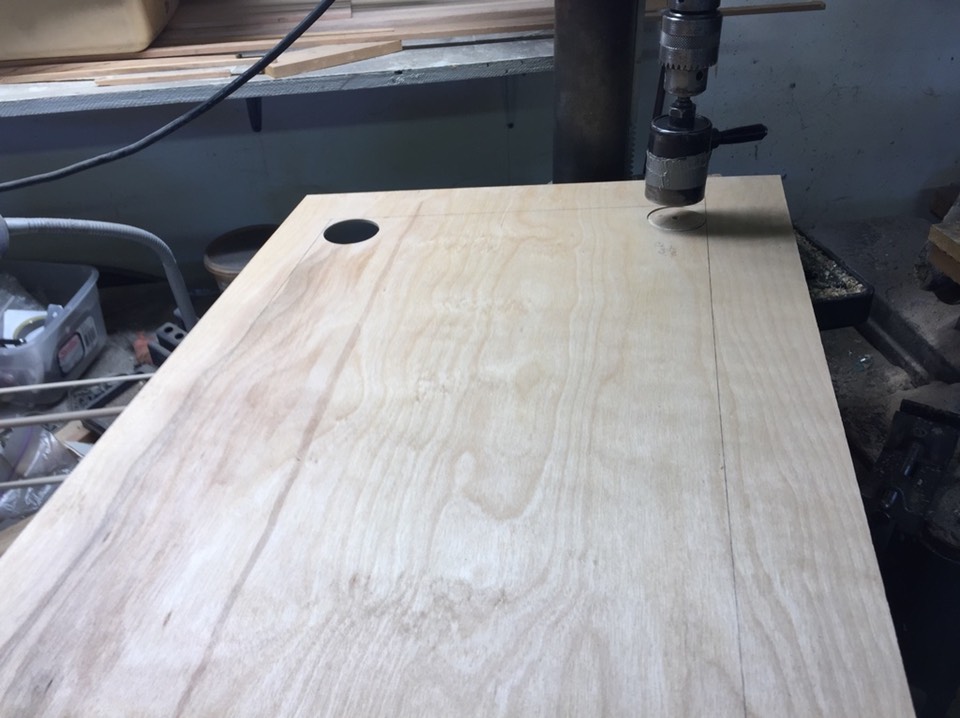
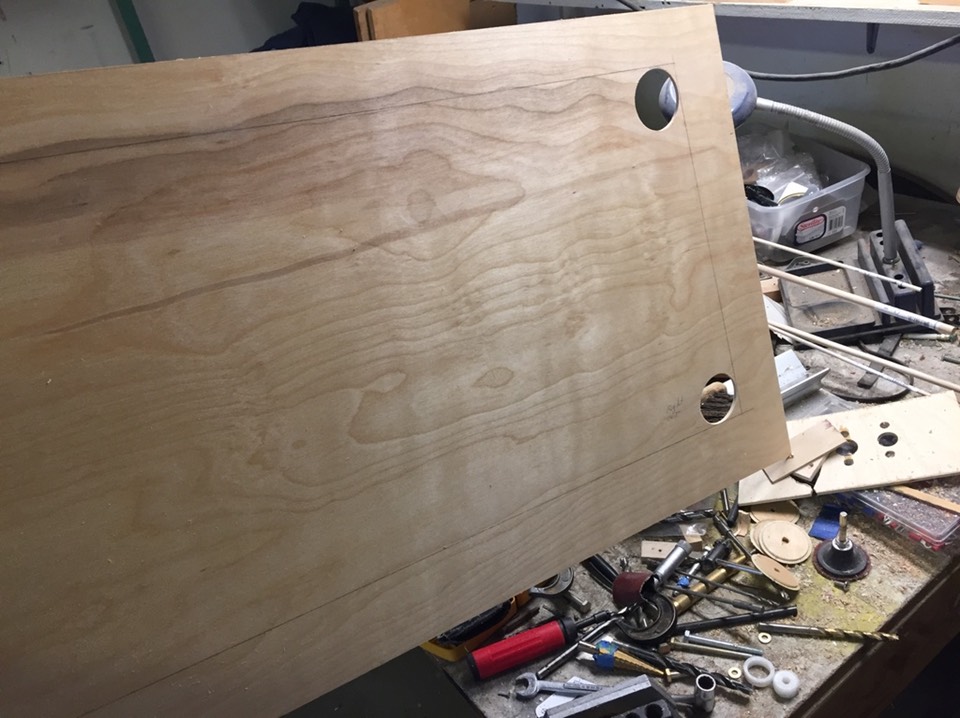
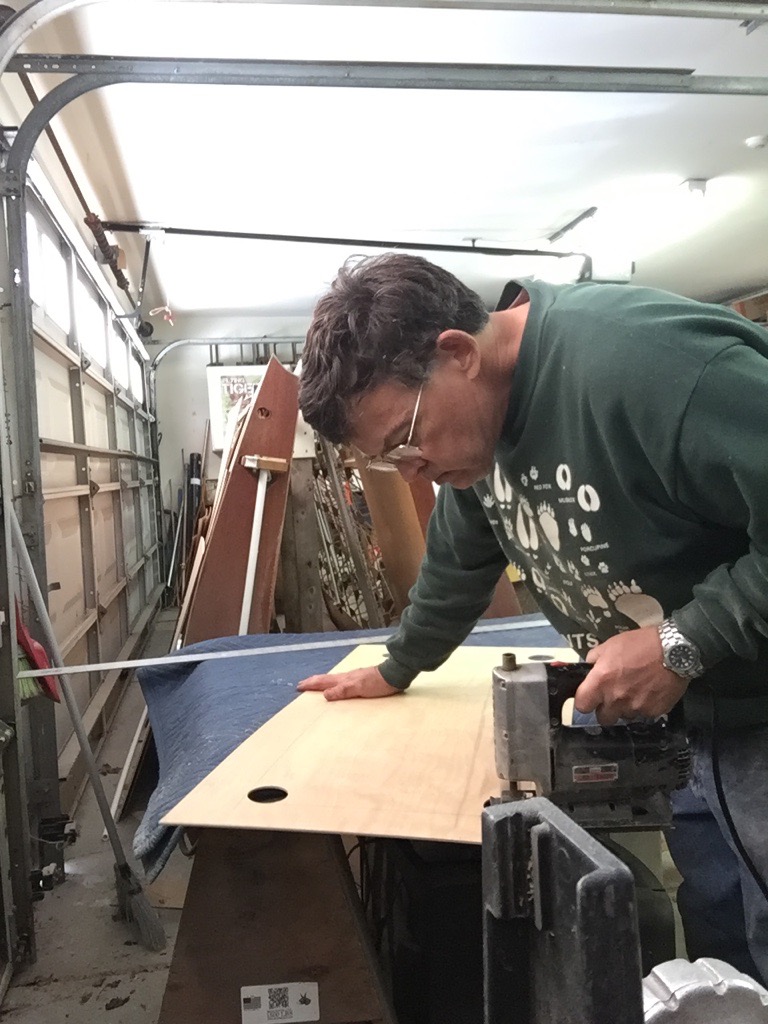
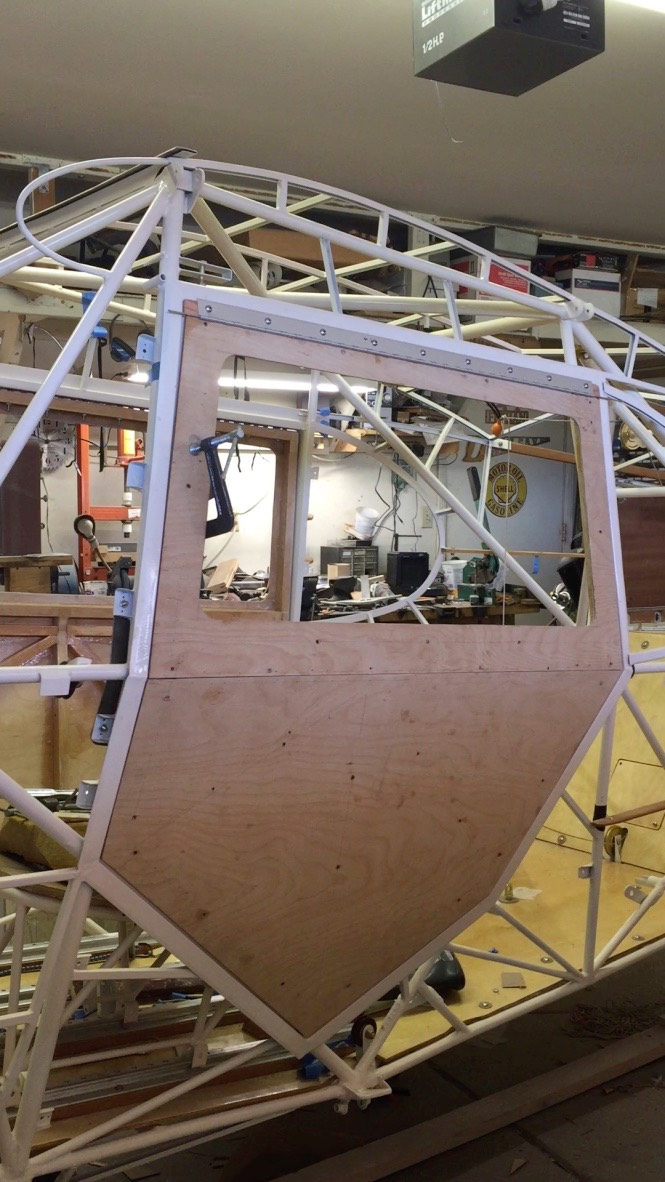
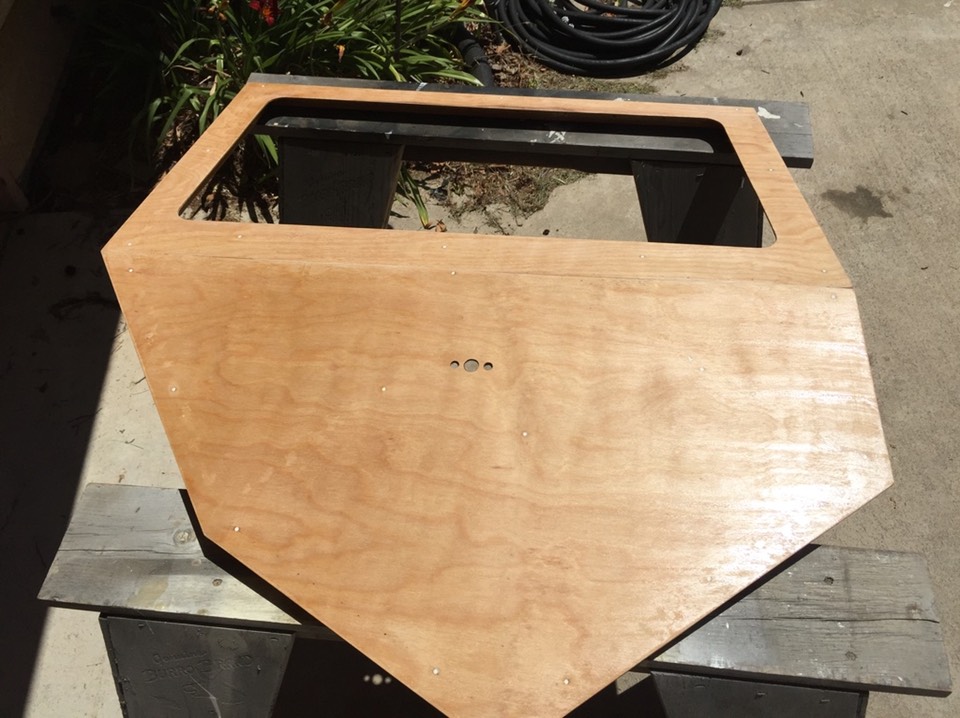
Next, door skin pattern was transferred to the plywood and cut out on band saw. Inside for window needed to be cut with a jig saw.
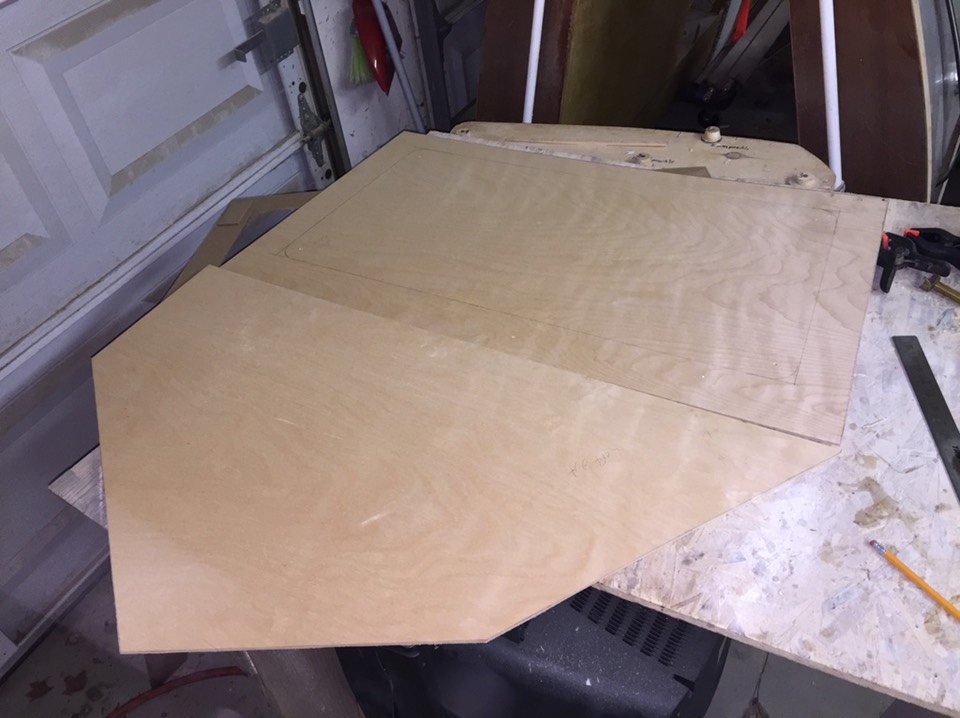
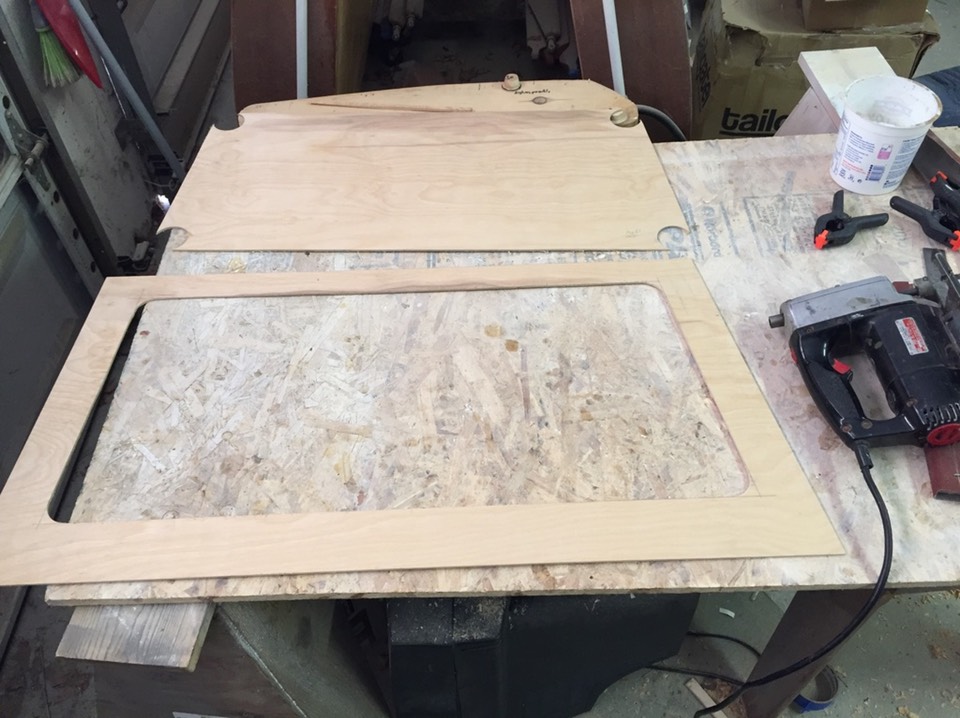
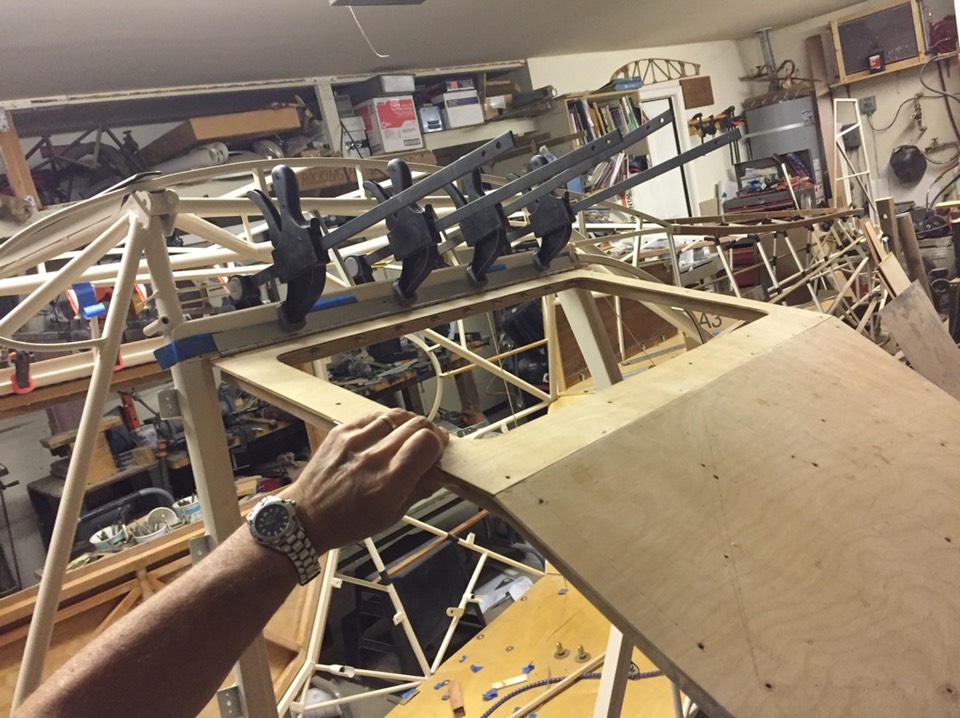
Test fitting the skins …..
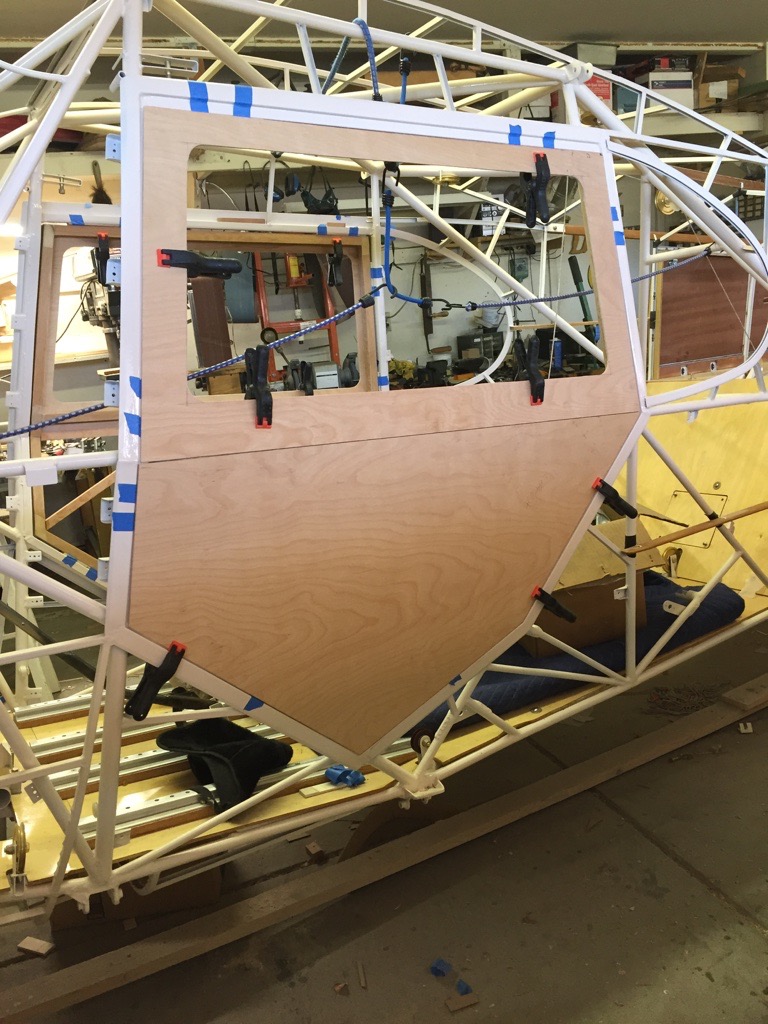
I used screws to temporarily hold skins in place. This would ensure alignment when I glued the shims in place.
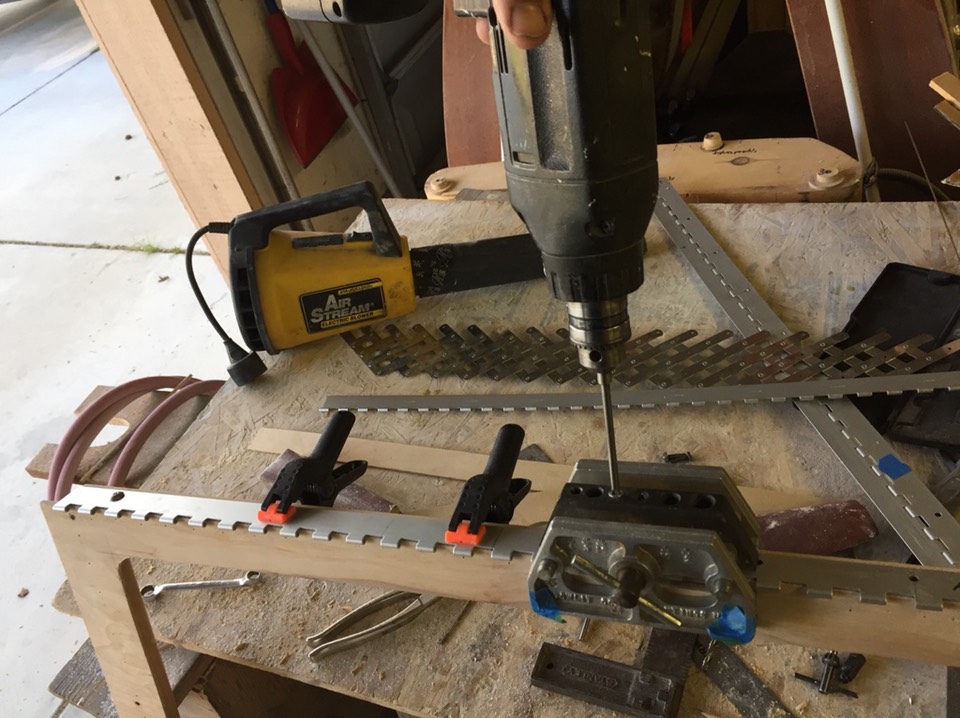
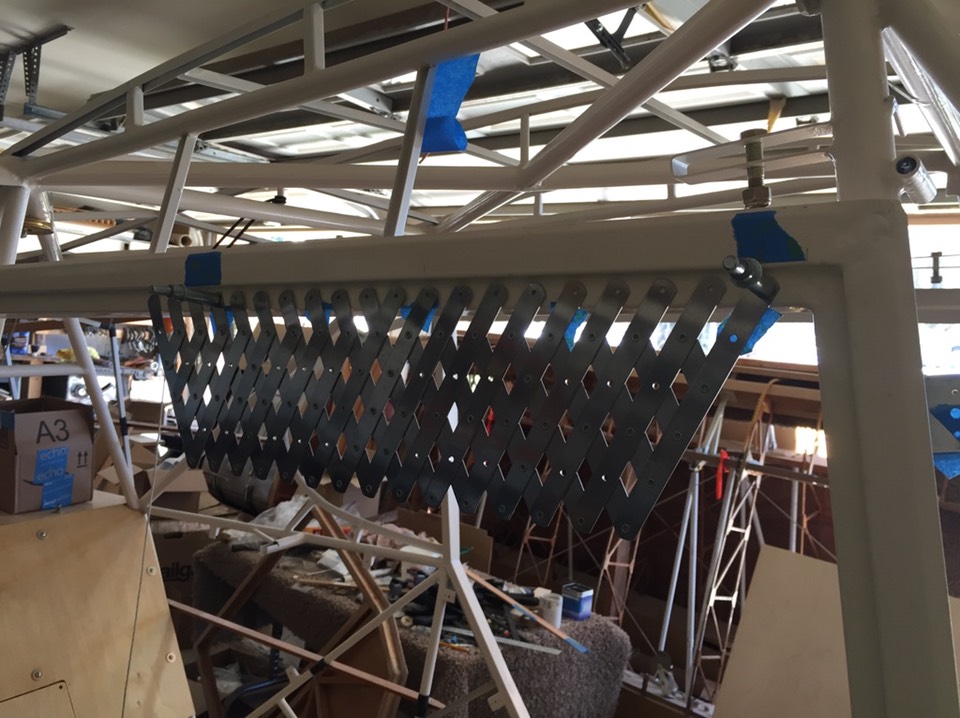
I learned about these strips in one of the EAA books and used them on the leading edge skins on the wings, and in the flap and aileron construction. Back to using them again.
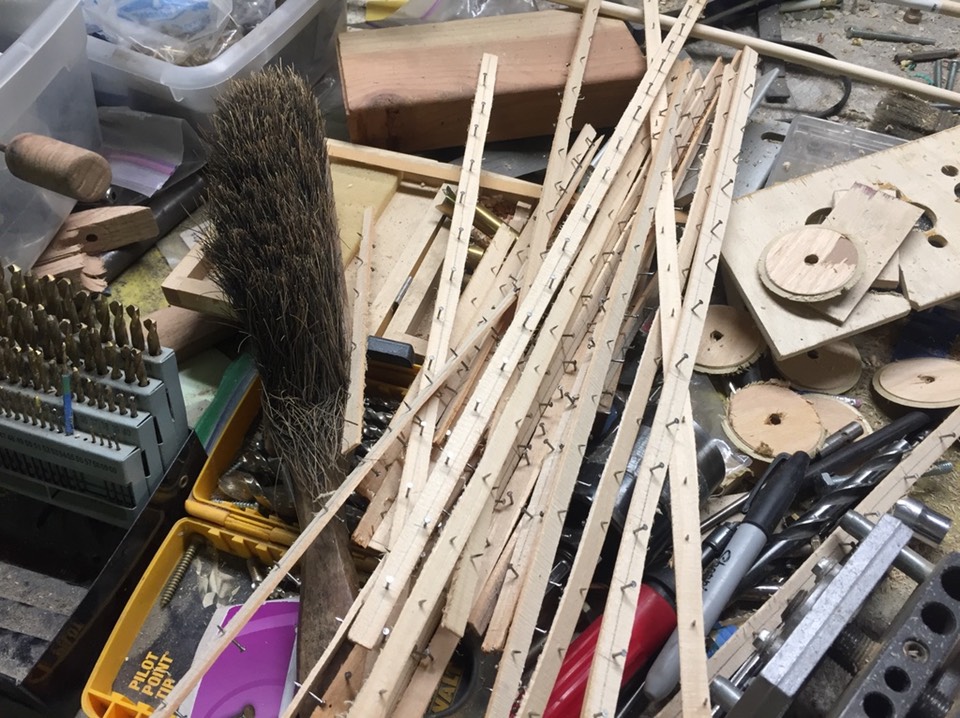
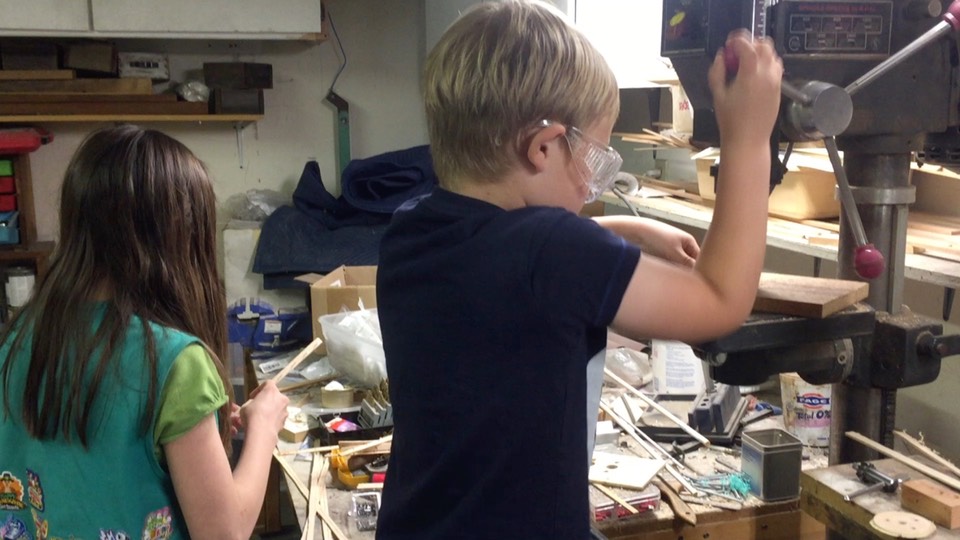
We had some kids over for a Girl Scout meeting. One of the leaders brings her son to some meetings and he hangs out in my shop with me. Here I have him drilling about 500 holes in the nail strips. My granddaughter is inserting the nails. The young builder at the drill press is 6 years old!

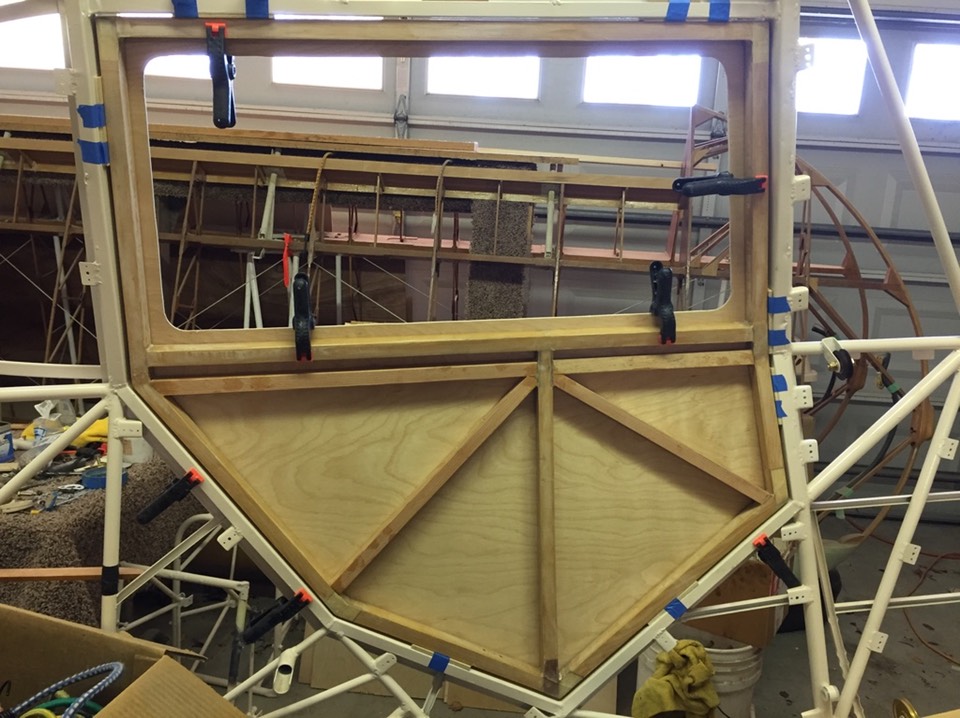
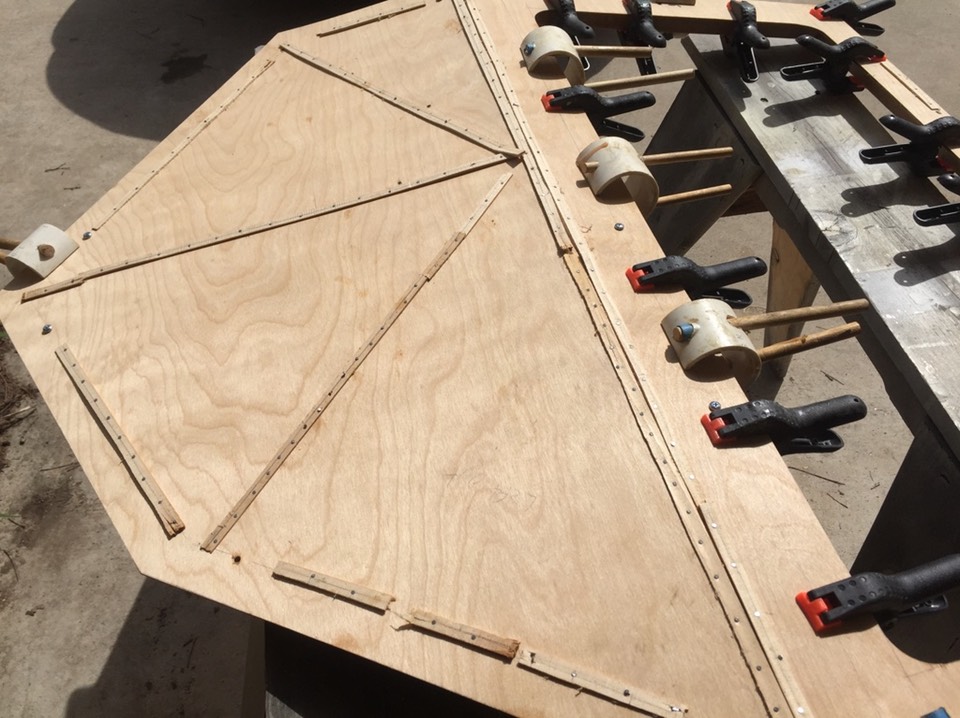
The skins of the door frame were glued using the nail strips. The use of the nail strips is magic. When the glue is dried, the wood strips are cracked and removed, leaving the head of the nail above the surface to be pulled early out. Works great!
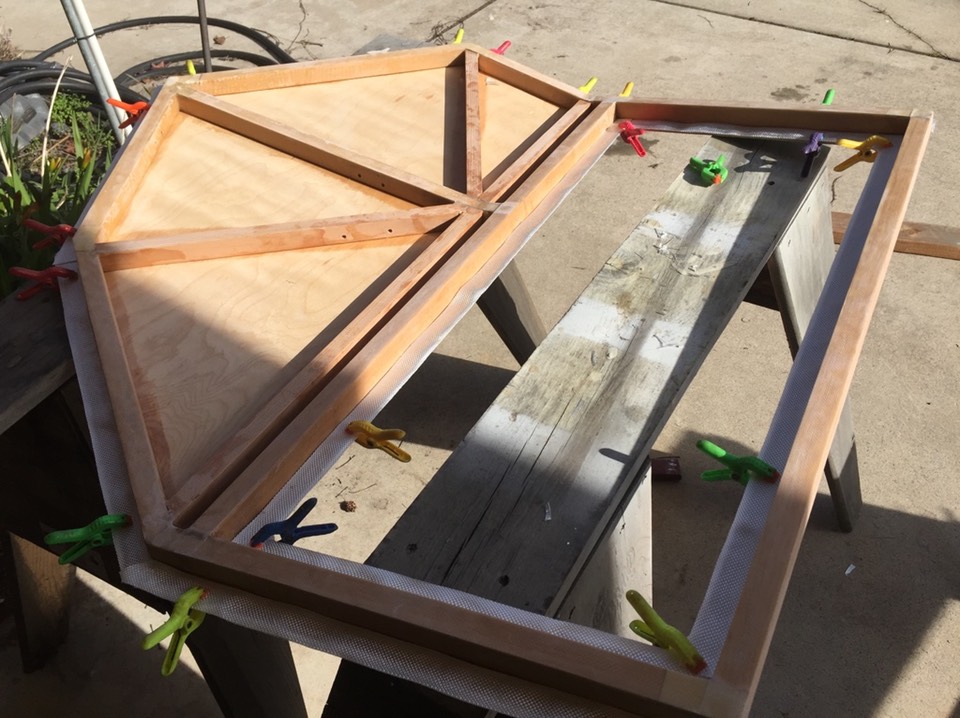
The overhanging edges are fiberglassed. This provides connection from one skin to another.
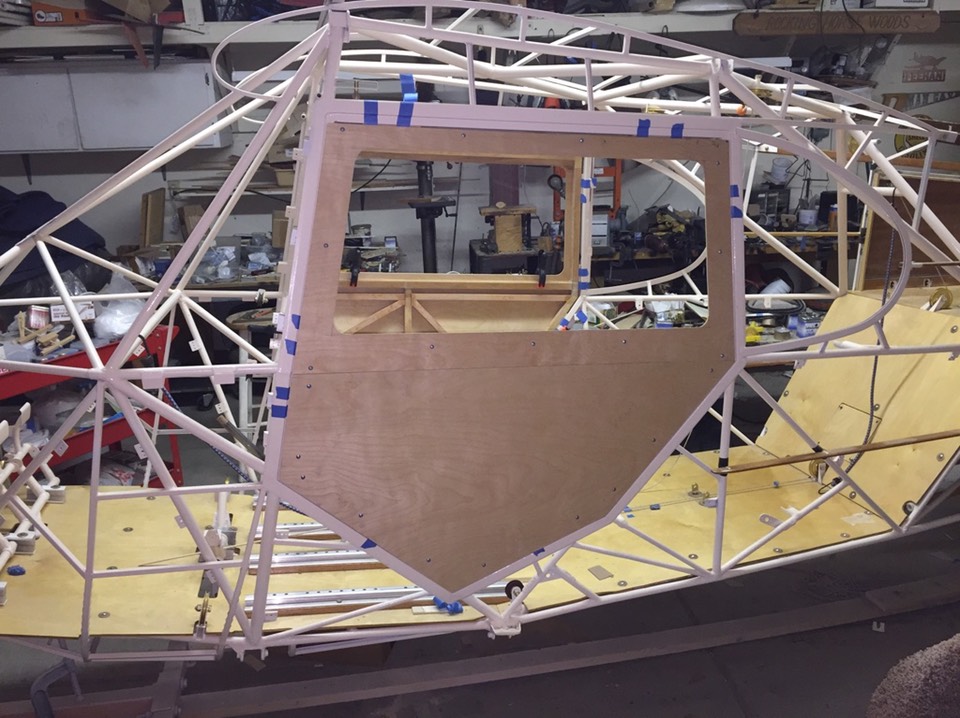
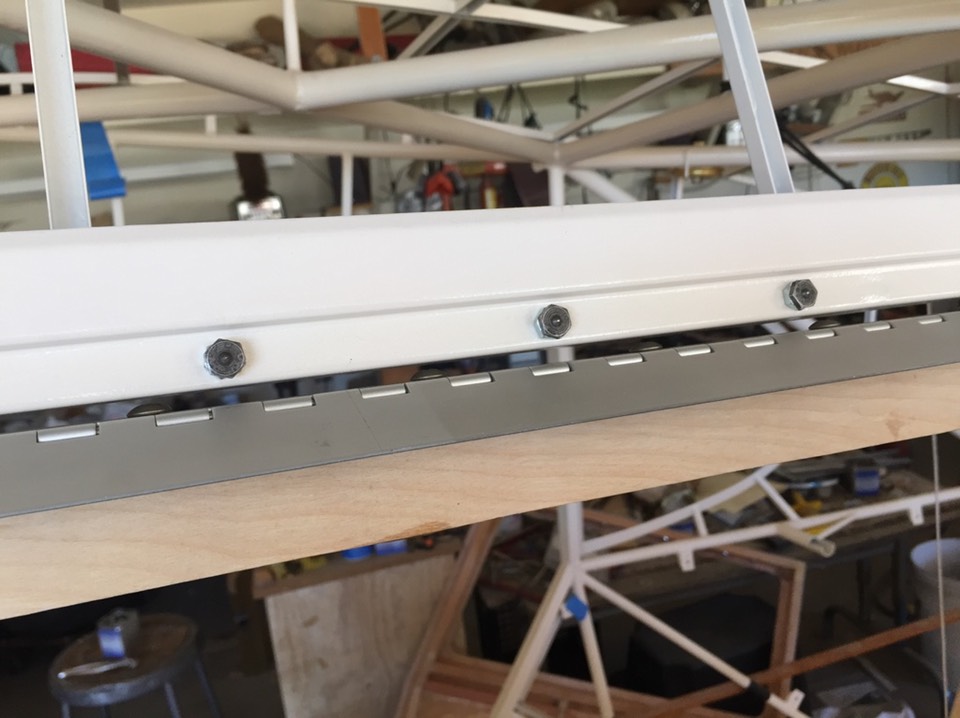
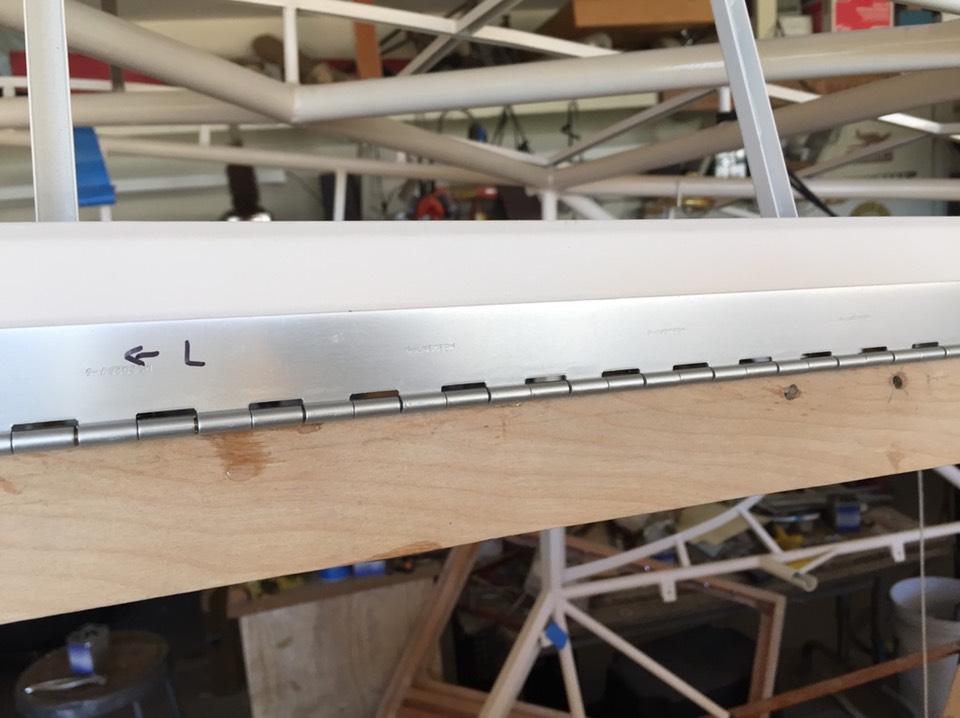
Next up, fitting the hinges. I'll be using nut plates. Lots of attention is needed to make sure all heads work without binding on the inside of the door. I hid all my screws inside the hinge joint, more difficult but a cleaner look.
Testing the fit ……
All holes need to be matched drilled. Care needs to be taken to avoid extra holes. No extra holes here but it took time.
I used these little guys to transfer the hole location to the hinge. I have a bunch of these and other sizes.
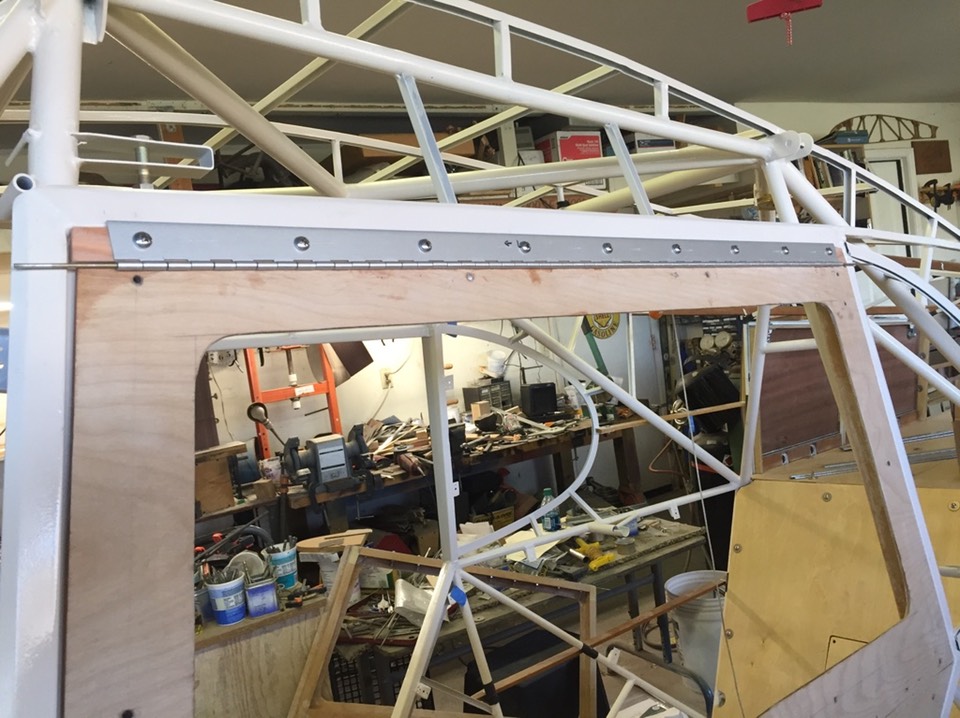
The hinge works! I’ll need a shim under the hinge, will use plastic cutting board material.
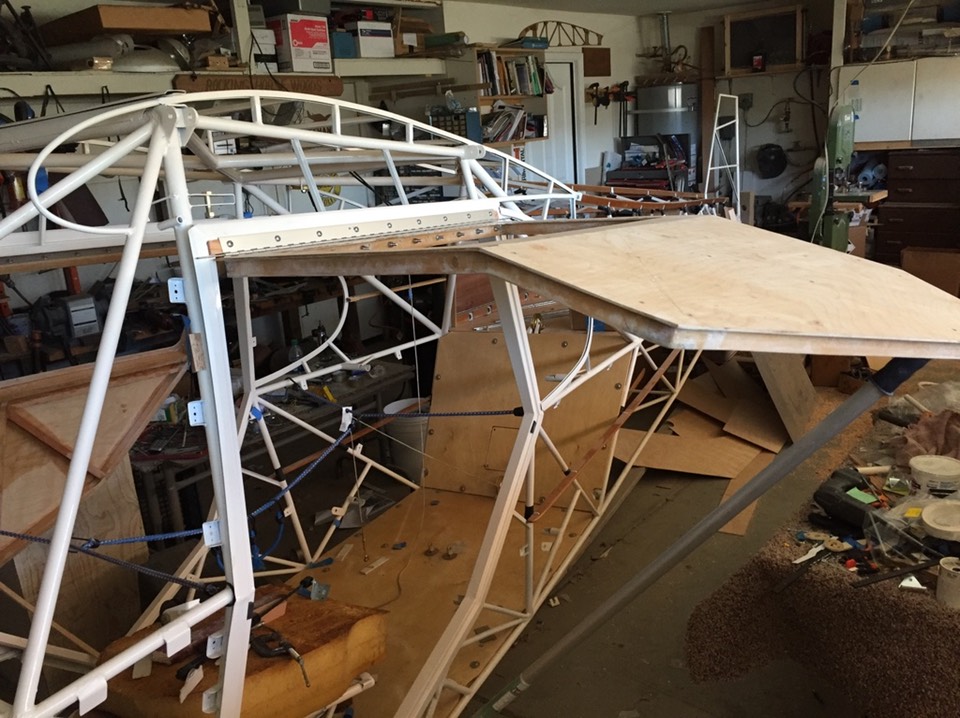
With the door hinged properly, I used a sanding block to trim all the edges to get an even distance from door skin to fuselage frame.
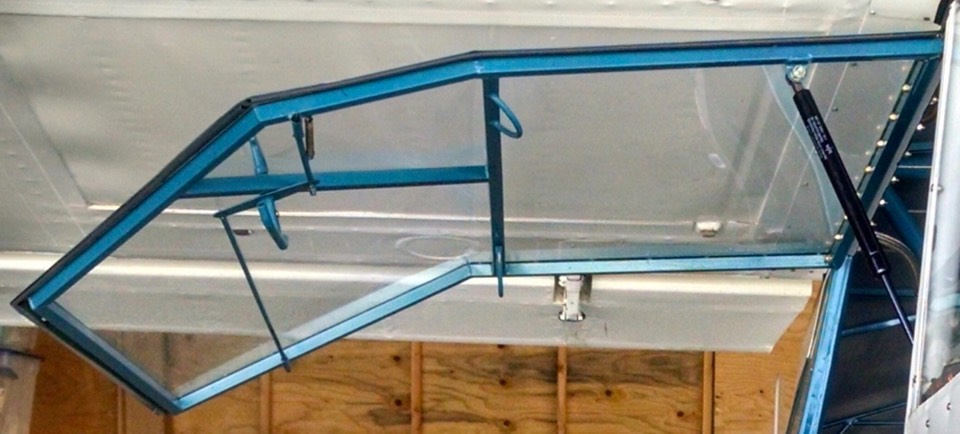
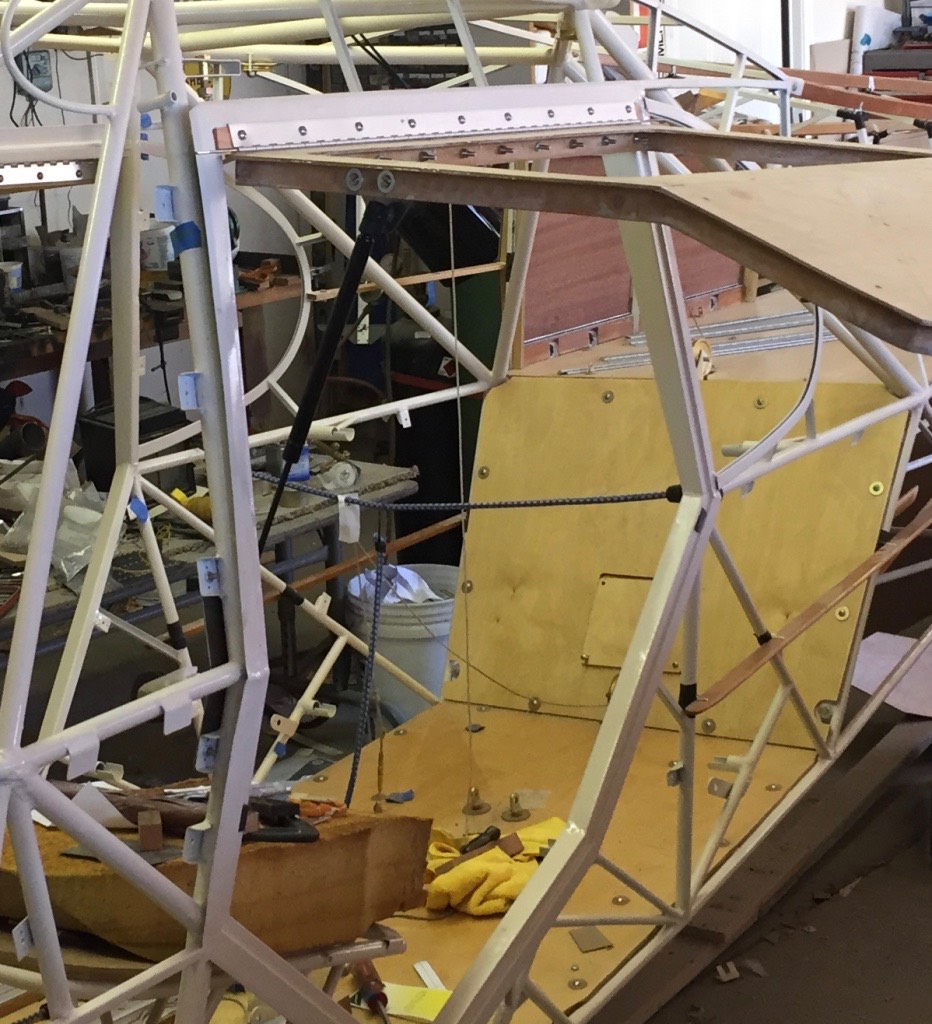
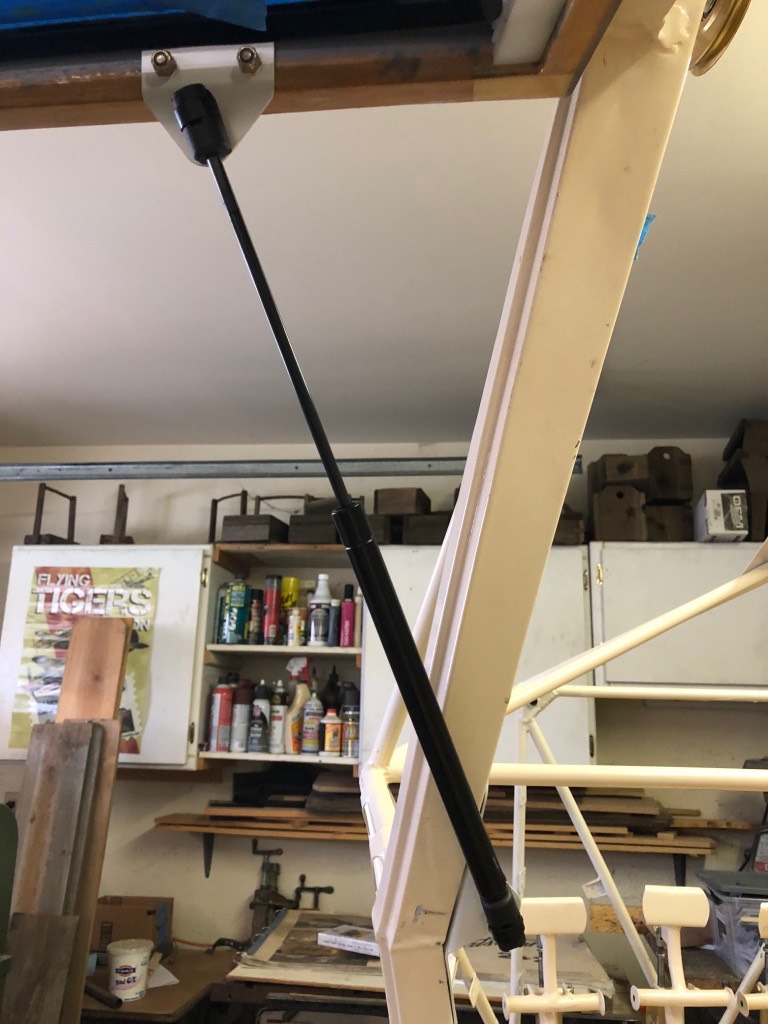
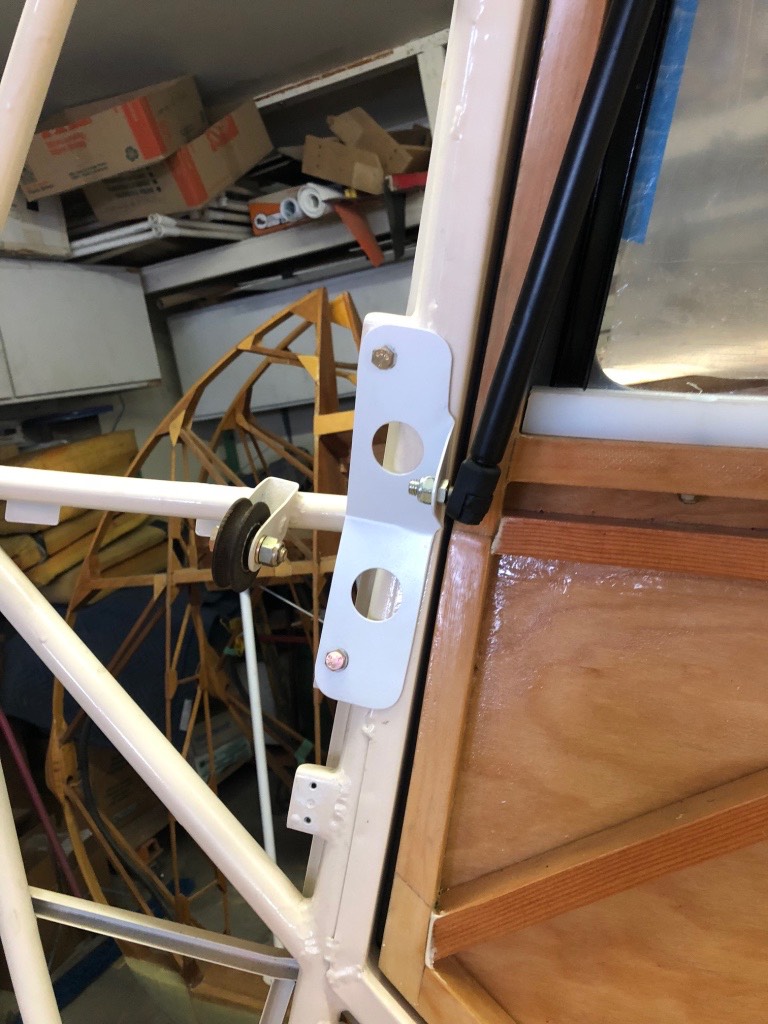
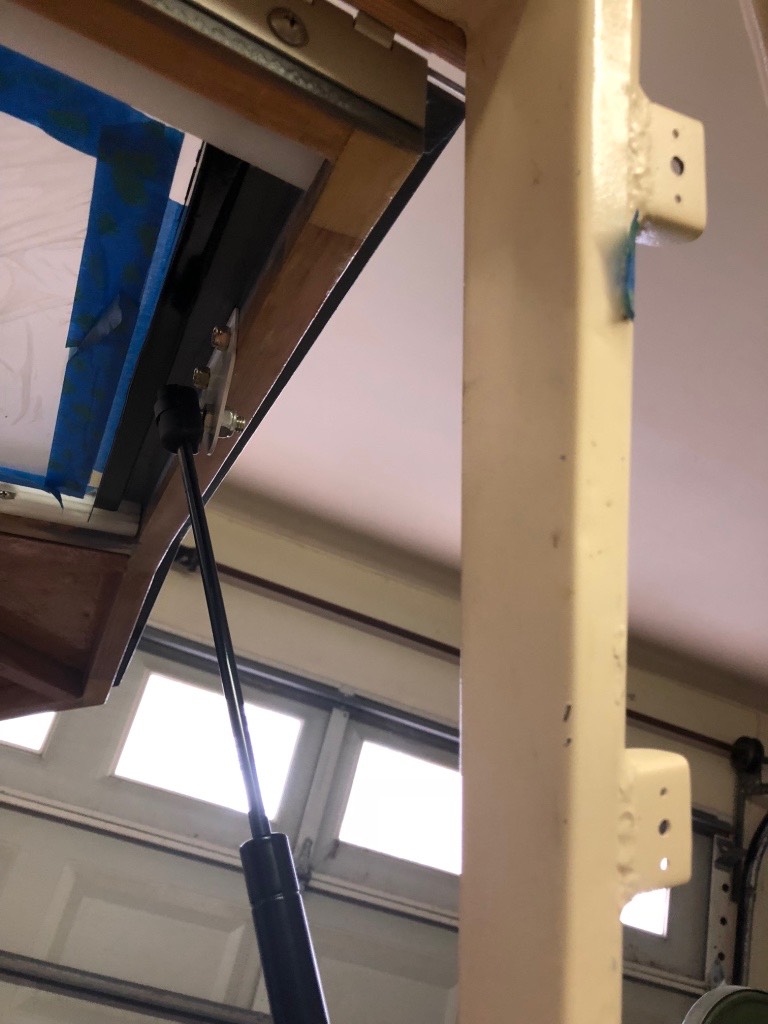
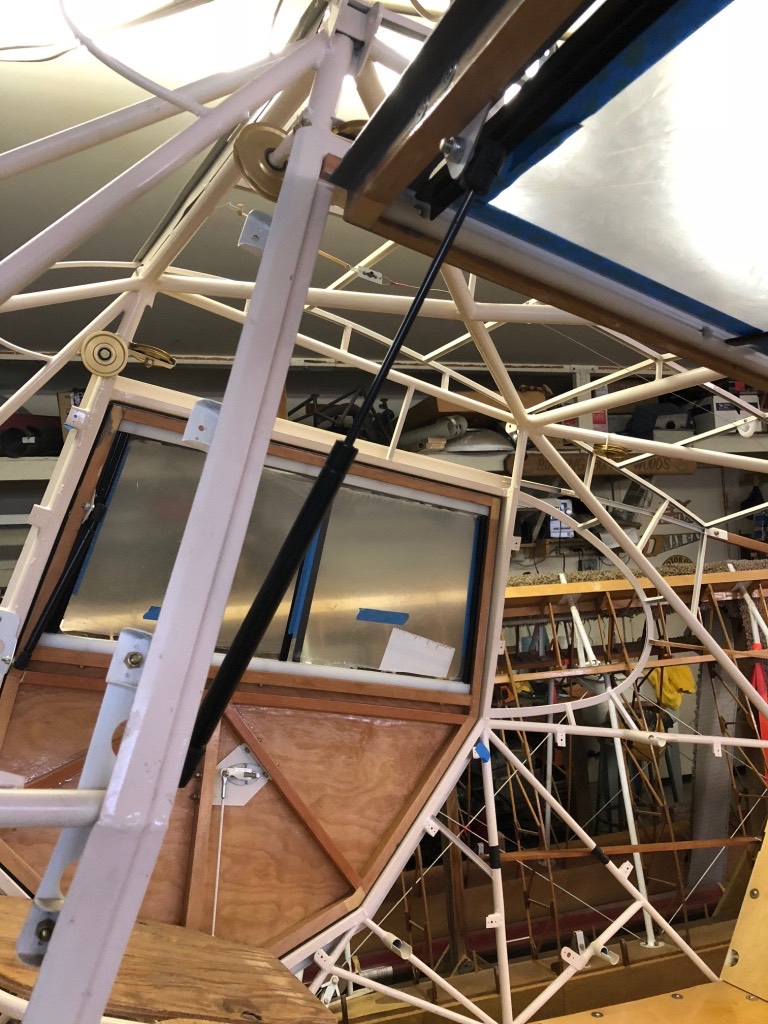
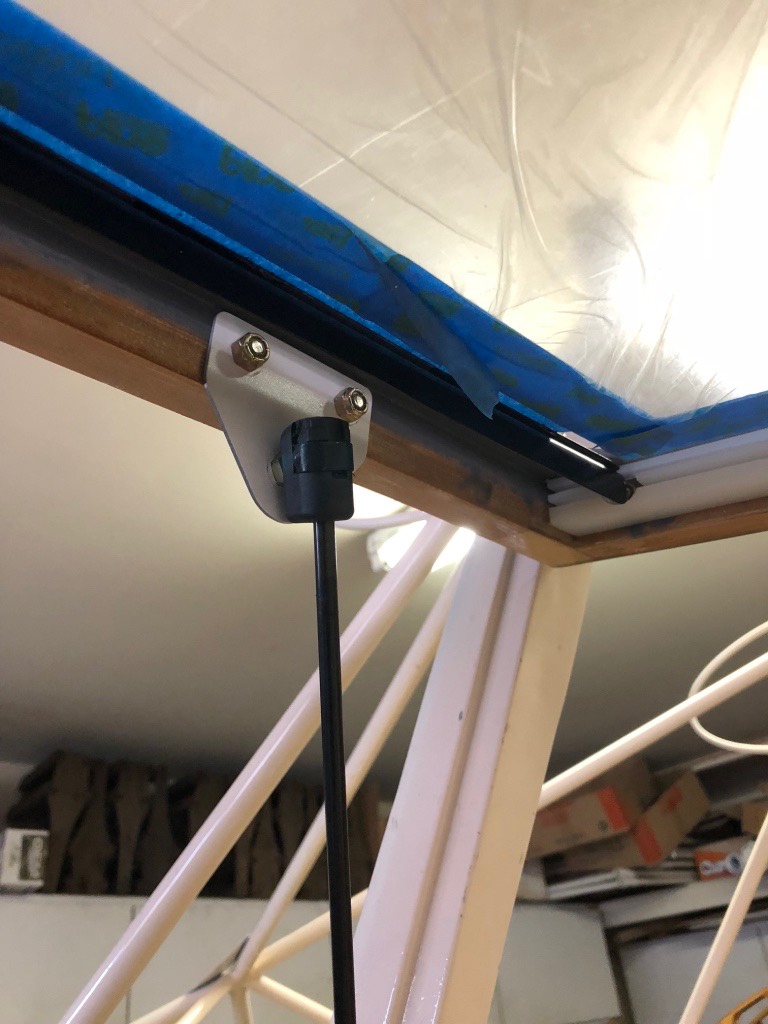
Gas struts were next. These were very difficult to install. They will vary from door to door so I’ll just post a bunch of pictures so you get the idea. I can provide specific measurements if needed but every install will be different. My lift struts came from an RV store. I started with 60 lb lift struts but they were too strong. I settled on 30 lb and used the 60’s on my Jeep hood. Here’s a bunch of pictures. I took some of these pictures after building the sliding windows; I will detail those in another post. More available if needed. I also have a video of the strut in action here.

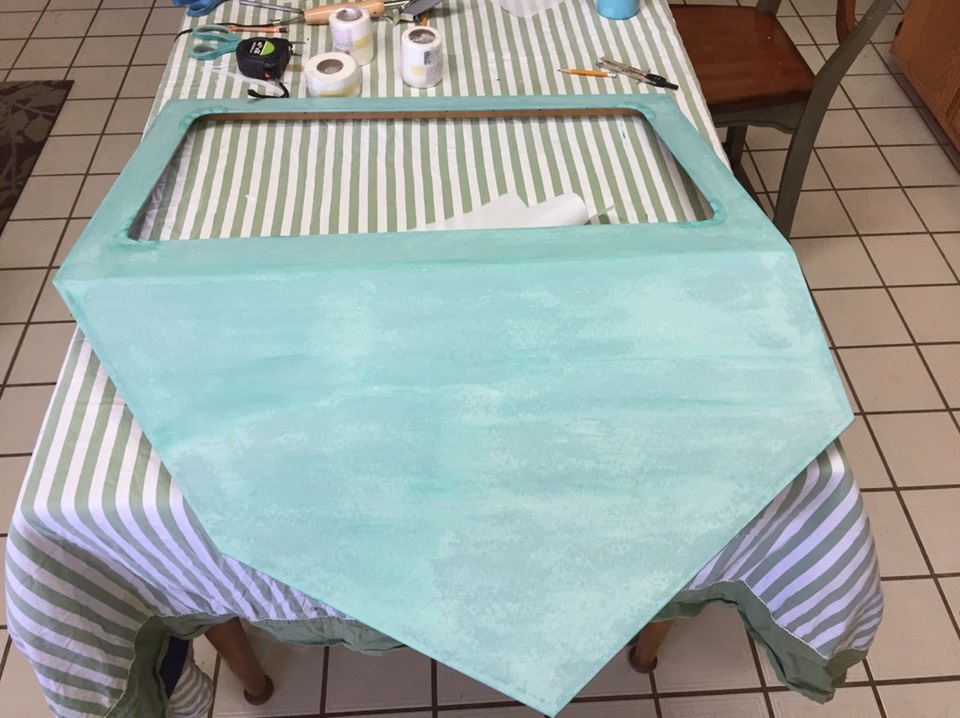
Doors were removed and all surfaces epoxy coated in preparation for fabric covering.
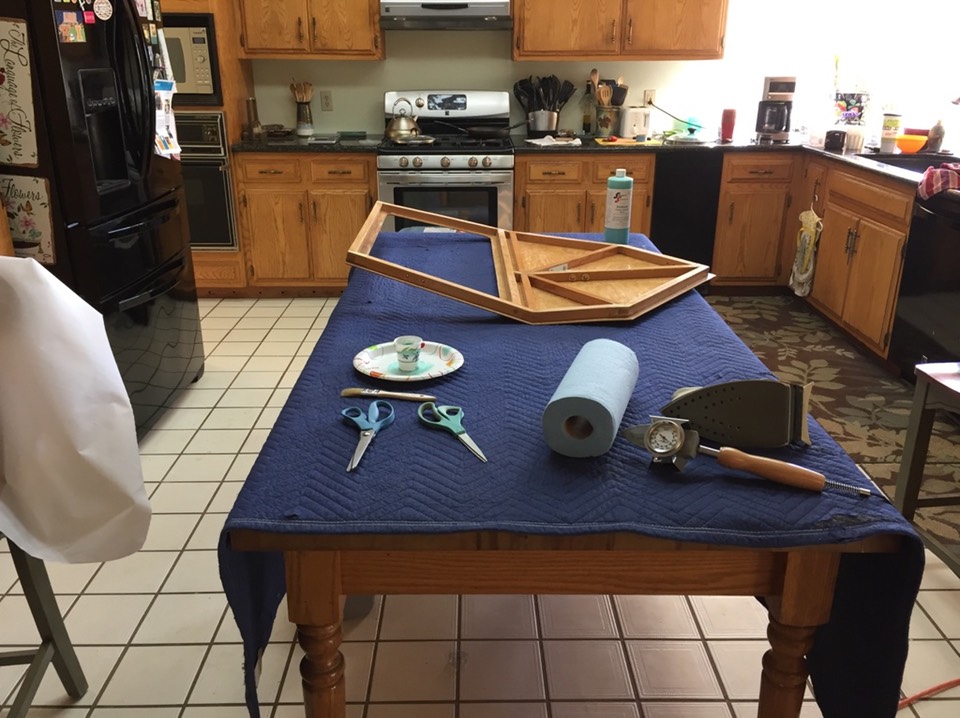
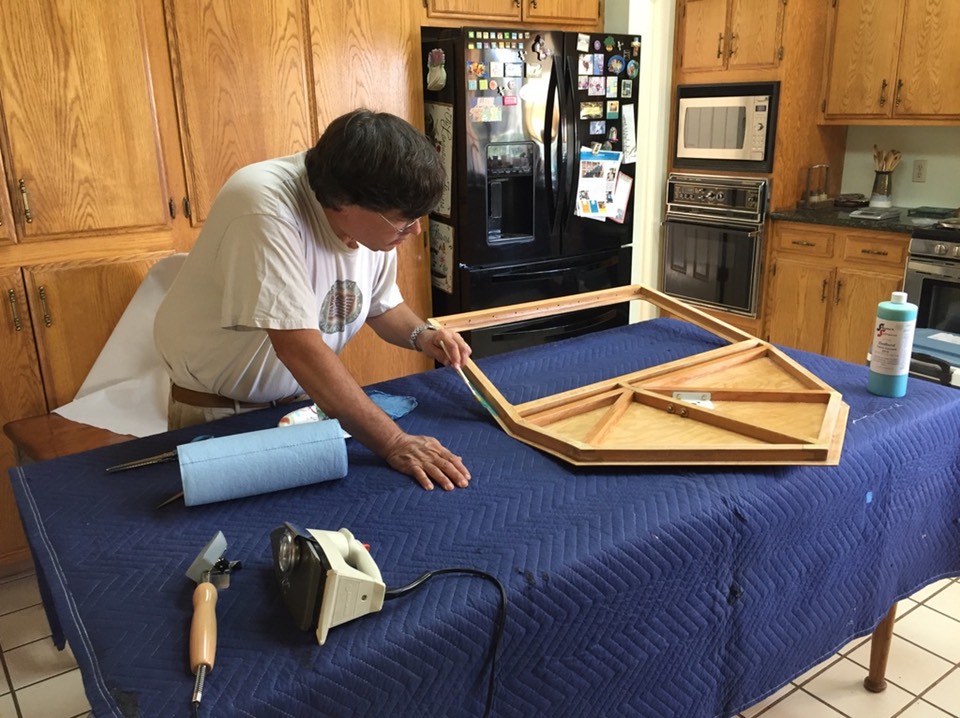
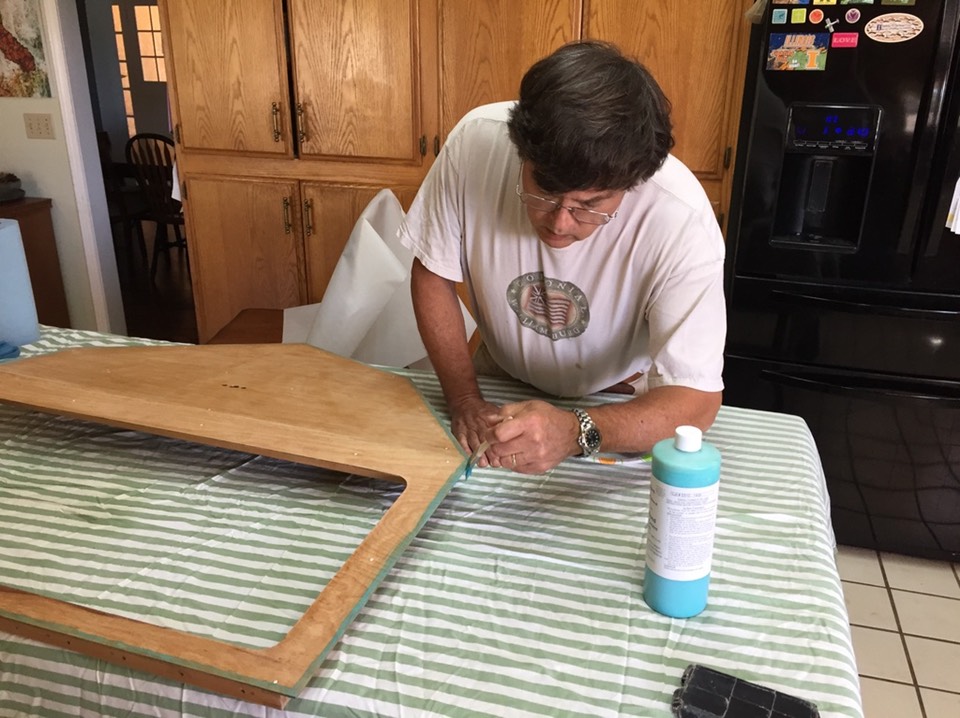
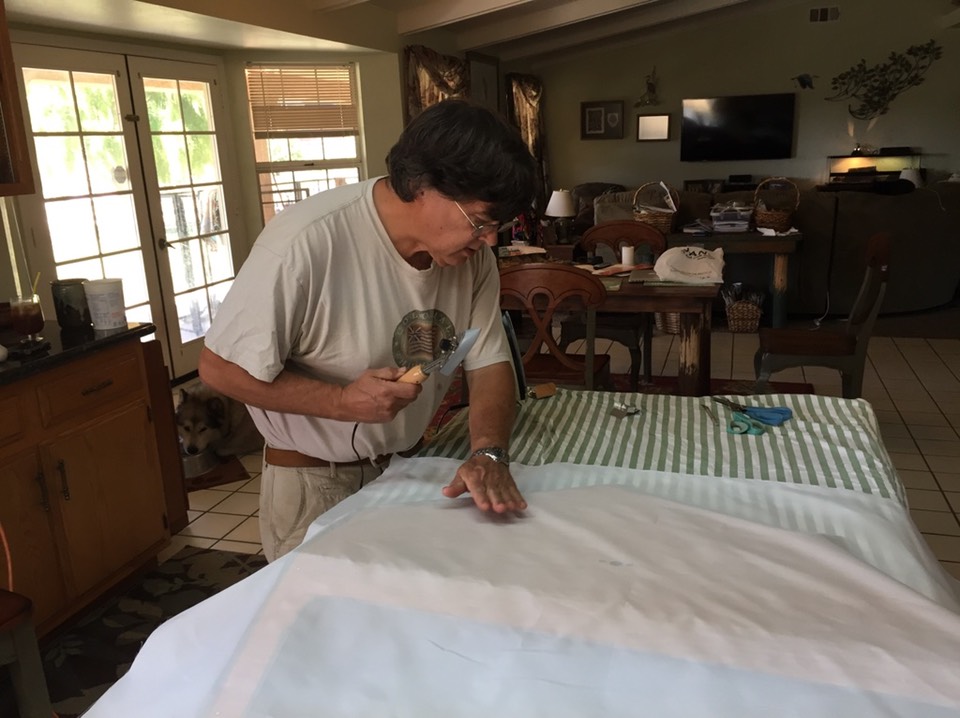
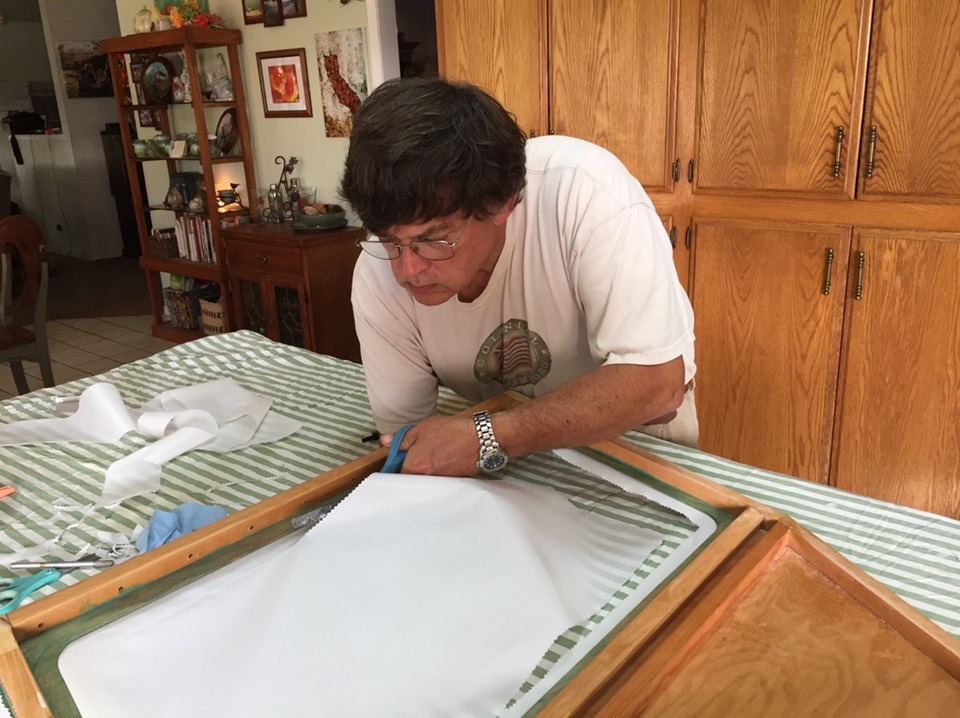
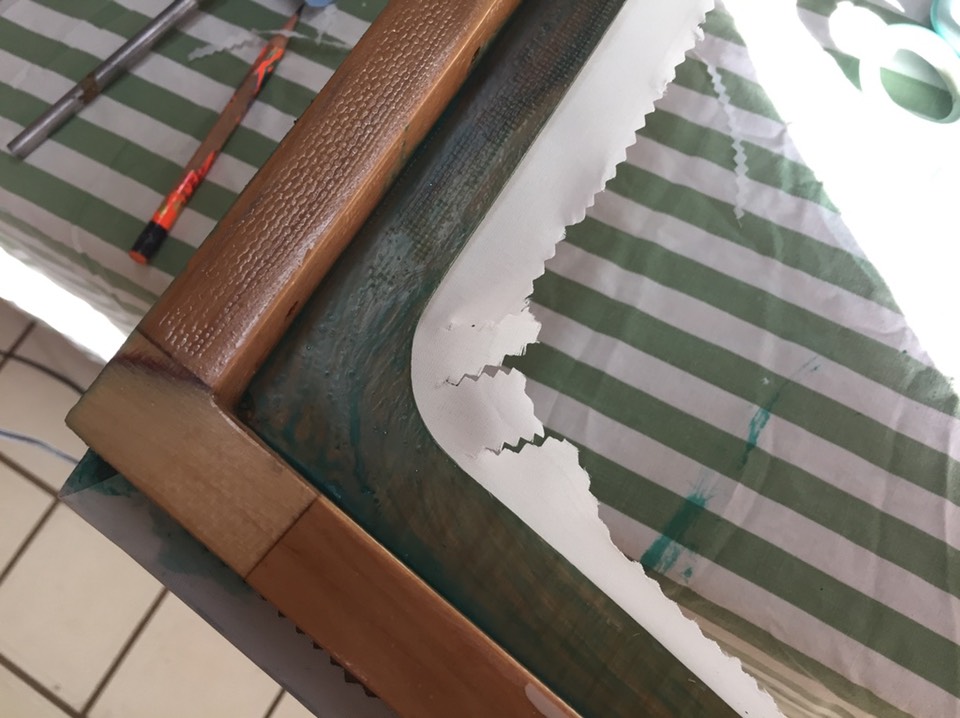
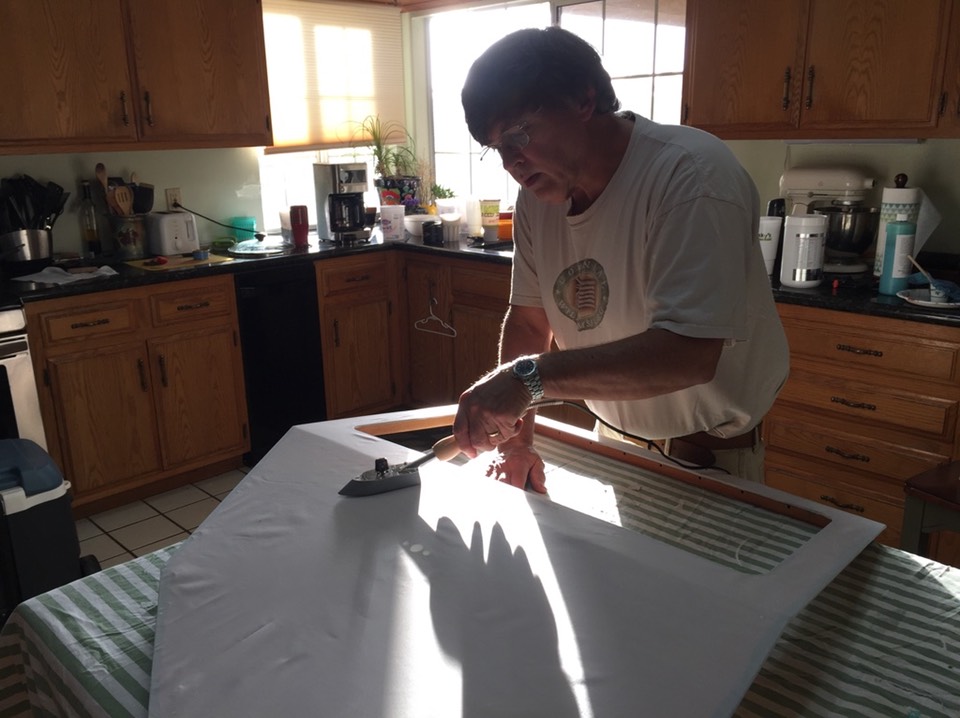
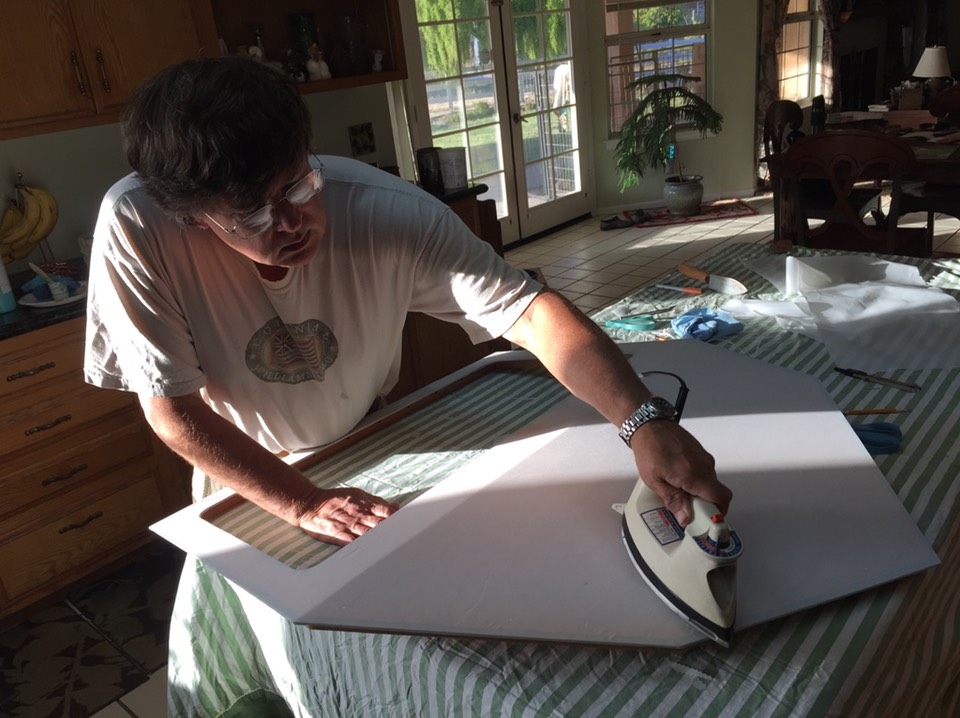
Fabric was applied in June. I did the work in the kitchen. Everything was covered using the Stewart Systems process. No smell at all! Pictures of the process. For specifics, please refer to the Stewart Systems Manual.
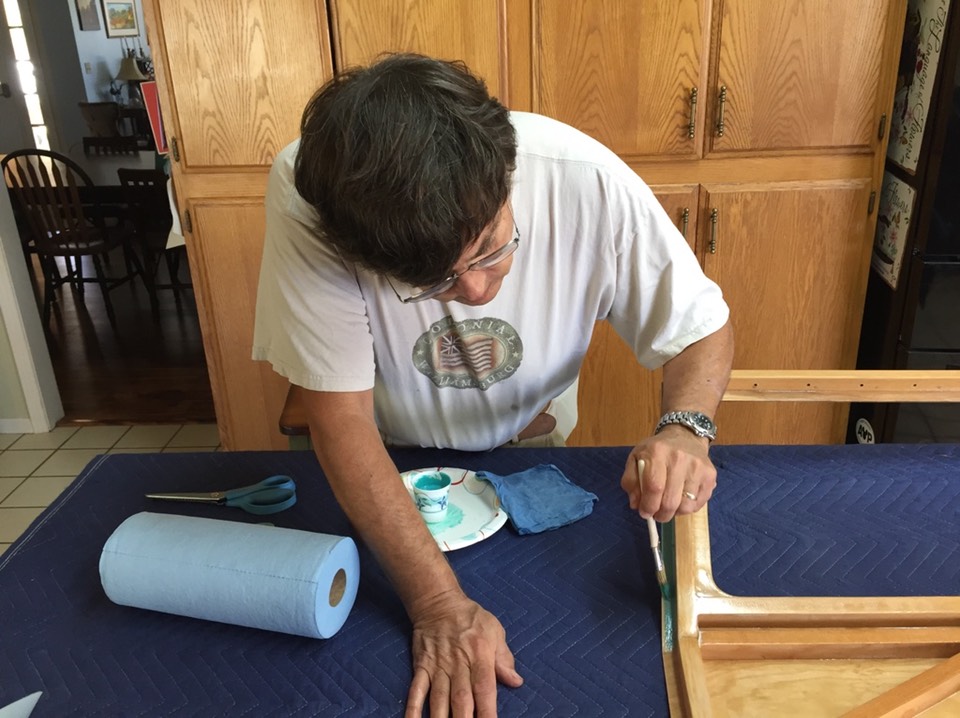
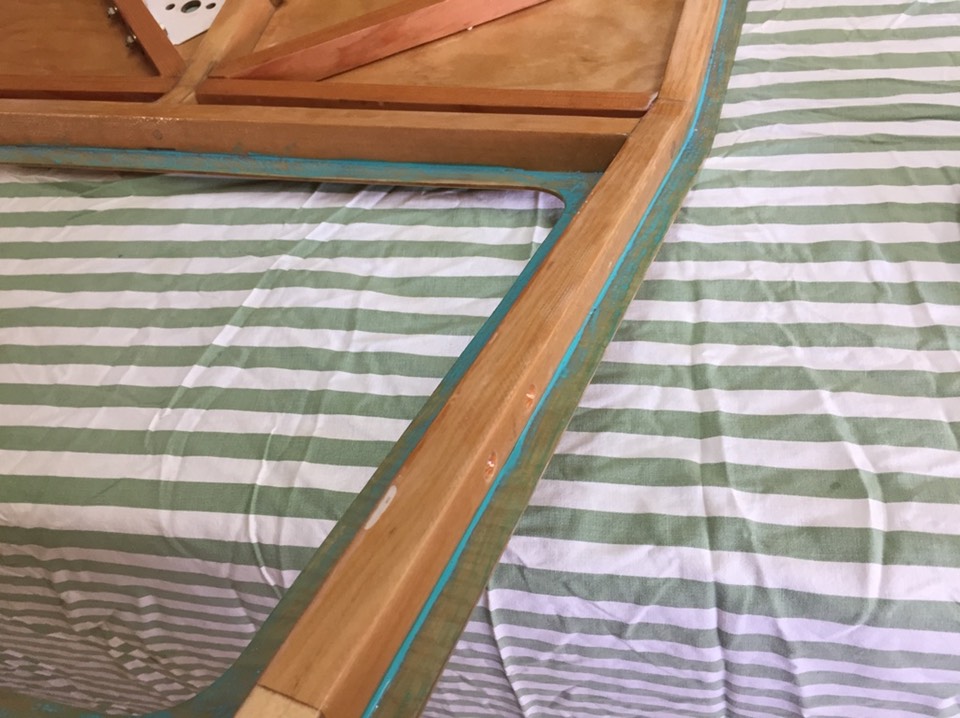
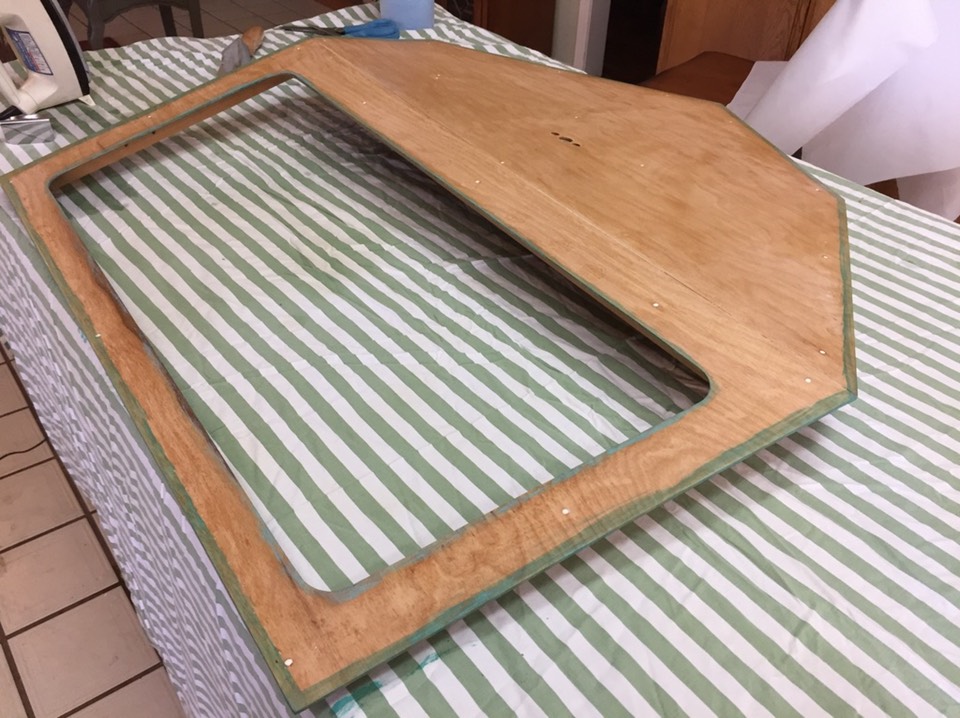
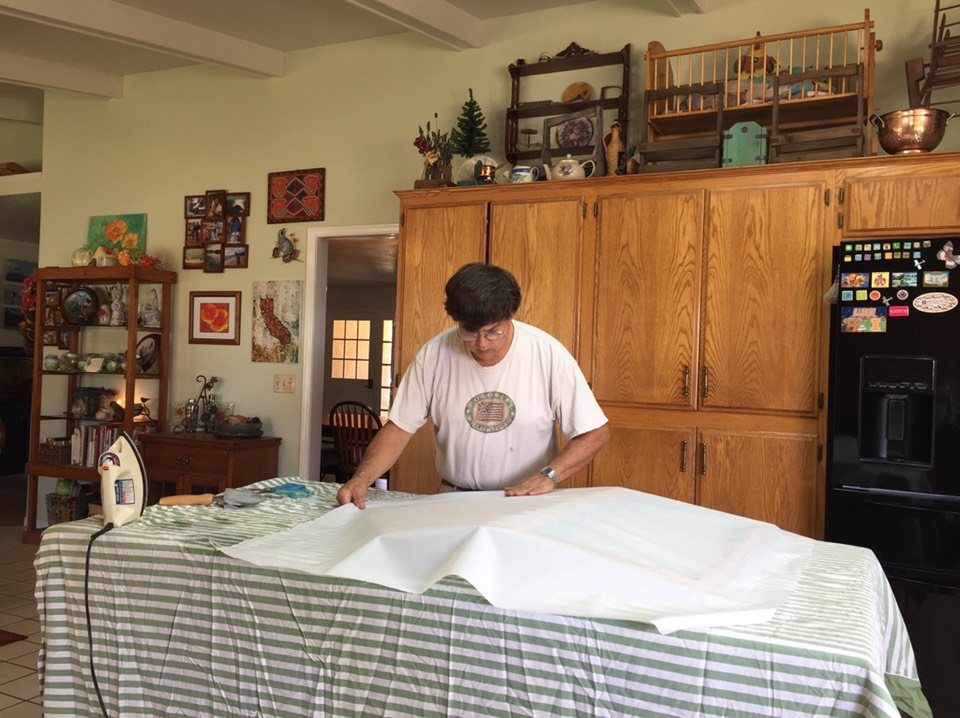
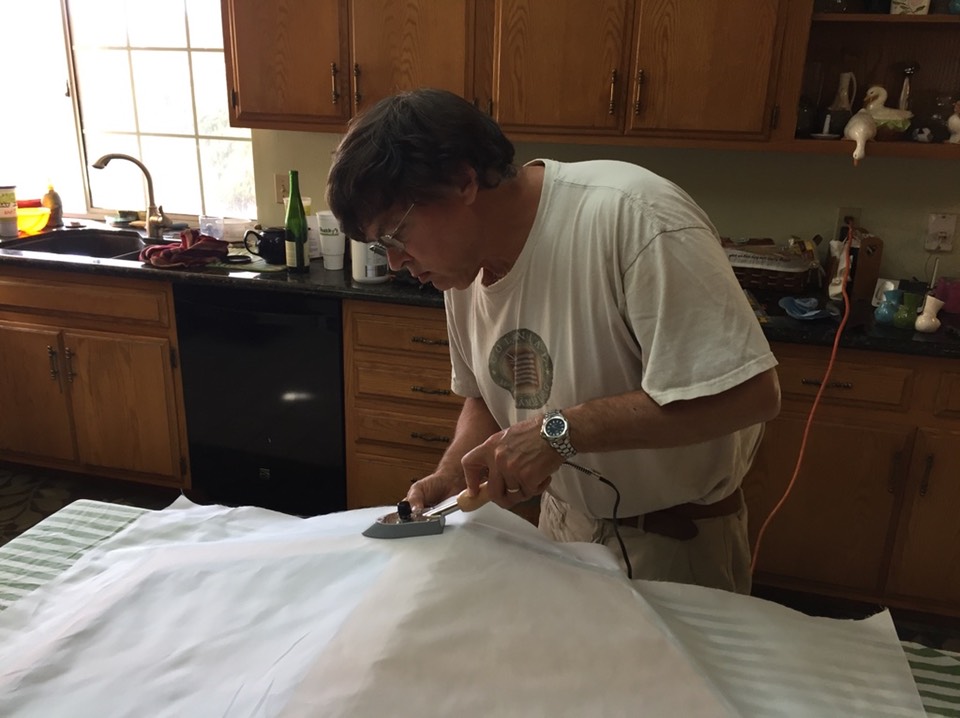
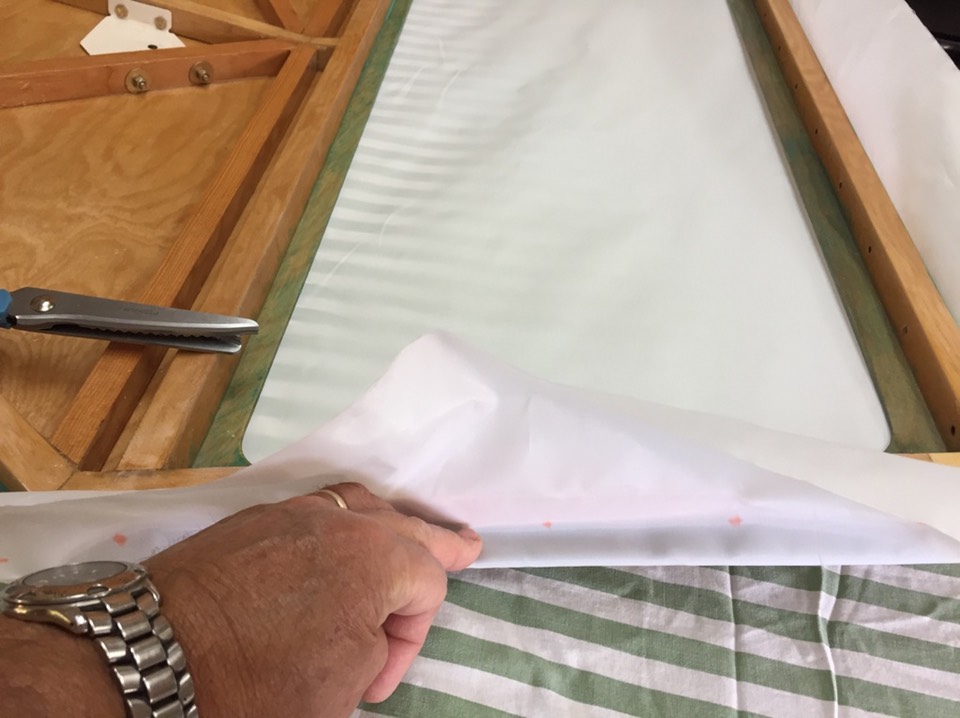
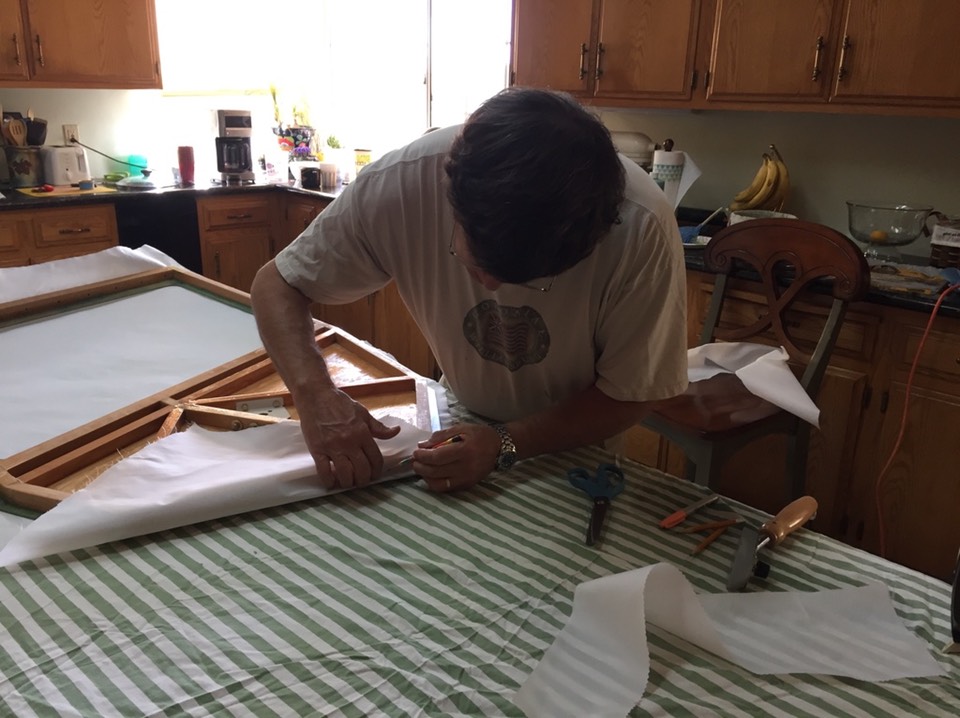
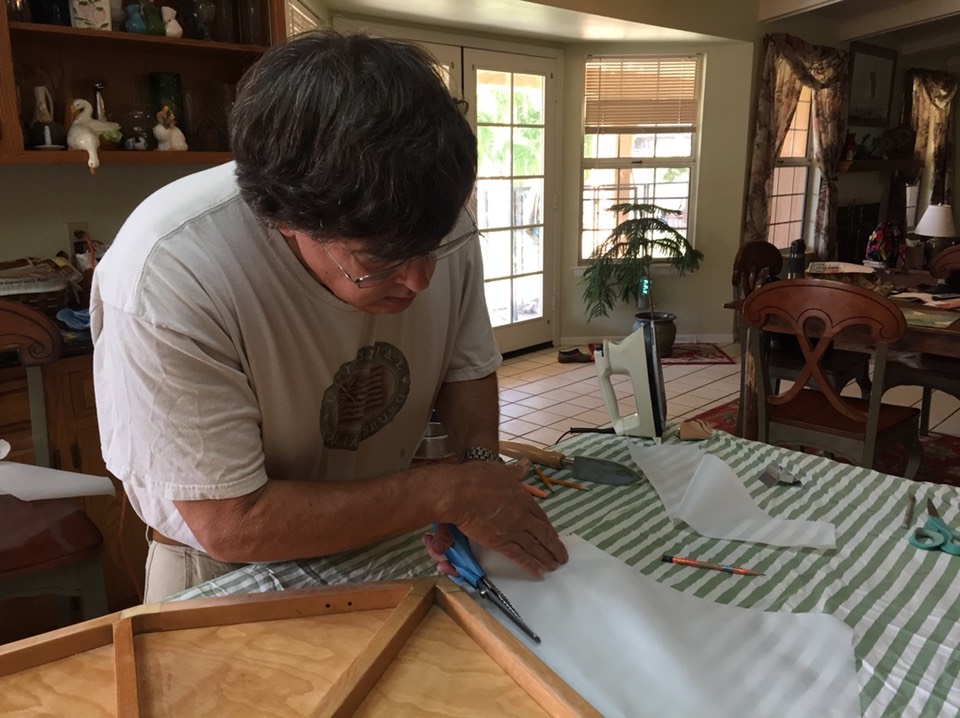
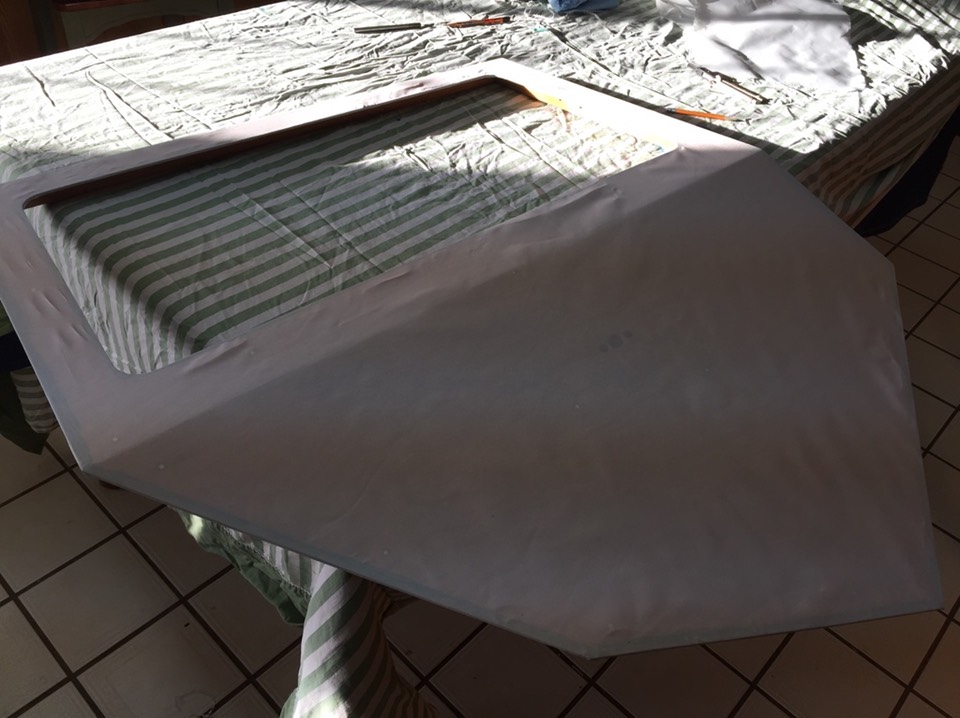
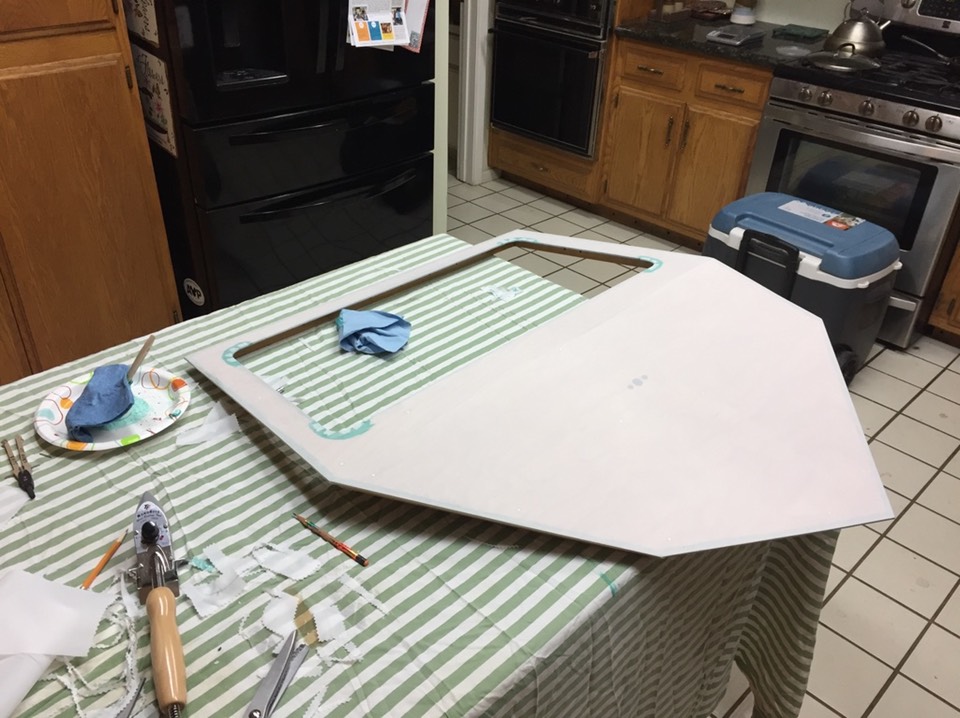
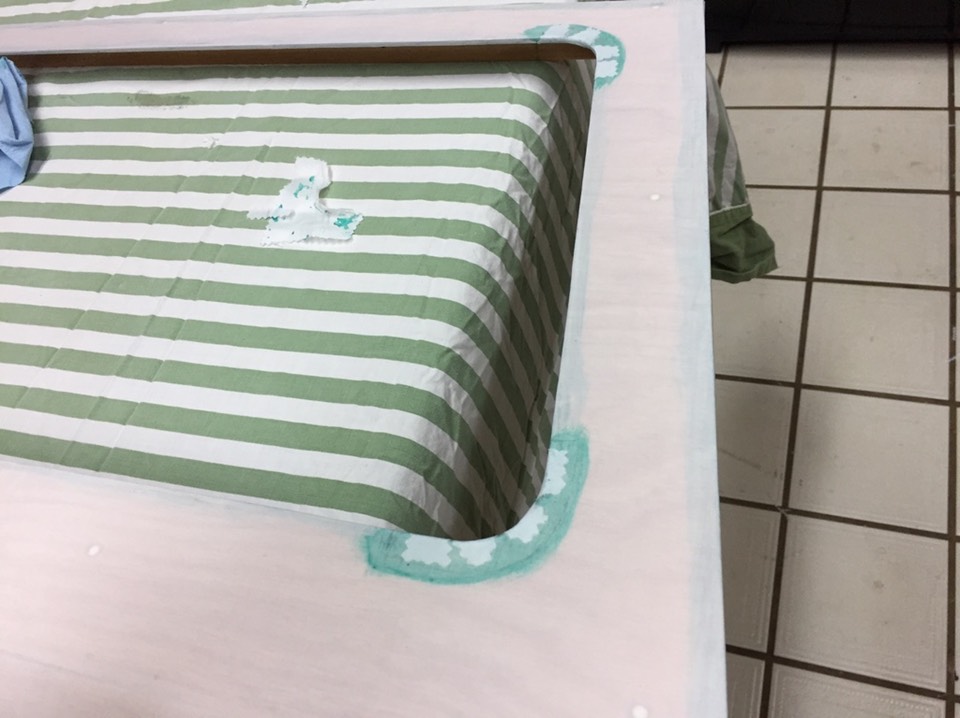
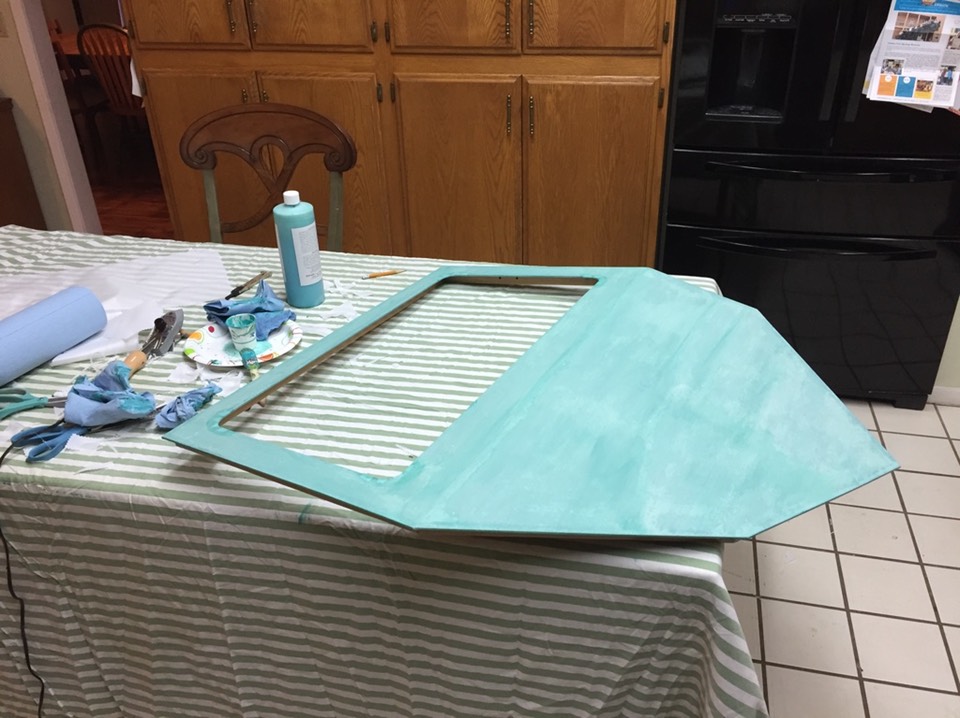
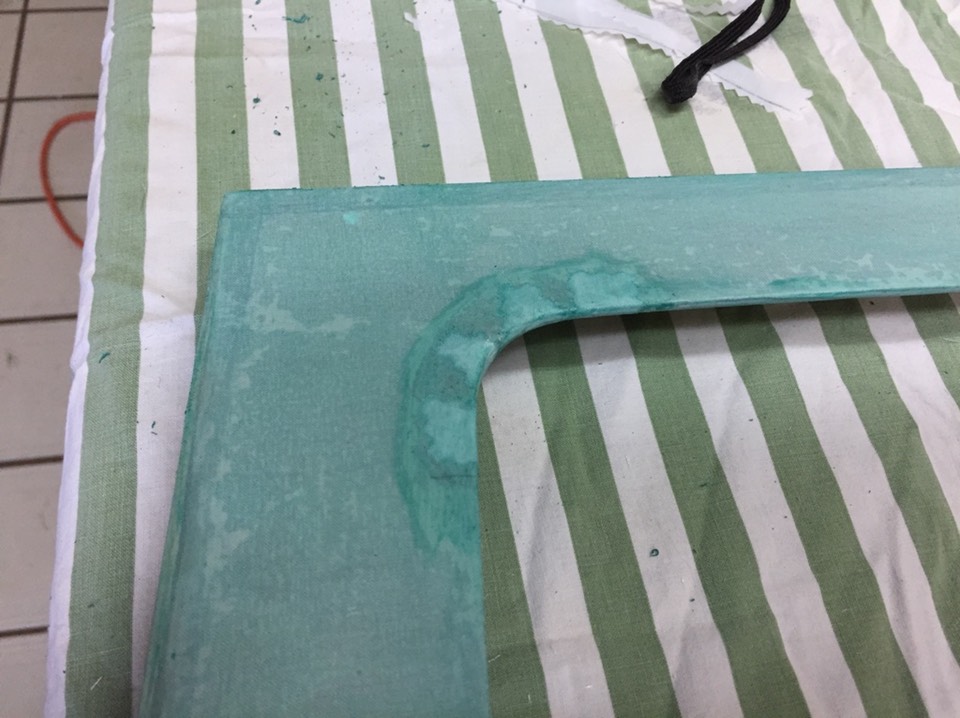
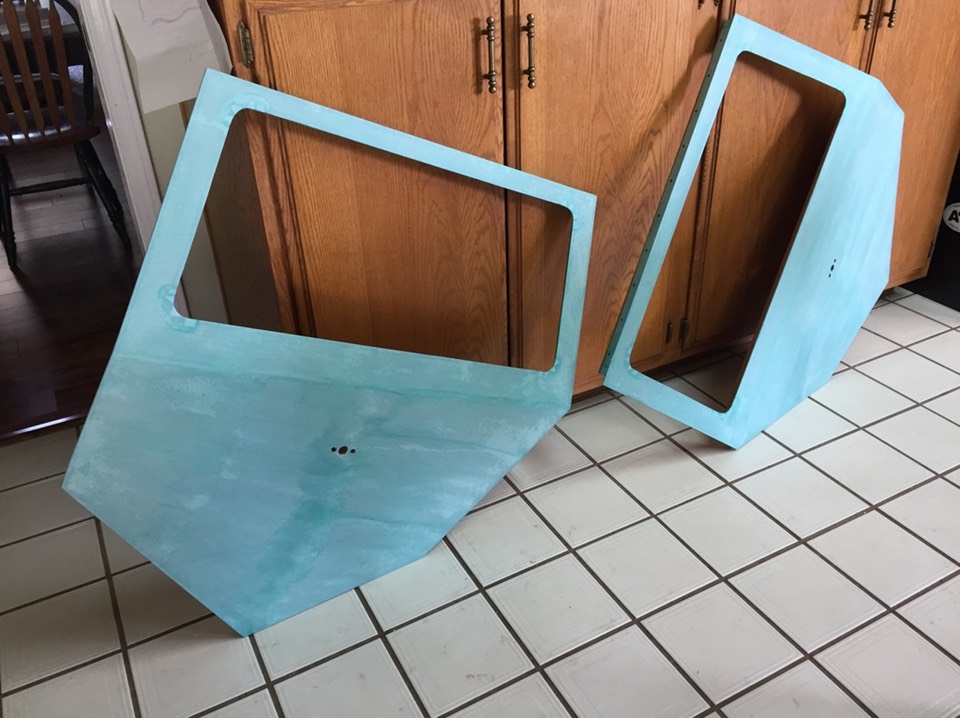
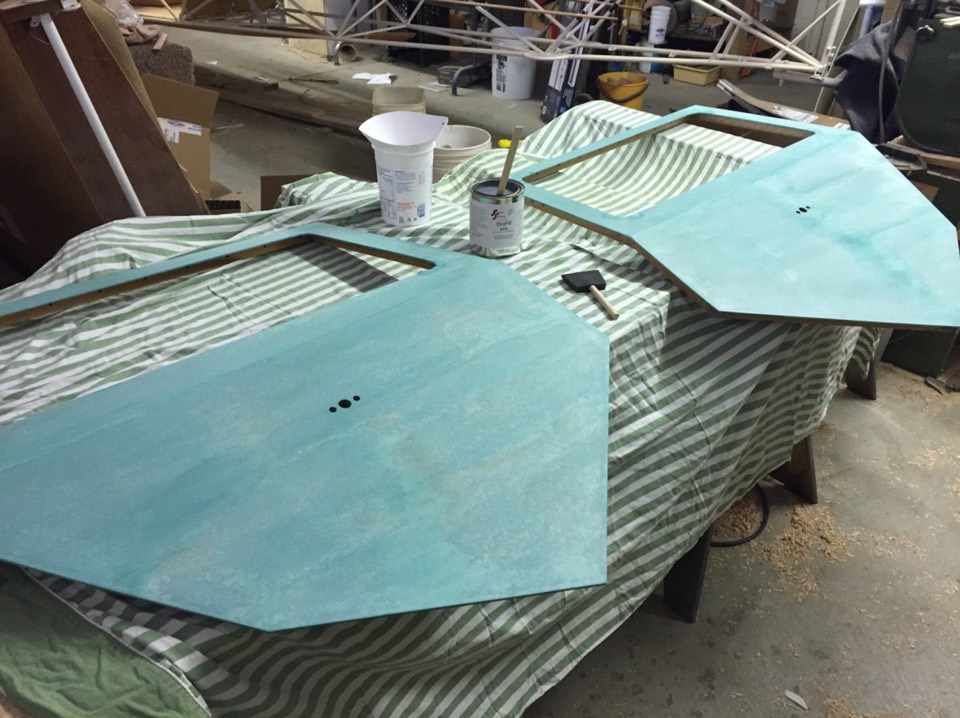
Fabric work done! Pictures should give a good idea of process.
Next post will be making the windows and tracks. Getting close to being finished with doors.
Return to Past Posts and Pictures by Date