

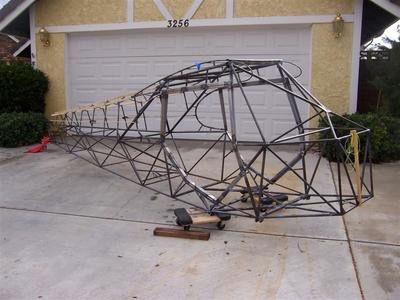
It’s mid February, the holidays are over, and I have a lot to show. Stringer attach frames are done; door frames are complete, and I have all the 3/8″ channel finished, less some final welding! (not shown) So, here we go with a lot of photos.
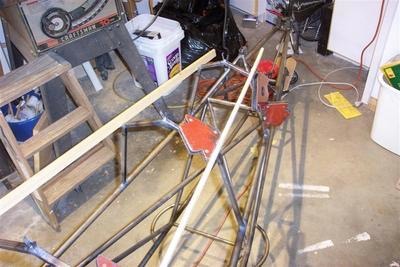
I used my "short wings" to establish the necessary lines for the 3/8" channel.

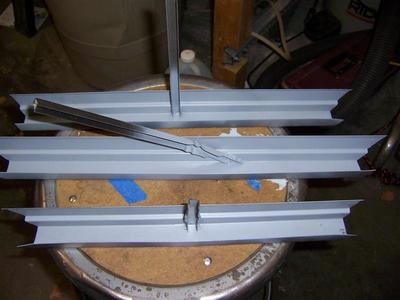
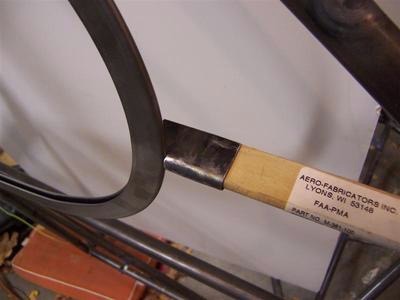
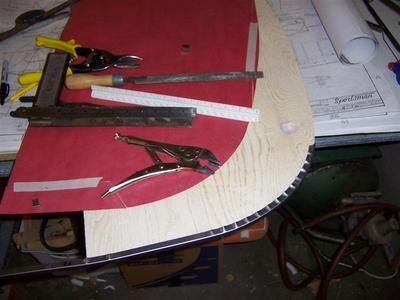
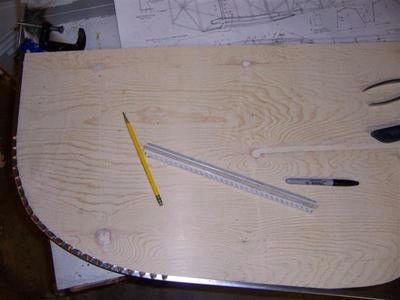
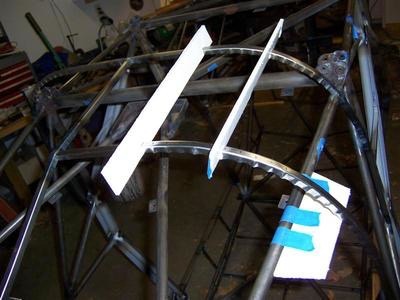
Using poster board for channel shape. I made a few to the drawings but I did not like the fit.

Held in place for welding
Ready to weld to weld
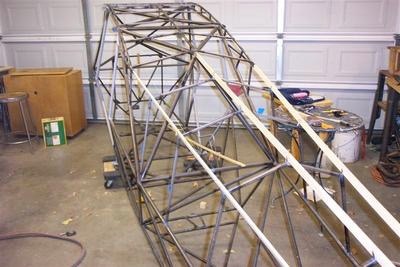
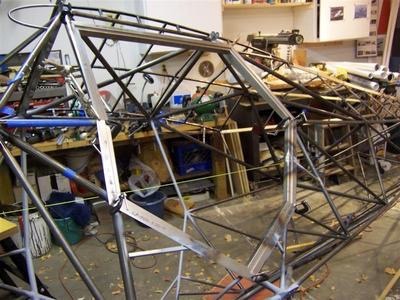
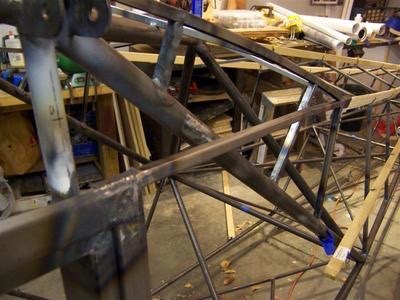
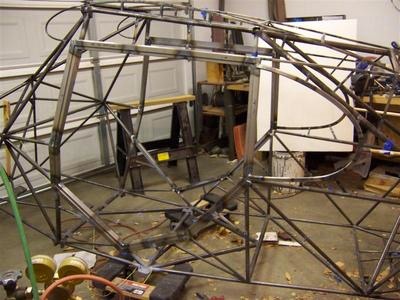
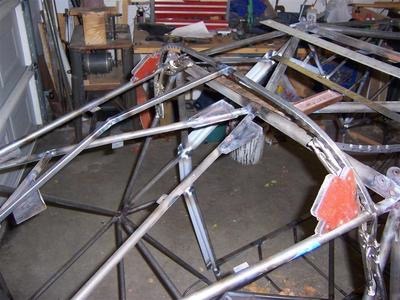
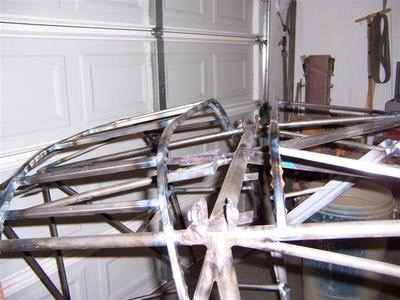
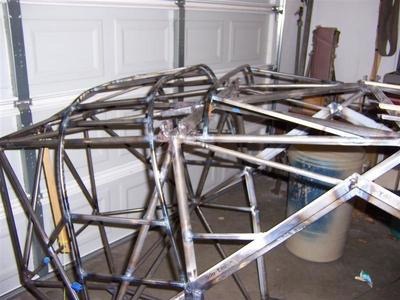
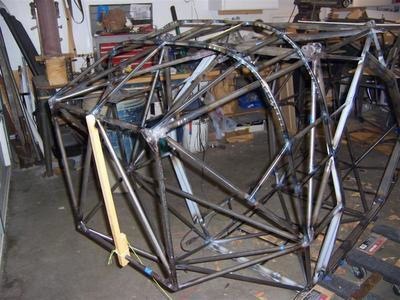
All stations in place with stringer clips and stringers.
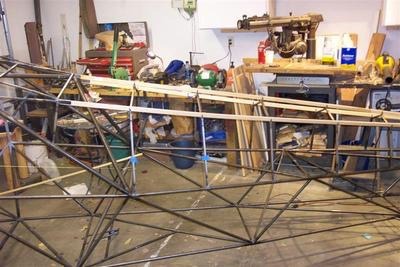
Side view of stringers
STOP!!!! Time to jump into my time machine. I didn’t know this at this time but a bushing is needs to be welded in tubes below the door frame for the door latch. Nothing in the plans here and I missed it. I had to design my door latch differently because there was no way to weld in a bushing after the door frames were welded in place. Jump ahead and look at my door latch design post, January16, 2018. I also created a page of door pictures to give you an idea of how the door latches into the frame on a PA12. Door Pictures link
Door channel cut and fitted in place, I made card board patterns to get the correct angles for a miter at all corners. It was difficult, but got easier with each one.
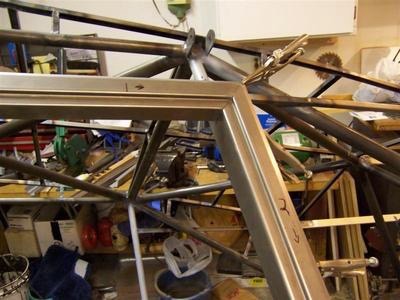
Upper rear corner, left door

Center front, left door
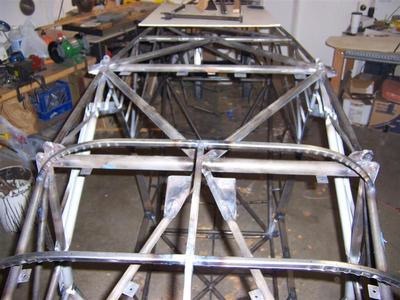
After fitting, 3/8″ channel was fitted, welded, and primed.

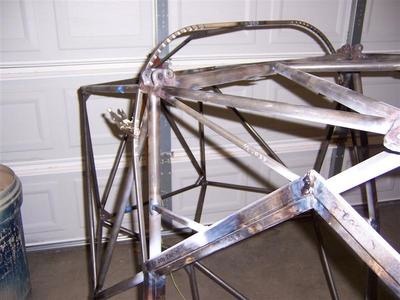
Door area all welded and complete
Here I removed part of the lower channel of the bird cage and put a piece into window corner. Much better fit.
Correct location of channel
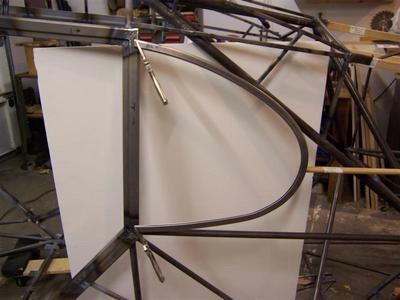
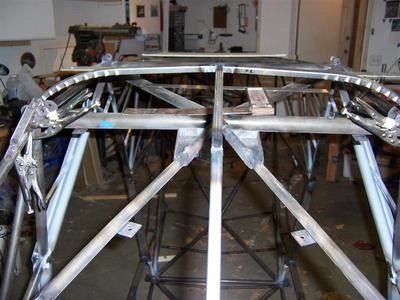
I decided to use standard piper D window for the looks. Shown here clamped in place.
Fitting I made to align stringer with window
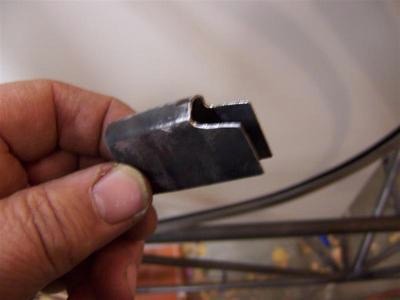
Close up of attachment piece
Window tack welded and ready for final placement.
Windows in place
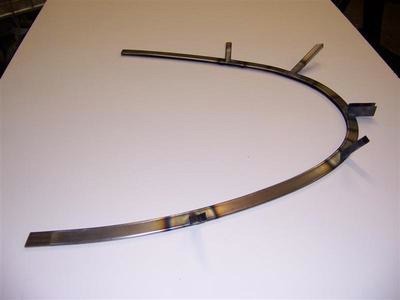
Next I flipped over the fuselage to work on the lower channel. Here is fire wall patterns used to help form curve of the channel.
Another shot forming the “C” channel around completed pattern of lower curve.
A couple of pieces ready to be tacked in place.

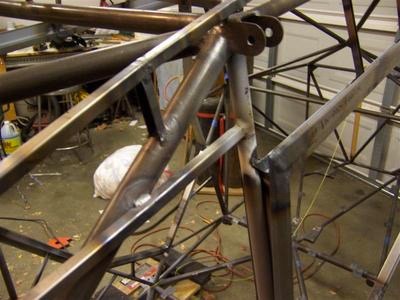
Connecting to fire wall area.
Here I am getting ready to weld in the lower e channel. I later removed and re fit this channel to get the skin to fit correctly.
This is the side curve where the boot cowl will latter fit.
Secondary curve attached.
Additional formers being fitted first with foam board.

Side “C” channel ladder created for the boot cowl.
Replacing the piece for better skin fit
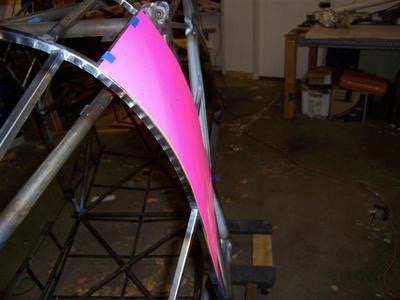
Poster board to test fit how the skin will eventually fit.
Adding “C” channel to create the attachment for boot cowl.
Making the last curve to fit behind the gear attach points.
Rear curve channel in place with side stiffener
Lower channel for boot cowl attachment
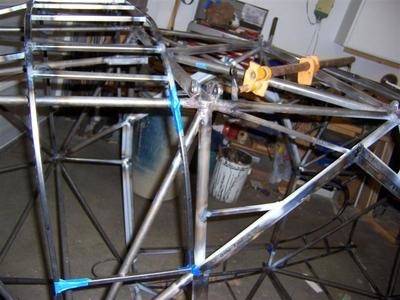
All “C” channel welded in place up front for boot cowl.